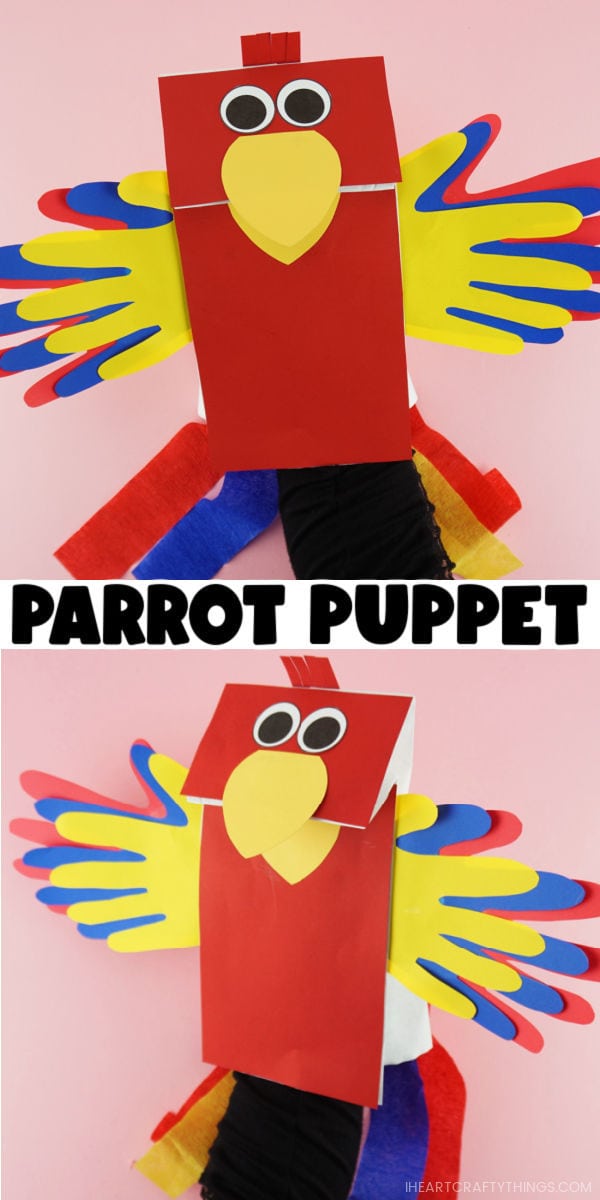
Whether you’re looking for a fun preschool craft to add to your rain forest or bird theme, or you’re looking for a fun, new colorful craft to make with your kids, these paper bag parrot puppets are sure to be a delight!
It’s no secret we love creating puppet crafts. I find them so beneficial for preschoolers for a variety of different reasons. My favorite reason is the play aspect children get after making their puppets.
Making a craft to display on an art wall is always fabulous, but getting to actually use and play with your craft after making it opens up a whole new world of joy for kids!
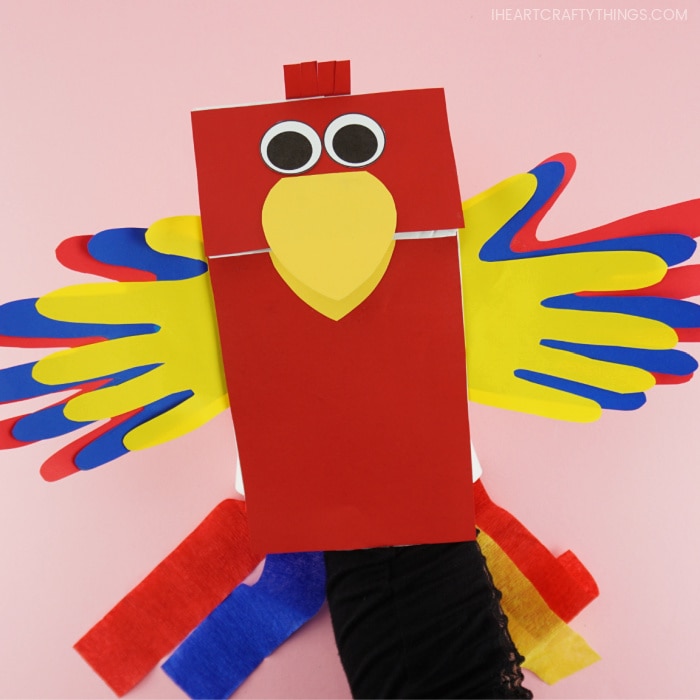
Did you know there are over 372 different species of parrots? We modeled our parrot craft after a brightly colored red, yellow and blue macaw, but preschoolers can combine a variety of different colors to make their own unique parrot.
In fact, kids might enjoy learning about a variety of different parrot species from around the world and then create a puppet to look like their favorite species.
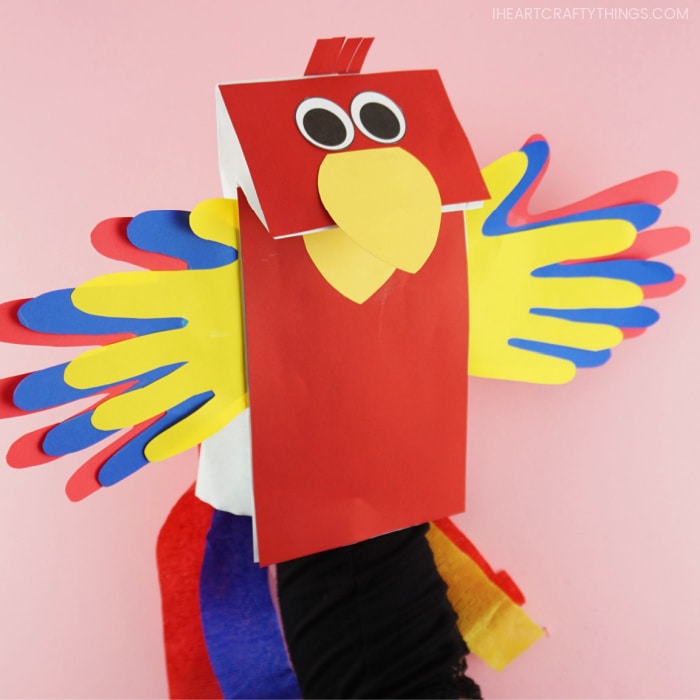
Using paper lunch bags to make puppets is one of our favorite ways to make a puppet craft because it’s a materials often found at home so it’s readily available. The bottom flap of the bag that opens and closes when you move your fingers inside the bag creates endless possibilities for puppet making too.
Today we are sharing how you can turn a simple paper bag into a colorful parrot puppet. Kids are going to have a blast playing with their colorful puppets, opening and closing the beak and perfecting their parrot voices.
Read our easy step-by-step instructions below for how to make your own paper bag parrot puppets. Make sure to watch our how-to tutorial video inside this post before you get started creating too.
Supplies needed:
- printable parrot craft template <—– Get the printable HERE
- paper lunch bag
- red, yellow, white and colored cardstock paper
- tissue paper
- pencil for tracing
- scissors
- glue stick
Instructions:
1. Print & cut out template
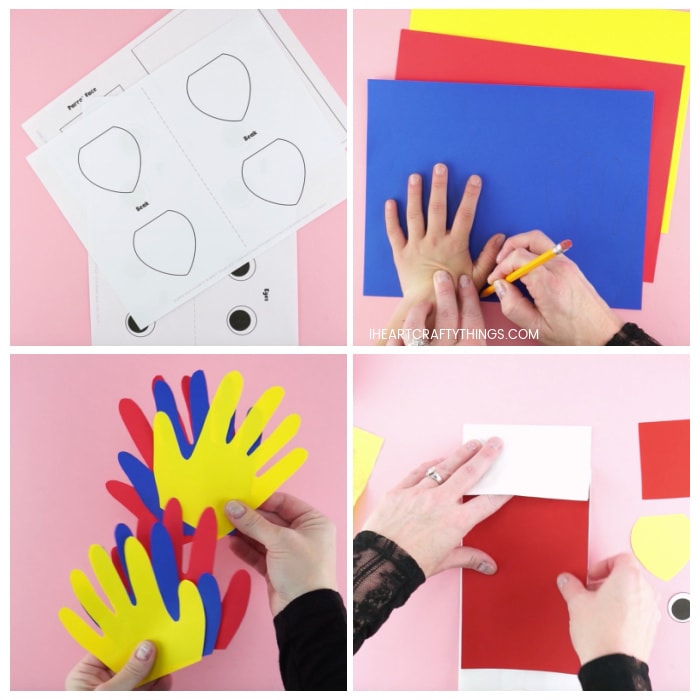
Begin by downloading and printing out the parrot craft template. Print the parrot body and head pieces on red cardstock or construction paper, the beak on yellow cardstock or construction paper, and the eyes on white cardstock paper. Cut out each of the pieces from the template.
You can also print out each page on white paper and have children color the pieces with markers or crayons before making their puppets.
2. Trace & cut out your kids hand prints
Trace your child’s open hand prints on a piece of red, blue and yellow paper for parrot wings. We used 24 lb. colored paper but you can also use construction paper if that is what you have on hand at home. Cut out all six of the traced handprints.
3. Glue parrot body to the bag
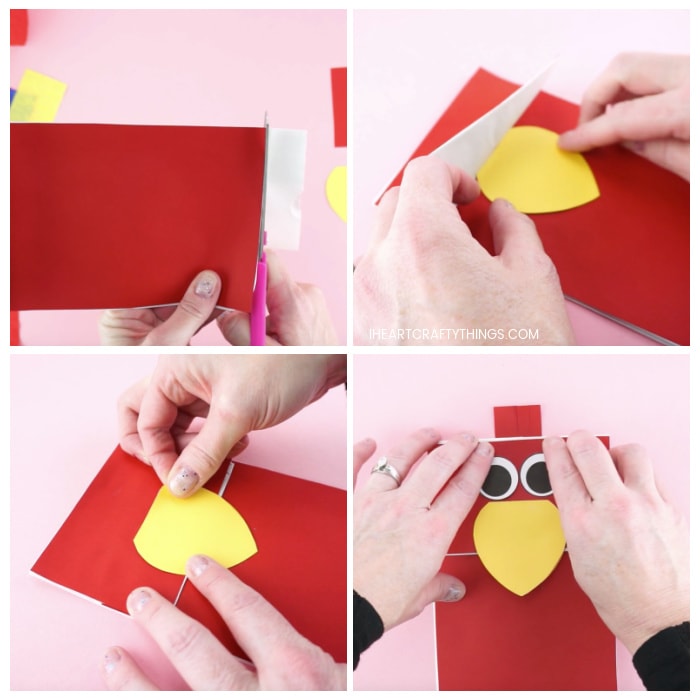
Add glue all over the back of the parrot body piece from the template and glue it onto the front of the paper bag puppet. Make sure to lift the flap at the top and glue the piece all the way at the top. Cut off the excess of the paper bag at the bottom of the puppet.
4. Glue head piece to the bag
Glue the parrot head piece from the template onto the top of the paper bag puppet.
5. Add beak
Lift the flap at the top of the puppet and glue one of the parrot beak pieces onto the bag, under the flap. Then add glue on the top half of the underside of the second beak piece. Line it up with the other beak piece and glue it onto the top side of the parrot face, above the flap of the paper bag.
6. Add eyes & top hair
Glue the eyes on your puppet above the beak. Cut slits along one edge of the parrot head feathers piece with scissors and then glue it at the top and back of the paper bag puppet.
7. Glue wings to the bag
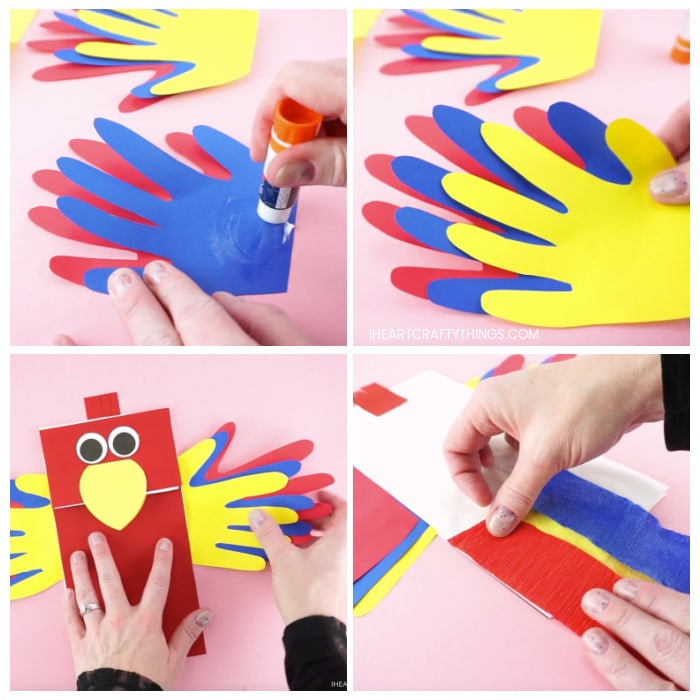
Layer and glue the red, blue and yellow handprints together to make parrot wings. Add glue on the edge of both parrot wings and slide them in the sides of the paper bag to attach them to the paper bag.
8. Finish with adding tail
Turn your parrot puppet face down. Add glue at the bottom of the paper bag puppet and attach 3-4 strips of colored crepe paper that are about 8-12 inches in length. These make flowy tail feathers for your parrot puppet.
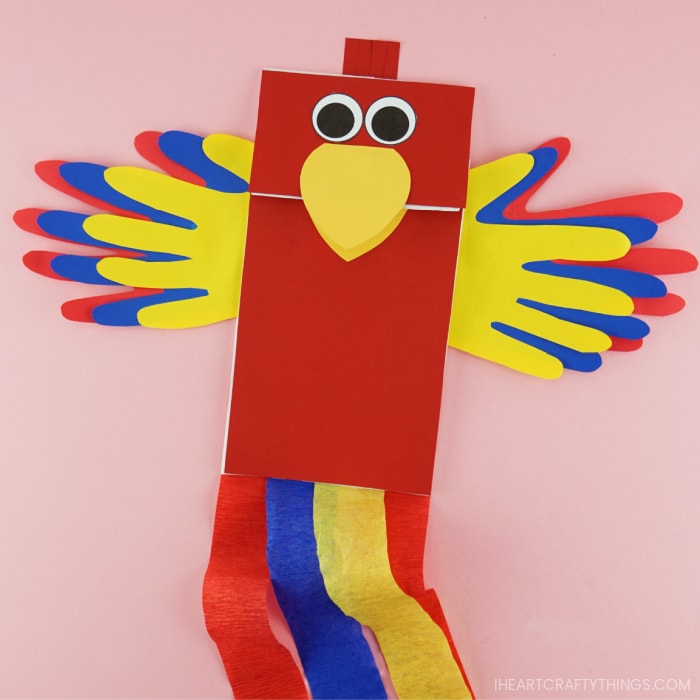
YOUR PAPER BAG PARROT PUPPET IS READY FOR PLAY
Once the glue on your puppet has completely dried, you can play with your parrot.
Place your hand inside the paper bag with the fingers curling down inside the flap at the top of the bag. Move your fingers up and down on the inside of the flap of the bag to watch as the parrot beak opens and closes.
