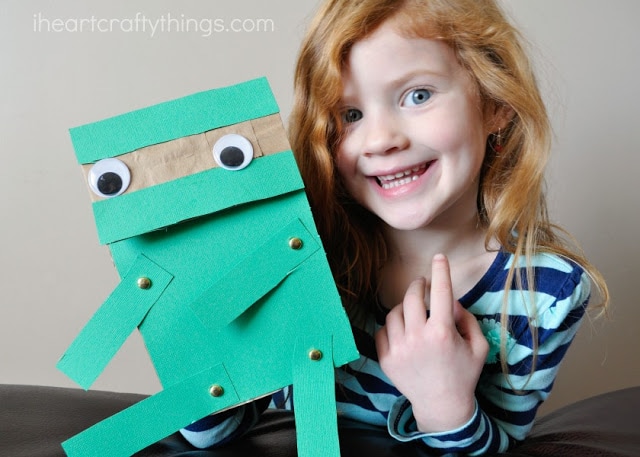
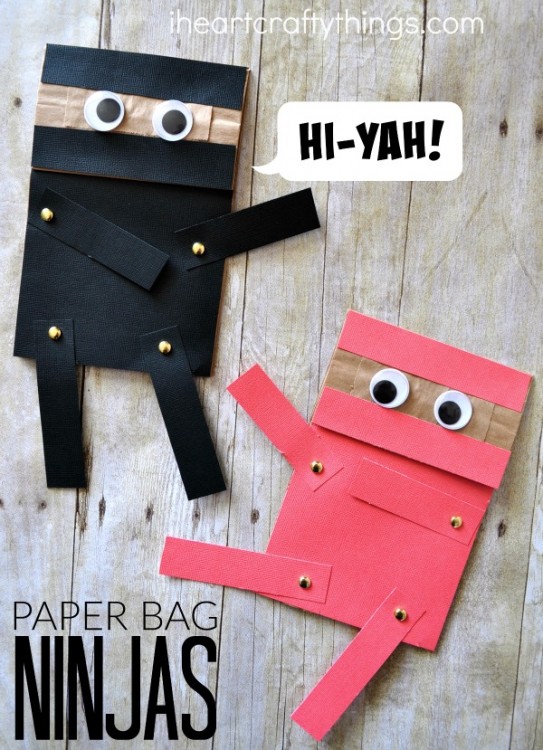
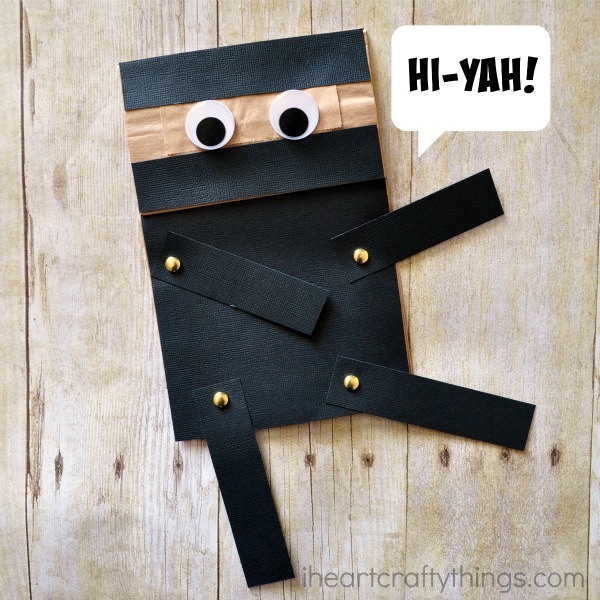
Do your kids love ninjas? Mine sure do! They especially love to dress up and pretend to be ninjas. I taught them a simple trick of how to turn a long-sleeved black shirt into a ninja mask and ever since then it’s been a favorite afternoon dress up activity that includes lots of pretend kicks and “hi-yah’s”. If your kids love ninjas as much as mine do, they will love this simple paper bag ninja craft. It’s a craft and a puppet all in one and the repositionable arms and legs make it a fun and interactive activity for preschoolers.
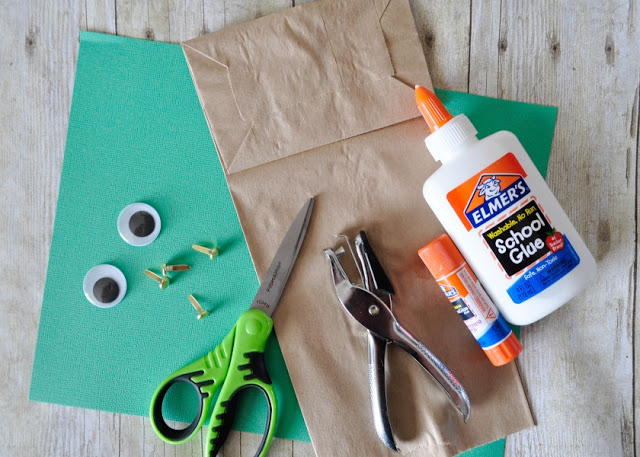
Supplies:
- brown paper lunch bag
- colored cardstock paper (color of your choice)
- googly eyes
- 4 small metal paper fasteners
- hole punch
- scissors
- glue stick
- school glue
- paper cutter
Instructions:
1. Cut off 3-inches of the bottom of paper bag
Start by cutting 3-inches off of the bottom of your paper bag. This gives your paper bag ninja craft the perfect body height.
2. Cut out craft pieces
Cut out the pieces from your colored cardstock paper that you need to cover your ninja. (see the picture below.) You’ll need a rectangle piece to cover the body (about 5 inches by 6 inches), two strips to cover the face (about 5 inches by 1 inch) and two long strips that are 1-inch in width for you to cut out arms and legs for your ninja.
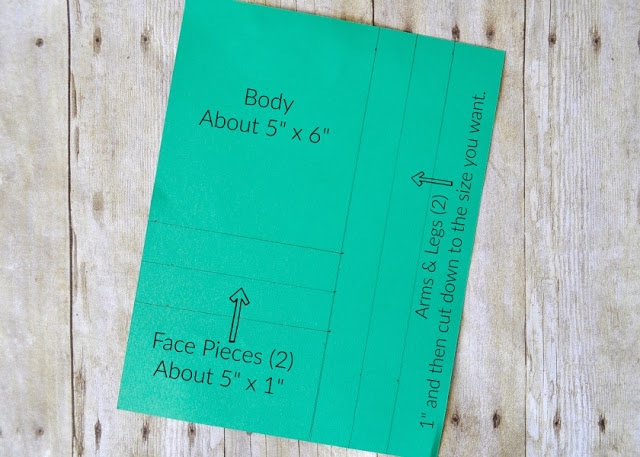
If you have a paper cutter you can easily cut those pieces out in advance for your preschooler. Or, if you want to give your preschooler extra scissor cutting practice you can use a ruler and pencil to draw out the pieces for your preschooler to cut out. You can see how I drew out the pieces for my preschooler below.
3. Glue body and face pieces onto paper bag
After you preschooler has cut out all of the pieces, glue the body and face pieces onto your puppet. Leave a gap in the middle of your face for the eyes.
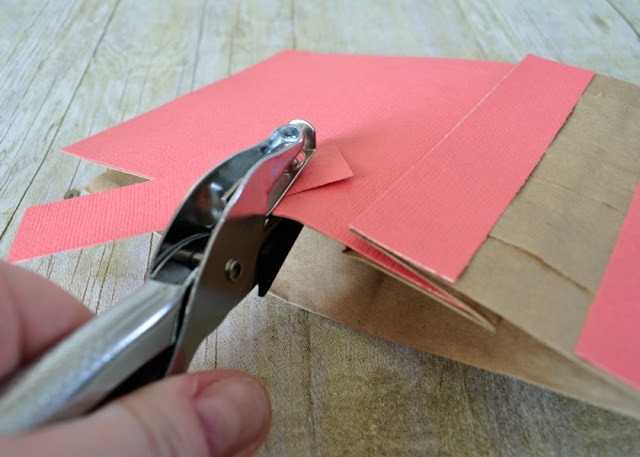
4. Attach arms
To attach the arms, position one of the arms where you want it on your puppet and use a hole punch to punch a hole into your bag for the metal paper fastener. You end up with an extra hole on the side of your paper bag, but you want to make sure that when you thread the metal paper fastener through, you only use the hole that you punched in the front of the bag. Do the same on the other side of the bag to attach your other arm.
5. Attach legs
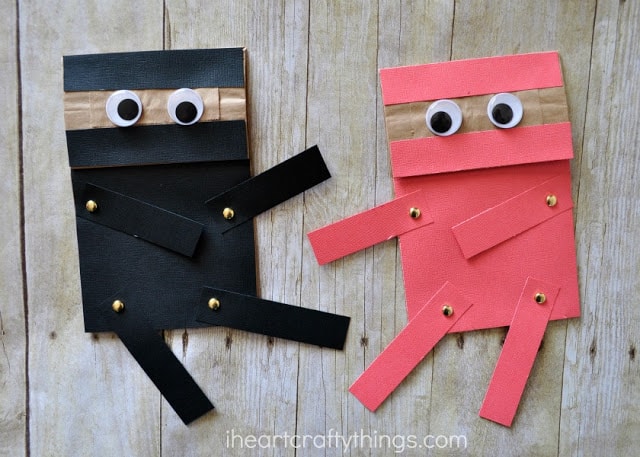
To attach the legs, position them where you want them at the bottom of the paper bag and use your hole punch to punch a hole into the leg and the front of your paper bag. Attach the legs with your metal paper fasteners.
6. Glue eyes
Use your school glue to glue on your googly eyes. Let the glue dry for a bit before playing with your craft.
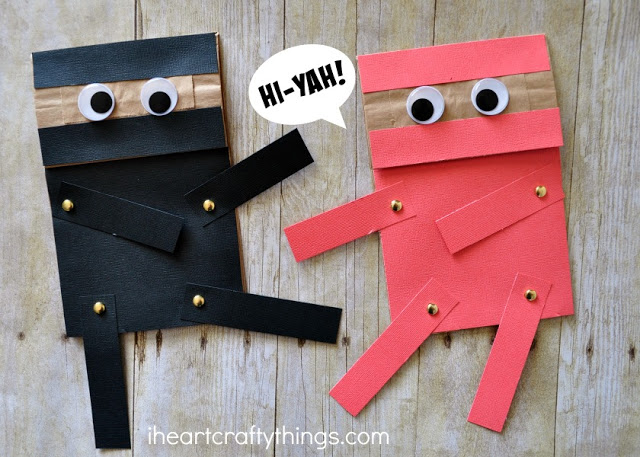
Now your paper bag ninja craft is all ready for play!
Simply put your hand inside your paper bag and you have a fun ninja puppet. Reposition the arms and legs any way you want to make your ninja kick, fight and block his opponent. And don’t forget to yell “hi-yah!”
