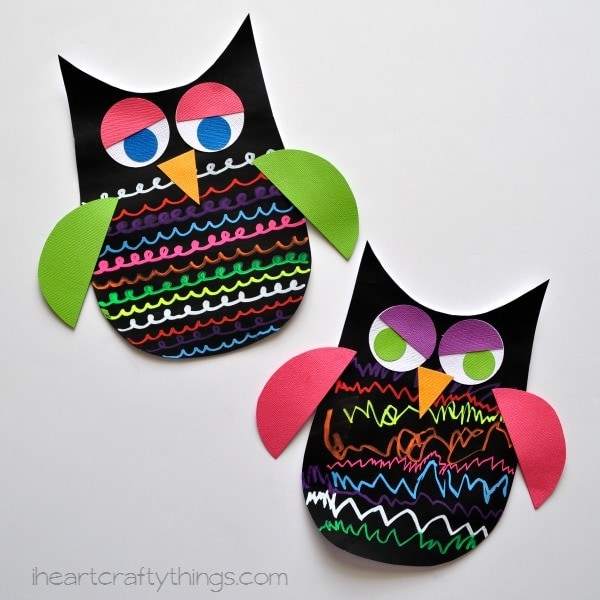
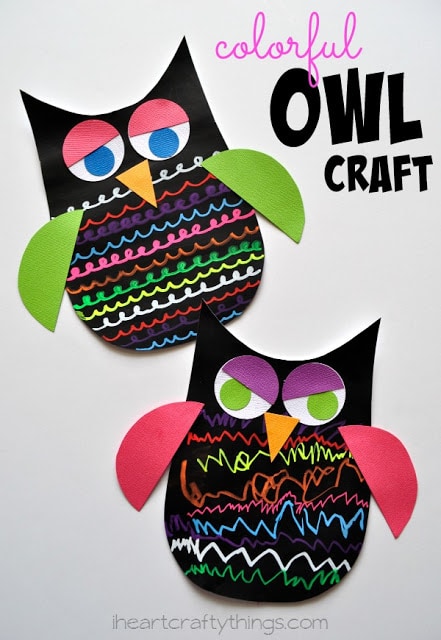
Occasionally there are times when I am so happy about a craft we made that I can hardly contain my excitement for sharing it with you. This is one of those times! Today l will show how to make this a Colorful Owl Craft for Kids that you will proudly want to display in your home and treasure as a keepsake for years to come.
{Disclosure: We received a complimentary package of Fun Chalk to make this craft. All opinions expressed are 100% my own. I only recommend products that I truly love. This post also contains affiliate links for your convenience. Read our Disclosure Policy for more information.}
Supplies needed:
Tutorial:
1.Paint your paper black
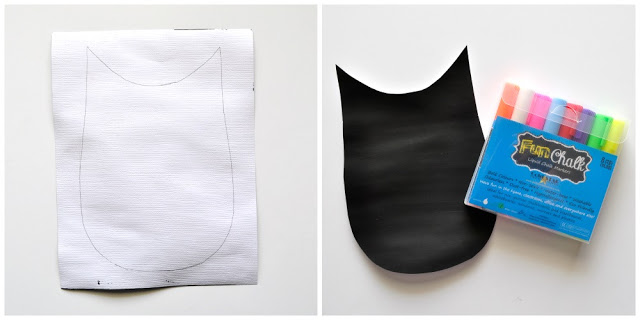
Start by drawing the shape of an owl on the back of your white cardstock paper. Turn it over and paint the entire front of the cardstock paper with your black paint. Let it dry completely.
You might be thinking, why not just use black cardstock paper? Two reasons…First, because we love painting. Ha! Second, since we were using liquid chalk markers to decorate our owls, I wanted our owl to have a chalkboard-like appearance to it. I think the black paint helps to achieve that look.
2. Cut out owl shape
Once your paint is dry, cut out your owl shape.
3. Decorate your owl
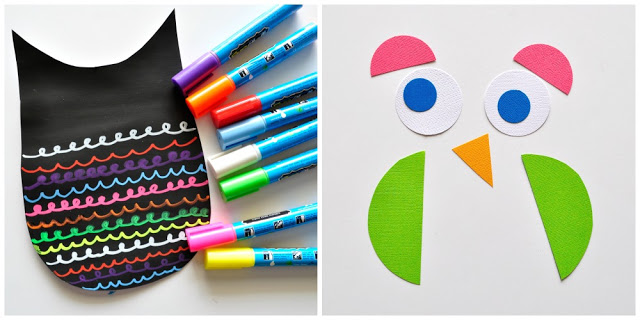
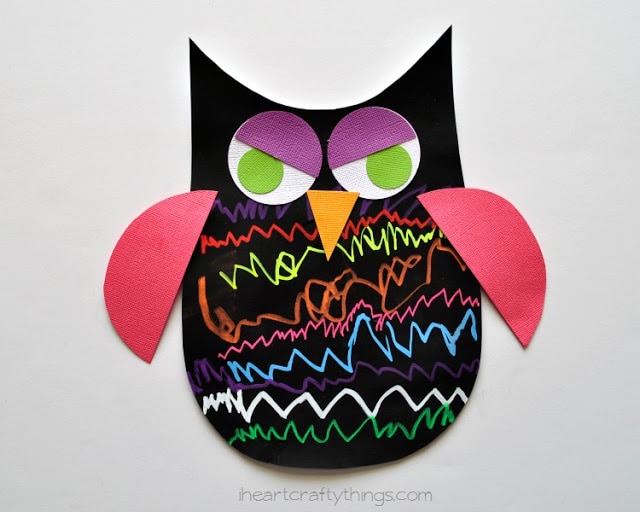
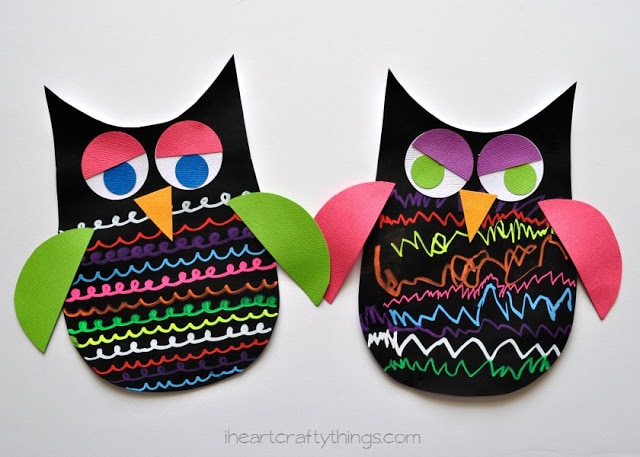
Now here’s the most fun part… Get out your Fun Chalk and use them to decorate your owl. Use swirly lines, or scalloped lines, or ridged lines, or make up your own design. Use as many or as little of the colors as you want. The markers are pretty quick to dry and you will immediately fall in love with their bright, bold colors.
4. Cut eyes & beak
Use your 2-inch circle punch to cut out two white circles for your eyes. Cut out one more 2-inch circle in the color of your choice and cut it in half to make two eyelids. Cut out two 1-inch circles for your pupils in the color of your choice. Also, cut out a beak and two wings in the color of your choice.
5. Glue eyes, beak & wings to the owl
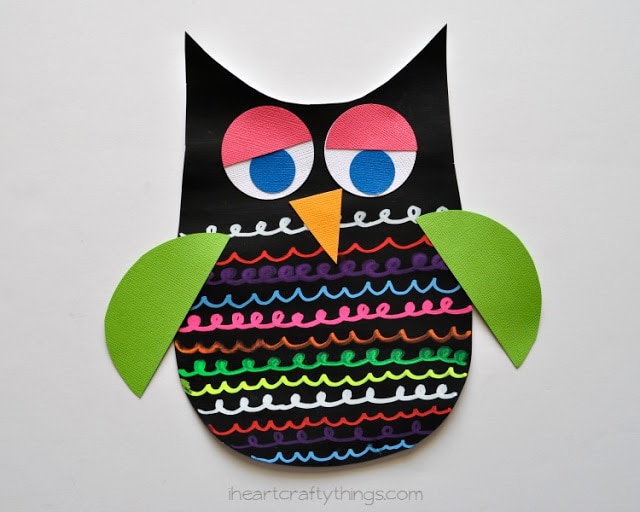
Finish your owl by gluing on the eyes, eyelids, beak and wings.
I have to tell you the funniest part about this craft. Before you glue your eyelids onto your owl, take a moment to position them in several different ways to laugh at how it changes the look of your owl. My preschooler and I took a good 10 minutes changing the positions of our eyebrows and giggling at our owls’ different emotions. As you can see in the picture above I chose more of a sleepy look. My daughter chose to make her owl a little mad. She thought it was so funny.
If you don’t already have a set of these Fun Chalk markers in your craft supply, you have to get them. They are odorless, non-toxic and washable so they are great for even toddlers to use. I’m thinking I need to paint a huge chalkboard wall in my house so I can doodle with them every single day. They are lovely! They would also make an awesome teacher appreciation gift.
