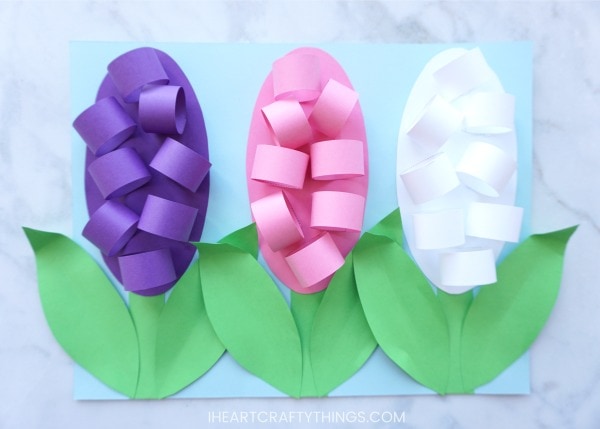
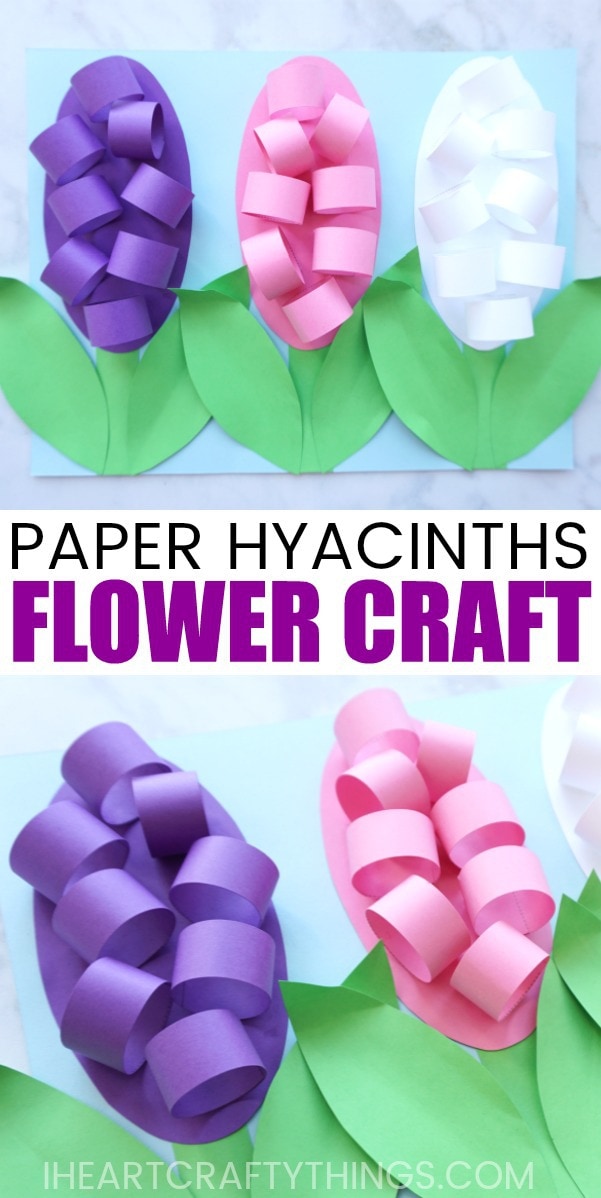
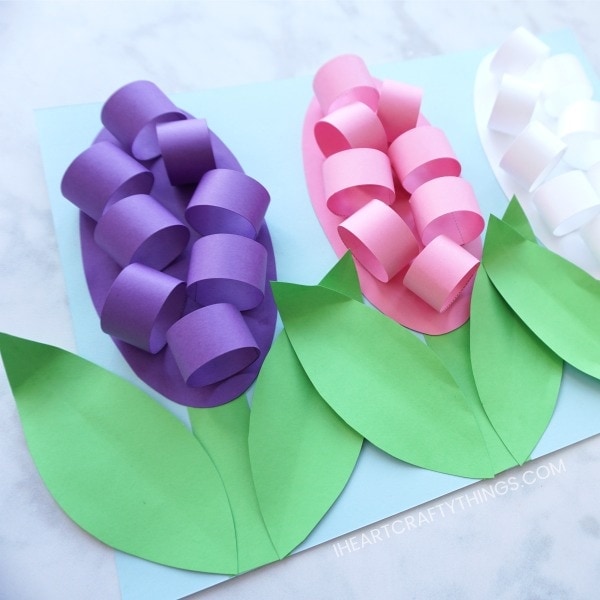
A couple years ago I planted a huge bag of Hyacinth flowers in my front yard next to a bench. Every spring when I walk out there to enjoy a morning cup of coffee I am awe struck at my beautiful Hyacinth flowers and how wonderful they smell. They are my favorite! I noticed them beginning to pop out of the ground this past week so I am celebrating the beginning of spring time with these beautiful paper Hyacinth flowers. They go along perfectly with our 3D Tulips and the spring tree craft we shared earlier this week.
Supplies:
- Hyacinth Flower Template <—–Get the Template HERE
- light blue, green, pink, white and purple cardstock paper
- scissors
- glue stick
- Tacky Glue
Paper Hyacinth Flowers Instructions:
1. Print out craft template and cut out it’s pieces
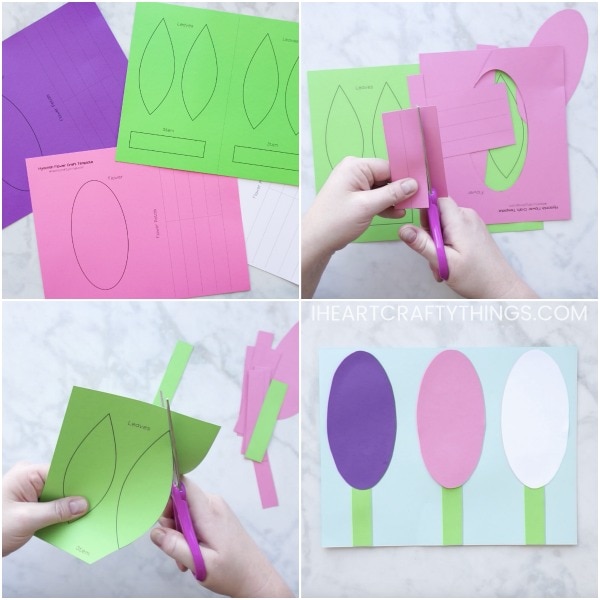
Download the Hyacinth flower template and print it out on colored cardstock. Use green cardstock for the leaves and stem and either purple, pink or white for the flower page. Cut out the pieces of the template.
2. Prepare flower petals
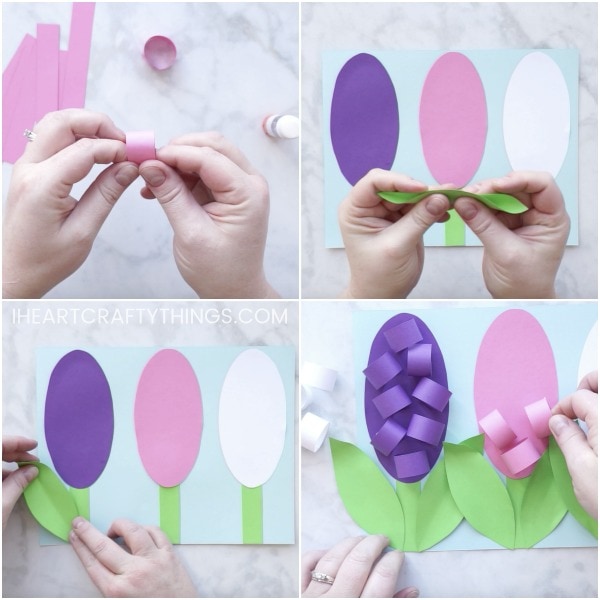
Prepare the flower petals. Use a glue stick to add some glue at the end of the flower petal rectangle. Then fold the rectangle into a circle and glue the opposite ends together. Continue making all of the flower petals into circles.
3. Glue stems and flower bases on blue cardstock paper
Glue your Hyacinth flower stems at the bottom of your blue cardstock paper. Then glue the oval flower bases on top of the stems.
4. Glue leaves onto the sides of flowers
Bend a leaf in half and curl down the top of the leaf slightly to add some dimension to it. Add some glue to the back of the petal and glue it onto the side of one of your hyacinth flower. Repeat this step for all of the leaves and glue them onto the sides of the flowers.
5. Glue flower petals
Add a dot of Tacky Glue at the bottom of your flower petals and glue them onto your Hyacinth flowers. We added three paper Hyacinth flowers onto our paper but you can choose to add however many you’d like.
