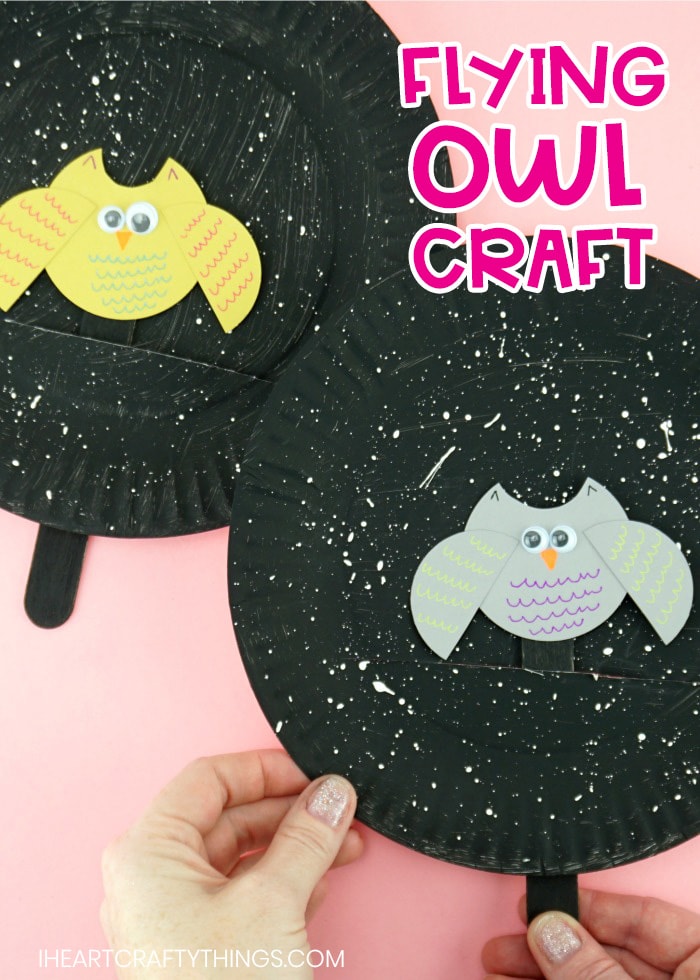
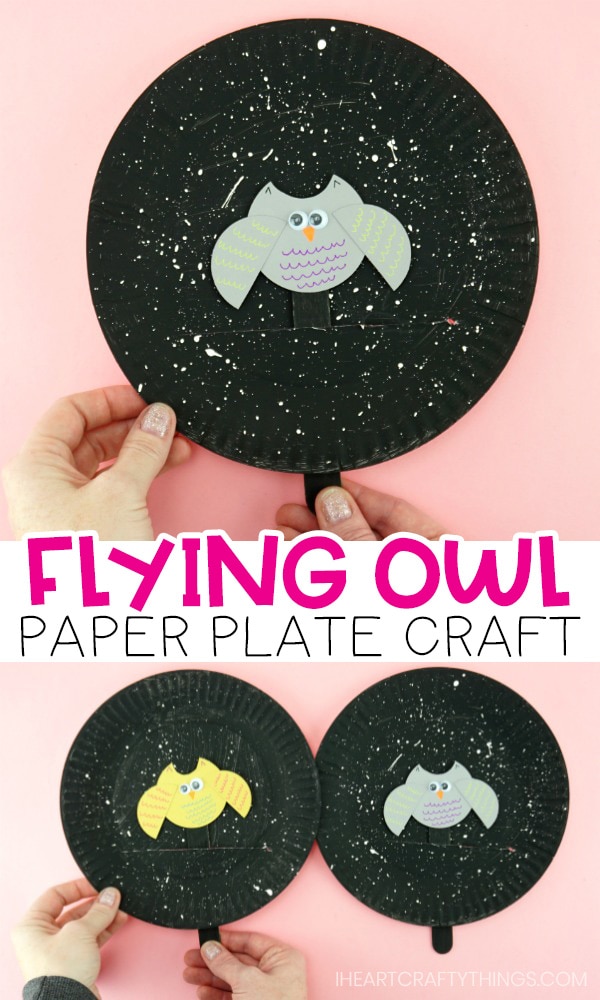
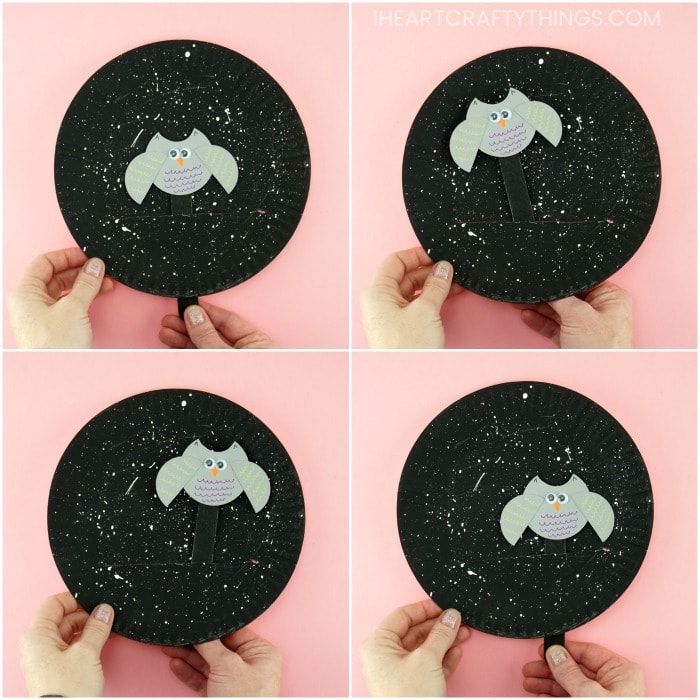
Get ready for kids to have a hoot playing with this clever flying owl craft. Using a paper plate as a starry night background, kids move their owl puppet around and watch as it soars high in the night time sky.
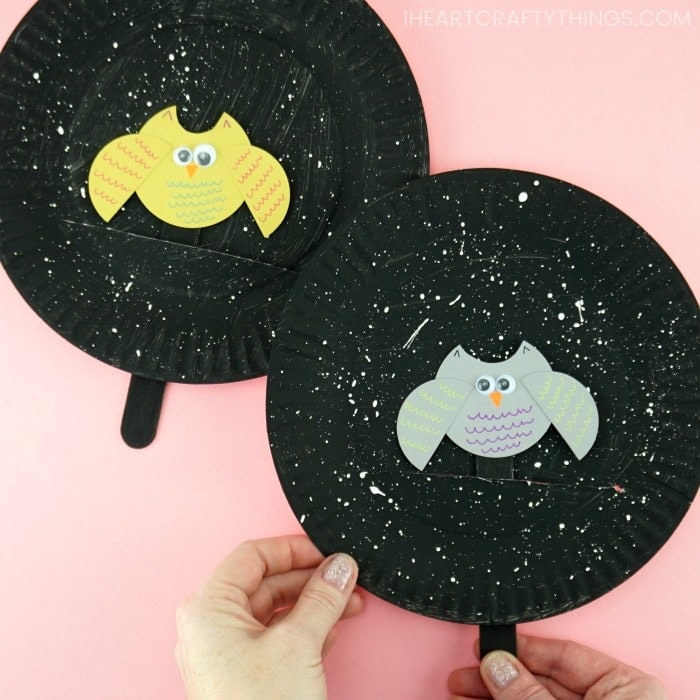
It’s no secret I am obsessed with interactive paper plate crafts. It’s been a while since I’ve brought something new to the table for littles ones to make and play with, and this new flying owl craft does not disappoint.
This owl art project is fun and easy for kids of all ages to make. Plus, the owl theme makes it great for a fall kids craft.
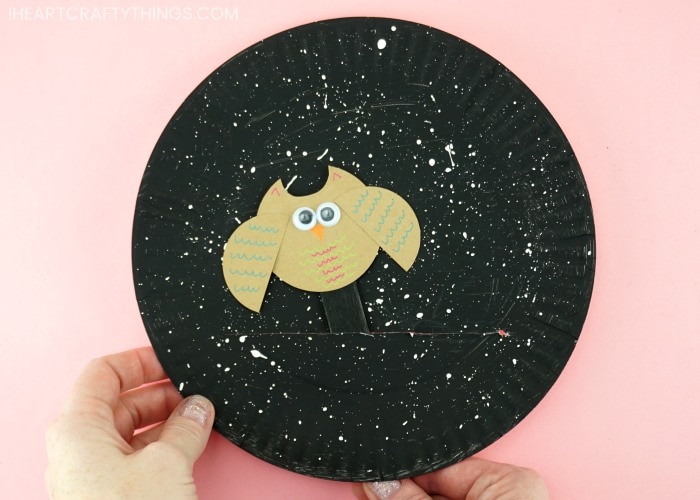
Read our simple how-to instructions for making this easy fall craft below, and make sure to catch our full video tutorial near the bottom of this post.
This post contains affiliate links to the products mentioned. Read our disclosure policy for more information.
Supplies Needed:
- paper plates
- black and white paint
- paintbrushes
- craft sticks
- glue dots for sticks
- cardstock (color of your choice)
- 3-inch circle punch
- 2-inch circle punch
- googly eyes
- markers
- scissors
- glue stick
Instructions:
1. Paint your paper plate
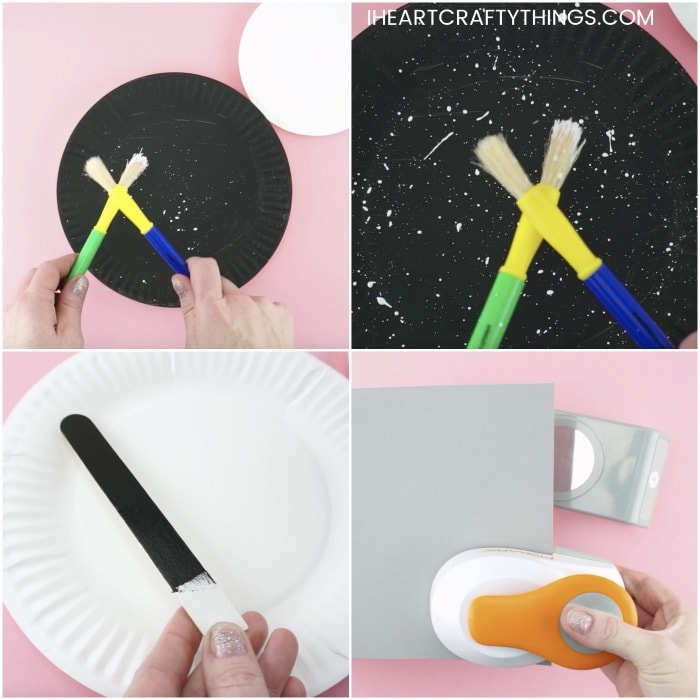
Begin by painting the front of a paper plate with black paint.
2. Paint night sky on your plate
Now let’s make the starry night sky on the paper plate. This is such a fun painting technique. You’ll need two paintbrushes to get the desired effect. Pour a small amount of white paint on a paper plate.
Dab the end of one of the paintbrushes in the white paint. Then, while holding the paintbrush over the painted paper plate, tap the base of the brush with your other paintbrush. This transfers white speckles onto the paper plate that look like stars.
Continue moving the brush around the paper plate and tapping it with the other paintbrush to fill the black paper plate with shining white stars. Set your paper plate aside to dry completely.
3. Paint your craft stick black
While you still have your black paint out, paint the front of an adhesive craft stick with it. Set it aside to dry completely.
4. Make owl puppet
As you wait for your paint to finish drying, make your owl puppet. Cut out a 3-inch circle and a 2-inch circle with your punches.
5. Make wings
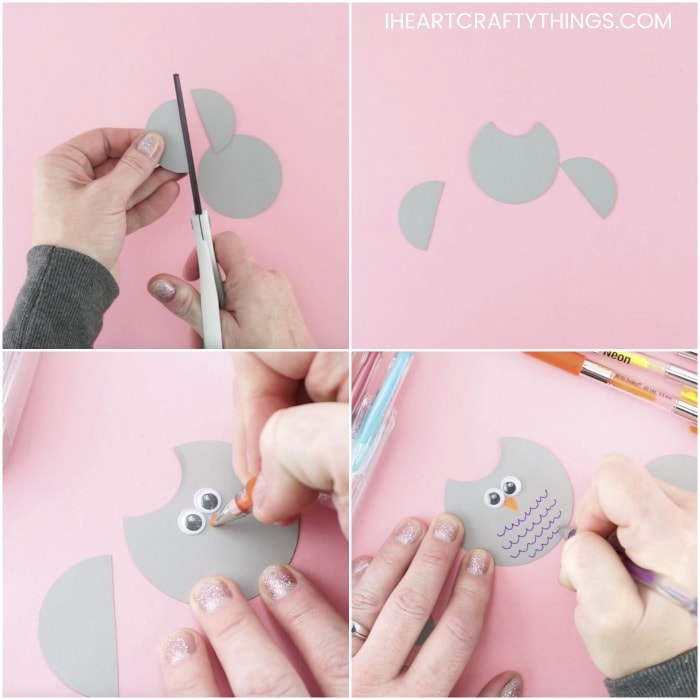
Cut the 2-inch circle in half to make two owl wings. Then cut a half circle shape out of the top of the 3-inch circle. This makes the owl body with two ear shapes at the top of it.
6. Glue eyes, beak & draw a feather
Add googly eyes on your owl’s face. Then use gel pens, markers, or colored pencils to add a beak and feather details to the owl body and wings.
7. Glue on wings
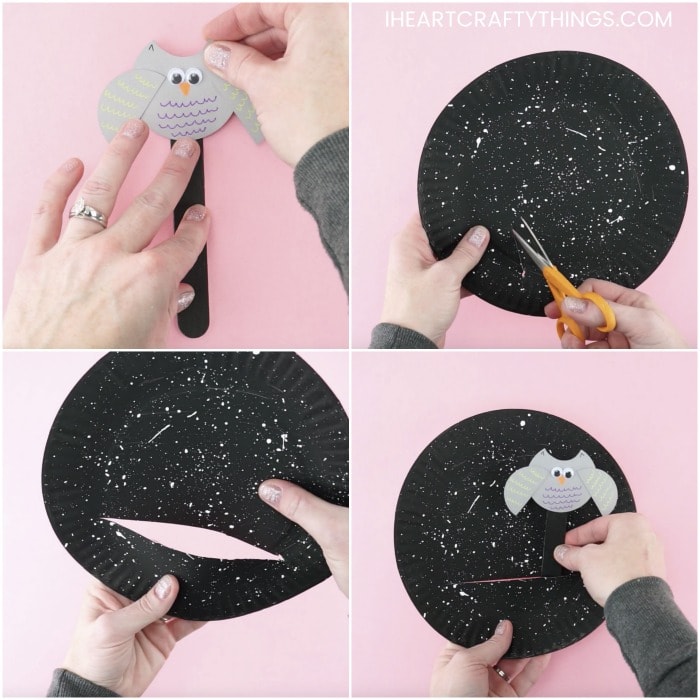
Use a glue stick to glue the wings onto your owl puppet. Then peel the backing off the end of your adhesive craft stick and attach it to the back of your owl.
8. Add stick to the plate
Poke the end of your scissors into your paper plate in the bottom one-third and corner of your paper plate. Place your scissors into the hold and cut a line along the bottom of the paper plate. This makes an opening for you to place your owl puppet inside.
Time to play with your fun flying owl craft
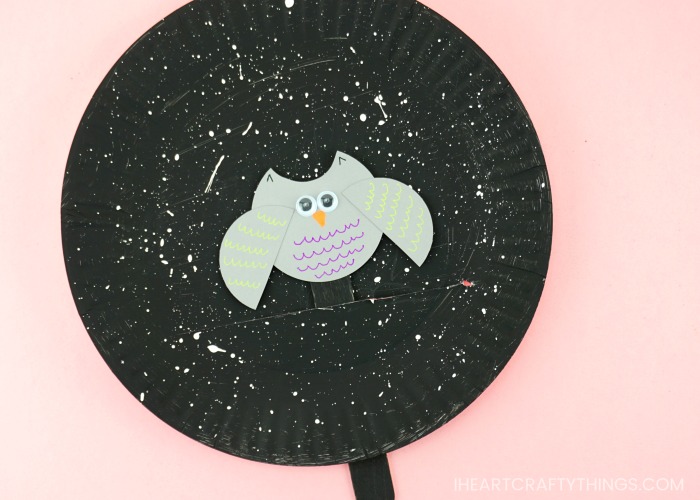
Place the owl puppet down inside the opening at the bottom of the paper plate. Use one hand to hold the bottom of the craft stick of the owl puppet while using the other hand to hold your paper plate in place.
Move the owl puppet around and watch as it takes flight around the starry night sky.
Find more fun and easy owl crafts, simple fall crafts for kids and Halloween crafts by browsing the categories at the top menu bar of our website.
