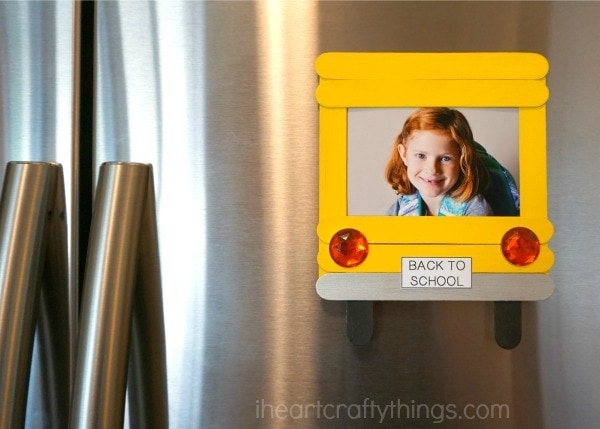
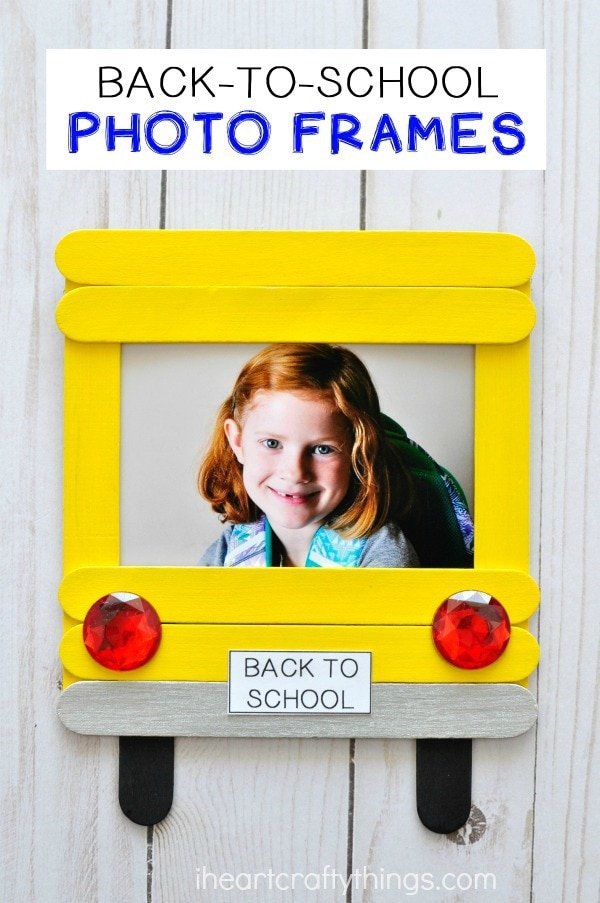
Families love to celebrate the start of a new school year by taking memorable back-to-school photos on the first day of school.
This DIY back-to-school photo frame is a perfect way to bring some back-to-school cheer into your home. Display those beautiful first day of school photos in a creative way, letting the memories last a little longer.
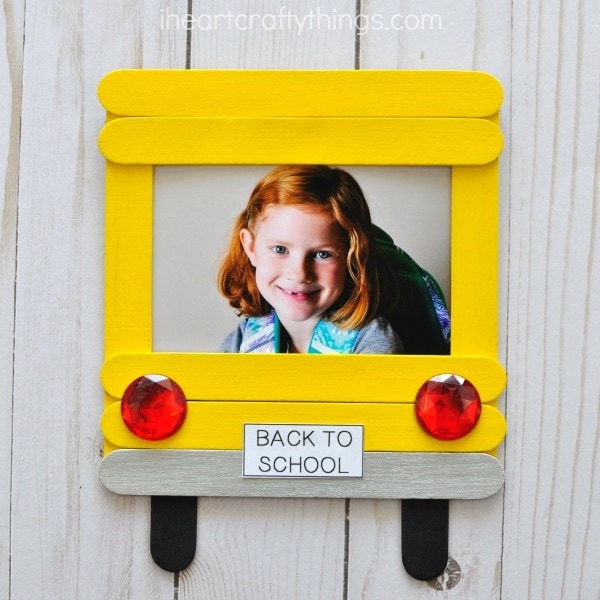
Even little ones who don’t attend school yet will love singing songs and reading books about back-to-school time before making this fun school bus photo frame. Get kids excited about another year full of learning by making these fun back-to-school photo frames.
Supplies Needed:
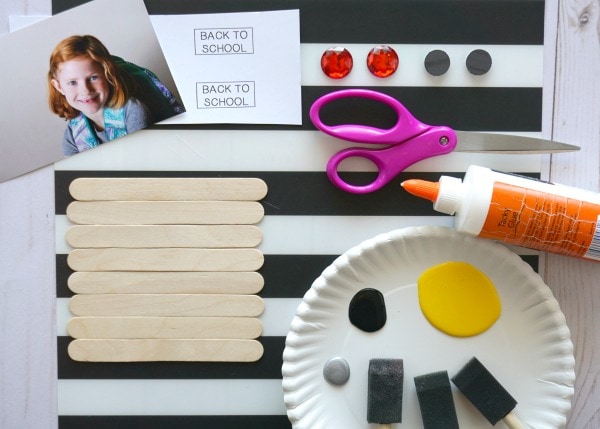
- 8 jumbo craft sticks
- Yellow and black paint
- Silver paint
- Paintbrush
- Paper plate
- Red craft jewels
- Scissors
- Tacky glue
- Photo of child (4” x 6”)
- License plate printable
Instructions:
1. Prepare your supplies
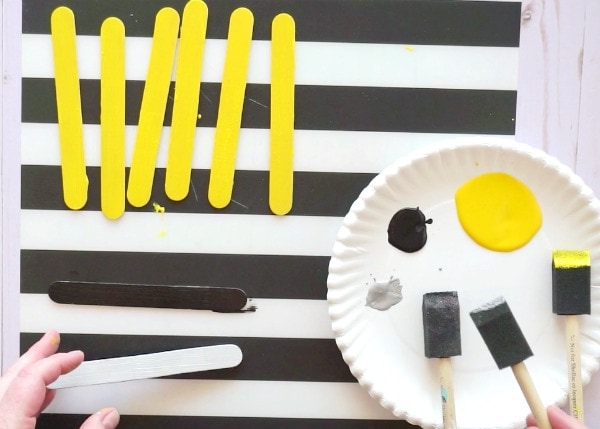
Gather your supplies. Pour a small amount of yellow, black and silver paint on your paper plate.
2. Paint craft sticks
Use your paintbrush to paint six of your jumbo craft sticks with yellow paint, one jumbo craft stick with black paint and one jumbo craft stick with silver paint. Let them dry completely.
3. Make bus gluing craft sticks
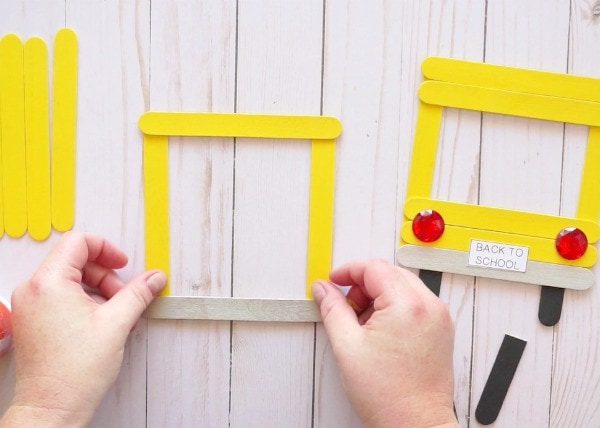
Assemble your jumbo craft sticks together to make a school bus. Start by gluing four craft sticks together with tacky glue to make a box. Use three yellow craft sticks for the top three sides of the box and a silver craft stick for the bottom side of the box. Now glue one more yellow craft stick at the top of the box and two more yellow craft sticks at the bottom of the box.
4. Cut stick in half
Cut the black craft stick in half and glue them under the bottom of the box for school bus wheels.
5. Add jewels & license plates
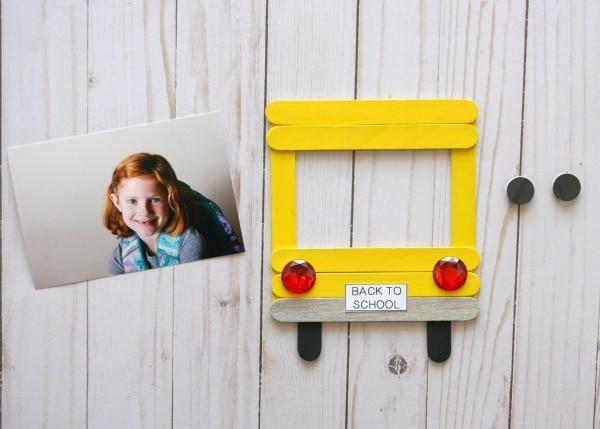
Glue two red craft jewels at the bottom of the school bus for brake lights. Print off the license plate template. Cut out one of the license plates and glue it at the bottom of the school bus. Let the school bus photo frame dry completely.
6. Add picture
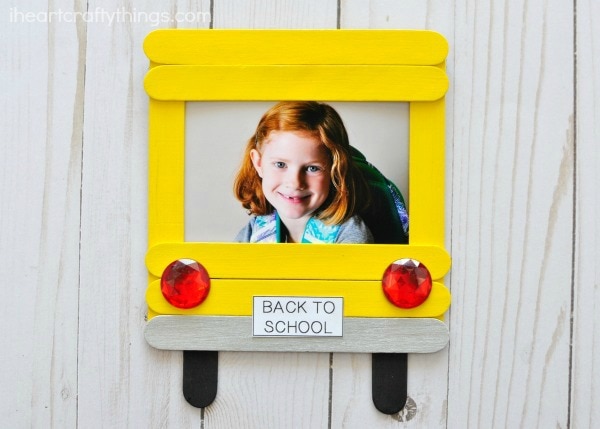
Once your DIY back-to-school photo frame is finished drying trim down your photo to fit within the opening of the frame. Add glue around the back of the frame opening and glue your picture down.
7. Glue on couple of magnets
Finish your DIY back-to-school photo frame by adding a couple adhesive magnets on the back of the frame.
Now hang your cute school bus photo frame up on the fridge to cherish those first day of school memories.
