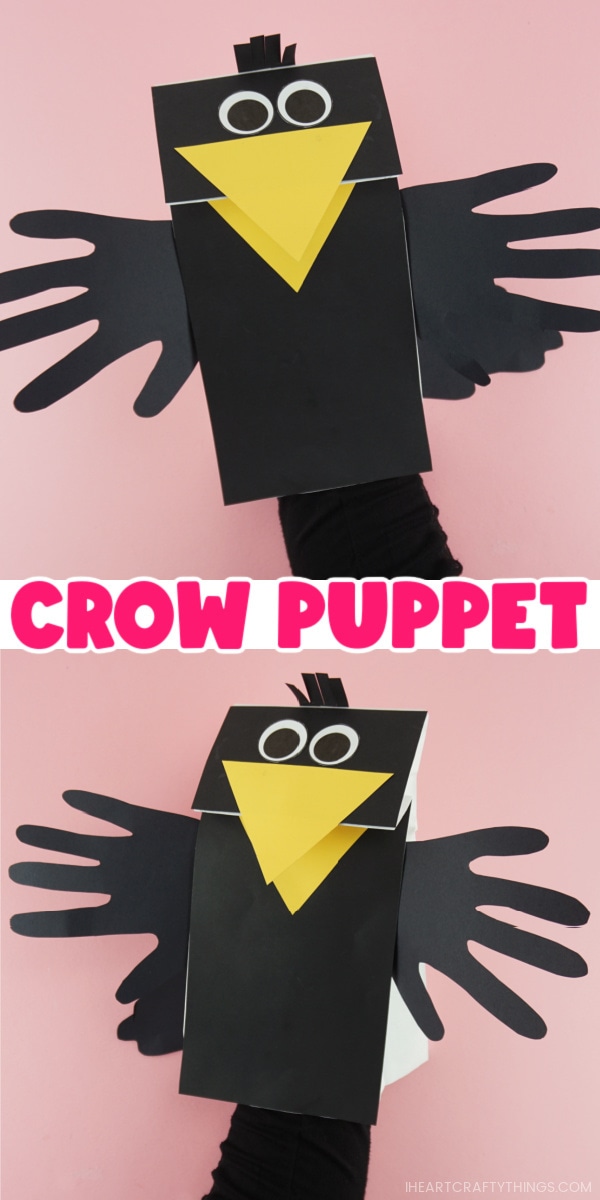
Preschoolers are going to love making and playing with this cute paper bag crow puppet this fall season!
I have a huge love for birds and bird crafts! My daughter recently had so much fun playing with our paper bag peacock puppets so I’ve had an itch for us to create another bird puppet for her to play with. Since Fall time is upon us, we decided it was perfect timing for creating crow puppets.
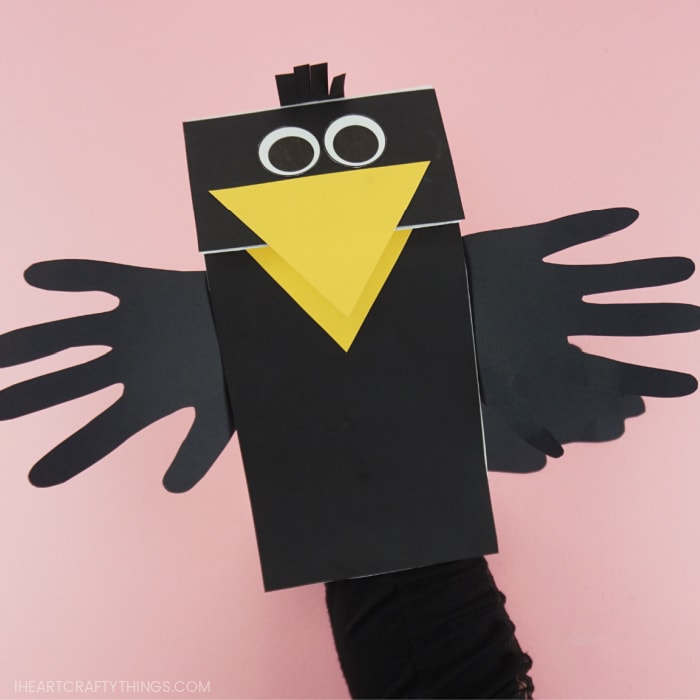
Our handy template makes creating these crow puppets super easy for preschoolers, along with the fact that you only need a few simple craft supplies to make them.
Read our easy step-by-step tutorial below for how to make your own fun paper bag crow puppet. Make sure to watch our how-to video inside this post before you get started too.
Supplies needed:
This post contains affiliate links to the products mentioned. Read our disclosure policy for more information.
- printable crow puppet template <— Get the craft template here
- paper lunch bags
- black, yellow and black cardstock
- pencil for tracing
- scissors
- glue stick
Instructions:
1. Print & cut out template
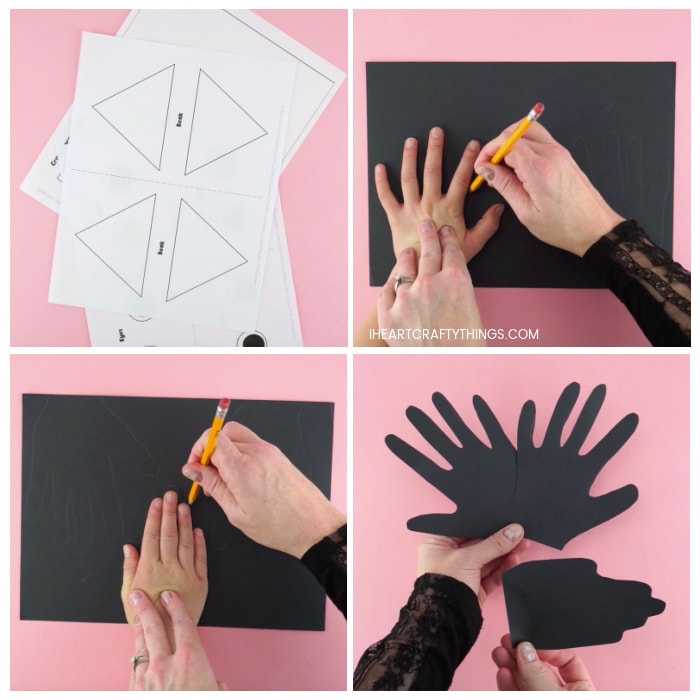
Begin by downloading and printing out the puppet template. Print out the beak page on yellow cardstock or construction paper and the body and face pieces and eyes on white cardstock paper. Cut out the pieces of the template.
2. Trace body shapes
Using a pencil, trace the crow body, face and head feather pieces from the template on black cardstock or construction paper and then cut them out.
3. Trace & cut out hand prints
Trace your child’s open hand prints on a piece of black construction paper for crow wings. Then trace one of their hands in a closed position on the construction paper for the tail feathers. Cut out all three of the handprints.
4. Glue crow body to the bag
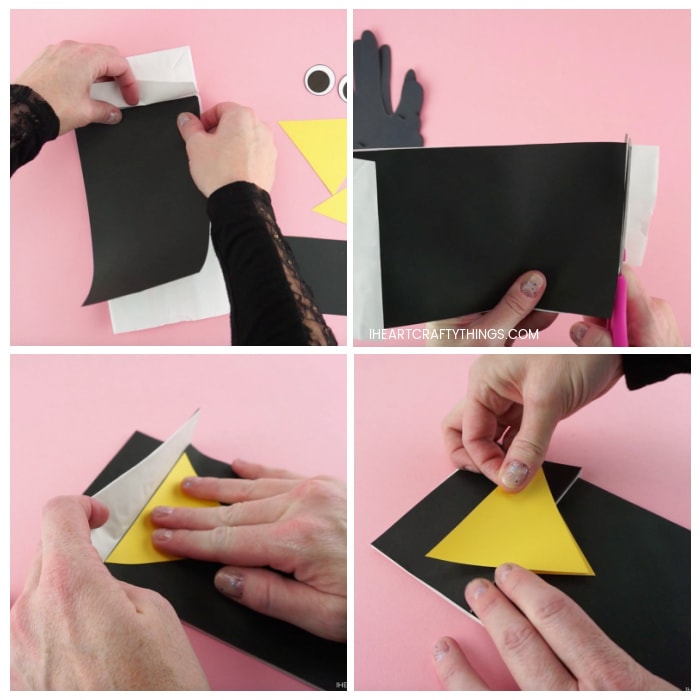
Add glue all over the back of the black crow body piece and glue it onto the front of the paper bag puppet. Make sure to lift the flap at the top and glue the piece all the way at the top. Cut off the excess of the paper bag at the bottom of the puppet.
5. Glue rectangle to the bag
Glue the rectangle crow face piece onto the top of the paper bag puppet.
6. Glue on beak
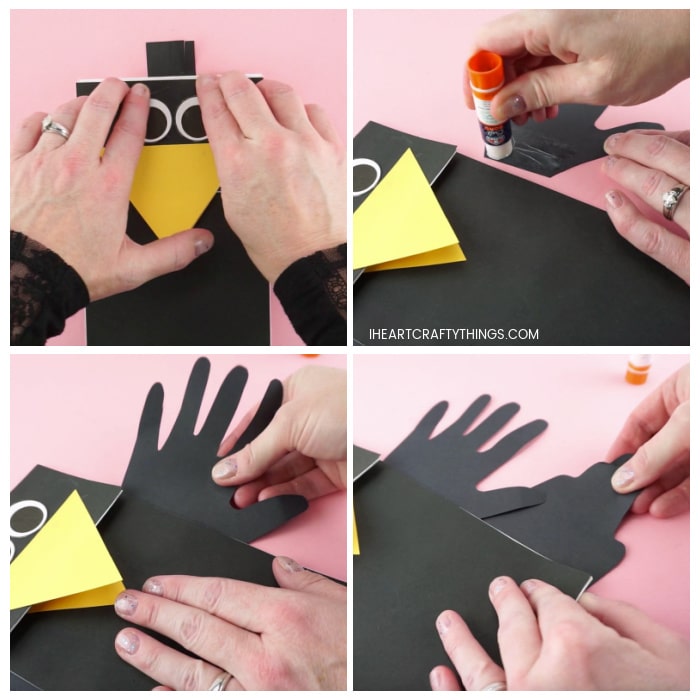
Lift the flap at the top of the puppet and glue one of the triangle crow beak pieces onto the bag, under the flap. Then add glue on the top half of the underside of the second beak piece. Line it up with the other beak piece and glue it onto the top side of the crow face, above the flap of the paper bag.
7. Add eyes & head feathers
Glue the eyes on your puppet above the beak. Cut slits along one edge of the crow head feathers piece with scissors and then glue it at the top and back of the paper bag puppet.
8. Glue on crow wings
Add glue on the edge of each open handprint and slide them in the sides of the paper bag to attach to the paper bag for the crow wings. Then add glue on the edge of the closed handprint and glue it on the bottom and back of the puppet for the tail feathers.
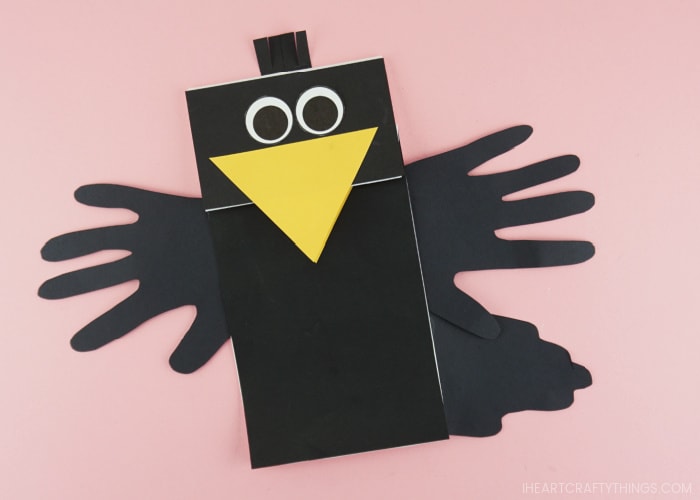
Your paper bag crow puppet is ready for play
Once the glue on your puppet has completely dried, you can play with your crow. Place your hand inside the paper bag with the fingers curling down inside the flap at the top of the bag. Move your fingers up and down on the inside of the flap of the bag to watch as the crow beak opens and closes.
There are so many great benefits to preschoolers playing with puppets. Puppets are a fantastic way for preschoolers to help develop their speaking skills by acting and playing with their puppets. Using their hands and fingers to make the beak move on their puppet is also great for fine motor play.

