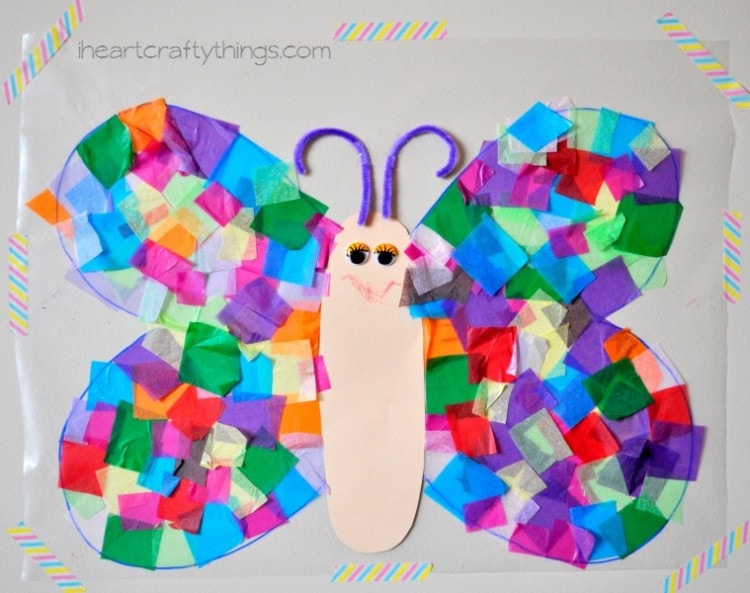
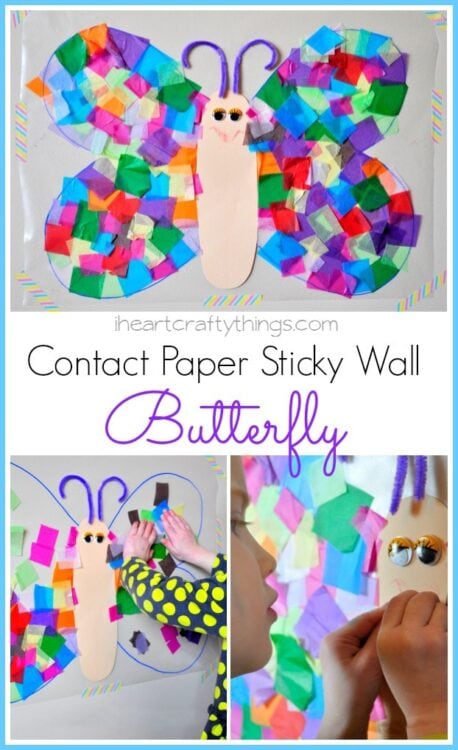
We had some Winter weather today which forced us to play inside this afternoon. I came up with this Contact Paper Sticky Wall Butterfly Craft to help entertain my daughter and it turned out to be a beautiful work of art as well!
This post contains affiliate links for your convenience. Read our Disclosure Policy for more information.
Supplies you will need:
- contact paper
- pencil
- permanent marker
- washi tape
- tissue paper squares
- sheet of cardstock (I used a 12″ x 12″ sheet)
- 1 pipe cleaner cut in half
- red crayon
- wiggly eyes
Directions:
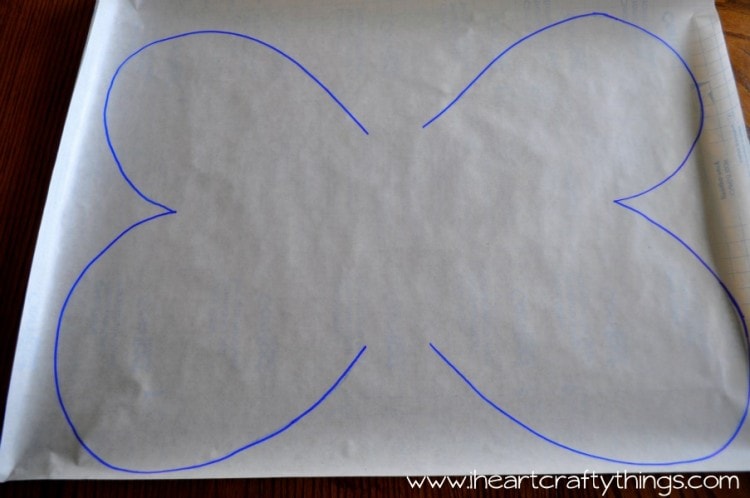
1. Draw butterfly wings on contact paper
Start by cutting off a sheet of contact paper to make your butterfly. On the back of the contact paper, draw the shape of butterfly wings with your pencil (in case you make any errors) and then trace over it with your permanent marker. Now turn your contact paper over and you will be able to see the butterfly wings showing through the contact paper. Trace them with your permanent marker. (I made sure to sue a permanent marker since this was going to be in contact with my wall. I didn’t want a washable marker to smudge on the paint on my wall.)
2. Tape contact paper onto wall with sticky side facing out
Peel the sticky sheet off and tape it onto your wall with your washi tape with the sticky side facing out.

3. Put together all items needed to make butterfly
Put together the items your child will need to make the butterfly: Tissue paper squares, a pipe cleaner cut in half and bent in the shape of antennae, a shape cut out of a butterfly body from cardstock or construction paper and 2 wiggly eyes. I attached my wiggly eyes on the body with glue dots so we didn’t have to wait for drying time.
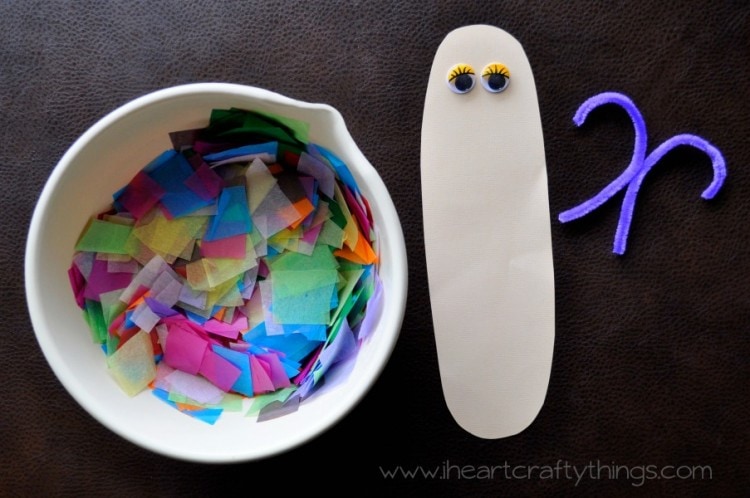
(Tip: We frequently use tissue paper squares in projects throughout the year. I always dump the leftover scraps in a Ziplock bag for rainy day projects like this. We have such a nice collection of colors from all our projects. I didn’t have to cut any tissue paper squares today making the prep for this activity even simpler!)
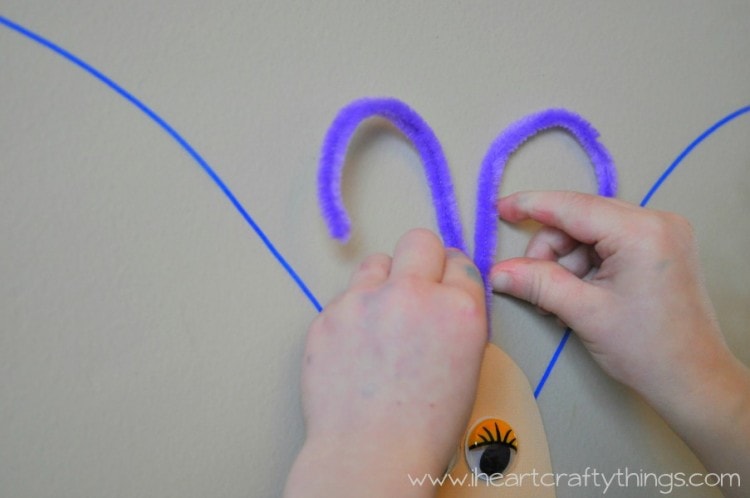
4. Attach butterfly body and antennae to the contact paper
Have your child start by attaching the body to the contact paper and then the antennae. After a while our pipe cleaners started to fall off, so we reinforced them with clear tape. You might want to do that right off the bat.
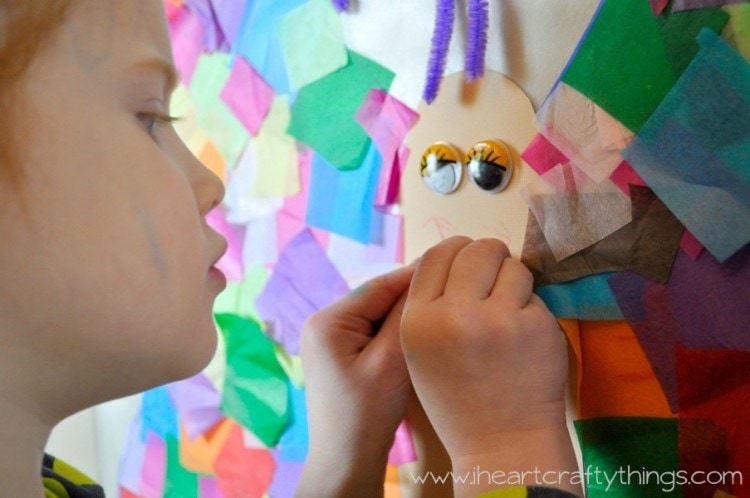
5. Decorate butterfly wings with tissue paper squares
Then simply have fun decorating the butterfly wings with the tissue paper squares.
The great thing about this activity is that it doesn’t have to be done all at once. My daughter worked for a little while then decided she wanted to play something else. After a while she came back and put on more tissue paper squares. She worked on it off and on all afternoon. She even asked me if I would work with her a little and she made up a game saying “You put a tissue paper up and then I put a tissue paper up.” This also was great hand to eye coordination practice for staying in the lines along the edges of the butterfly wings!

Each child is so different! One child might decide he only wants to put up a couple tissue paper squares and his butterfly is finished. One child might work for 10 minutes a day for an entire week on it. Really, it’s open ended and just what your child wants to create.
6. Draw a mouth
When you are finished creating your butterfly, draw a mouth on it with a red crayon.
The end result is really stunning! It’s colorful and bright and it’s like a real piece of artwork on the wall. It’s perfect for Spring!