In medieval times, knights were known as valiant and noble warriors that stood for certain chivalric values.
They were also well known for their distinctive armor and helmets, and these have become well known even today thanks to their portrayals in many films and other pieces of media.
Even though these armor elements are well known, when fans of it try to learn how to draw a knight’s helmet they can find it to be harder than expected.
While it can be rather tricky, it can be made much easier when you have the right tutorial to work with, and this happens to be exactly that!
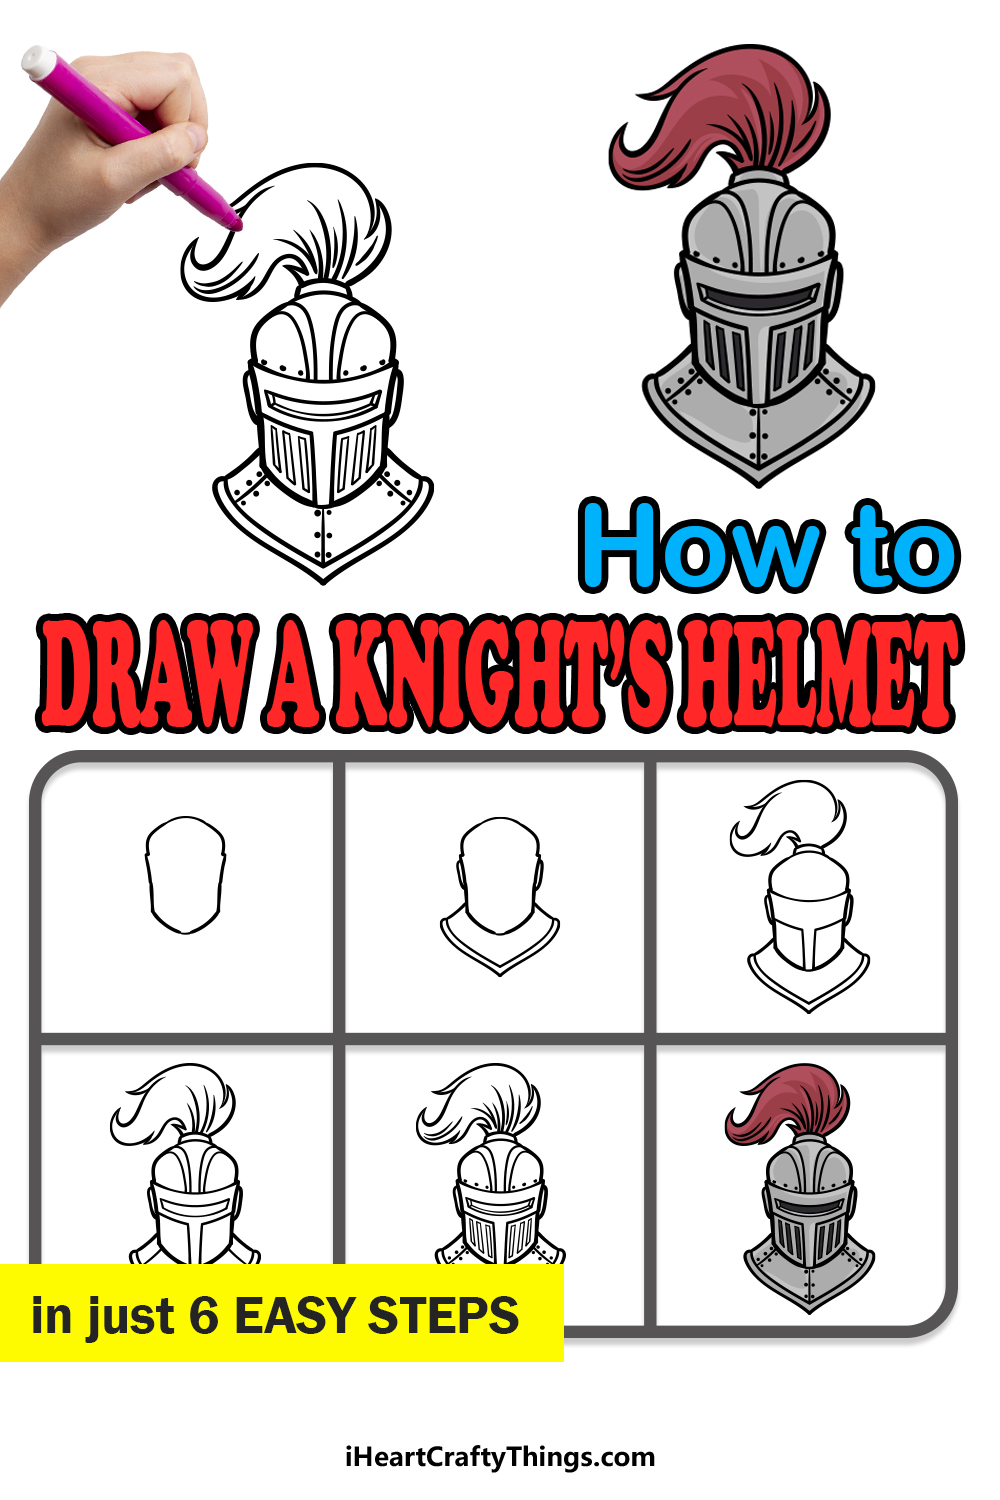
Our step-by-step guide on how to draw a knight’s helmet will show you how you can easily recreate this iconic helmet.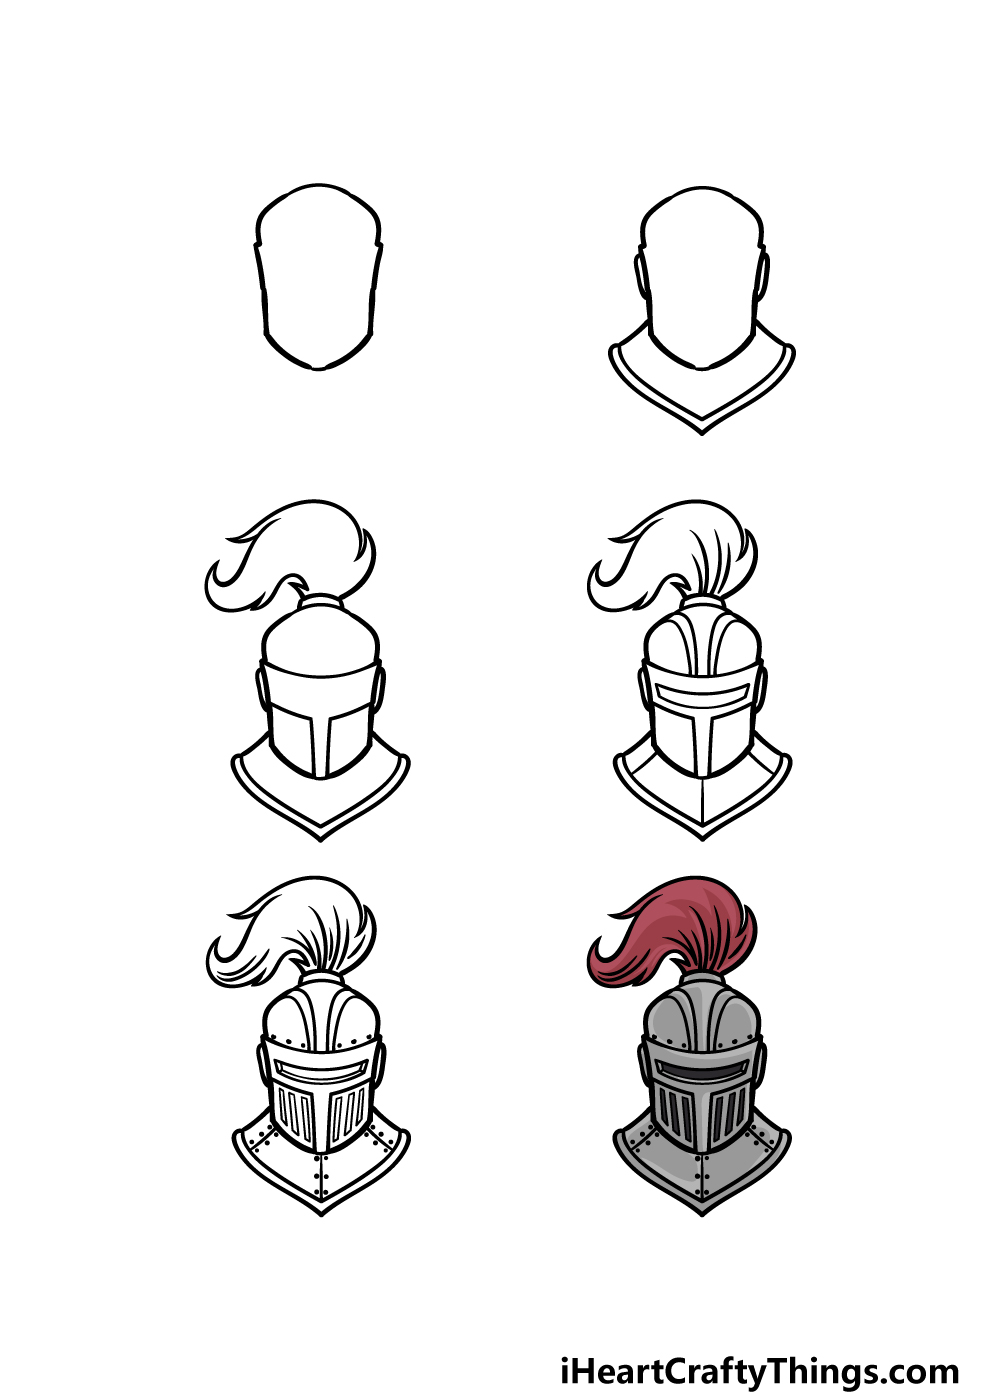
How to Draw A Knight’s Helmet – Let’s Get Started!
Step 1
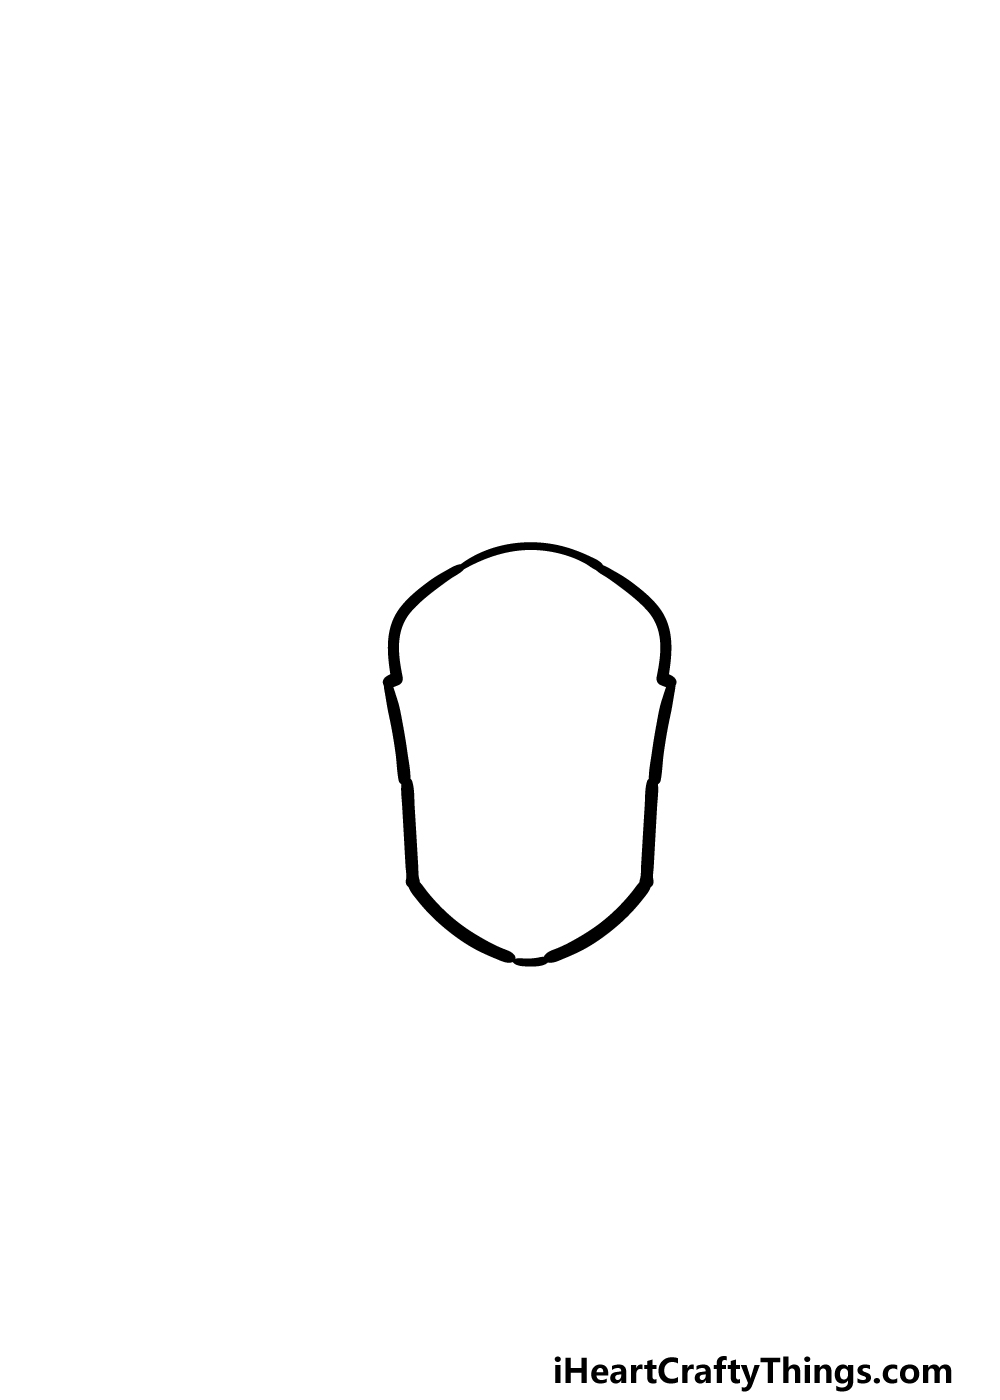
This first step of our guide on how to draw a helmet will see you drawing the outline of the helmet. To start this, you can draw a curved line for the very top of the helmet.
Then, draw a very small section moving out from the part you just drew and then extend that down and inwards a bit.
This will be the outline for the visor, and you’ll see how it should look in the reference image!
You can then finish off this outline by drawing a straight line down on either side and then some more sloping ones coming down from them for the base of the helmet.
Then, it will be on to step 2 of the guide!
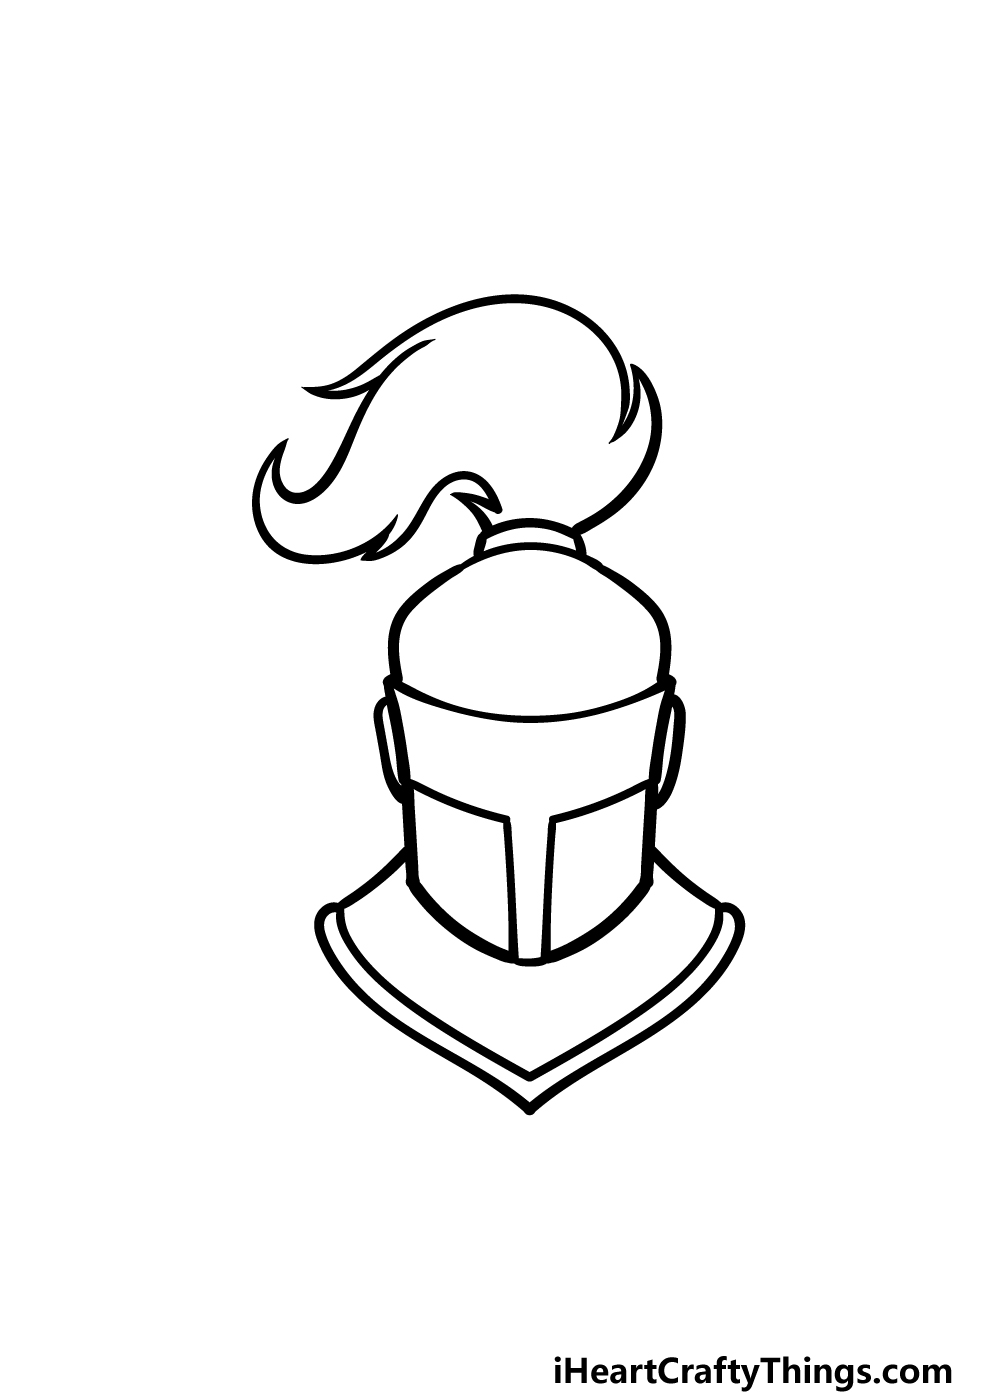
Step 2 – Now, draw some details and the base of the helmet
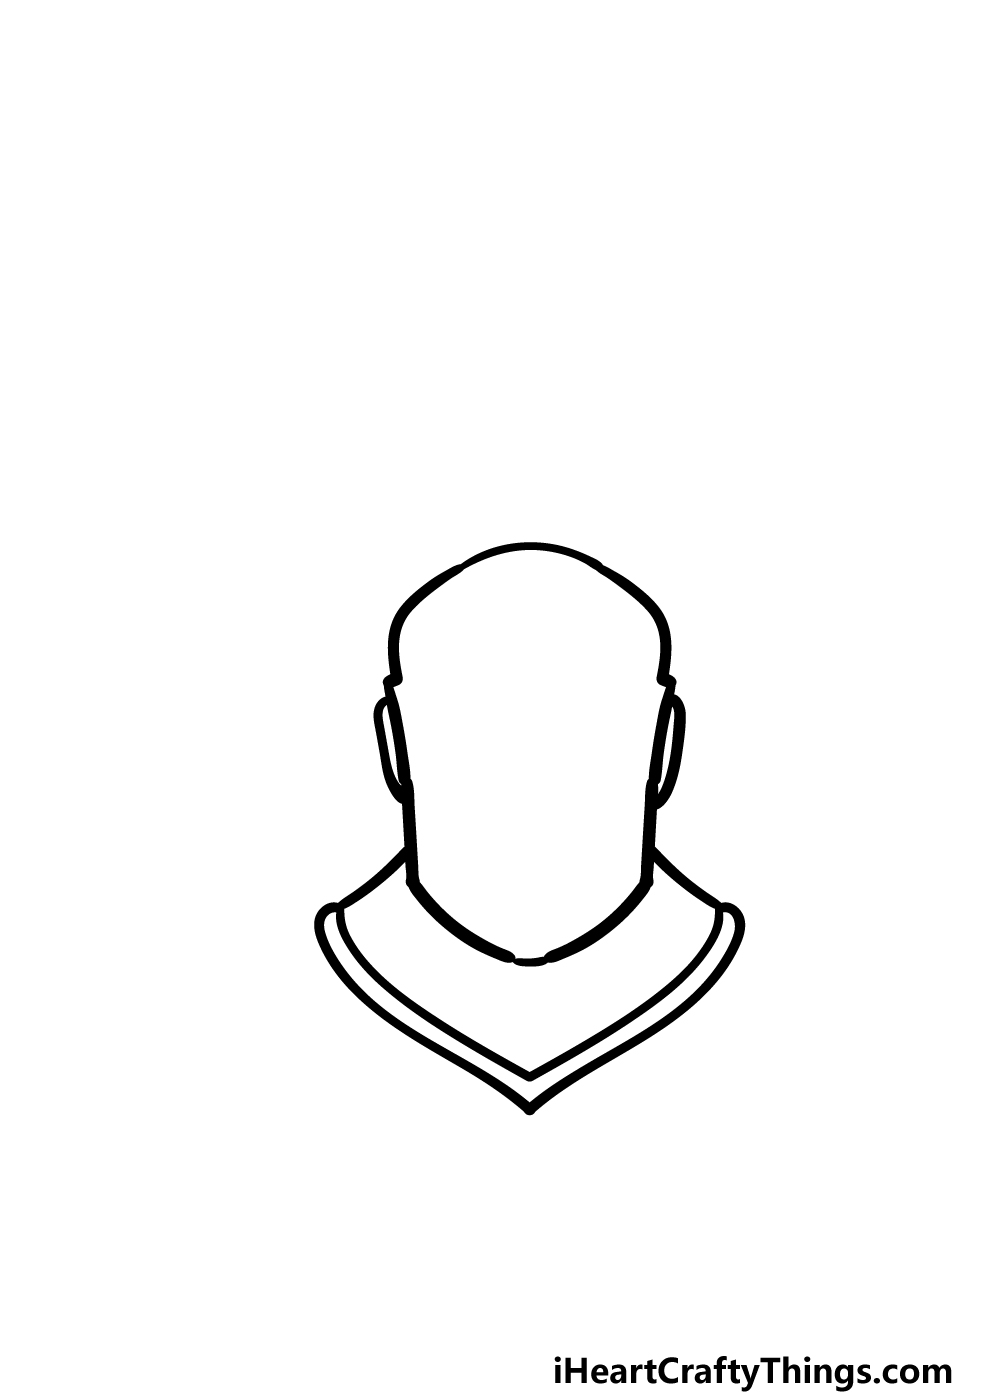
To continue this knight’s helmet drawing, we will be adding some small details around the ears as well as the base of the helmet that would go over the shoulders.
First, let’s start with the ear sections. You can draw these by adding some small, curved lines over where the ears would be on the sides.
Then, we will be using some more curved lines to draw the base section that would go over the shoulders.
This will have a curved tip at the bottom, and then there will be a rim drawn all around it, as shown in the reference image.
Step 3 – Draw the plume and the visor
You’re doing a great job so far on this guide on how to draw a knight’s helmet! To continue, we will be drawing the plume and the visor details for the helmet. First, we will focus on the plume.
This is the large feathery tail that would be extending from the top of the helmet. To draw the base, start with a small, flat shape on top of the helmet.
Then, for the feathery plume we will be using some curved lines with sharp points in them to give it some texture.
Then, draw a slightly curved horizontal line near the top of the helmet for the top of the visor.
Then, finish off this step by drawing two slightly curved square shapes at the base of the front of the helmet.
Step 4 – Next, draw some more details for the helmet and the plume
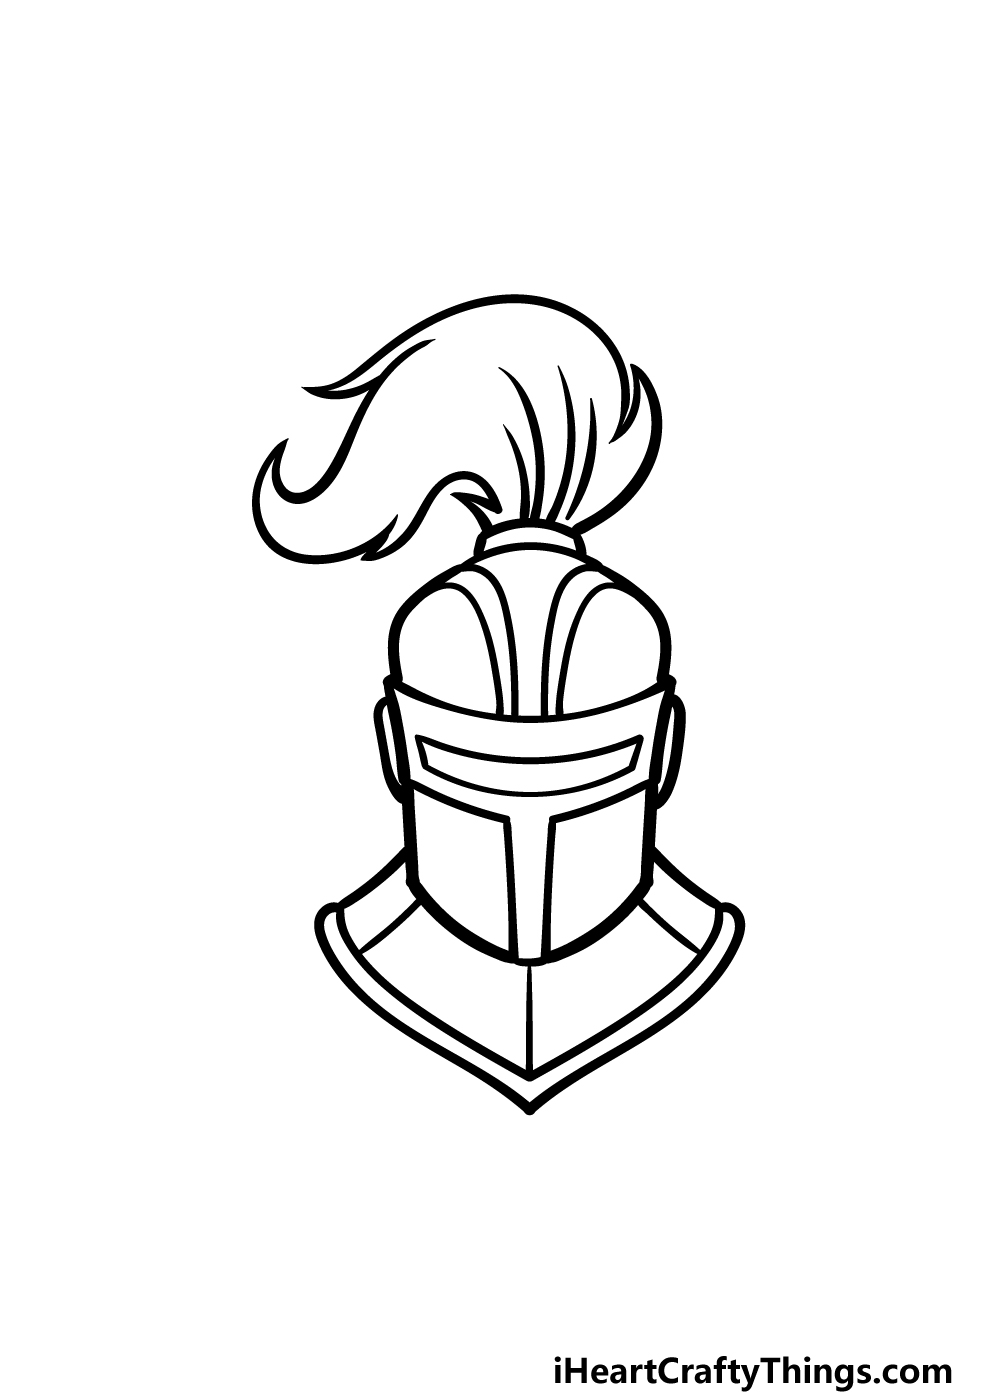
You are now ready to start adding some finer details to the helmet and the plume. First, add some curved lines above the visor coming down from the top of the helmet.
Then, draw a long, flat rectangle shape along the inside of the top section of the visor for the hole he would see through.
Finally, add some texture lines inside the plume outline, and then add some more lines inside the base of the helmet. Once these are drawn, you will be ready for some final details in the next part.
Step 5 – Add the final details to your knight’s helmet drawing
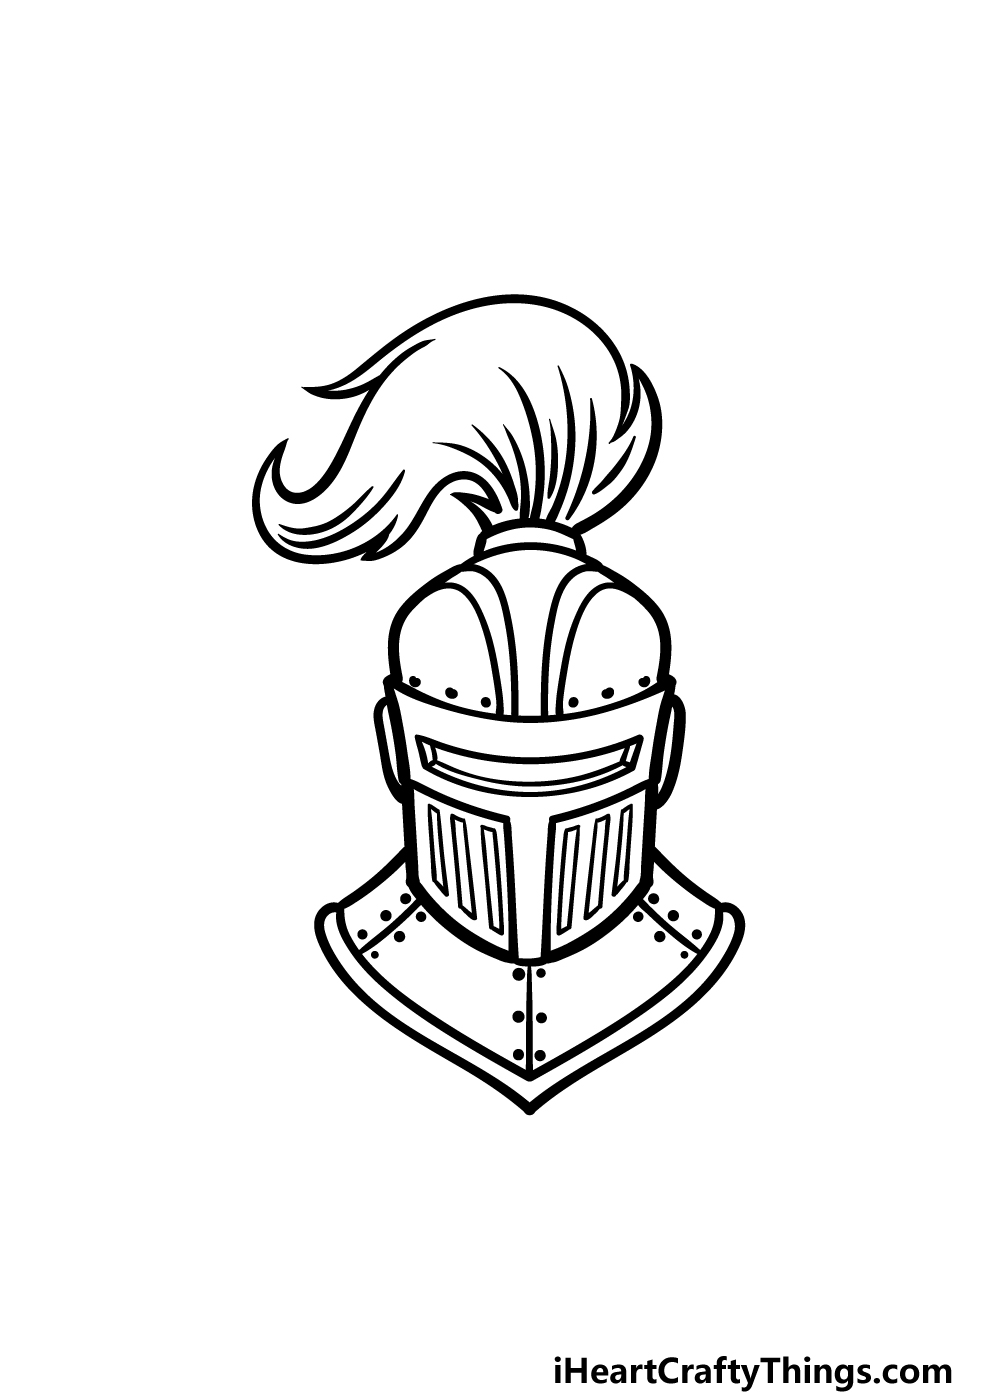
This fifth step of our guide on how to draw a knight’s helmet will be all about finishing off the final details before you color it in.
First, we will be adding some dots along the top of the visor and the divides in the sections of the chest plate. These will serve as the bolts holding the joints together.
Then, draw some vertical rectangle shapes inside the faceplate of the visor for the breathing vents.
Finish off with some details inside the eye opening of the visor and add some line details inside of the plume.
Once these details are drawn, you will be ready for the final step! Be sure to also draw any additional details of your own! Will you draw a background or maybe even more of the armor this knight is wearing?
Step 6 – Finish off your knight’s helmet drawing with color
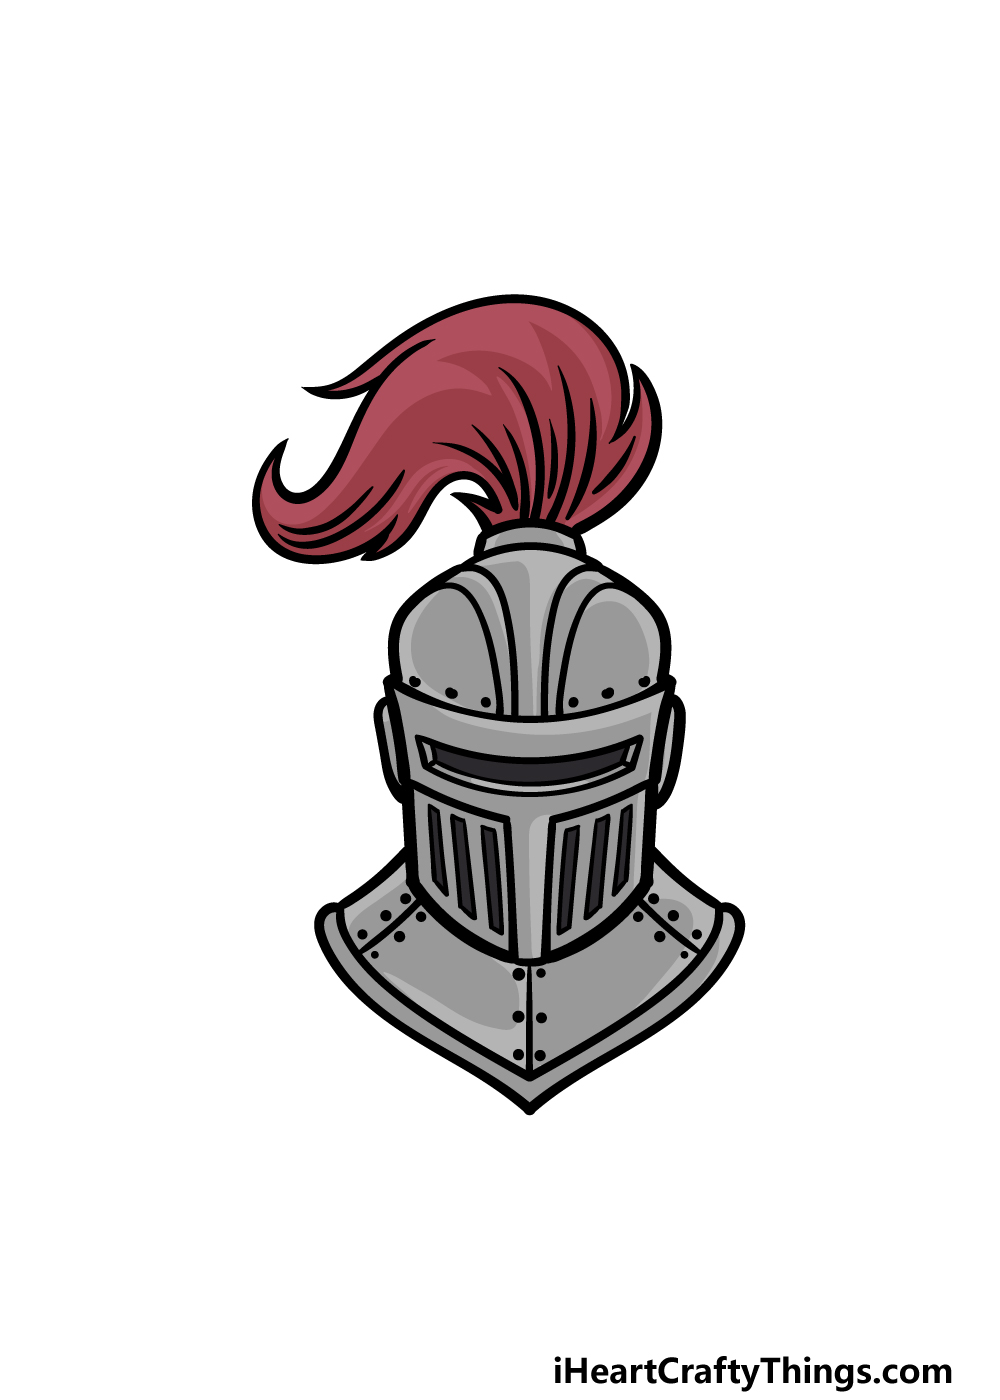
Now you’re ready to finish off this knight’s helmet drawing with some color! In our reference image, we went with a few shades of greys for the metal of the helmet.
Even though it is a mostly grey color scheme, you can still make it more vibrant by changing up the light and dark shades that you use.
For a bit of contrast, we used some nice bright reds for the plume of the helmet.
These are the colors that we chose, but you should be sure to use any additional or alternate colors that you would prefer!
What colors and art mediums will you use to finish it off?
Give The Armor A Metallic Look With These Tips
When creating this knight’s helmet drawing, the idea is to make it look as much like the real thing as possible. That means making the helmet look like it is made of metal, but that can be hard to do using conventional means.
Before we cover a few more ideas to improve your drawing even more, we wanted to go over a few ideas to make the armor look more metallic. There are a few different coloring mediums that could get the job done.
For example, you can find special pens and markers that have a metallic texture. They can be a bit more expensive than more ordinary pens, but they are worth it!
You can get these pens in gold colors or silver, so you would have a few options. If you can’t get hold of such pens, then you have other options.
One simple way to color the helmet would be some glitter, and you would have a few ways to do that. If you could find some silver glitter glue, then you could apply a thin layer over the metal of the helmet.
For a more subtle approach, you could apply a thin layer of glue over the knight’s helmet and then a small sprinkling of regular glitter. This would give the metal a sparkling and shining appearance.
Lastly, you may be able to find some shiny silver craft paper, which could then be cut out in the shape of the helmet and then stuck on. These are a few ideas to actually have the appearance of metallic texture on your drawing.
Can you think of any other mediums and crafts that could be used to make a metal look?
Here’s how you can make your knight’s helmet drawing even better…
Create some valiant art as we show you how to make your knight’s helmet drawing amazing
We kept the focus on the helmet itself for this knight’s helmet sketch. One way you could add to it would be by drawing some more of the knight’s armor!
If you were to do this, you could create your own design and use your imagination. Or, you could look up some pictures of real knights’ armor online to help you out as you draw.
You could also put him in some fun situations!
Speaking of situations, adding a background setting for your drawing of a knight’s helmet is also another great way to make it even better. This would go especially well with the previous tip that we suggested!
There are so many cool settings you could depict if you were to do this. You could have a cool medieval castle, a jousting tournament or maybe a dragon’s lair for a few ideas.
These are just some of the places you could draw, but we’re sure you can think of even more!
If you’re feeling confident after drawing this knight’s helmet sketch, then maybe you could give him a brave steed! If you were to draw a horse for this scene, you could add the whole animal or maybe just a portion.
Horses can be quite difficult to draw, so you may want to look up some photos online of horses to guide you as you draw. Maybe you could add some other creatures you may expect a knight to hang out with!
We left the colors fairly metallic and muted for this knight’s helmet, but you could get quite creative with the colors if you like. Even if you stick to the same colors we did, you can do some interesting things with crafts.
For instance, you could buy some fluffy material and stick it at the top of his helmet in order to give it some texture. What other fun mediums and crafts can you think of?
Your Knight’s Helmet Drawing is Complete!
This type of helmet is so incredible and iconic, and we hope that you had a great time drawing it in this guide on how to draw a knight’s helmet!
There were some small details to get right in this image, so we hope that these steps made it fun and easy for you to work through.
You can keep this drawing going by adding even more fun details and ideas that you have for it, and you can also change it up by using some creative colors and art mediums.
When you’re ready to take on your next amazing drawing, you can find more drawing guides to enjoy on our website!
We have many more coming soon, so stay tuned for those to make sure you don’t miss out!
Please also be sure to share your finished knight’s helmet drawing on our Facebook and Pinterest pages, as we would really love to see how it turned out!