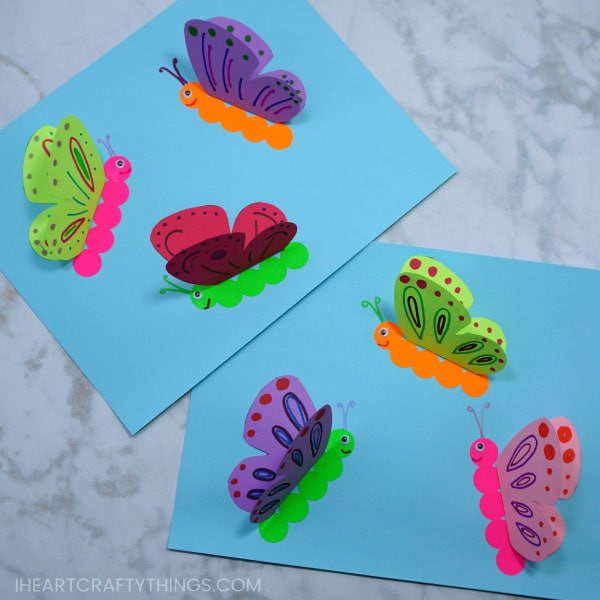
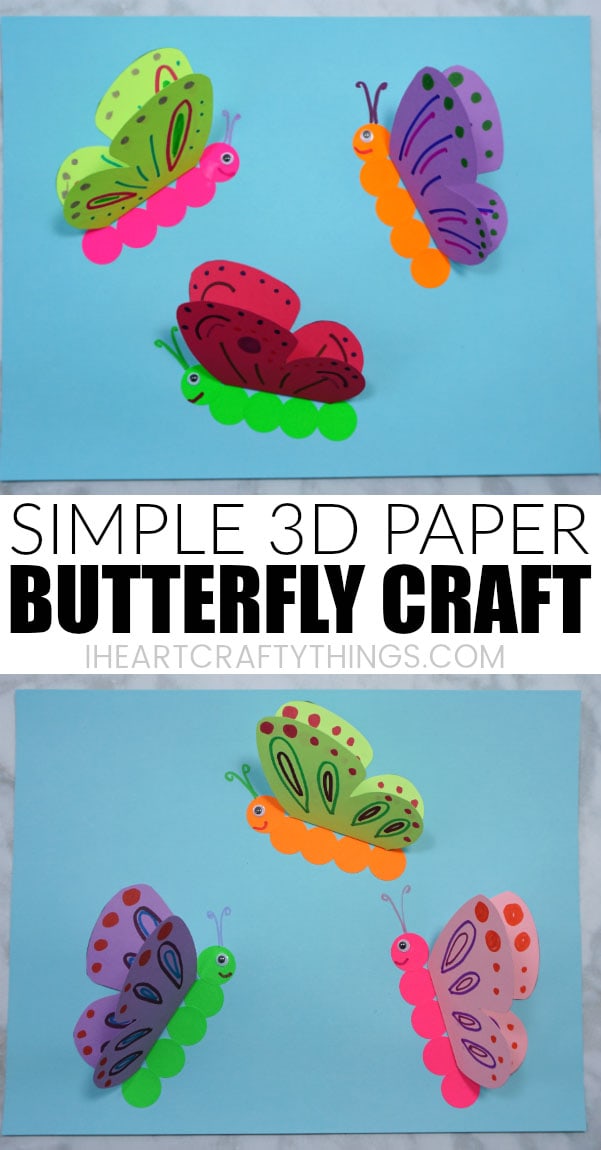
Spring is officially here and that means I can get giddy about creating pretty butterfly and insect crafts. Today we are sharing how to make this simple 3D paper butterfly craft. It’s a simple and colorful spring craft that kids of all ages will love. Kids will adore using their creativity to design the wings of their colorful butterflies. Download the template for this simple paper butterfly craft after signing up for our newsletter at the bottom of this post.
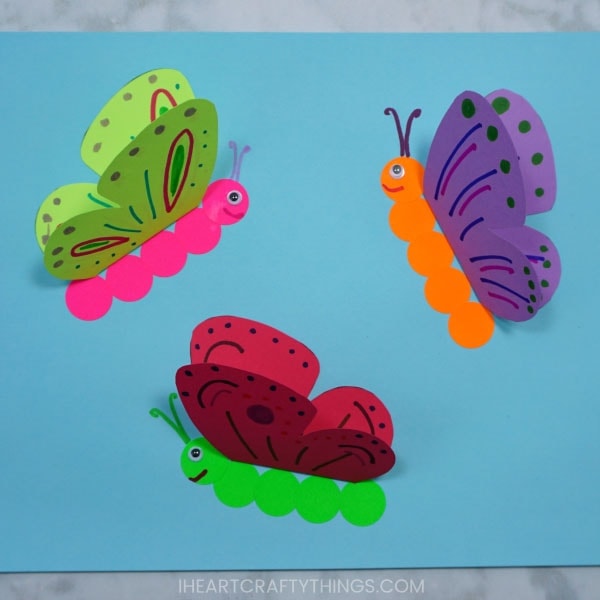
Supplies:
- 3D paper butterfly template <—-Get at the template here
- colorful and blue cardstock paper
- small googly eyes
- markers
- 3/4-inch round Avery labels
- glue stick
- scissors
Instructions:
1. Print out butterfly template on colored cardstock paper
Download and print out the 3D paper butterfly template. Print it out on colored cardstock paper.
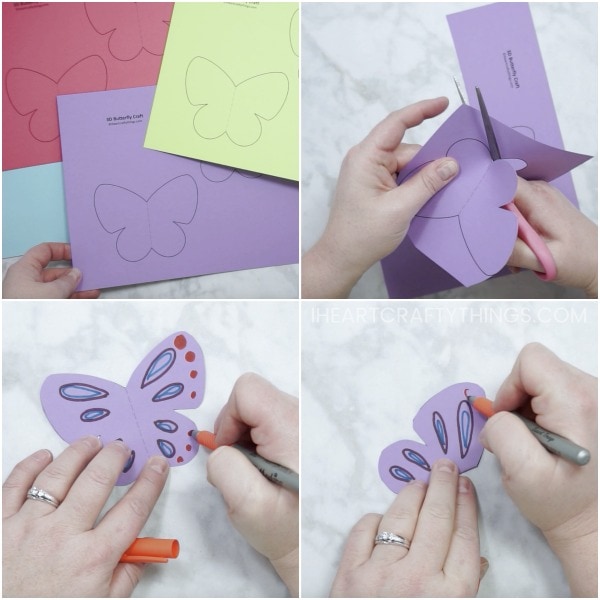
2. Cut out butterflies templates
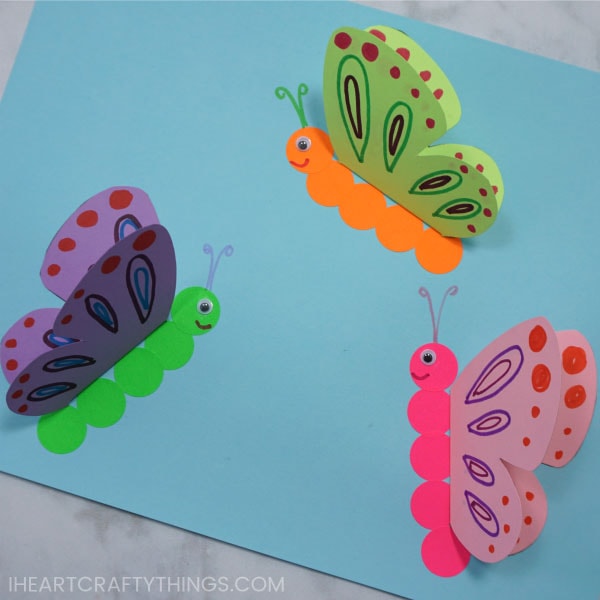
Cut out the butterfly templates. We added three paper butterflies to our paper but you can choose however many you would like.
3. Decorate wings
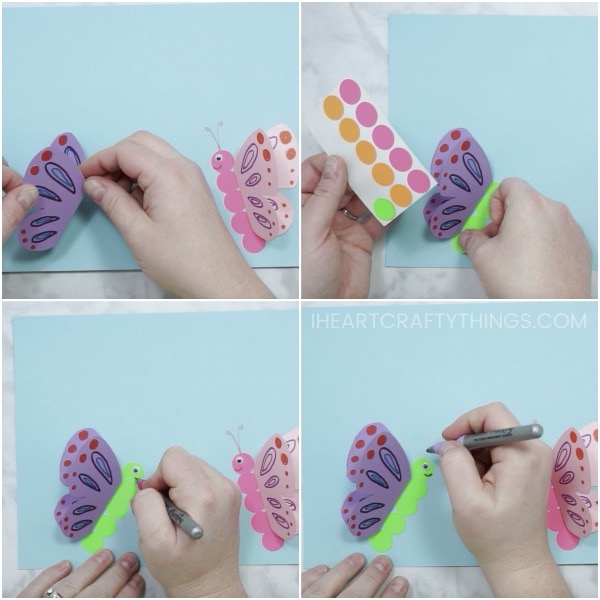
Lay the butterfly template face up. Use your markers to decorate the butterfly wings.
4. Fold and decorate one of the outside wings
Fold the butterfly wings in half along the dashed line in the middle. Now decorate one of the outside wings with your markers. (You only need to decorate one side because the other side will be glued to the paper and won’t be visible.)
5. Glue butterflies onto blue cardstock
Add glue to the bottom of the folded butterfly wings and glue it onto your blue cardstock.
6. Create butterfly bodies with round Avery labels
Add five round Avery labels at the base of the butterfly wings to create the butterfly body.
7. Add eyes, draw smiles and antennae
Glue a small googly eye onto the face of the butterfly. Then use markers to draw a smile and antennae onto your 3D paper butterfly craft. For some additional fun, draw colorful flowers at the bottom of your paper so it looks like your butterflies are out for a snack.
