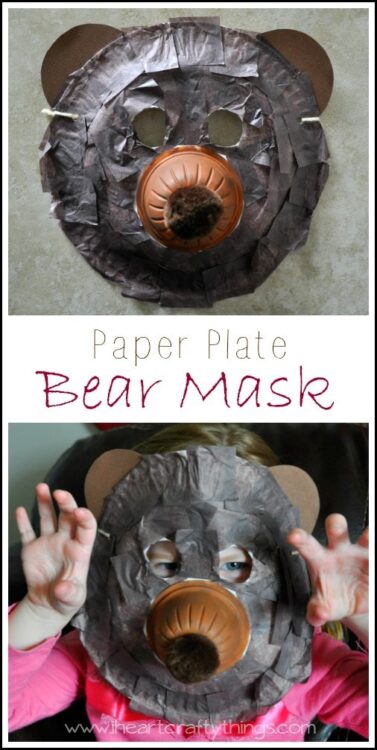
Supplies needed:
- paper plate
- brown tissue paper squares
- plastic fruit cup (contents eaten, container washed and dried)
- brown paint
- paint brush
- large brown (or black) pom
- school glue
- brown cardstock paper
- hole punch
- string
- craft knife (for adult use)
- hot glue gun (for adult use)
Tutorial:
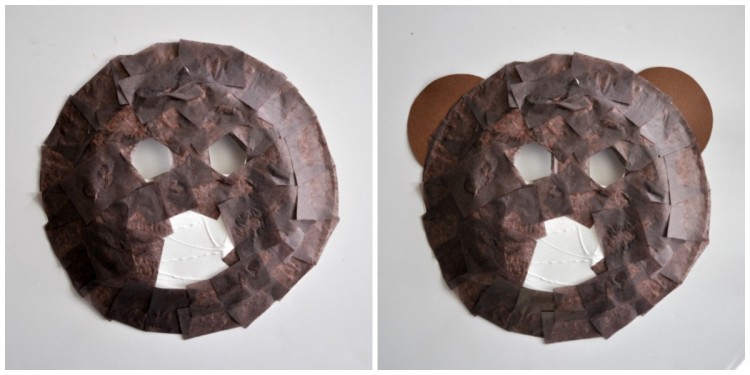
1. Prepare your paper plate
2. Paint fruit cup
Turn the plastic fruit cup upside down and paint it brown. Set it aside to dry completely. It may need 2 coats.
3. Apply tissue paper to the plate
While your plastic cup is drying, add streaks of glue all over the bottom side of your paper plate and cover it with brown tissue paper squares. You can leave the small circle area uncovered where the nose will go. Let it dry completely.
4. Make & glue ears
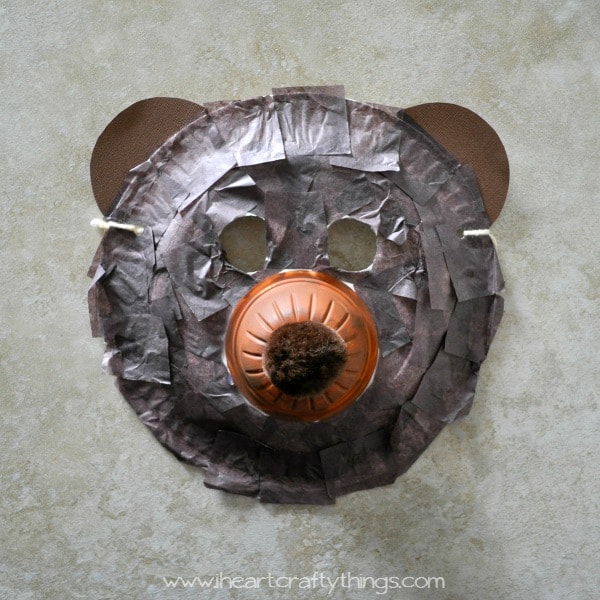
5. Glue fruit cup & large pom
6. Attach strings
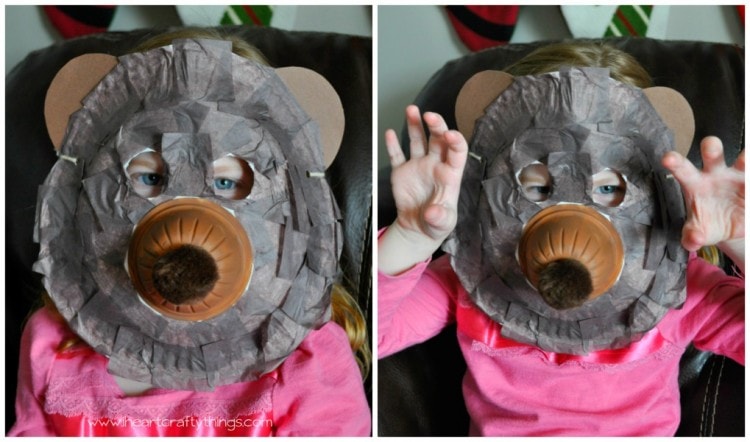
Finish your bear mask by punching a hole on each side of the mask, right at the top of the eye level and knotting a piece of string to each hole. I made a knot in one hole and then put it around my daughter’s head to measure it for size before cutting my string and making a knot in the other hole. You could also leave it as two strings and just tie a knot once it’s on your child’s head.
I actually made one of these alongside with my daughter so we have two of them. Both my 2nd grader and my daughter have been LOVING them!


