


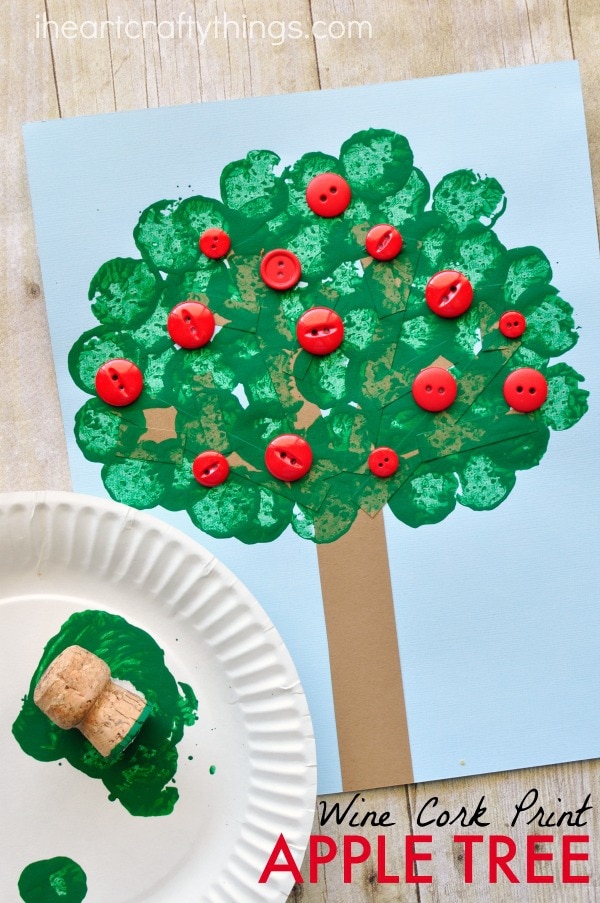
Have some wine corks laying around the house? I have a great idea for how to use them.
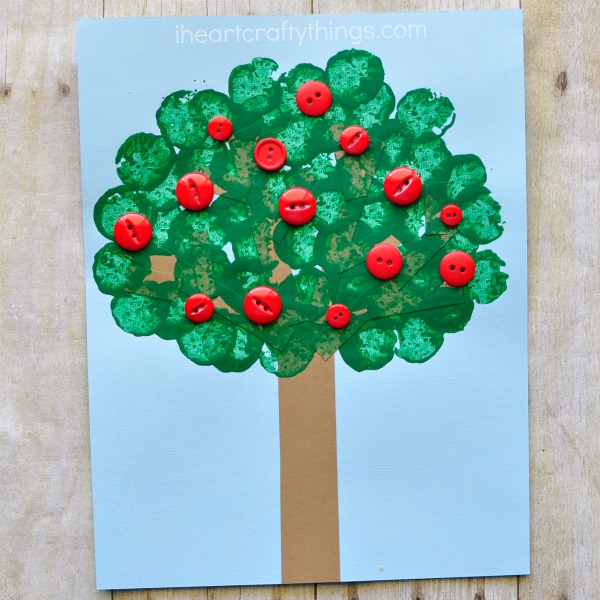
This wine cork stamped apple tree craft is not only a great excuse for opening up a bottle of wine this evening after the kids go to bed, but it also makes a fabulous fall kids craft. If you don’t drink alcohol, no worries, you can pick up a bag of wine corks at your local craft store for crafting or find a link below to purchase them on Amazon.
Look for some book recommendations at the end of this post to go along with this craft.
This post contains affiliate links to the products mentioned. Read our disclosure policy for more information.
How to Make a Wine Cork Stamped Apple Tree Craft
Supplies Needed for this Wine Cork Stamped Apple Tree Craft
– light blue and brown cardstock paper
– green paint
– paper plate
– wine cork
– red buttons
– glue stick
Directions for this Cork Stamped Apple Tree
1. Start by cutting out a tree trunk from your brown cardstock (or construction) paper and more strips for tree branches. Glue the trunk onto the bottom of your light blue cardstock paper and the branches at the top of the tree trunk.
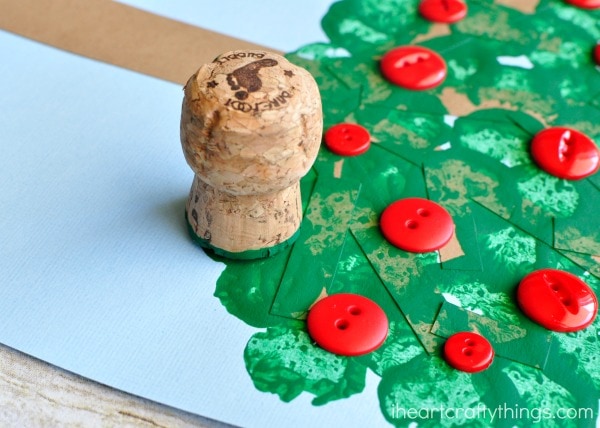
2. Pour some green paint onto your paper plate. Dip the end of your wine cork into the green paint and then stamp it on the tree branches. Continue dipping and printing the wine cork all over the branches to make the apple tree top. Let the green paint dry completely.
3. When your paint is finished drying glue your red buttons all over your tree top to finish your wine cork stamped apple tree craft.
Looking for some fun books to go along with apple tree craft? Try one of these:
– Our Apple Tree by Gorel Kristina Naslund
– Ten Red Apples by Pat Hutchins
– Curious George Apple Harvest by H. A. Rey
– Little Apple by Brigitte Weninger and Anne Moller
– Red are the Apples by Wade Zahares
– Apples by Gail Gibbons