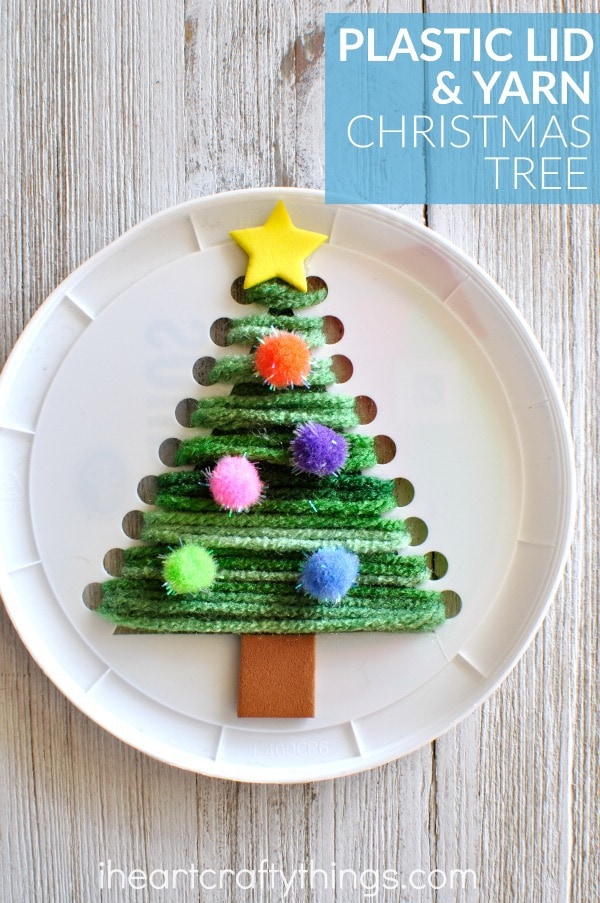
Are you looking for a Christmas craft this holiday season that incorporates fine motor work? This plastic lid Christmas tree sewing craft is festive, cute and is awesome for working fine motor muscles.
I am always looking for unique ways to recycle or repurpose objects around the house for crafting. That was the case when we started saving up our plastic lids from our dairy products. You are going to love this fun way for kids to turn ordinary plastic lids into a Christmas sewing project this holiday season.
This post contains affiliate links to the products mentioned. Read our disclosure policy for more information.
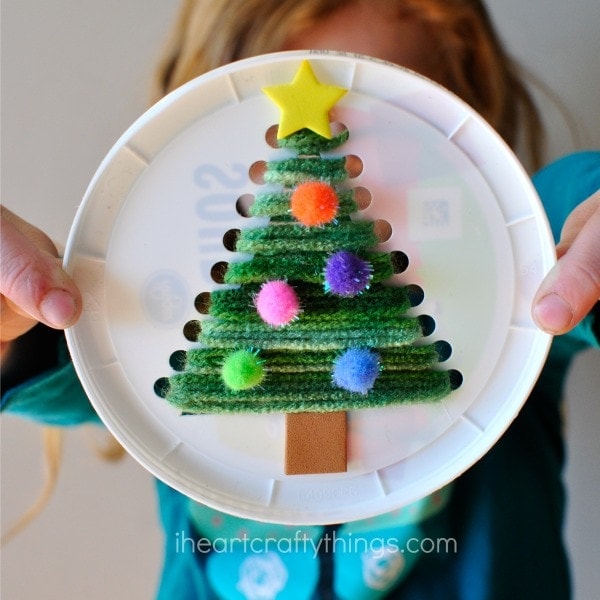
I am a huge fan of how this Christmas sewing craft is great for kids of all ages so the entire family can enjoy craft time together. Start saving up those plastic lids and have an evening of fun with this cute Christmas craft.
Read our easy step-by-step instructions below for how to create this simple Christmas sewing craft with your kids this holiday season. Make sure to watch our video tutorial inside this post before you get started too.
Supplies Needed:
- plastic lid (we used the lids from a 16 oz. or 24 oz. sour cream and yogurt container)
- craft knife or small craft scissors (adult use only)
- hole punch
- green yarn
- yellow and brown adhesive foam sheet
- small poms
- Glue Dots or glue gun (adult supervision required)
- tape
- scissors
Directions:
1. Cut triangle of your plastic lid
(This step is to be completed by an adult) Start by using the craft knife or small craft scissors to cut a triangle out of the center of your plastic lid. It might be helpful to draw the triangle on your lid with a pencil or marker before cutting it our.
2. Make holes along triangle shape
Use your hole punch to punch holes down along the sides of your triangle shape, but not along the bottom. Try to line your holes up on each side as best you can.

3. Cut long piece of yarn
Cut off a long piece of your green yarn. The length will depend on the size of your plastic lid, triangle and how many times you sew across each section. We started off with a piece about 5 feet long. Wrap a small piece of tape around one end of your yarn to make it sturdy for sewing. Tape the other end of your yarn onto the back of your plastic lid. Now you can begin sewing.
4. Sew yarn around triangle
We started at the top of our tree and made three passes through each set of holes. You can choose to do more or less, whatever design you like. Continue sewing all the way down each hole section and when you reach the end, cut off any remaining yarn and tape the end to the back of your plastic lid.

If you reach the end of your yarn before you are finished threading all the way through all the holes, you can simply cut a new piece of yarn, tie it to the end of the existing yarn, and continue sewing around the holes of the Christmas tree.
5. Glue foam star on triangle top
Cut out a yellow star and a brown tree trunk out of your adhesive craft foam sheets. Peel the backing off of them and place them onto your Christmas tree.
6. Glue pom-poms on tree
Use Glue Dots to glue small colorful pom-poms all over your Christmas tree for colorful ornaments. You can also use a hot glue gun for this step with adult supervision.
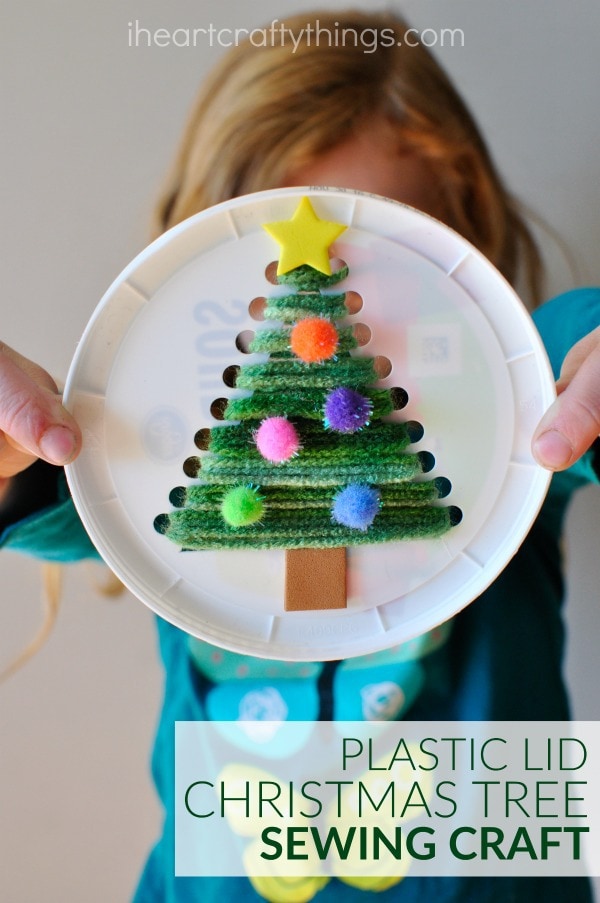
If you want to, you could easily turn your plastic lid Christmas tree sewing craft into a homemade Christmas ornament by gluing a loop of ribbon at the top of the plastic lid on the back. You could also stand it up on a shelf or place it on your desk to enjoy while you are working.