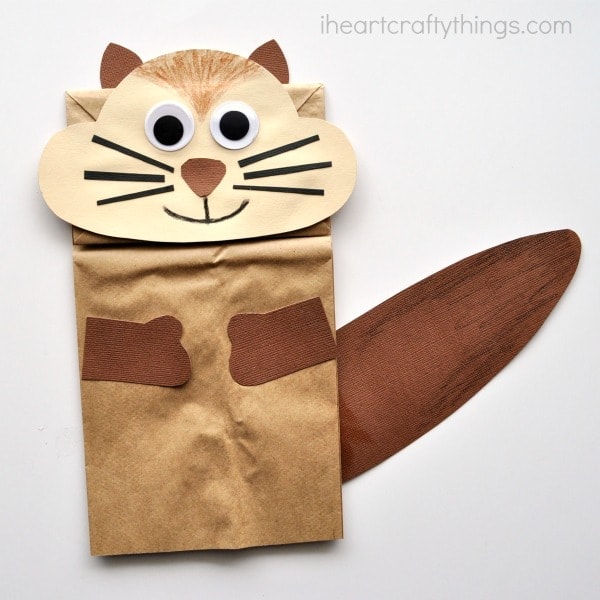
Bears seem to be the most common animal thought of who hibernate during the winter, but there are a myriad of other animals who hibernate or go into torpor during the winter months. Some of those animals include bats, skunks, bees, snakes, groundhogs, ground squirrels and chipmunks. While learning about hibernation with your preschooler, have some extra fun exploring some of these other animals along with bears. Our paper bag chipmunk kid craft is the perfect way to incorporate creativity and play after learning all about chipmunks.
{This post contains affiliate links for your convenience. Read our full disclosure policy for more information.}
Even though chipmunks hibernate in the winter they don’t actually go into full hibernation. They retreat to their burrows to sleep but wake every few days to eat.
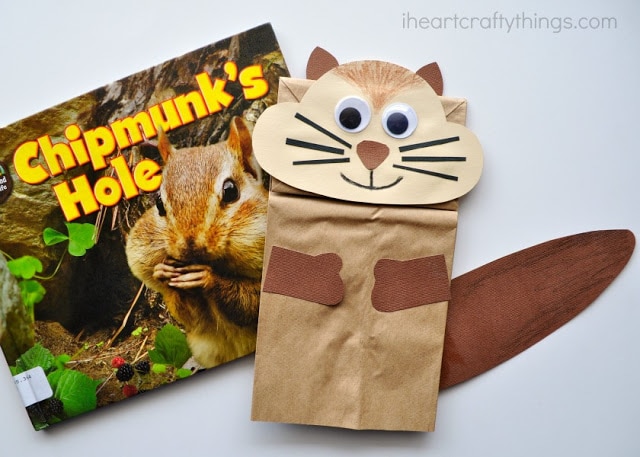
My favorite way to perk interest in my preschooler when learning about new subjects is taking a trip to the library. This week we had fun learning all about chipmunks and their underground homes. Afterwards we got creative and had fun making Chipmunk’s out of a paper bag.
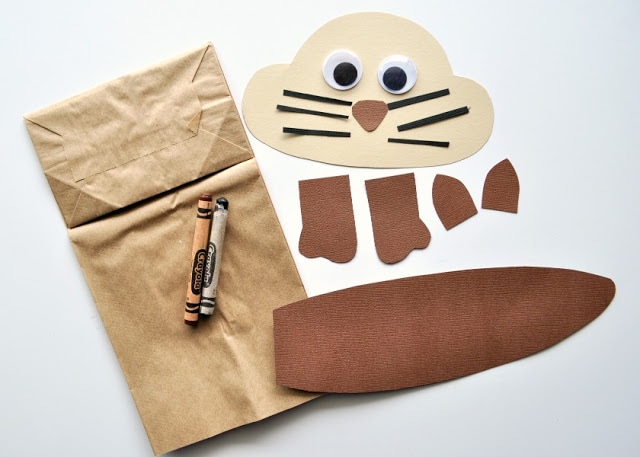
Supplies you will need:
- Paper Bag Chipmunk Pattern
- paper lunch bag
- tan/light brown, black and white cardstock paper
- googly eyes
- black and brown crayon
- scissors
- glue
Tutorial:
1. Print & cut out pattern
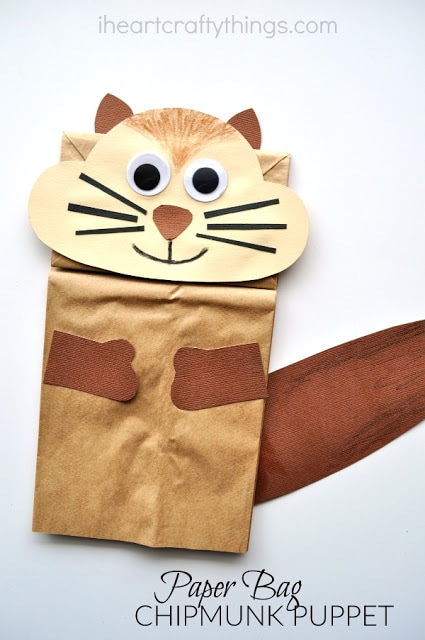
Start by printing off the paper bag Chipmunk pattern. Use the pattern to cut out a face from your tan cardstock paper and a tail and arms from your brown paper. You will also need to cut out a nose and ears from your brown cardstock paper and whiskers out of your black cardstock paper.
2. Cut off bottom of paper bag
We always start by cutting off about an inch from the bottom of the paper bag. I think shortening the bag works better for preschoolers to use it as a puppet.
3. Glue all the details to the bag
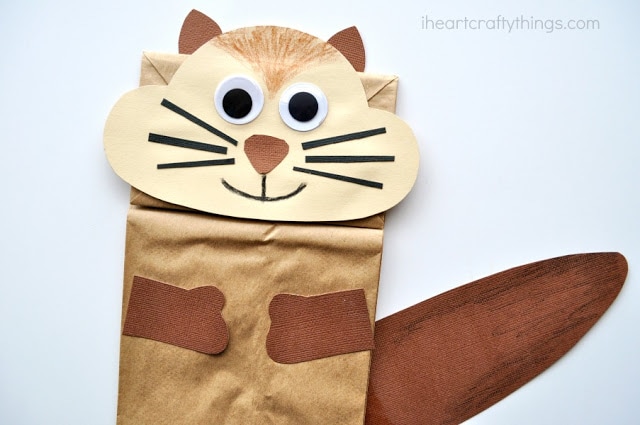
Glue the chipmunk face onto the bottom of your paper bag. Next glue the tail and ears onto the back of the paper bag. Continue and glue on the arms, nose, googly eyes and whiskers.
4. Draw mouth & fur
Use your brown and black crayon to draw a mouth on your chipmunk and color in a brown triangle of fur at the top of the chipmunk face. We also added some black onto the tail of chipmunk.
5. Glue on white strips
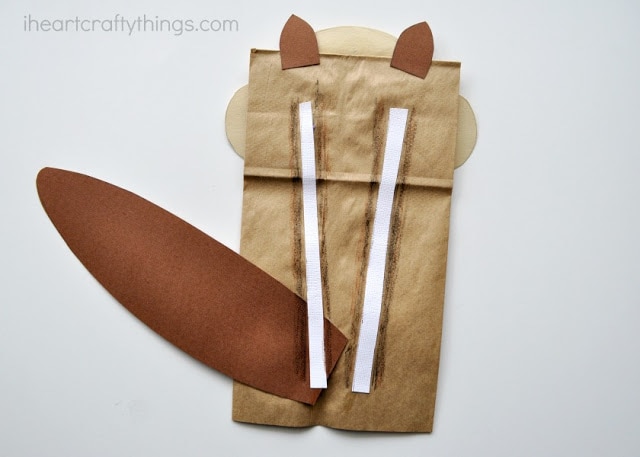
Turn your chipmunk over and add two white strips of cardstock paper onto the chipmunk’s back to mimic those distinctive white stripes on the back of the chipmunk. We also used our crayons to add some dark stripes on the sides of the white strips.
Now your cute little critter is finished and after the glue has finished drying you can put your hand inside and have fun pretending to be a chipmunk. For an additional fun activity, use sheets and blankets to make a fort with different chambers to mimic the chipmunk’s winter home.


