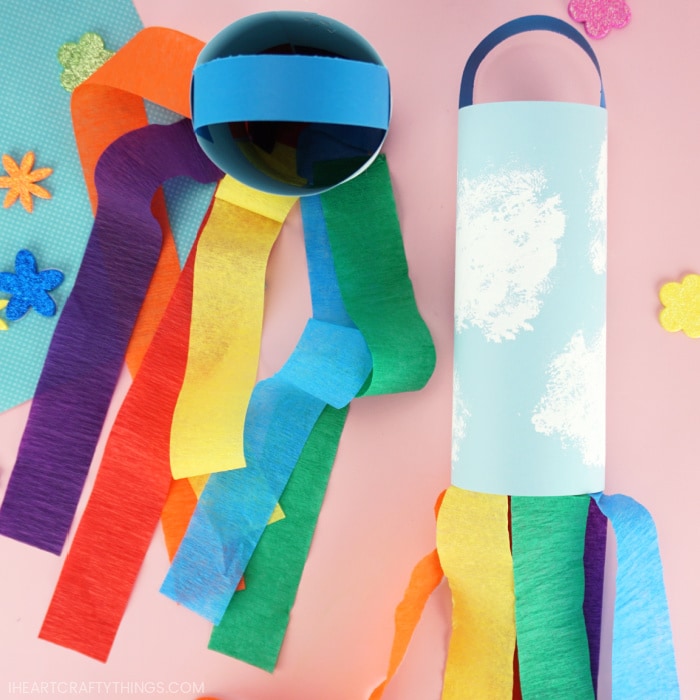
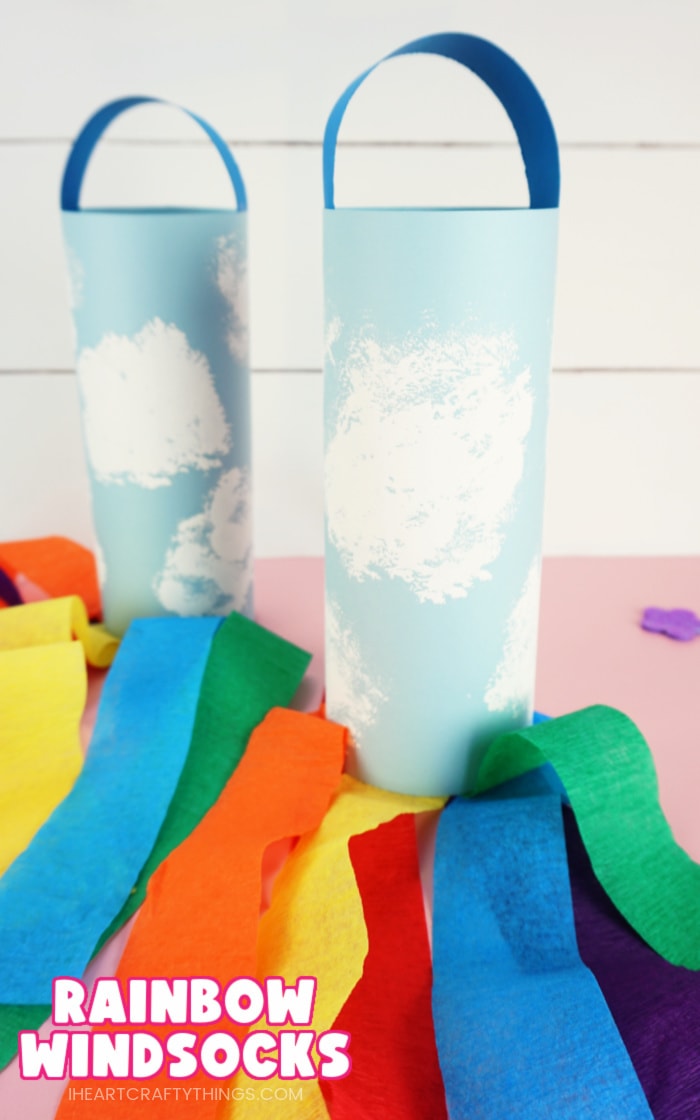
All you need is a few simple craft supplies for kids to have a blast creating these beautiful rainbow windsocks this spring.
The rainy spring season is a perfect time of year for kids to learn all about clouds and rainbows in preschool. Children will love making a colorful rainbow windsock craft after reading a book about rainbows, or after seeing a beautiful rainbow up in the sky after a rainstorm.
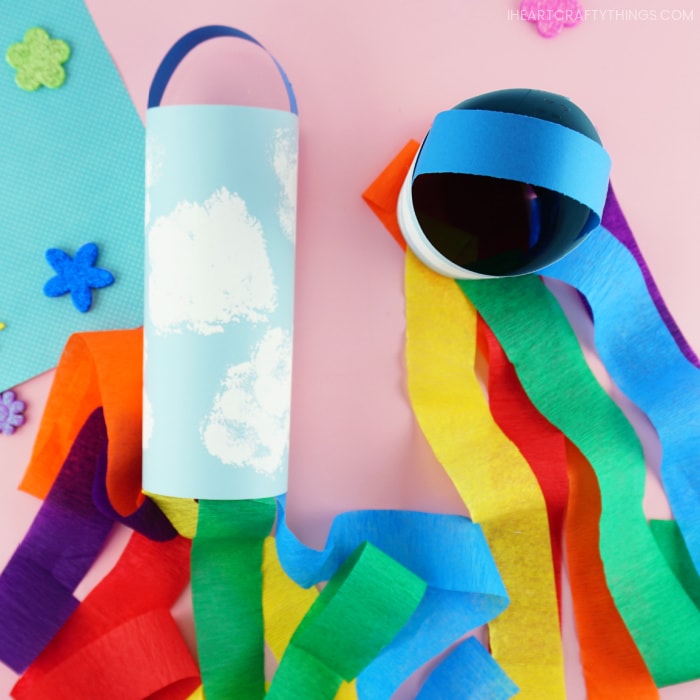
Children painting the big, fluffy clouds on their windsock with big pom-poms adds a fun art component to this spring craft, and it makes it so each child’s windsock has it’s own unique look to it.
After making these colorful rainbow windsocks, hang them up from the ceiling to display in the classroom or at home, or under a covered front porch. Kids will love watching their spring windsocks and rainbow streamers spin around in the afternoon breeze.
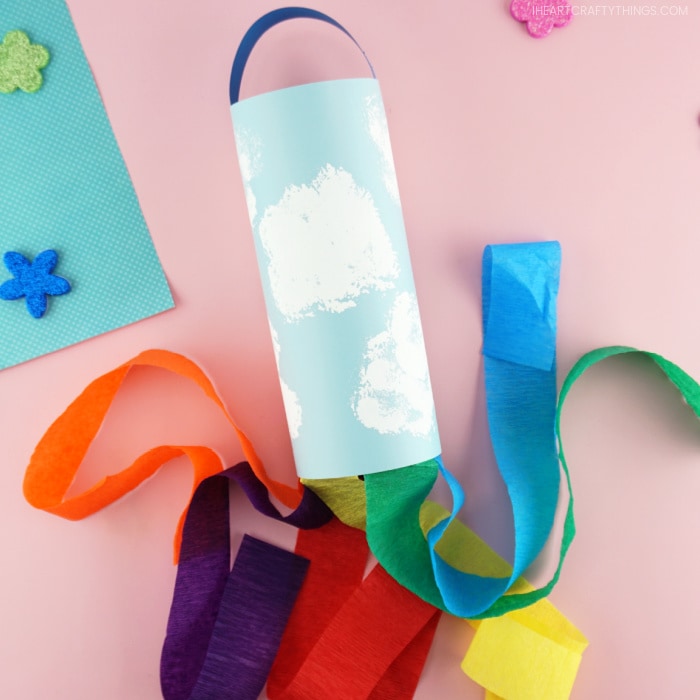
Read our simple step-by-step instructions below to learn how easy it is to make a rainbow windsock with your kids.
You will also want to make sure you watch our easy video tutorial inside this post before you get started to guide you through the process.
Supplies needed to make a rainbow windsock:
This post contains affiliate links to the products mentioned. Read our disclosure policy for more information.
- light blue cardstock paper
- white paint
- clothespin
- large pom-pom
- paper plate (for paint palette)
- crepe paper (red, orange, yellow, green, blue and purple)
- scissors
- glue stick
- stapler
Instructions making Rainbow Windsocks
1. Attach a large pom-pom to a clothespin
Start by attaching a large pom-pom to a clothespin to use it for a dabber paintbrush. Simply open the clothespin, place the pom-pom inside the opening and then close the clothespin onto the pom-pom.
2. Make fluffy white clouds
Pour some white paint onto a small paper plate. Dab the pom-pom brush into the white paint and then onto your light blue cardstock paper to start making fluffy white clouds.
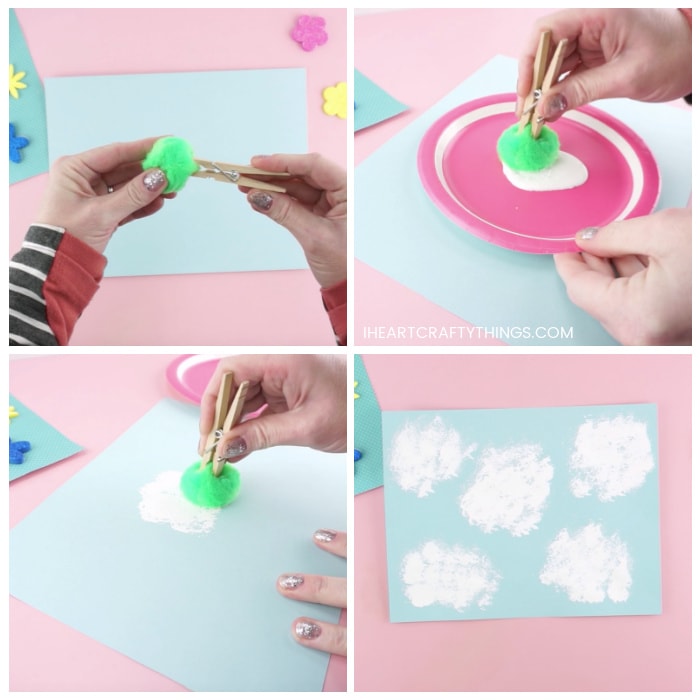
Continue dabbing the pom-pom brush into the white paint and back onto your paper to create several fluffy clouds all over your paper. As soon as you are happy with your painted clouds, set aside your paper to allow the paint to dry completely.
3. Cut strips out of crepe paper and glue them along the bottom of blue cardstock in a rainbow pattern
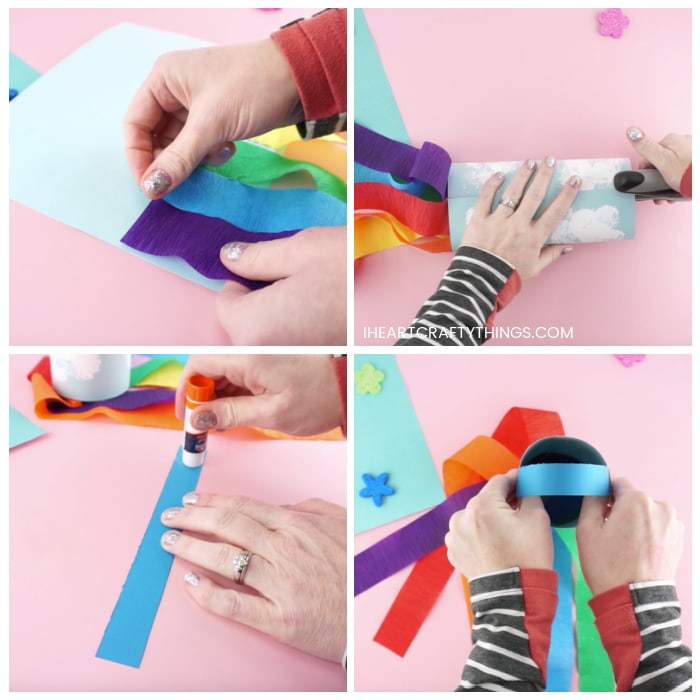
Cut out a piece of crepe paper about 18-24 inches in length in red, orange, yellow, green, blue and purple. Turn your cloud painted paper face down. Use a glue stick to add glue at the bottom of the paper and place all six pieces of crepe paper along the bottom of your light blue cardstock in a rainbow pattern.
4. Bend craft into a cylinder shape and staple ends together
Bend your rainbow windsock craft into a cylinder shape, connecting the ends together. Place two staples at the top and bottom of the windsock to join the ends together. An adult will definitely need to assist with this step.
You can also try using an extra strength glue stick to glue the windsock closed, but you will have to hold the ends together for a bit to ensure the glue sets.
5. Create windsock handle
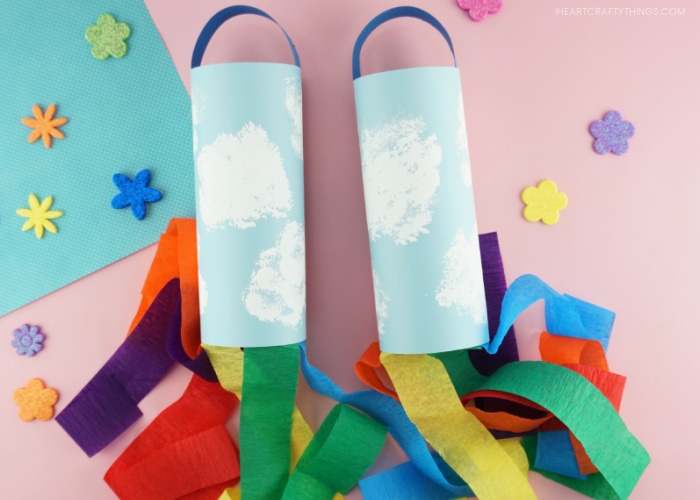
Cut a length of blue cardstock 1-inch by 8 1/2-inches for a windsock handle. Add a generous amount of extra strength glue stick on one end of the paper strip and attach it inside the top of the windsock. Add glue on the opposite end of the paper strip and attach it to the opposite end of the windsock to create your handle.
Hang your rainbow windsock outside and watch it dance around in the spring wind. Or display the windsock indoors for a colorful spring decoration.
