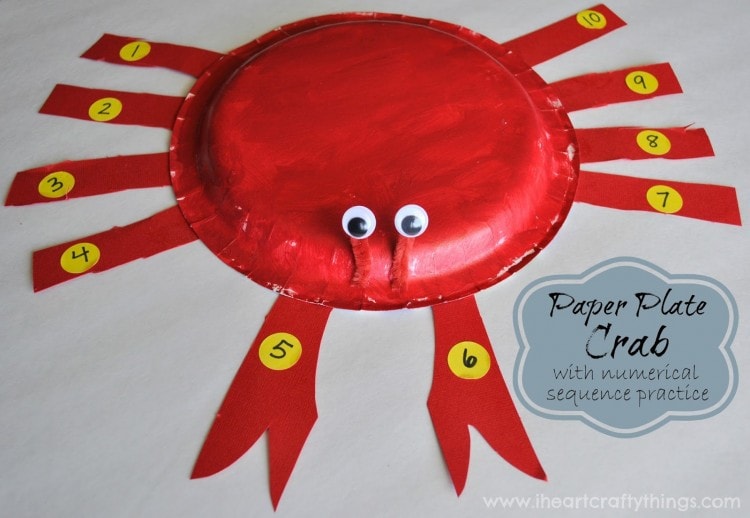
Supplies needed:
- paper plate
- red paint
- paint brush
- 8 1/2″ x 11″ red sheet of cardstock paper
- scissors
- red pipe cleaner
- 2 medium sized wiggly eyes
- hot glue
- school glue
Tutorial:
1. Color your paper plate
Paint the bottom of the paper plate with red paint. Let it dry completely.
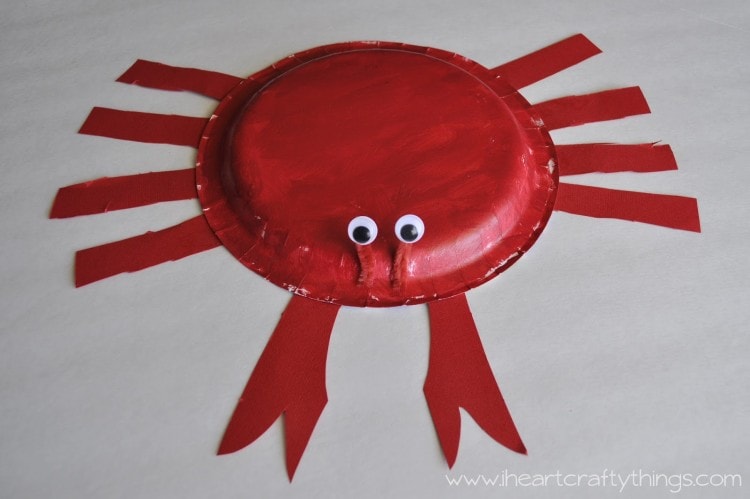
2. Cut out leg shapes
Cut four 1″ x 8 1/2″ red strips from your red cardstock paper for the back legs. Cut those strips in half to make 8 legs. Cut 2 more strips about 2″ x 5″. Cut claws at the ends of those strips for the front legs. (Note: I drew lines on our paper to divide the 1″ strips for the legs and let my preschooler cut out all the strips herself for cutting practice. I helped her cut out the claws though.)
3. Glue on legs
Use glue dots or school glue to attach the legs to the bottom of the crab.
4. Finish with making eyes
Cut two 1-inch pieces from your red pipe cleaner. Use the glue gun to attach a wiggly eye to one end of each pipe cleaner piece. Then attach the other end of the pipe cleaner piece to the paper plate with your hot glue gun. (An adult must do this step as it requires use of a hot glue gun which is dangerous for children!)
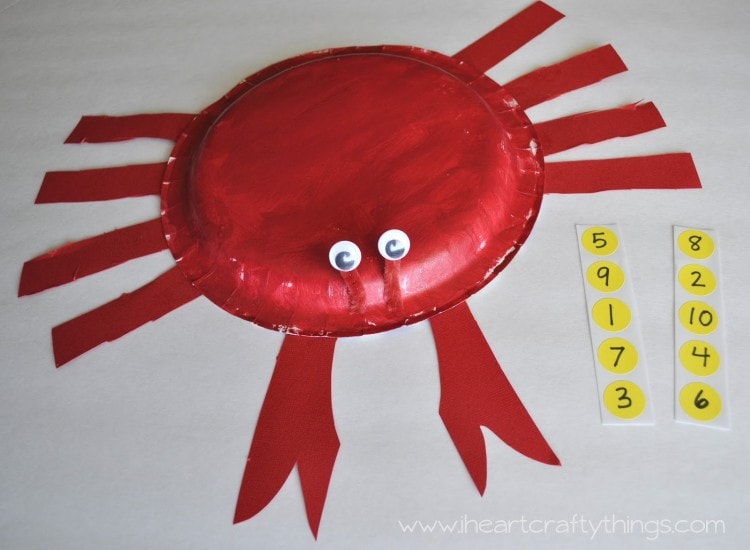
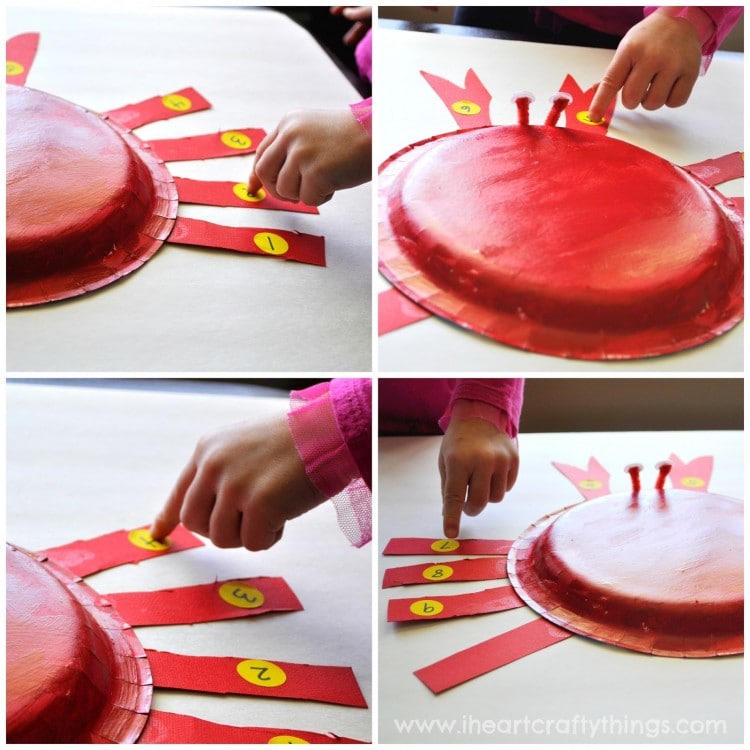
Practice 1-10 Numerical Order Sequence
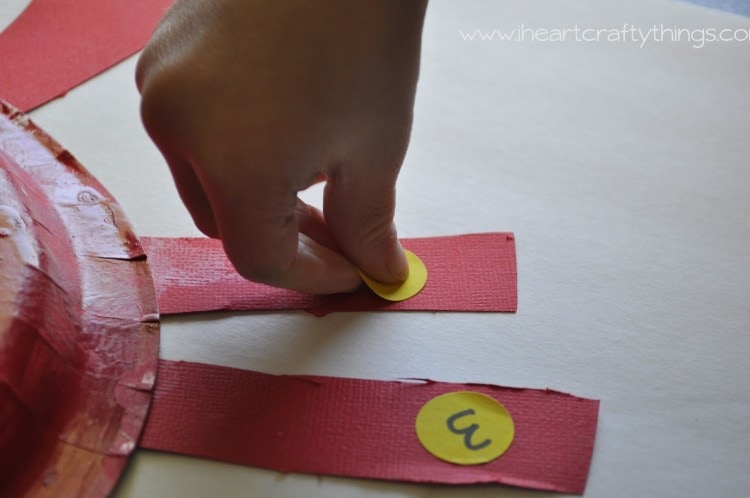
My daughter is 3 1/2 and is still mastering her numbers so I did help her with this process. If she got stuck we first counted to figure out which number we were looking for. If she couldn’t identify the number herself I actually had a cheat sheet for her to look at with the numbers in correct order. She was able to use it to count again and find the correct number she was looking for on the stickers. Do whatever you feel is appropriate for your child’s age and stage of learning.
I was able to snap some pictures of her using her fingers to count the crab legs to identify what number came next, and just in general counting practice after we were finished.
I love these one-on-one activities and experiences I get with my preschooler while my boys are in school. It’s been fun doing our own little home preschool this year.


