


Since we learned some about the Moon this week, I thought it appropriate to learn about the Solar System and our Planets. My boys love Space! They love looking up at the stars at night, they love talking about how the Sun is lava hot, and they love to fight debate over which Planet is the coolest. Sometimes it’s difficult for me to find a craft that I know my 6 yr old and 4 yr old will both fall in love with but this week I found it! We created our very own Universe.

I am a HUGE fan of art that has several different layers to it like this one. I think it really gives children a chance to be imaginative and create exactly what they want to. After we finished this project my 6 yr old said, “Can we make this again tomorrow?” That is how much they loved it!
This is how we created this cool project.
Materials you will need:
- black and colored cardstock paper
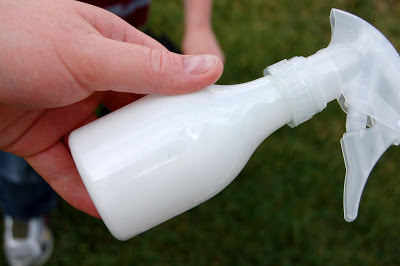
- spray bottle
- white pain
- water
- glue stick
- crayons
- glitter glue
- star stickers
Directions:
1. Put paint and water in a spray bottle
Put a small amount of white paint inside a spray bottle and dilute it down with water.
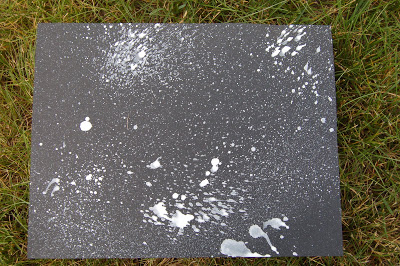
2. Spray paint onto black cardstock paper
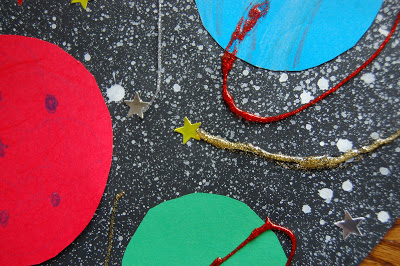
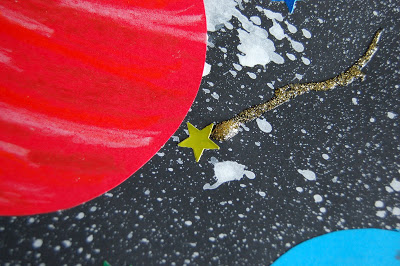
Spray a couple sprays onto your black sheet of paper. This creates that Galaxy look to your picture. Let the paint dry completely. It was sunny outside so it only took like 10 minutes to dry.
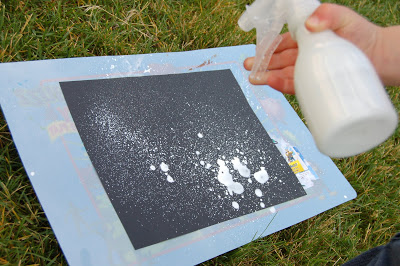
It really only takes a couple light sprays. Ours looked liked this after spraying.
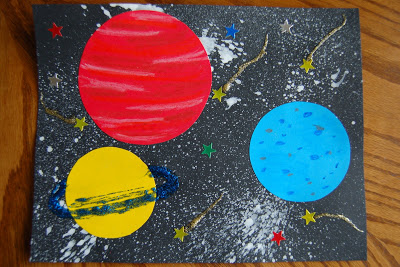
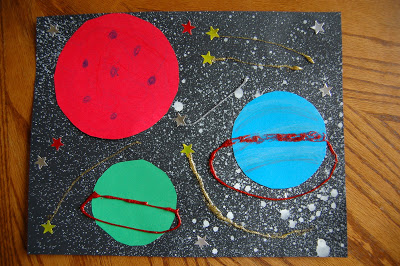
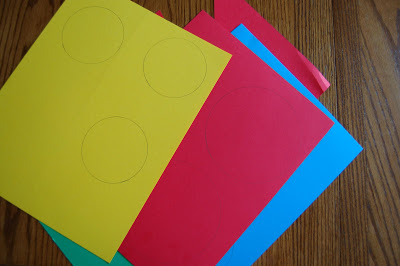
3. Draw different size circles on colored paper
Draw different sized circles onto a variety of bright colored pieces of card stock. These are Planets so we didn’t want them all to be the same size.
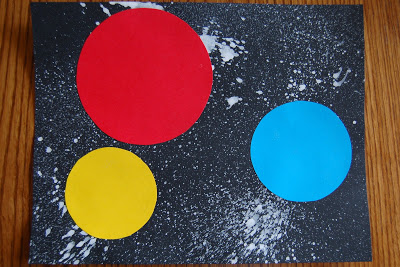
4. Cut out circles and glue onto black cardstock
Cut out the circles and glue them onto your black paper.
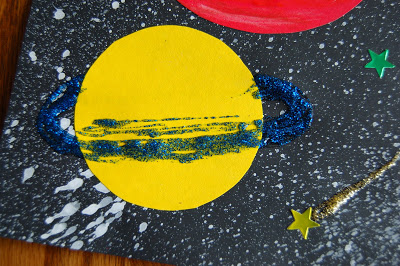
5. Add details to planets
Add whatever details you’d like to your Planets with crayons and glitter glue.


My boys loved using the glitter glue for a ring around a Planet.
My son suggested we make shooting stars. He even came up with the idea to add the gold star on the end of the tail. He is a Genius, I know! hahaha And I totally copied HIS idea on my own Universe, I’m such a copy-cat. LOL!
And there you have it….An “Out of This World” Craft.
