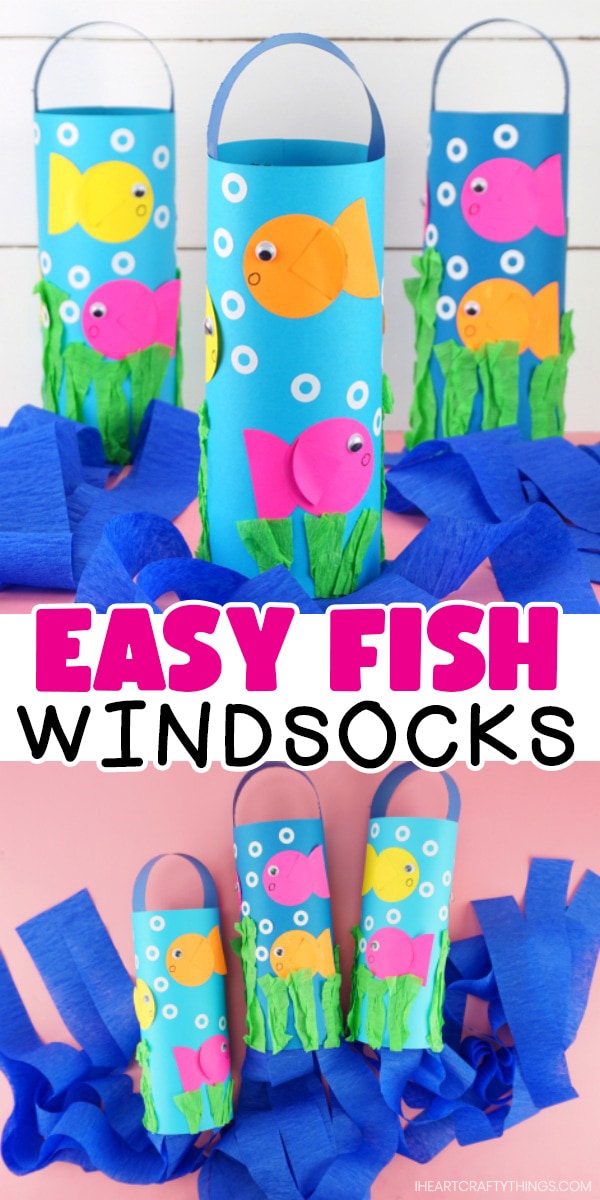
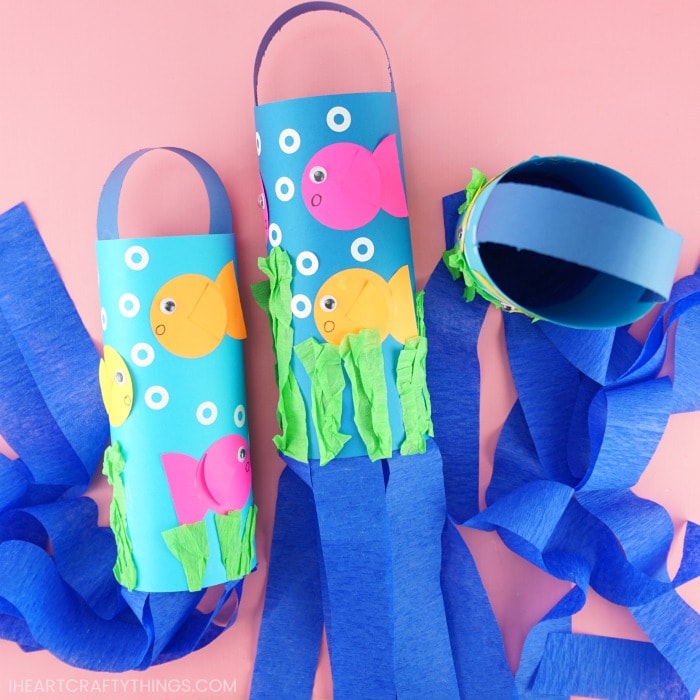
Get ready for an afternoon full of fun with your little ones this summer creating one of these colorful fish windsocks.
These simple fish windsocks are easy for preschoolers and kids of all ages to create. They make a great summer decoration to display at home or inside the classroom.
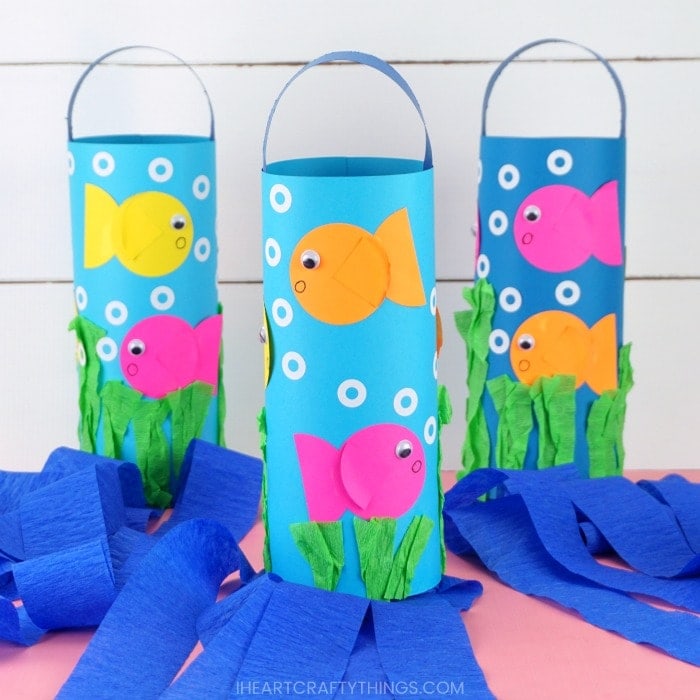
We have created a simple template for kids to use to create the fish on the windsock. Surprisingly each fish is made with two circles so this might be a fun craft to use with preschoolers when learning about circles. Especially since we’ve also used circle stickers to add bubbles coming out of each fish’s mouth. Who doesn’t love playing with stickers, right?!
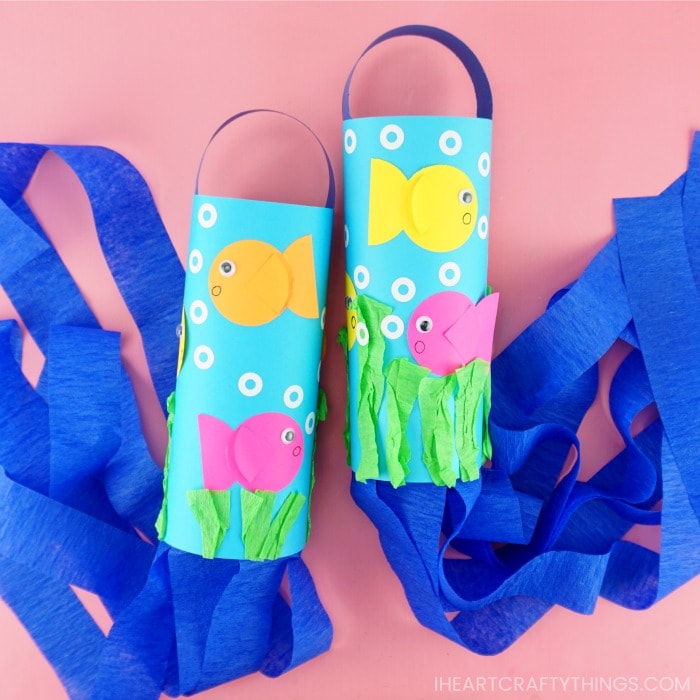
These colorful fish windsocks are fun to make as a summer themed craft, ocean craft, or as a preschool circle activity. They look so gorgeous hung under a covered front porch to blow around in the summer breeze, or hung anywhere inside the home or classroom.
Read our easy how-to instructions below for how to make your own fish windsocks. Make sure to watch our craft tutorial video inside this post before you get started.
Supplies needed to make this Windsock Craft
This post contains affiliate links to the products mentioned. Read our disclosure policy for more information.
- Fish Template <—- Get the Template HERE
- blue cardstock
- colored construction paper
- blue and green crepe paper
- self-adhesive googly eyes
- reinforcement labels
- markers
- extra strength glue stick
- scissors
- stapler
Instruction for How to Make a Fish Windsock
1. Print out craft template
Download and print out the fish template on colored paper. You only need one template page per windsock, but if you want to have more than one color of fish you can print out more than one, or use them for multiple children.
2. Cut out template pieces and glue them together to create fish
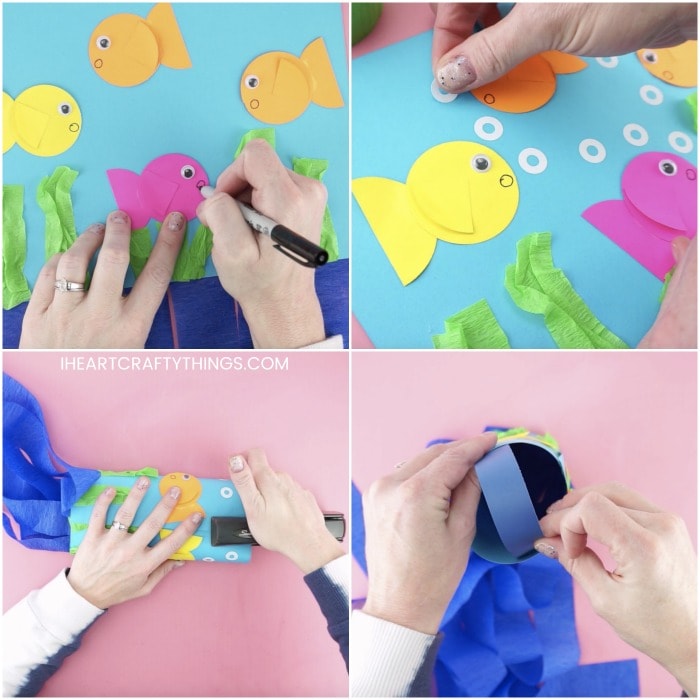
After cutting out the fish pieces from the template, glue them together to create your fish. Glue the tail at the end of the fish body and the fin in the center of the fish body.
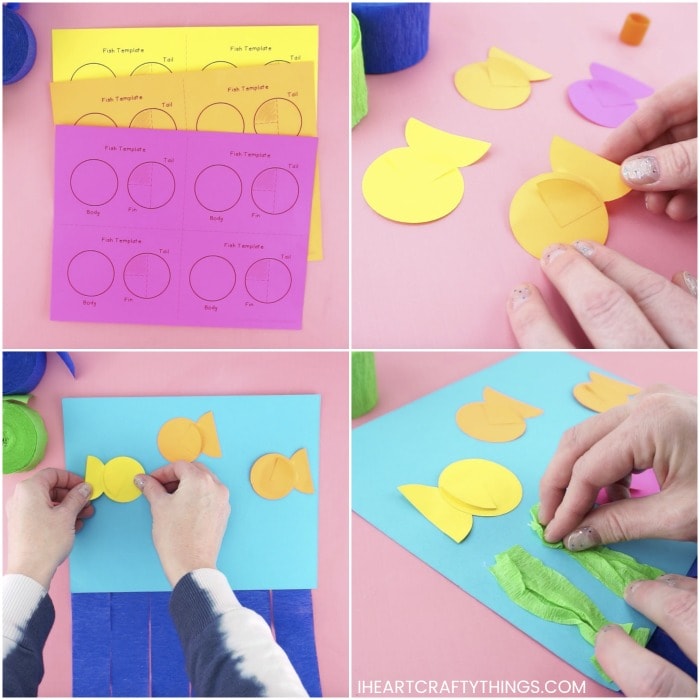
3. Cut out six crepe paper strips and glue them on the bottom of blue cardstock
Cut out six 18-inch sections of blue crepe paper. Glue them on the bottom one-third of the blue cardstock.
4. Glue each fish on the other side of cardstock
Turn your windsock over so the blue crepe paper is on the underside. Glue each of your fish on the blue cardstock.
5. Create water plants
Cut small pieces of green crepe paper for plants. Crinkle up the pieces of green tissue paper and glue them along the bottom of your blue cardstock to create plants in your water.
6. Glue eye and draw a mouth on each fish
Glue or attach googly eyes on each of your fish. Then use a marker to draw a circle mouth on each of your fish.
7. Apply stickers to make bubbles
Place reinforcement circle labels on your blue cardstock to look like they are bubbles coming out of each fish’s mouth.
8. Bend craft into a circle and staple ends together
Bend your fish windsock into a circle, connecting the ends together. Place two staples at the top and bottom of the windsock to join the ends together.
9. Create windsock handle
Cut a blue paper strip handle that is 1-inch by 8 1/2-inches. Add a generous amount of extra strength glue stick on each end of the paper strip and attach it inside the top of the windsock for a handle.
