


Creating a car drawing is easier than ever with the guide you have before you. This step by step tutorial for kids is perfect to teach kids of all ages how to design their own fun vehicle.
We see cars every day, so you may assume that it would be easy to draw them, but it’s not always the case. There are so many elements to a car such as the wheels, lights, bumpers and doors and they all need to come together correctly to form the car as a whole.
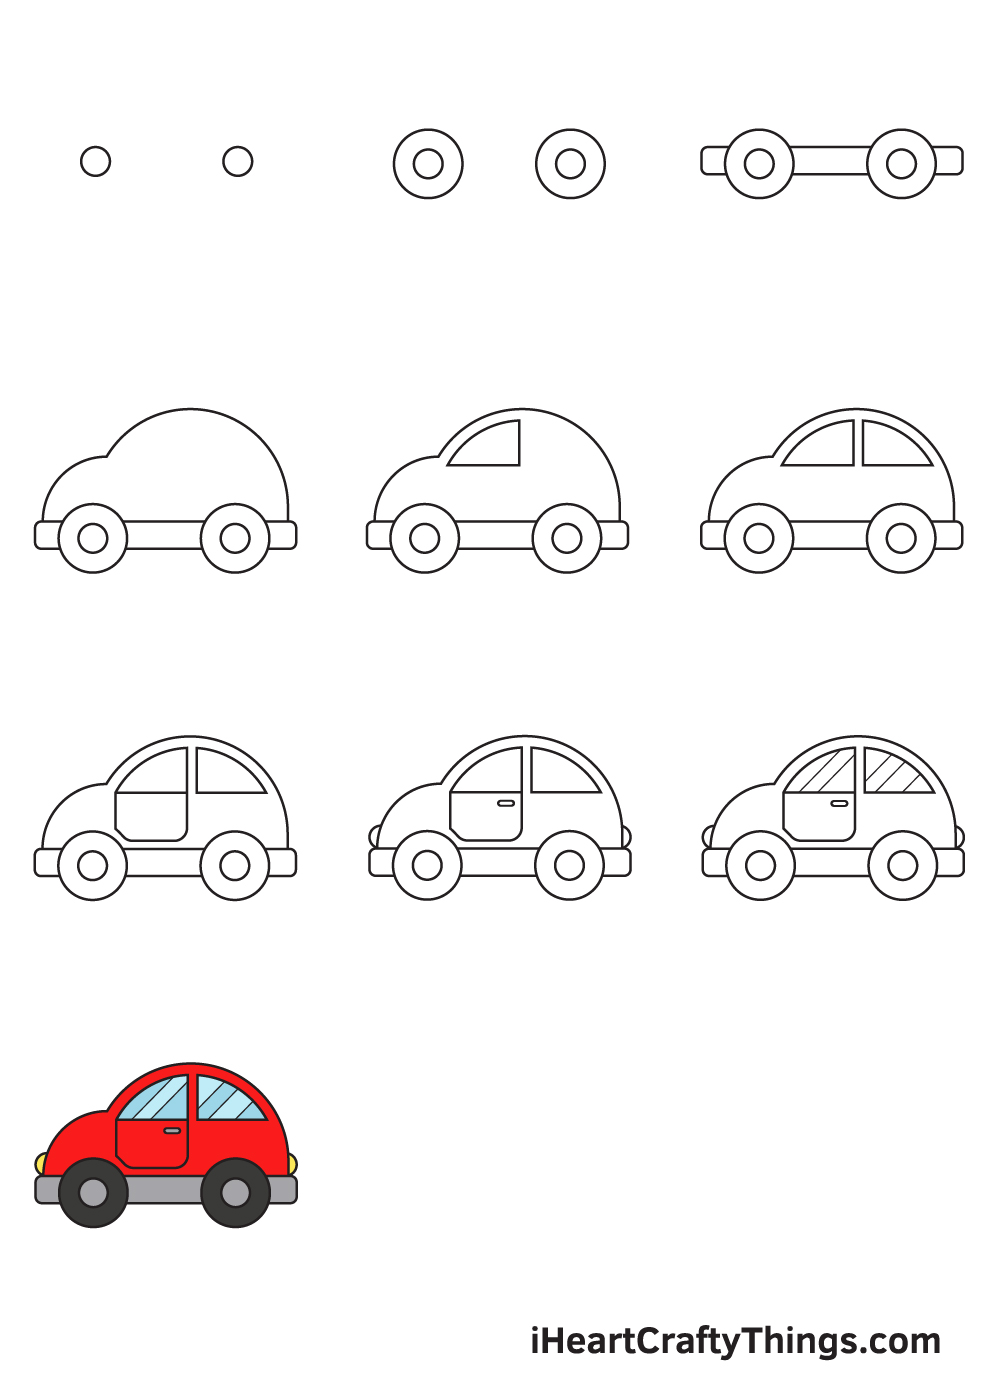
As you move through this guide, you will see how you can use the most basic of shapes to gradually build up the complete cartoon car design that has been crafted for you.
Then, you could add some more details such as colors, emblems and even a background to show where this car could be driving. No matter what your skill level will be, you’ll know everything there is to know about creating your own car by the end!
Watch The Steps To Creating Your Very Own Cartoon Car
How to Draw a Car — Let’s get started!
Step 1

Draw two small circles on the lower portion of your paper. This will be the inner outline of your car wheels.
Don’t worry if you can freehand a perfect circle shape! You can always use a compass, a drawing tool that helps you draw a flawless circle quickly and easily.
Step 2 — Draw the Wheels of the Car
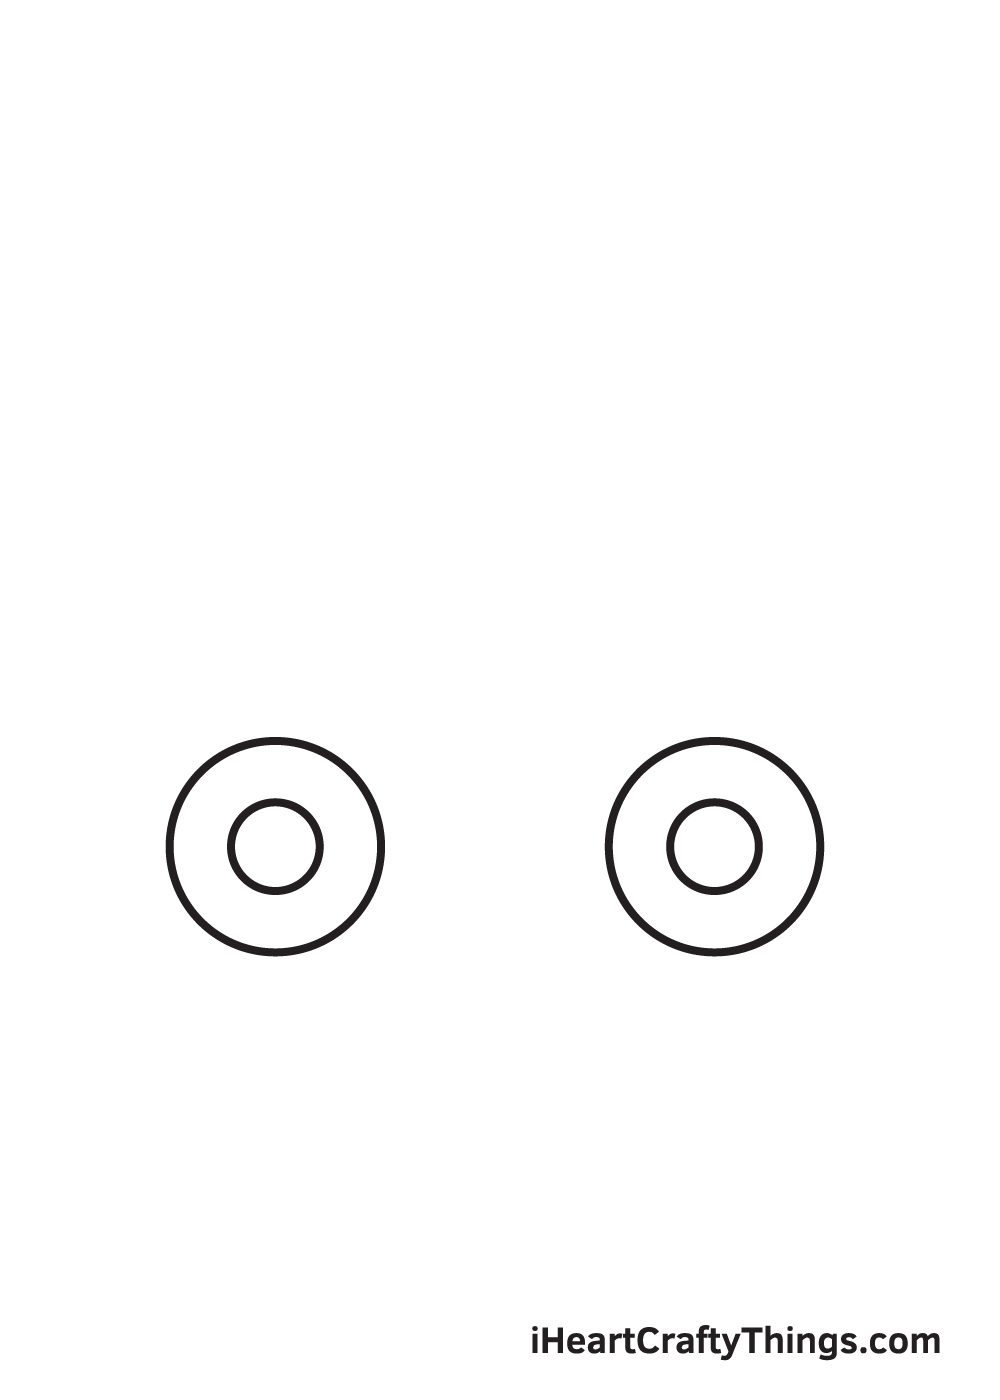
Draw another two circles surrounding the small circles we drew in the previous step.
Once you’ve finished drawing the circle shapes, it should look like a pair of wheels, as shown in the illustration. The wheels should also be about an inch apart.
Step 3 — Attach the Bumpers to the Wheels
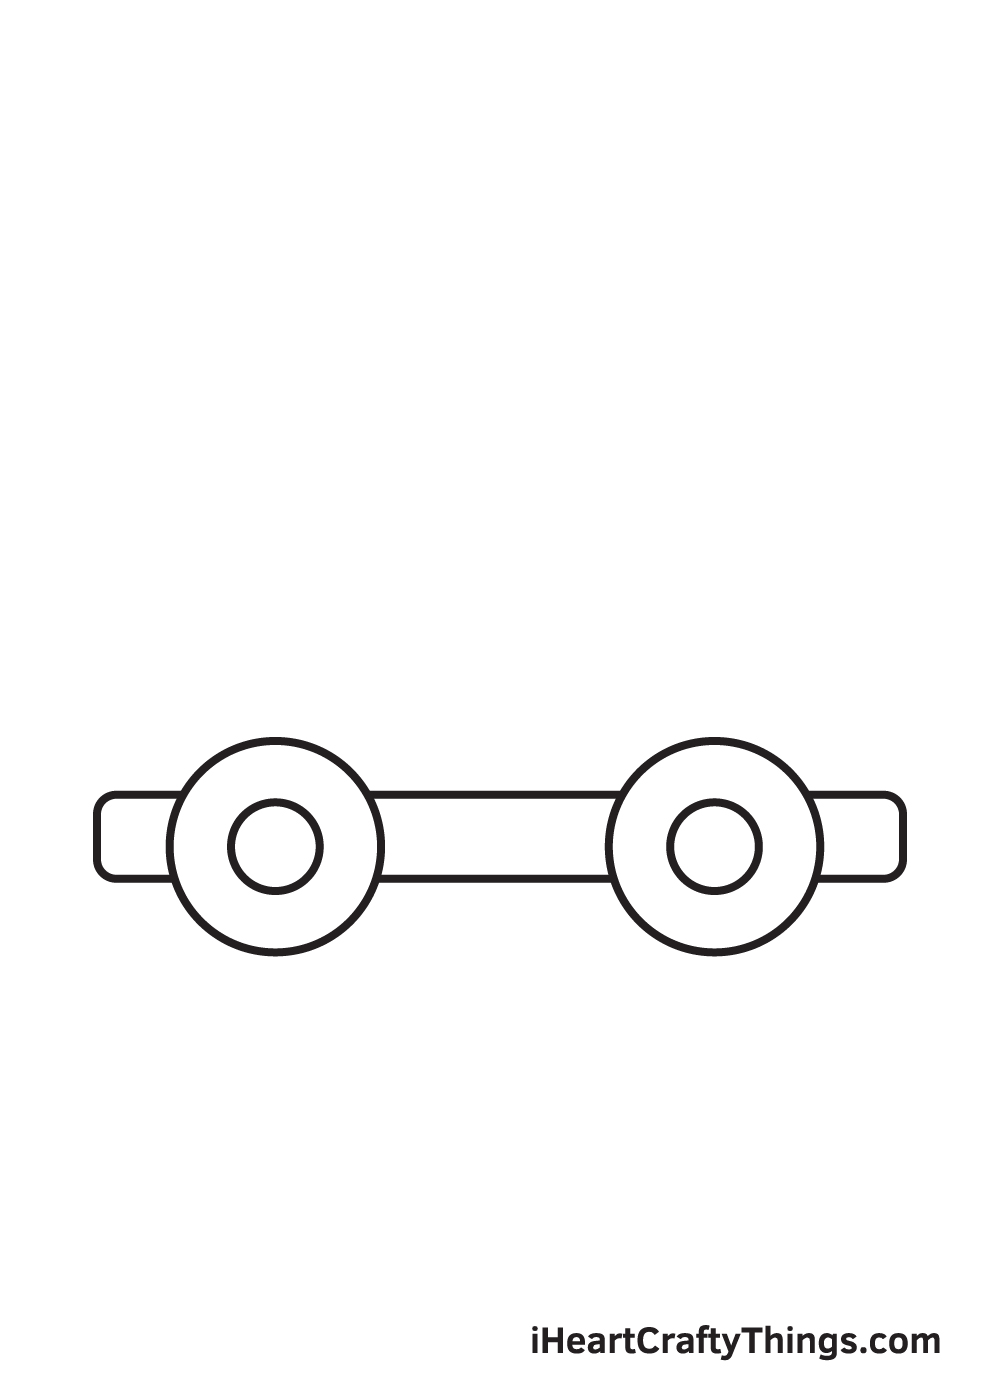
Draw a long, narrow rectangular shape connecting both wheels. The bumper will serve as the foundation of the car so make sure to make it as long as you want your car to be.
Step 4 — Outline the Body of the Car
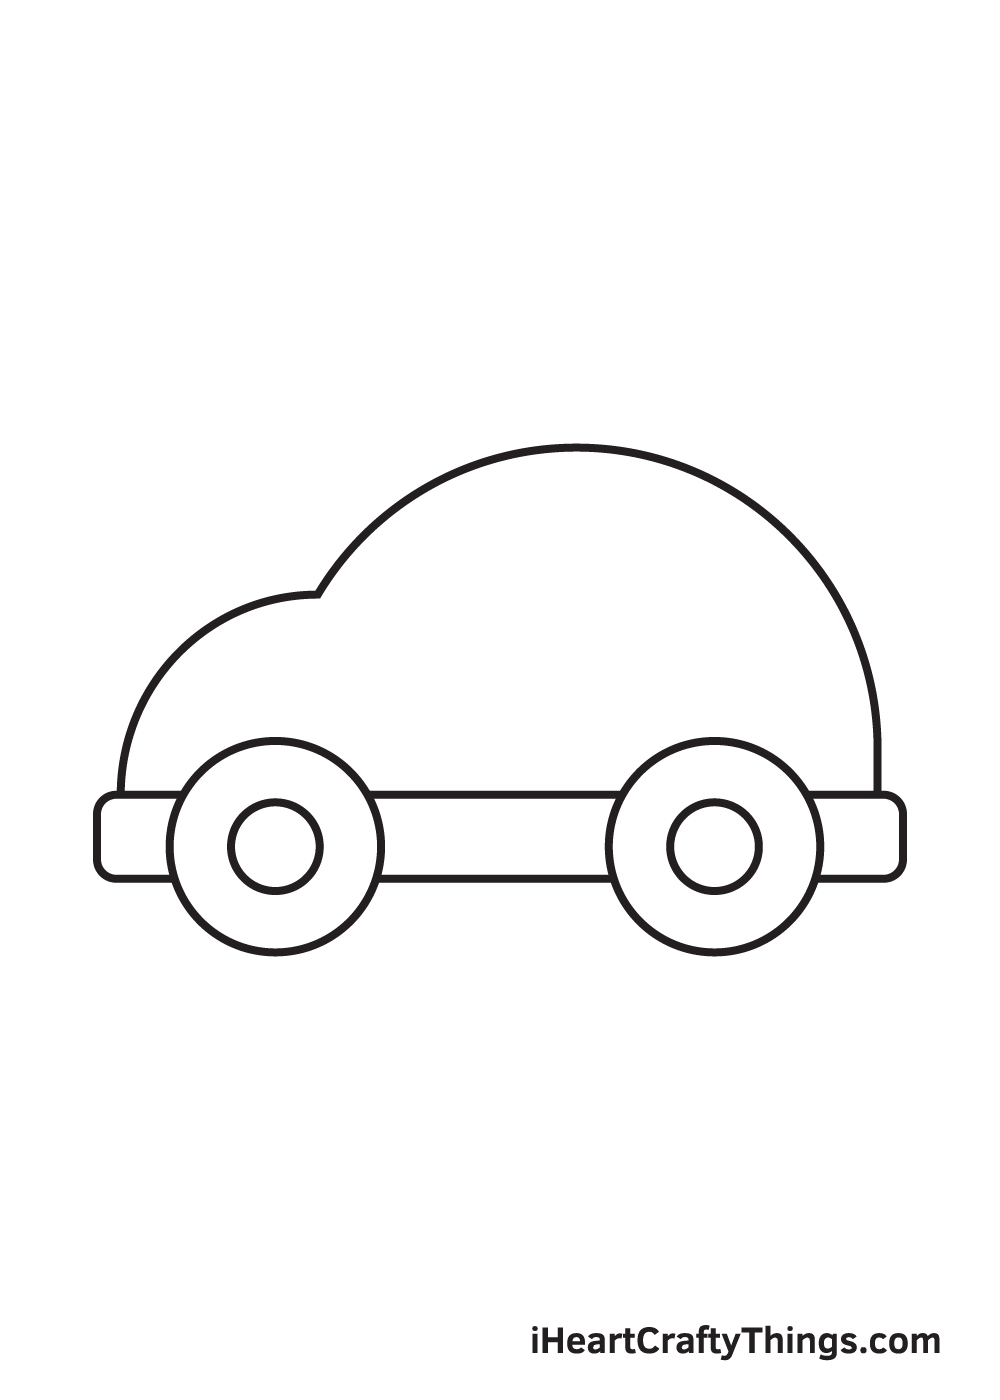
Right above the bumper, structure the outline of the car’s body by drawing downward curved lines extending all the way to the other end of the bumper.
The outline consists of two downward curved lines: one small curved line for the hood connected to a relatively bigger curved line to form the roof of the car,
Step 5 — Draw the Front Door Window
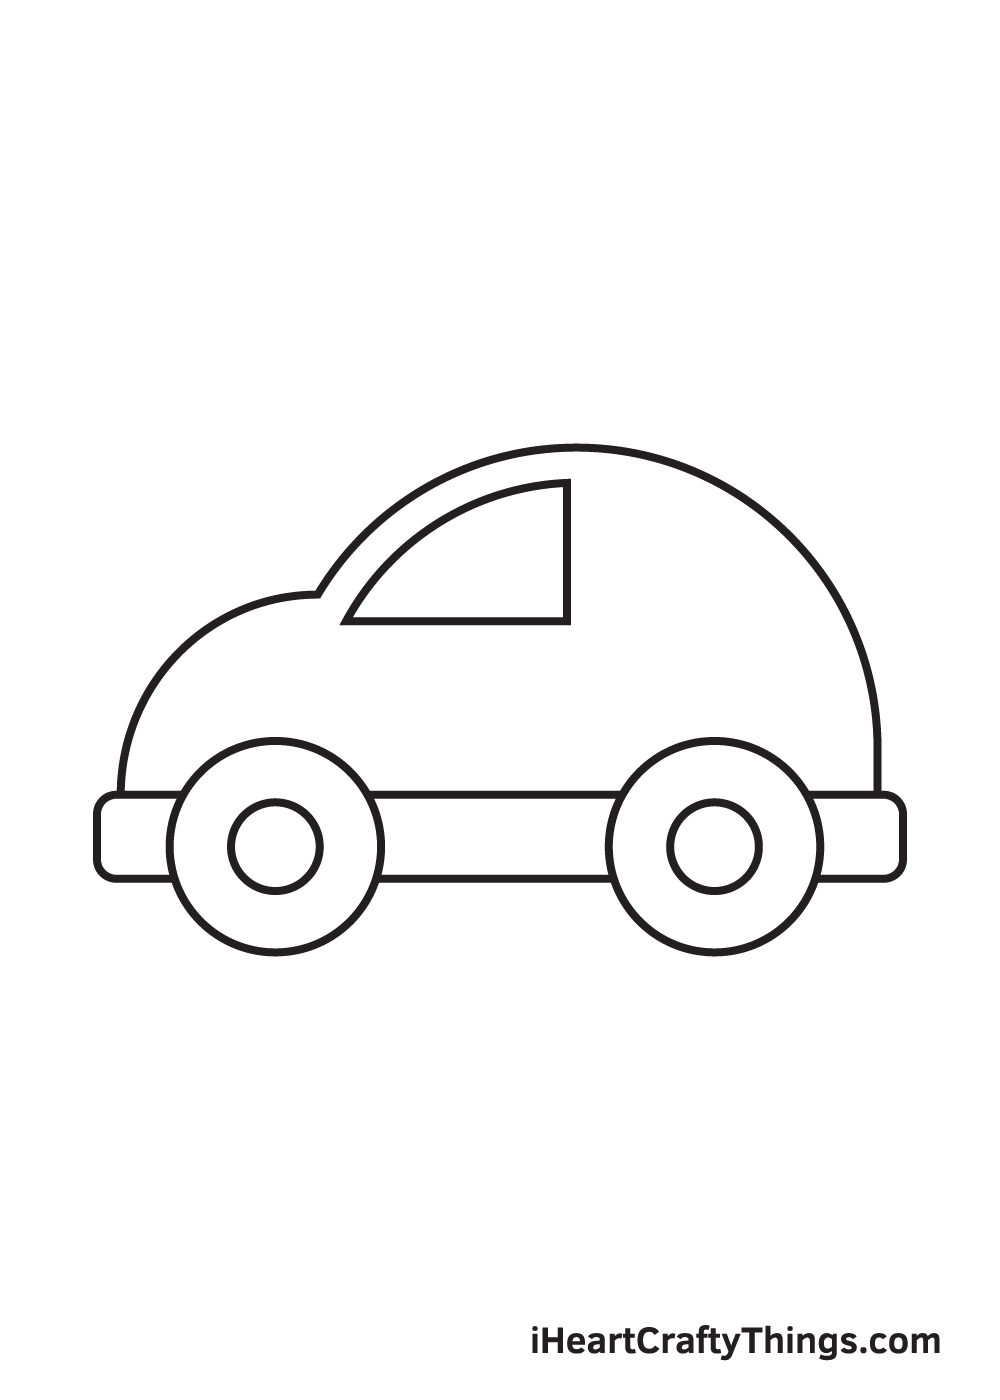
On the left side of the roof, draw a curved line following the outline of the roof. Then, connect both ends of the curved line with a left-facing 90-degree angle line.
Step 6 — Next, Draw the Rear Door Window
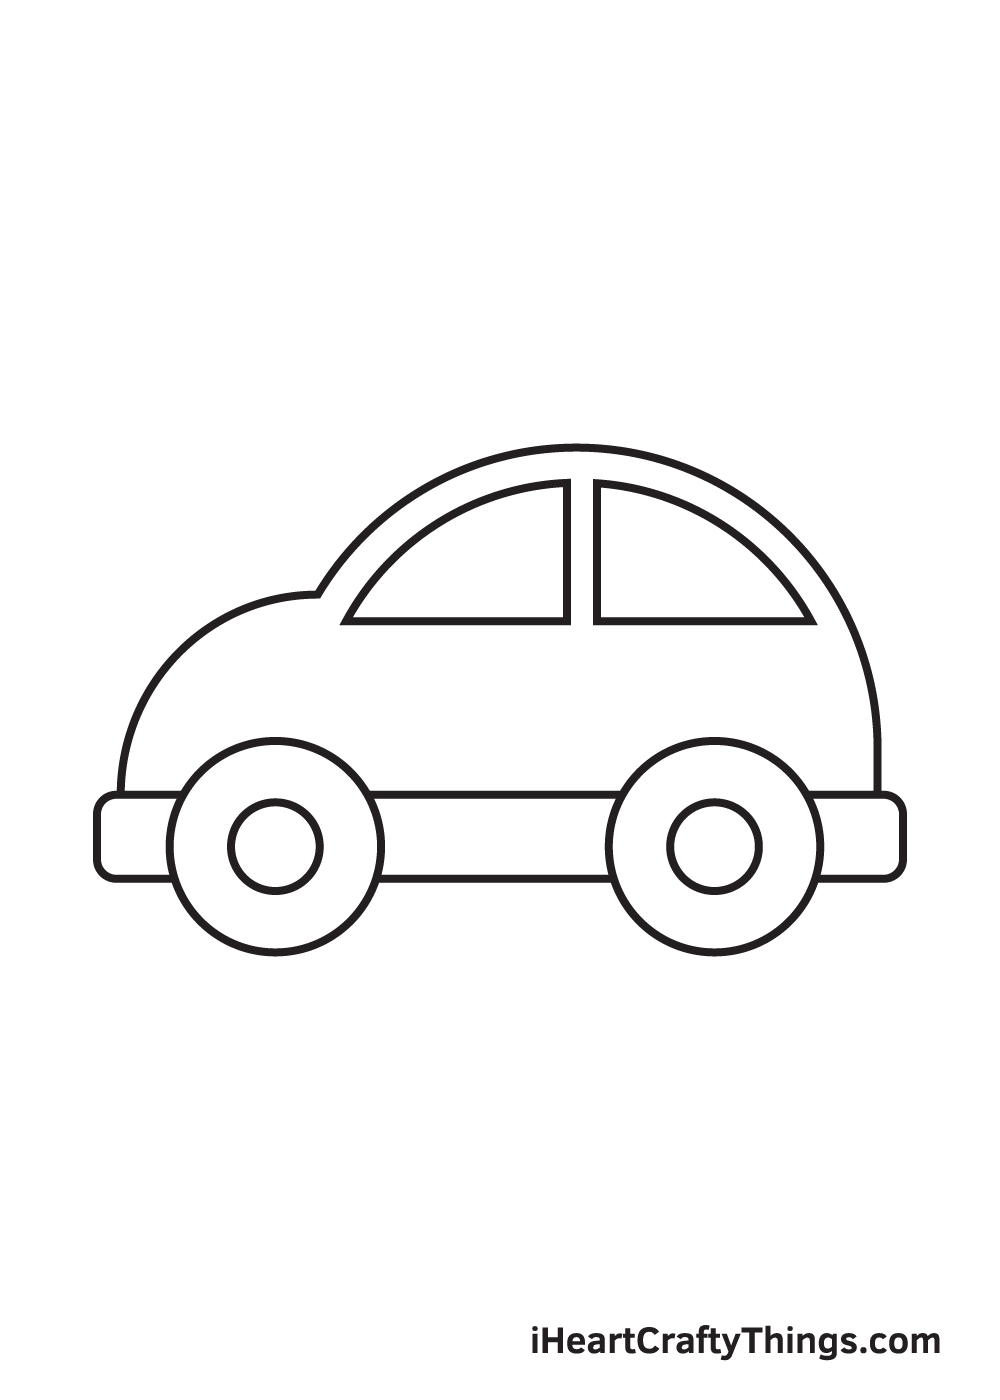
Repeat the previous step on the other side of the car to create two even and proportion car windows. The front window must be slightly bigger than the rear window.
Step 7 — Then, Outline the Front Door
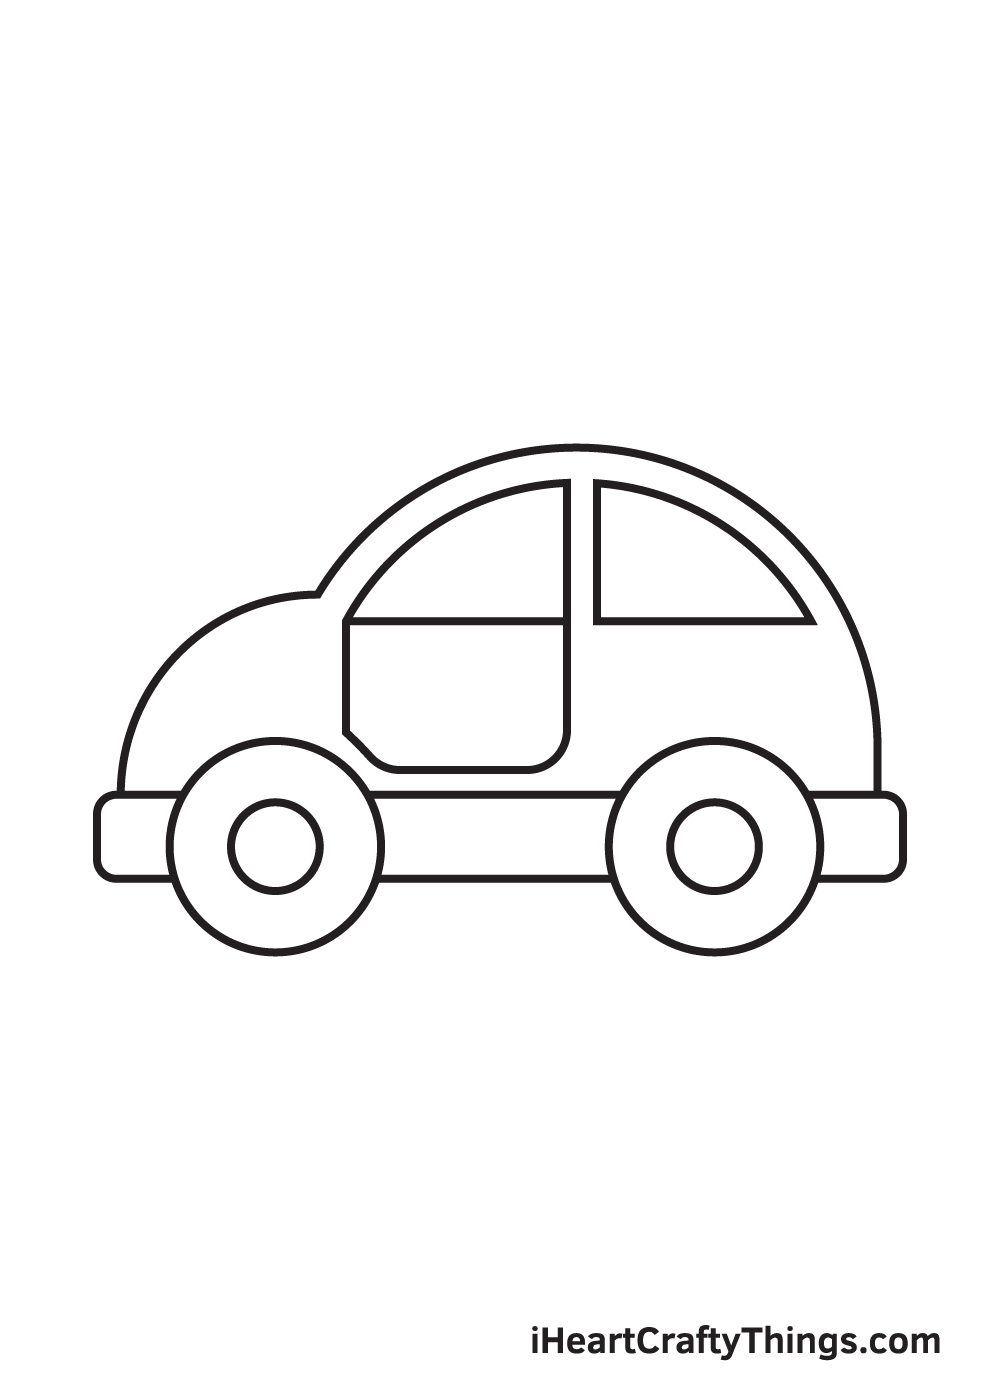
Create the front door by drawing a square shape with curved corners right underneath the front window. Keep in mind that the front window and the front door should be aligned and even.
Step 8 — Draw the Lights and the Door Handle
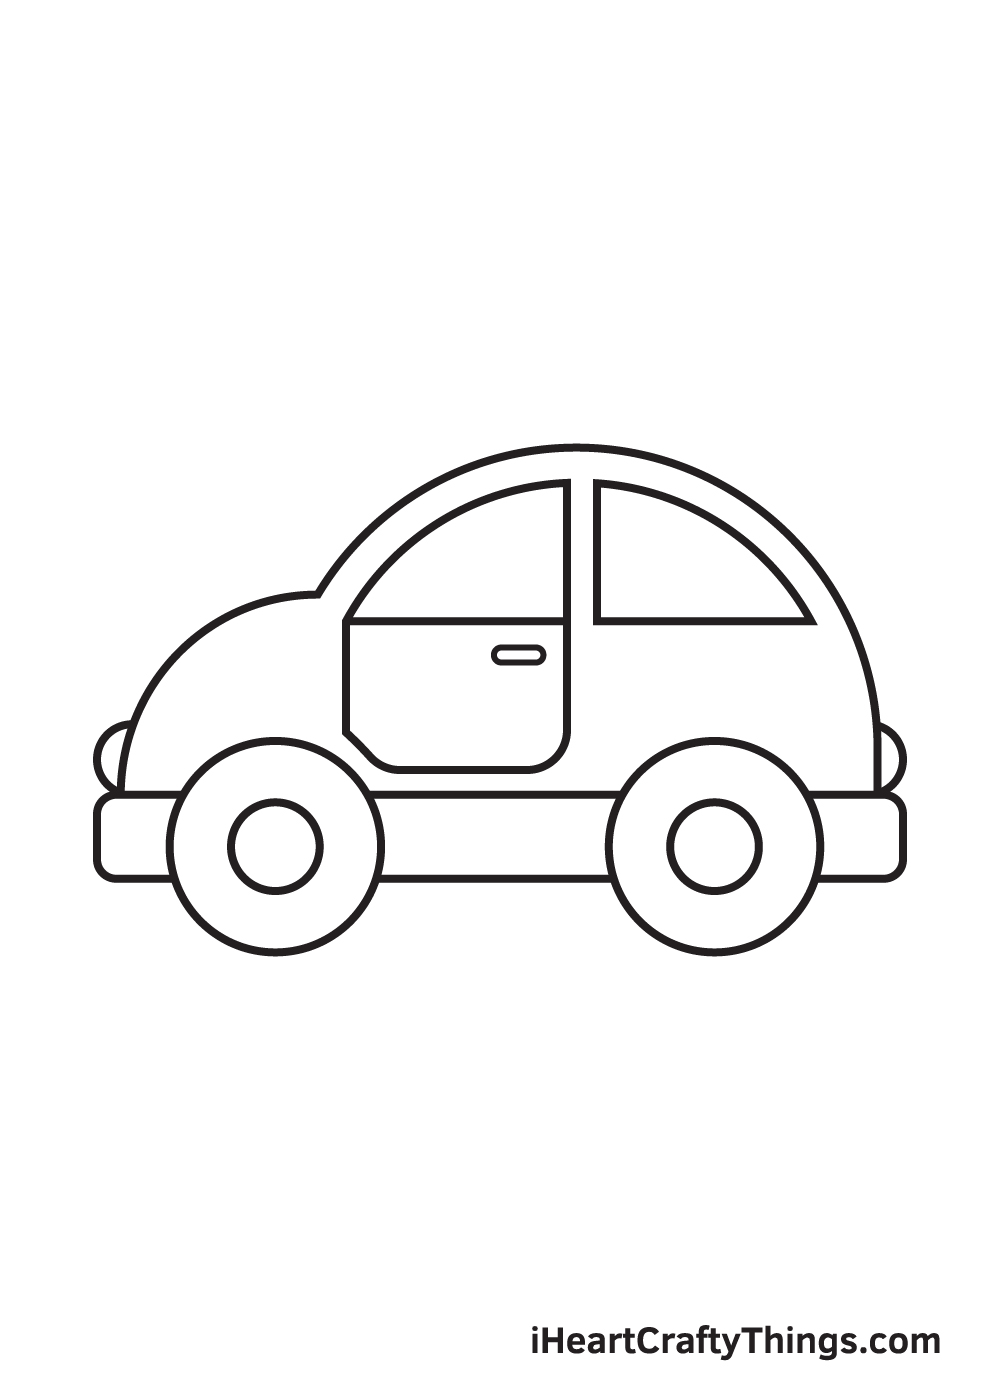
Now, it’s time to add details on the car to make it appear more realistic.
Start by drawing half circle shapes on both ends of the car to create the headlight and taillight. The lights should be located just right above the bumper of the car.
Step 9 — Add Patterns on the Car Windows
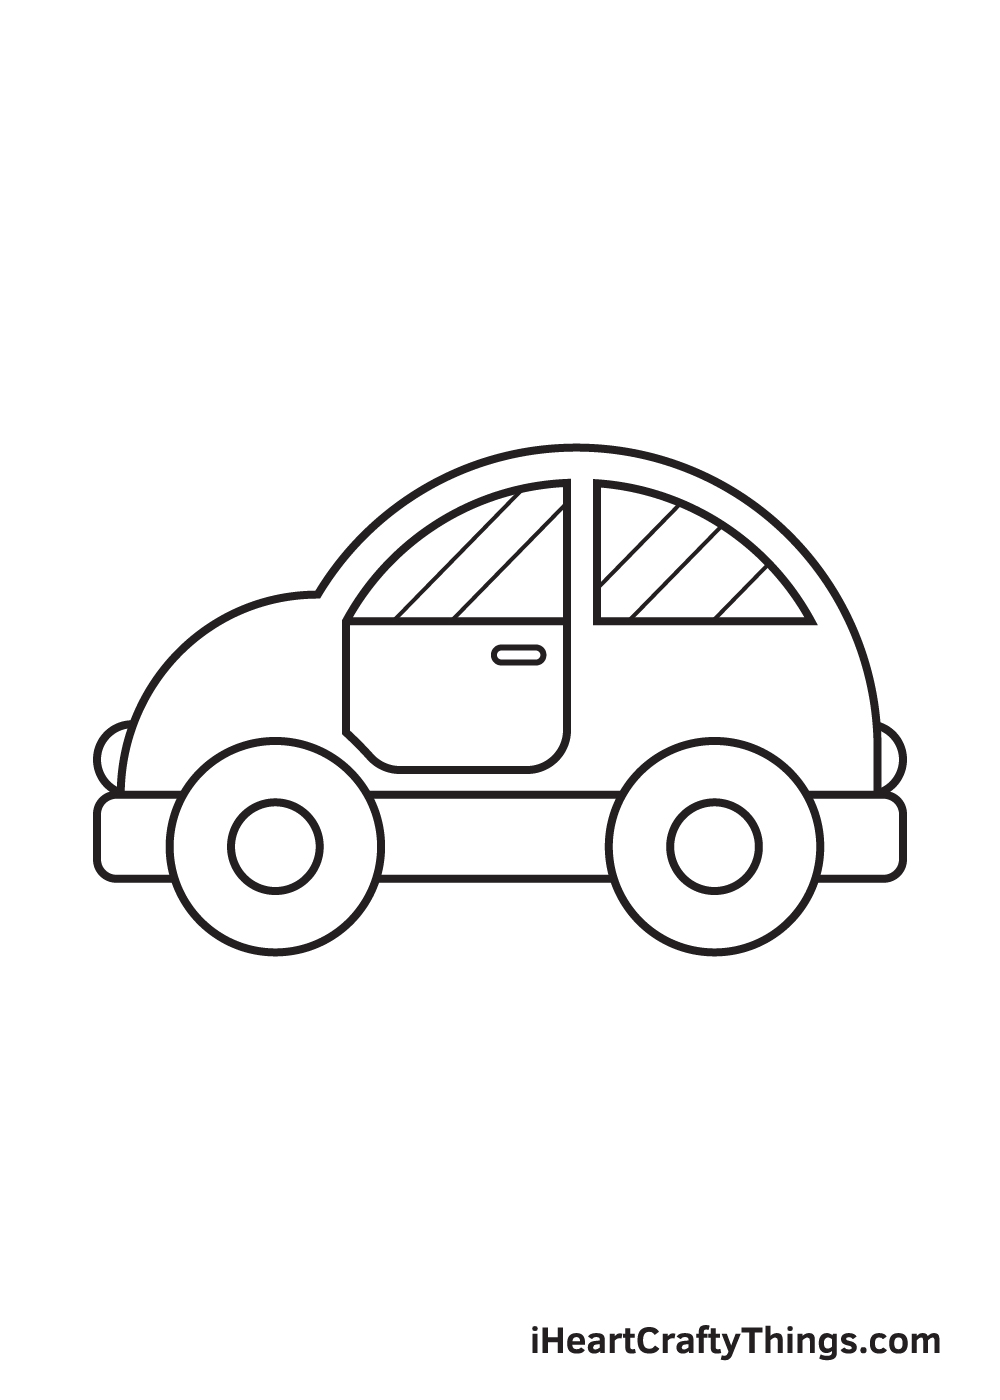
Car windows are typically reflective, thus resulting in visible diagonal patterns. Draw multiple parallel diagonal lines on each car window to create the illusion of a “reflection”.
Now that you have successfully drawn a car, it’s time to the most exciting part—coloring your awesome car drawing! Go ahead and pick the colors to make your car vibrant and colorful!
Cars come in a wide range of designs and exist in every color. So, if you have a favorite color, there’s most probably a car with that color.
This gives you a lot of color options to choose from when coloring your car.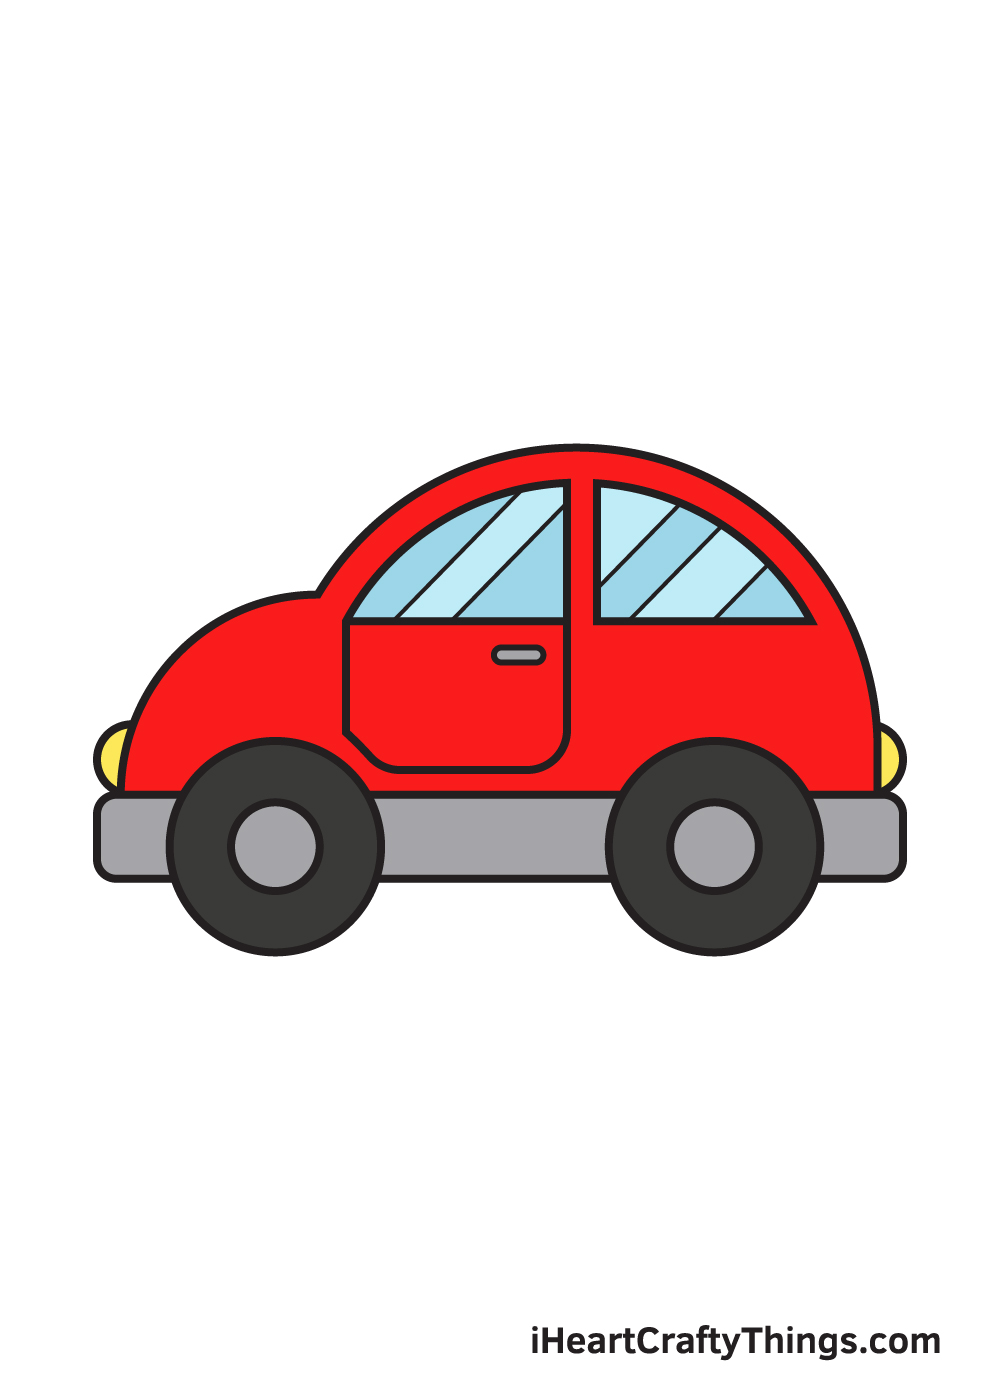
3 More tips to make your car drawing easy!
Drawing cars is notoriously challenging, but these 3 tips will make it a smooth ride!
Learning how to create a car drawing is a challenge that can strike fear into even the most seasoned artist!
That’s why we will be showing you a few ways to make it so much easier. As with any drawing challenge, using reference material can make a world of difference.
Looking up lots of photos of cars will not only make drawing this one easier, but they will also help if you wish to make this one look like a different kind of car.
It can also help to make drawing aspects like the wheels, side view mirrors and other more finicky details much easier to draw.
Doing this would also allow you to make this cartoony design more realistic if you prefer.
The thing that makes learning how to draw a car so difficult is that there are many specific shapes, details and other elements that have to be just right.
If they’re even a bit off, they can make the shape look unnatural. That’s why we recommend using a light pencil to draw all of the steps first, even for a simpler design like this.
That can really make this car drawing easy for you to complete, as you don’t have to worry about making mistakes.
When you’re happy with how the lines look, you can then go over them with your pen or a darker pencil.
When it comes to drawing anything, the smaller you draw it the harder it gets. That’s why for this car sketch we would recommend drawing on the biggest piece of paper you can.
You can enlarge the pictures we have provided so that you can get a better look at the car door handles, windows, wheels and other details.
By doing that, you also end up with a picture that really catches the eye, as it will be larger and even more impressive! As long as you work on these three tips, it will make this an easy to draw car!
Your Car Drawing is Complete!
Hopefully, you or your kids had a lot of fun learning how to draw a car with this step-by-step tutorial.
This is a great and enjoyable way to hone your artistic skills and bring your dream car to life at the same time!
Remember, we are always uploading brand-new drawing tutorials to update our catalog regularly. So, make sure you keep checking back to continuously learn how to draw something new.
We are looking forward to seeing what you will be drawing next!
Once you’ve finished drawing and coloring a car, don’t forget to show off your masterpiece!
Share your artwork on our Facebook page, on Pinterest, and on other social media channels. Be proud of your work of art and let the world appreciate your talent.
We are so excited to see what your dream car looks like!
Here Is A Cartoon Car Drawing To Inspire You!

Drawing cars can sometimes get a bit tricky, even when they’re done in a cartoon style. Our artist Amanda created this cartoon car drawing to show you how fun and easy it can be!
This drawing shows you one of the possible results you could create after following the guide. You’re more than welcome to use it as a template for your own drawing.
She found a good balance between showing realistic car details with some cartoony elements as well. You could make your example more realistic or even more cartoony if you wanted to.
It’s up to you and depends on your preferences, so be sure to go with what feels right for your own cartoon car sketch. Then, you could add some amazing colors and background details as well.
There are so many ways to make your drawing more unique!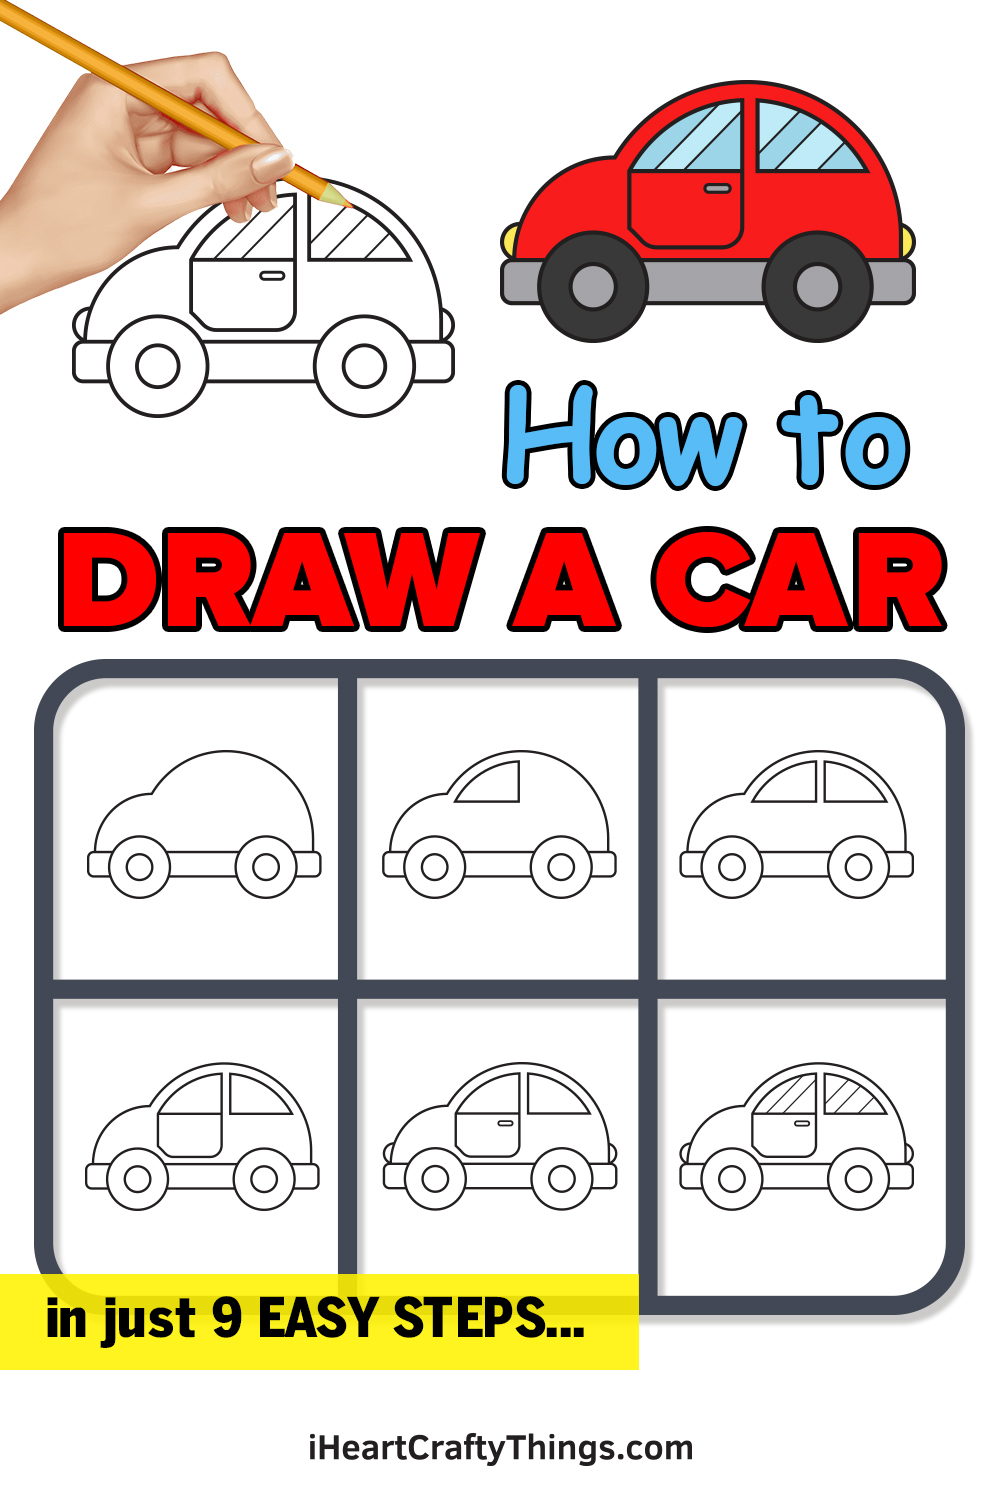
Some Final Tips To Make This Car Drawing Even More Unique
Completing this guide on how to draw a car doesn’t need to be the end! We felt like there is more fun to be had here, so we wanted to present a few more ideas to try out.
One way to make this drawing even better would be to add more to it. This is something that we touched on in the article, but we really think it’s one of the best ways to make the image more unique and cool.
These could be some of the things we suggested such as additional vehicles. Or, you could go for something really crazy like a rampaging dinosaur.
Why not! There are no wrong ways to add to this image, and the crazier it is, the more interesting it will be.
When you really have the hang of this design, you could also try to make it more detailed. One way to do this would be to use the images of this guide along with additional resources.
You could even use the car of a family member or a friend. Try to look at the real car from the same angle as the one we drew.
You can see how the details and proportions vary or are similar, and you can use that to create a new drawing. It could be a separate drawing, or you could have them next to one another to contrast them.
You could also use some crafts to make the drawing even more special. One idea would be to make exhaust smoke by sticking some cotton wool on the back of the car!
That’s one idea, but what other creative touches can you think of?