{This post contains affiliate links. Read our disclosure policy for more information.}
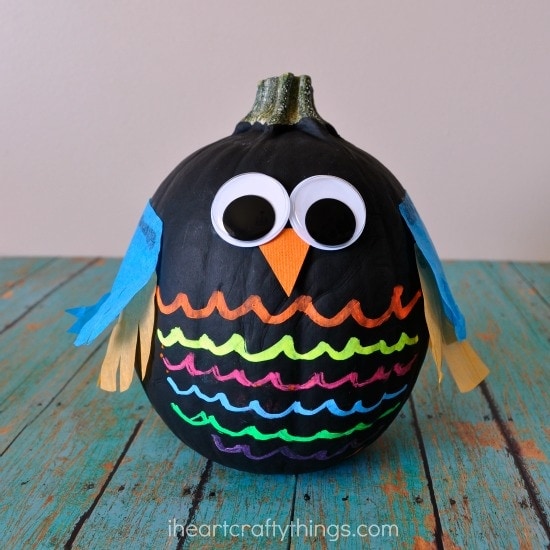
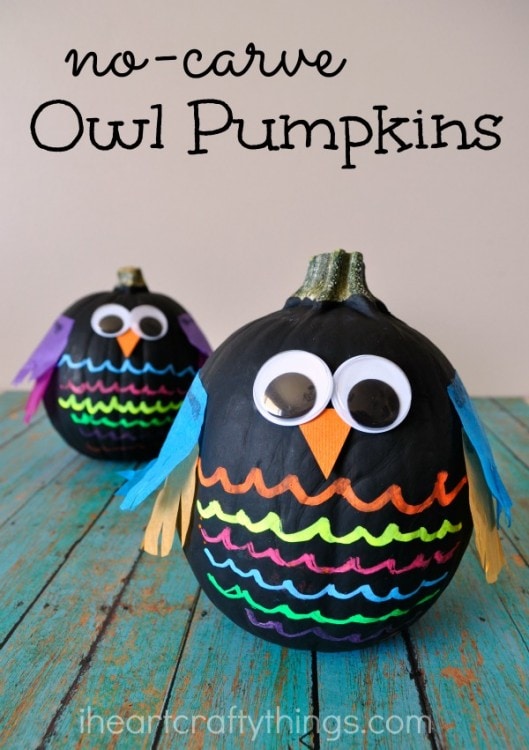
HOW TO MAKE COLORFUL NO-CARVE OWL PUMPKINS
Supplies you will need:
- small pumpkin
- black paint
- Fun Chalk Liquid Chalk Markers
- tissue paper
- googly eyes
- orange cardstock paper
- glue
1. Start by painting your pumpkin completely black. When it has dried completely, get out your Fun Chalk Markers and draw scallop shaped lines across the front of the pumpkin to look like owl feathers.

2. Cut out 4 circles from your tissue paper. We used a plastic fruit cup to trace the circles on our tissue paper and also used two different colors.
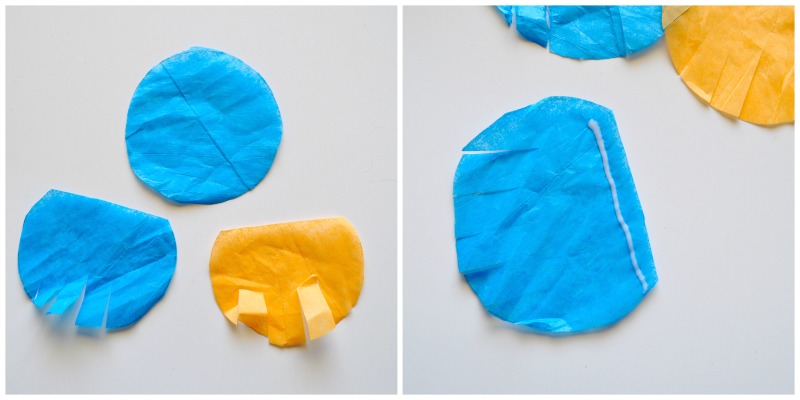
3. Cut a small slice off of your circles to make a straight edge. Cut slits along the rounded side to give the feathers extra texture. Put a line of glue along the straight edge and glue them onto the sides of your pumpkin, layering two on each side to make the owl wings.
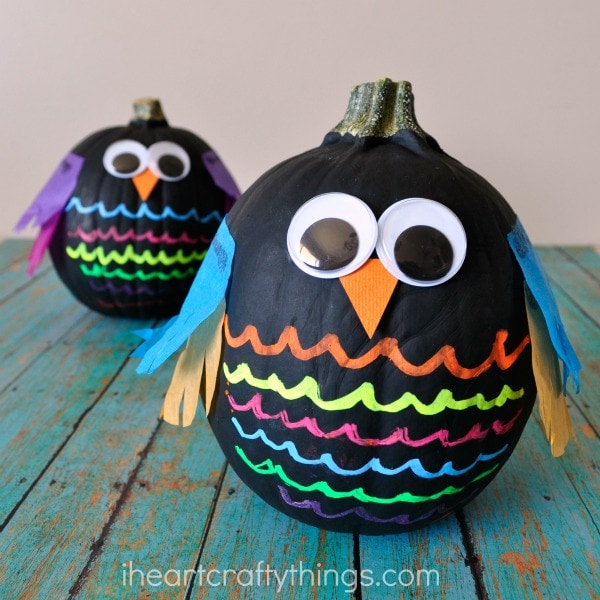
4. Finish your owls by gluing on your googly eyes and a triangle beak cut out from orange cardstock paper.

Sign up for our newsletter to keep up with our latest crafts and activities!
You might also enjoy these crafts:
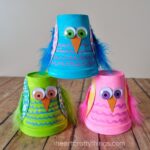
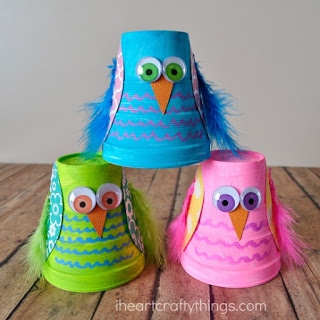
- Colorful Styrofoam Cup Owls
- Cupcake Liner Owl Stick Puppet
- 25 Spooktacular Halloween Crafts
- Liquid Chalk Owl Craft for Kids
- 11 Awesome Bird Crafts
Follow I Heart Crafty Things on Facebook, Pinterest and Instagram for more crafty fun!