Owning a house of any size or appearance is a great accomplishment in and of itself, but not many people get to say that they live in a house known around the world!
The White House is the official residence of the sitting President of The United States, and this distinction along with its unique design has made this mansion world famous.
First occupied by John Adams in 1880, it has since served as the home for every subsequent president.
Because of this famous legacy and design, many people like to learn how to draw the White House.
If you are fascinated by this famous abode as well, then this will be a tutorial that will be perfect for you!
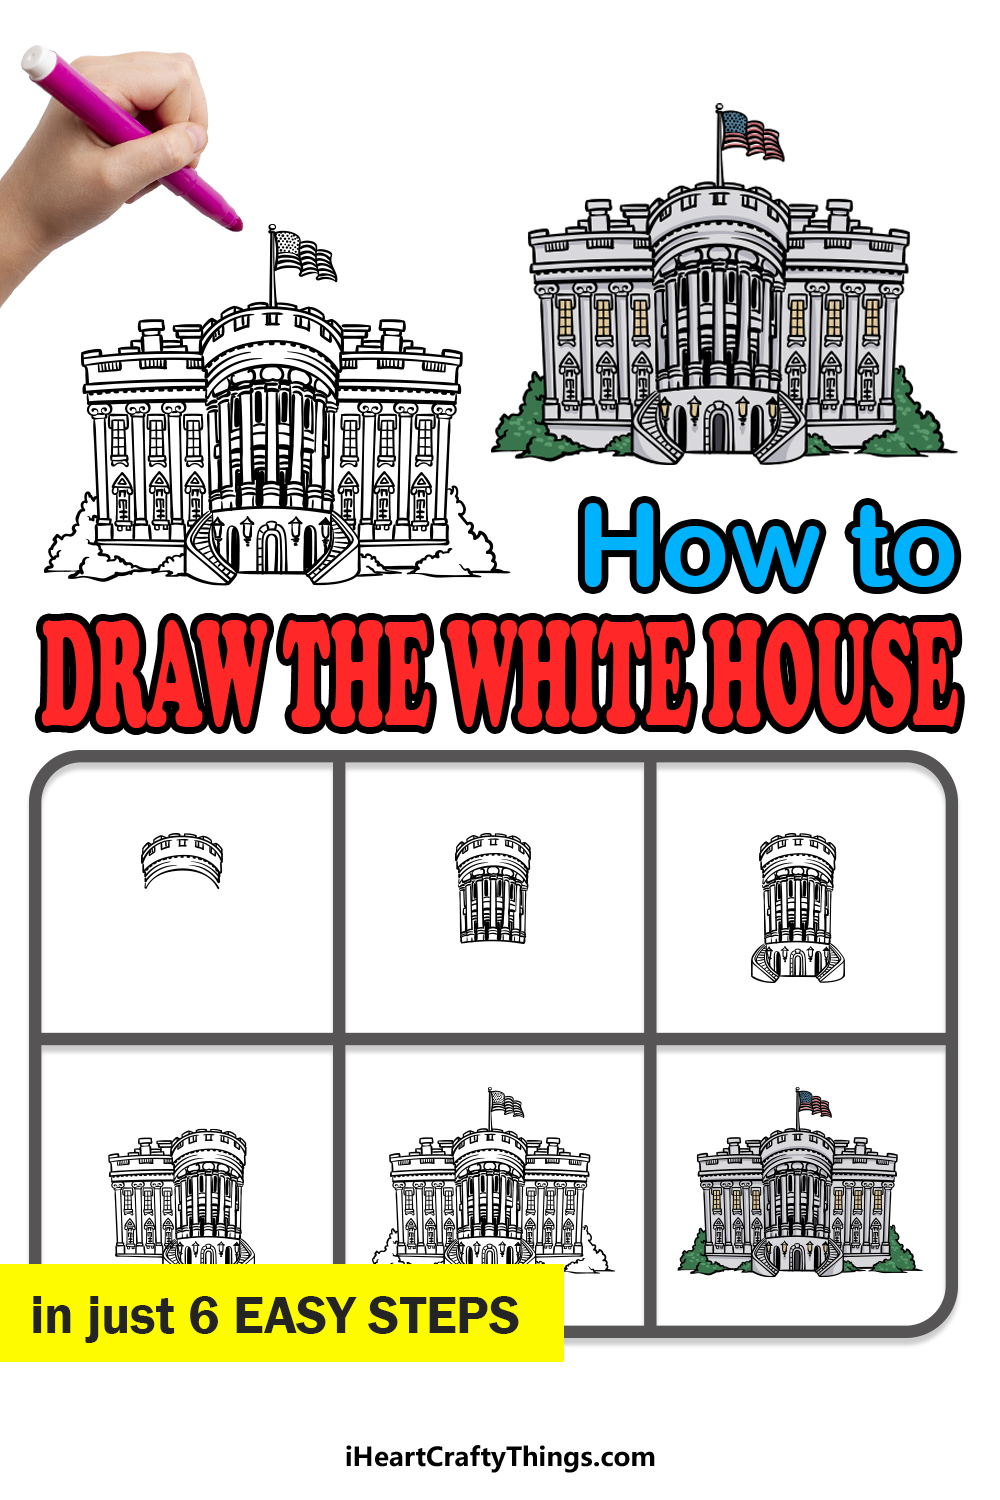
Our step-by-step guide on how to draw the White House in just 6 easy steps will help you to create a great artwork commemorating this incredible building!
How to Draw The White House – Let’s Get Started!
Step 1

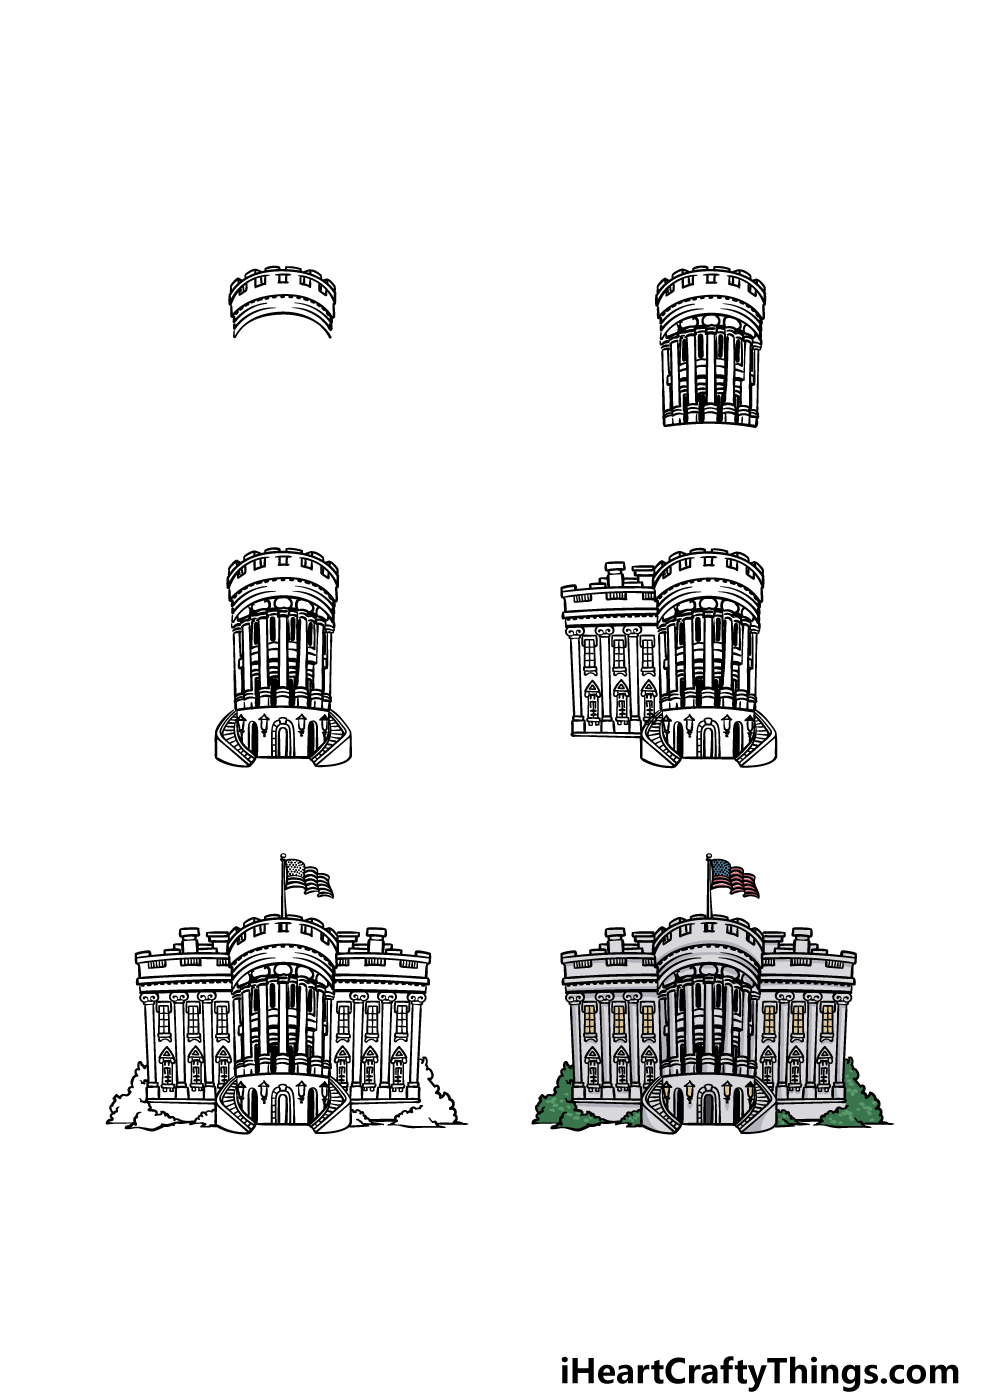
This first step of our guide on how to draw the White House will see you starting at the center of the front of the building.
More specifically, we will be drawing the top portion of the central structure. This structure will be rounded and curved with some small little squared turret structures built into it.
Add another curved section beneath this, and then once you have it looking like our reference image you will be ready for the next step of the guide.
Step 2 – Now, draw some more of the central portion

The second step of this White House drawing may look complicated, but it’s not as hard as it looks!
We will be extending the central section down, and this will primarily consist of some long, thin pillar sections. Carefully draw these thin pillars, and add some detailing at the top and bottom of each one.
There will also be some detailing between each pillar, so you can draw those in before moving on to step 3 of this guide.
Step 3 – Draw the final details of the central section

Before moving on to different sections of the building, we will finish off the central part in this third step of our guide on how to draw the White House.
To do this, we will first add some small, curved staircases on either side of the base for this central section. Then, we will draw some small doorways with wall lanterns between them.
That will conclude this central part, and in the next section we shall add more of the structure.
Step 4 – Next, draw the left-hand side of the White House

The section we will be drawing in this fourth part of our guide on how to draw the White House is another one that looks tricky but doesn’t have to be!
This will be the left-hand section of the structure, and it has a rather rectangular design.
There are also some thin pillars incorporated into the design of this section, and there will also be some ornate window designs between these.
This is a step that you should try to take slowly as you closely follow our example. Then you will be ready for some final touches in the next step of the guide!
Step 5 – Add the final details to your White House drawing

This fifth step of our guide on how to draw the White House will see you finishing up the final elements and details before you add some color to it in the final step.
First, you can mirror what you drew in the previous step by drawing the right-hand half of the building.
The details should look identical to the left-hand side, so try your best to get it as symmetrical as possible!
Then, we will also be drawing some bushes at the base of the White House, and you can create these using some bumpy lines.
Finally, it wouldn’t be a proper representation of the White House without a US flag, so you can add one flying proudly above the building.
Before moving to the final step, you could also add some extra touches! One idea would be to draw a stylistic patriotic background behind the building. What kind of background can you think to add?
Step 6 – Finish off your White House drawing with color

Due to the name of this building, you may think that you would be limited with the colors you can use when coloring it in.
In this final step of your White House drawing, we will be showing you that there are still ways to get creative with colors even with a primarily white house!
When coloring the building, you’ll notice that we did not leave it completely white. Instead, we went with some shades of light greys for the building to create a bit more of a dynamic look.
Then, we used some yellows for the windows to make it look like the lights are on inside. It also helps to add some warmer colors to the image.
Then, we finished off with some bright greens for the plants at the base and of course added some reds and blues for the US flag flying above the White House.
How do you think you will go about finishing up this amazing White House drawing?
Here’s how you can make your White House drawing even better…
Make this landmark look even greater with these tips to try out for your White House sketch!!
This drawing of the White House focuses on the main building itself. You could make it more complete by adding some more of the surrounding areas and buildings.
Unless you have very complete knowledge of the area, you may wish to look up some photos of the real White House to use as reference.
You could change the orientation a bit to include famous landmarks you wouldn’t normally get to see from this angle in real life.
The White House is a fascinating structure, and there are many interesting facts and statistics you could add to your drawing.
You could do this by drawing some lines in pencil around the White House.
Then, look up some interesting facts about the White House and write them carefully on the lines. Then, you could erase the pencil lines to leave just the text.
What are some interesting facts, trivia or information you could include when doing this?
The White House is a symbolic building for American patriotism, and you could show this in a few ways by adding some elements to this White House drawing.
One easy yet effective way this could be done would be by adding an American flag waving in the background. Or, you could write a famous patriotic phrase or piece of legislation in the background.
Patriotism can mean many things to different people, so you could show what it means to you by adding it here.
Finally, it would be fun to contrast this White House sketch with other famous landmarks from around the world. These could be added to the drawing in some interesting ways.
First, start by picking some famous landmarks or locations that you love. One example would be the Eiffel Tower in Paris.
This could be drawn on the page with separation, or you could show what it would look like if this famous structure were in the vicinity of the White House.
What other places could you add?
Your White House Drawing is Complete!
This is possibly the most famous house in the world, and we hope that you had a great time creating a wonderful picture of it during this guide on how to draw the White House!
There were many details to get right in this depiction, so we aimed to make it much easier for you by breaking it down into smaller, more manageable steps.
Now that you have finished all of our steps, you can show us how creative you can be as you finish up this image.
We went over just a few ways that you could go about doing just that, but there is no limit to the creativity you could use to take this picture even further!
There’s more good news coming your way, as competing this picture is not the end of your drawing fun!
You can find more amazing drawing guides on our website to enjoy, and we upload new ones frequently for you to enjoy as well.
Lastly, when you’re ready to show off your finished White House drawing, you can share your artwork on our Facebook and Pinterest pages for us to admire!


