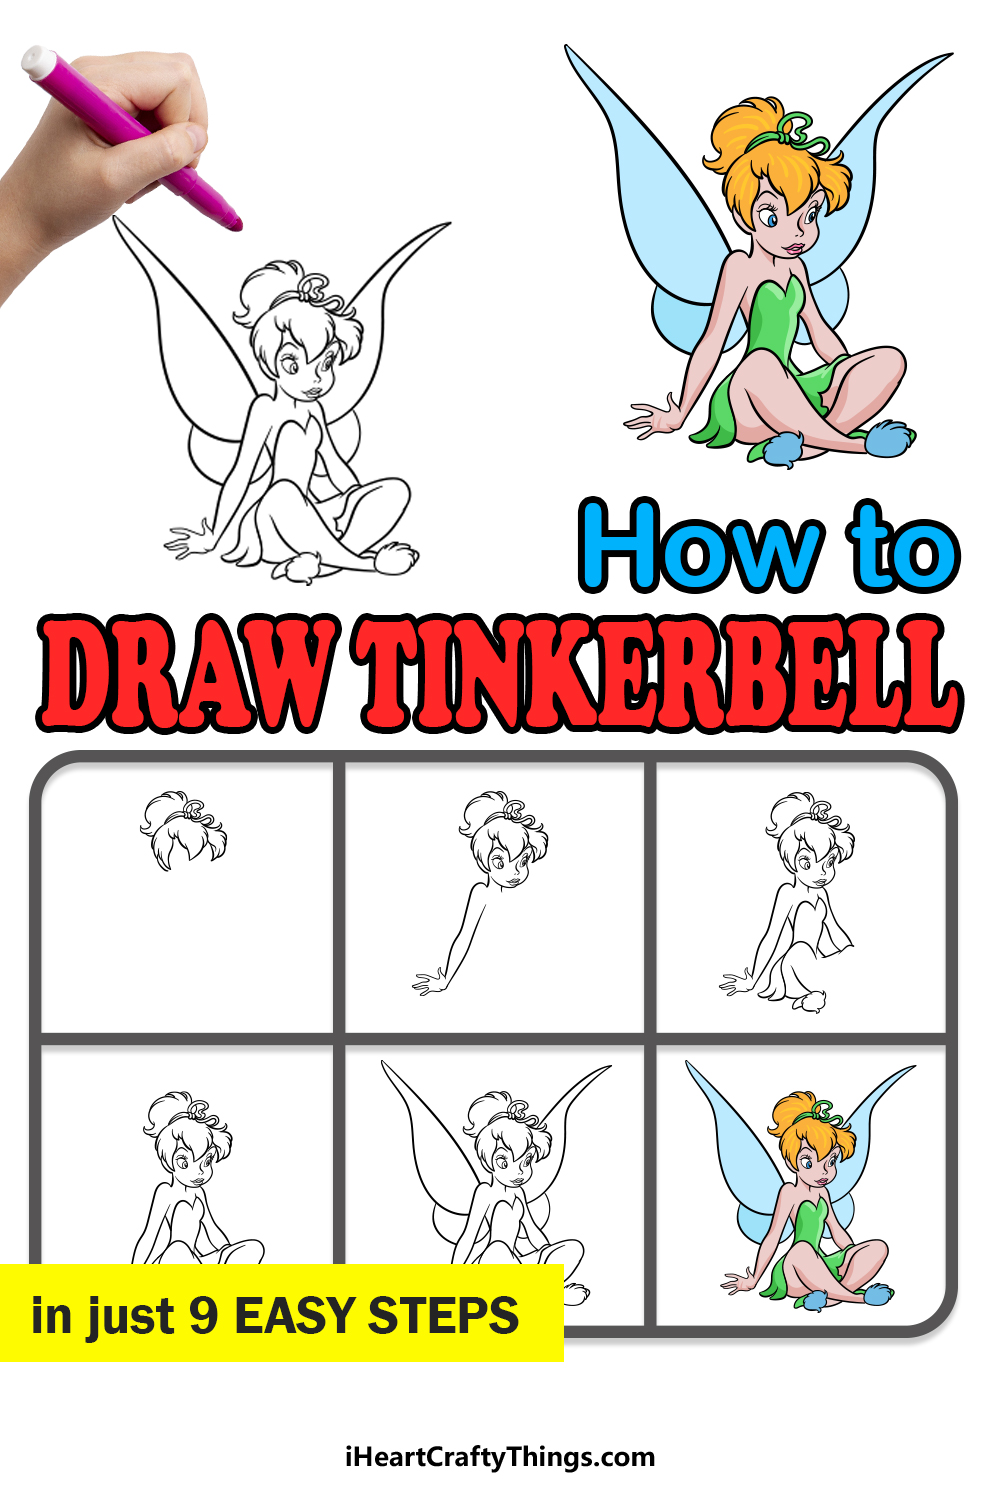
Get ready for this magical guide on how to draw Tinkerbell! In just a few steps, you will be able to make a detailed depiction of this iconic fairy.
Tinkerbell appears in the original 1904 play Peter Pan, but she has seen many interpretations in different media. Perhaps the most famous one is the subject of this particular guide.
The Disney film Peter Pan is an animation classic, and Tinkerbell is a standout character from the film. Since then, she has appeared in sequels and spinoffs, meaning that her popularity has truly endured.
Fans who want to draw her may find that it’s actually quite tricky, because she is so detailed. This guide will make it much simpler for you though, and I’ll show you everything you need to know.
Then, you could even use some glitter to make it more magical!
Find Out How To Make Your Tinkerbell Drawing
How to Draw Tinkerbell – Let’s get Started!
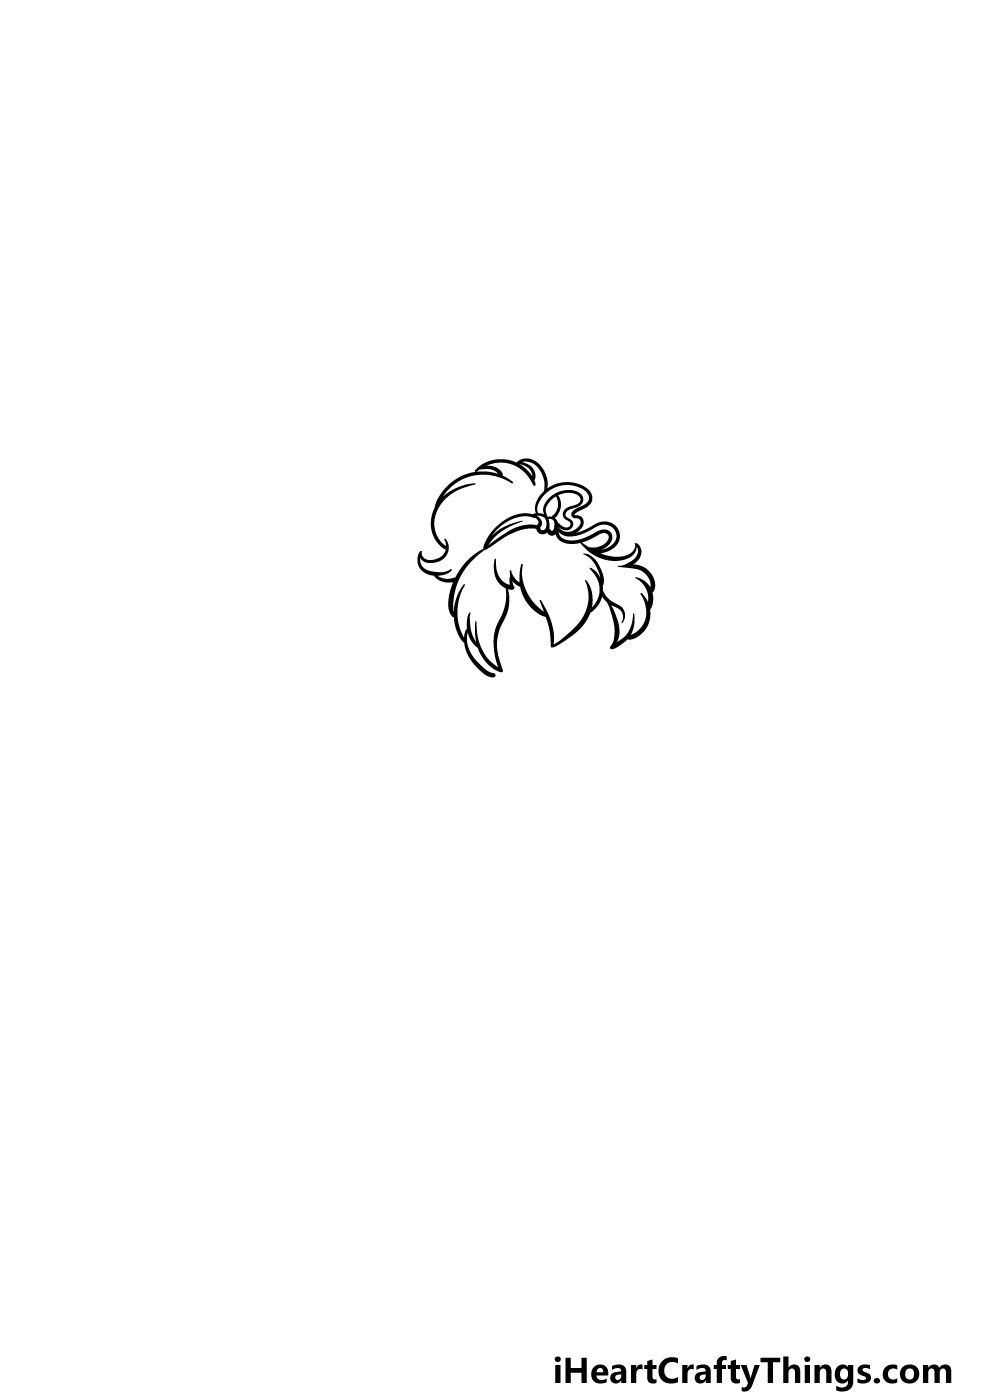
Step 1
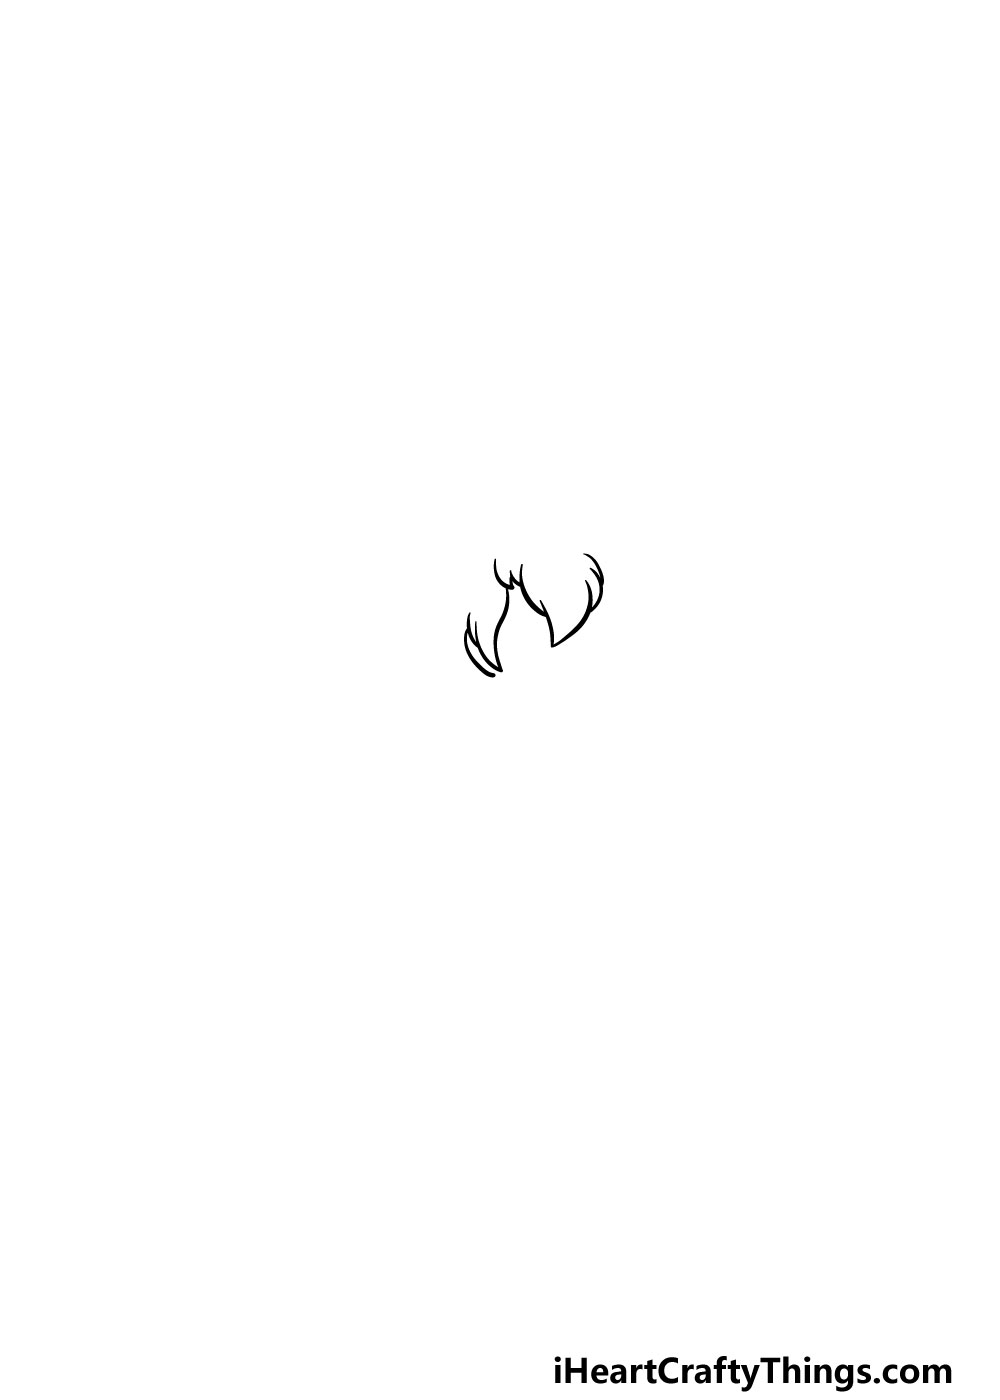
We will start simply for this first step of our guide on how to draw Tinkerbell. To begin this picture, we will start by drawing the beginning of her famous hairstyle.
To do this, we will be drawing some curved lines connecting to one another to form the part of the hairstyle that would go over her face.
Once you have replicated these lines to appear as they do in our reference image, you’ll be ready for step 2!
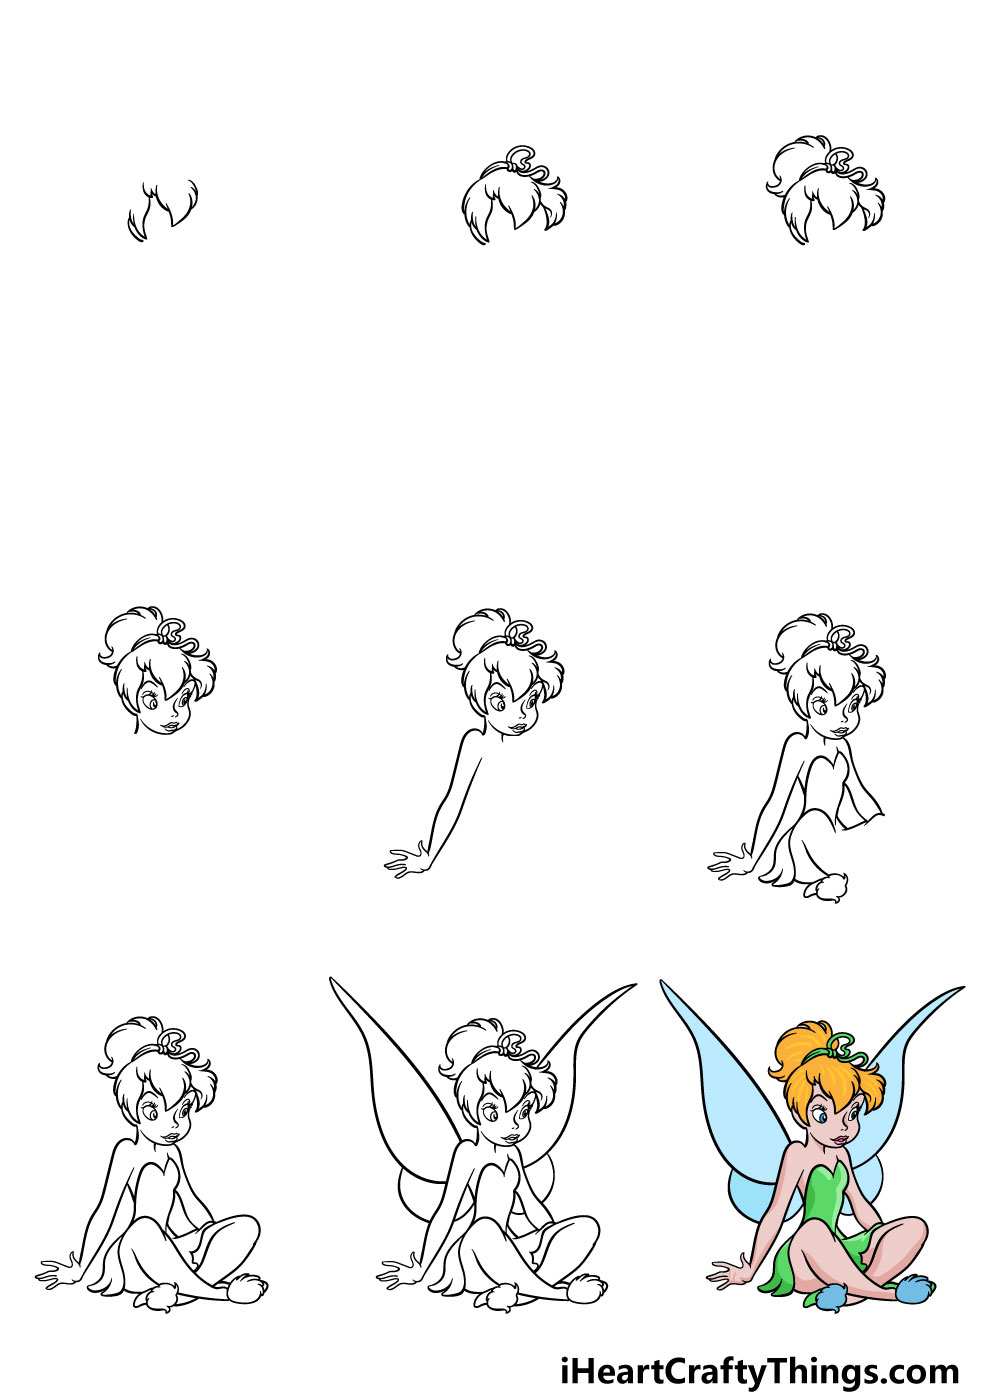
Step 2 – Next, draw some more of her hairstyle
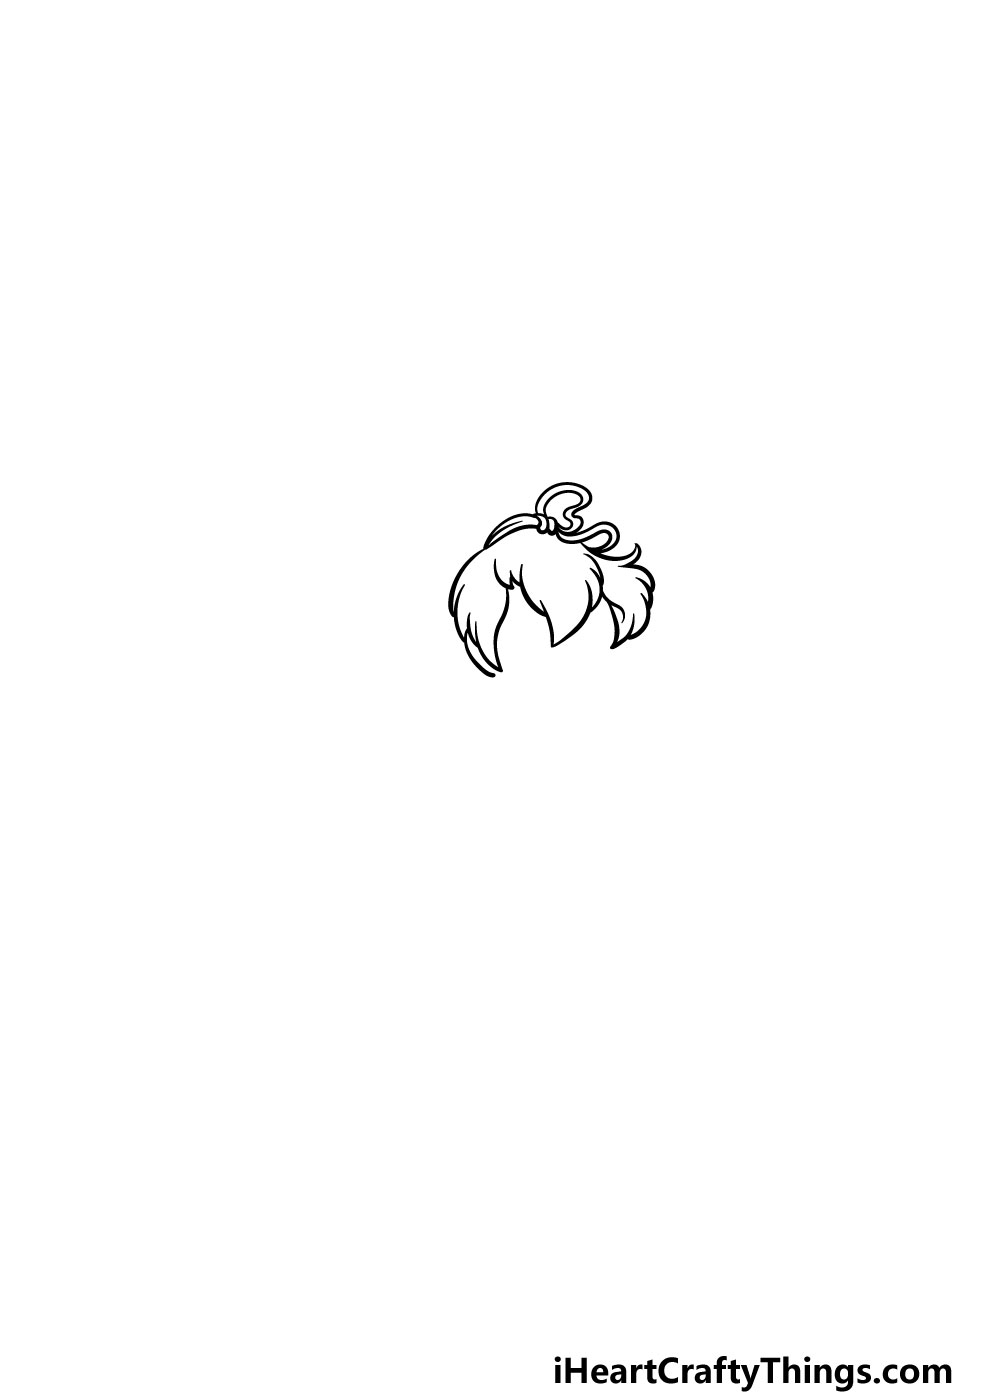
We will be adding more to her hairstyle in this step of your Tinkerbell drawing. First, start by drawing some thin lines to draw the string tying her hair together at the top of the head.
This string will also be tied into some loops. Then use some more curved lines connecting to one another in order to create more of the hairstyle.
Step 3 – Now, draw her ponytail
This step of our guide on how to draw Tinkerbell will be focused on finishing off her hairstyle. Specifically, we will be drawing her ponytail.
You can draw the shape onto the string from earlier using some more of those smaller curvy lines. Then we can start to draw more of her in the next step!
Step 4 – Next, draw her face
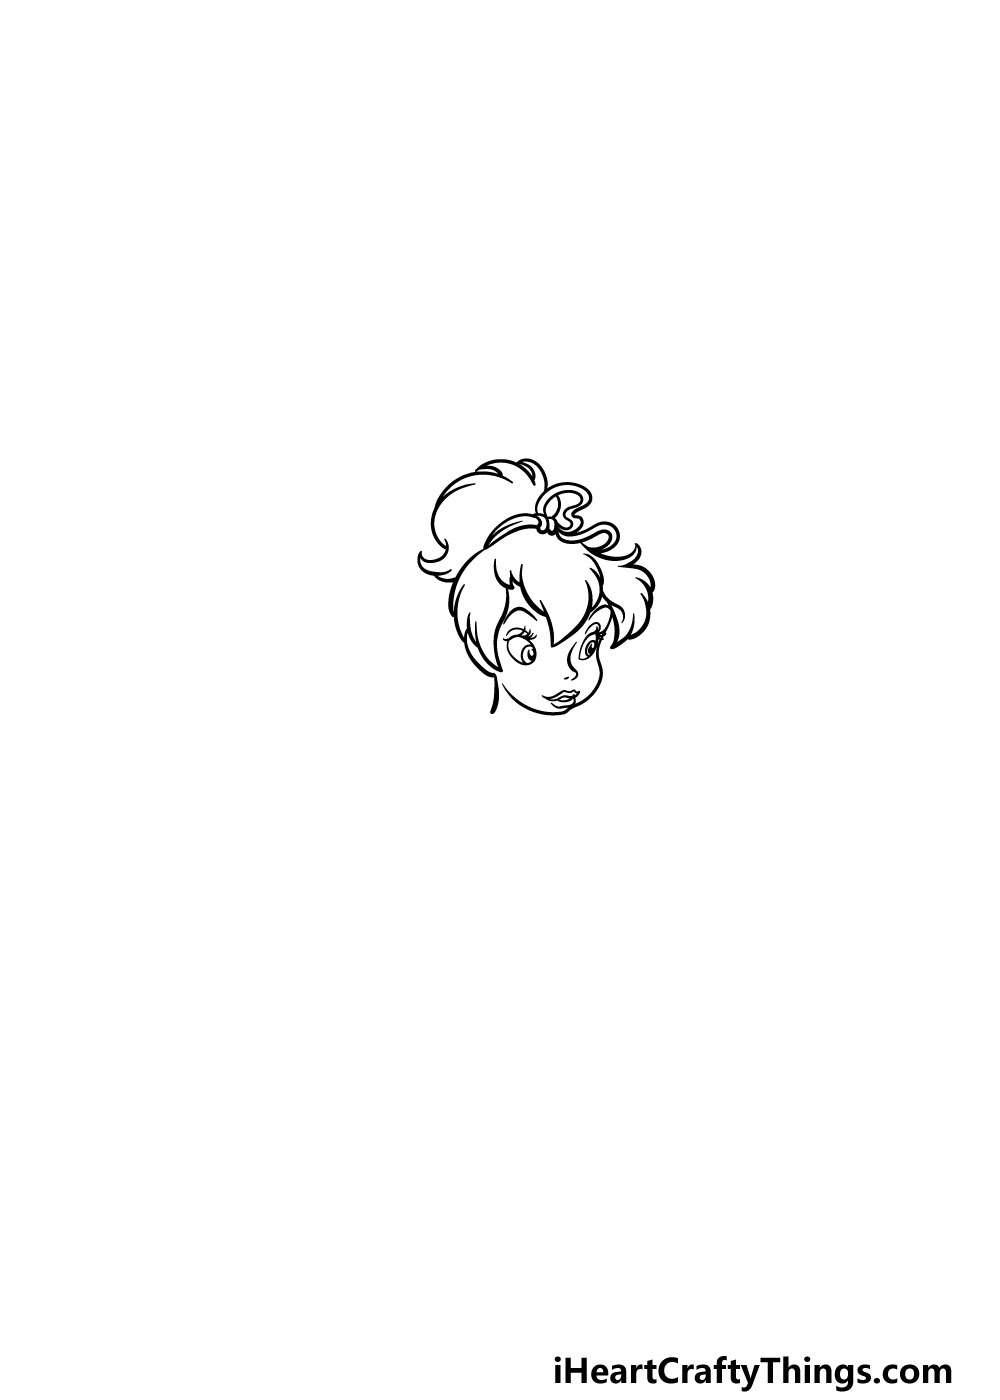
Now that you have finished drawing her hairstyle, you can draw the face for your Tinkerbell drawing in this part.
Her eyes are drawn as two ovals with circular shapes inside of them, and there will be some eyelashes and eyebrows above them.
Then you can use some simple lines for her small nose and mouth, and once those are drawn you can then add the facial outline with some rounded lines.
Step 5 – Now, draw her first arm
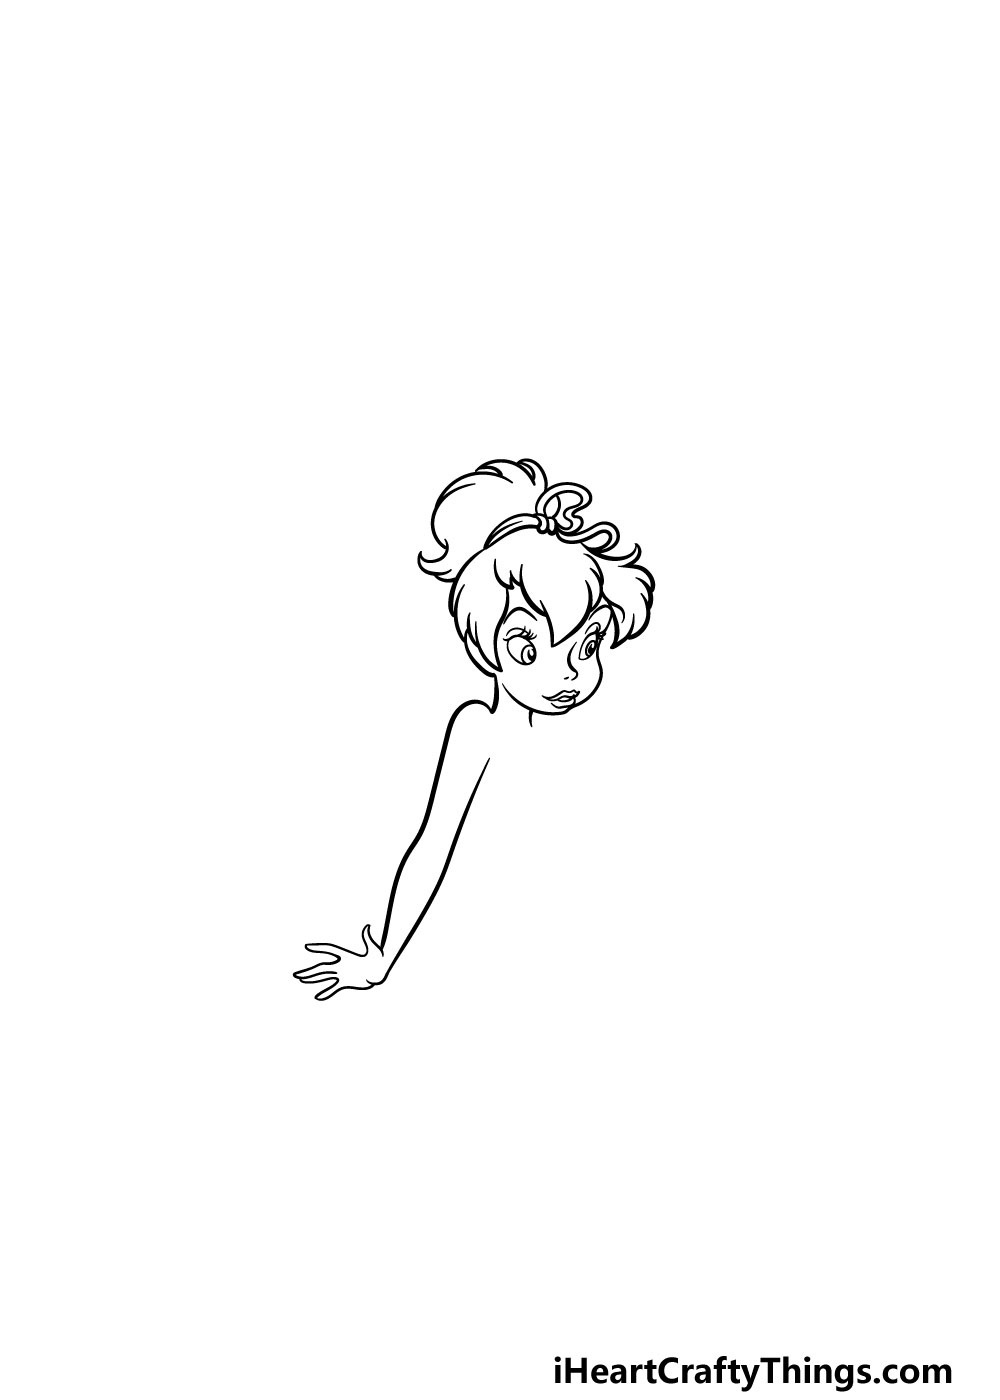
The next few steps of this guide on how to draw Tinkerbell will be based on finishing off her body. To begin this, we will be starting with her arm.
The arm will extend down from the base of her neck, and it will be drawn with some rounded lines that curve down to culminate at the hand that she is leaning on.
Step 6 – Next, draw more of her body
In this part of your Tinkerbell drawing, we will be adding more of her body. Using the reference image as your guide, use some more rounded lines to draw her other arm behind her.
Then you can draw the top half of her dress. You can finish off this step by starting the top of her legs, and we will finish those in the next part.
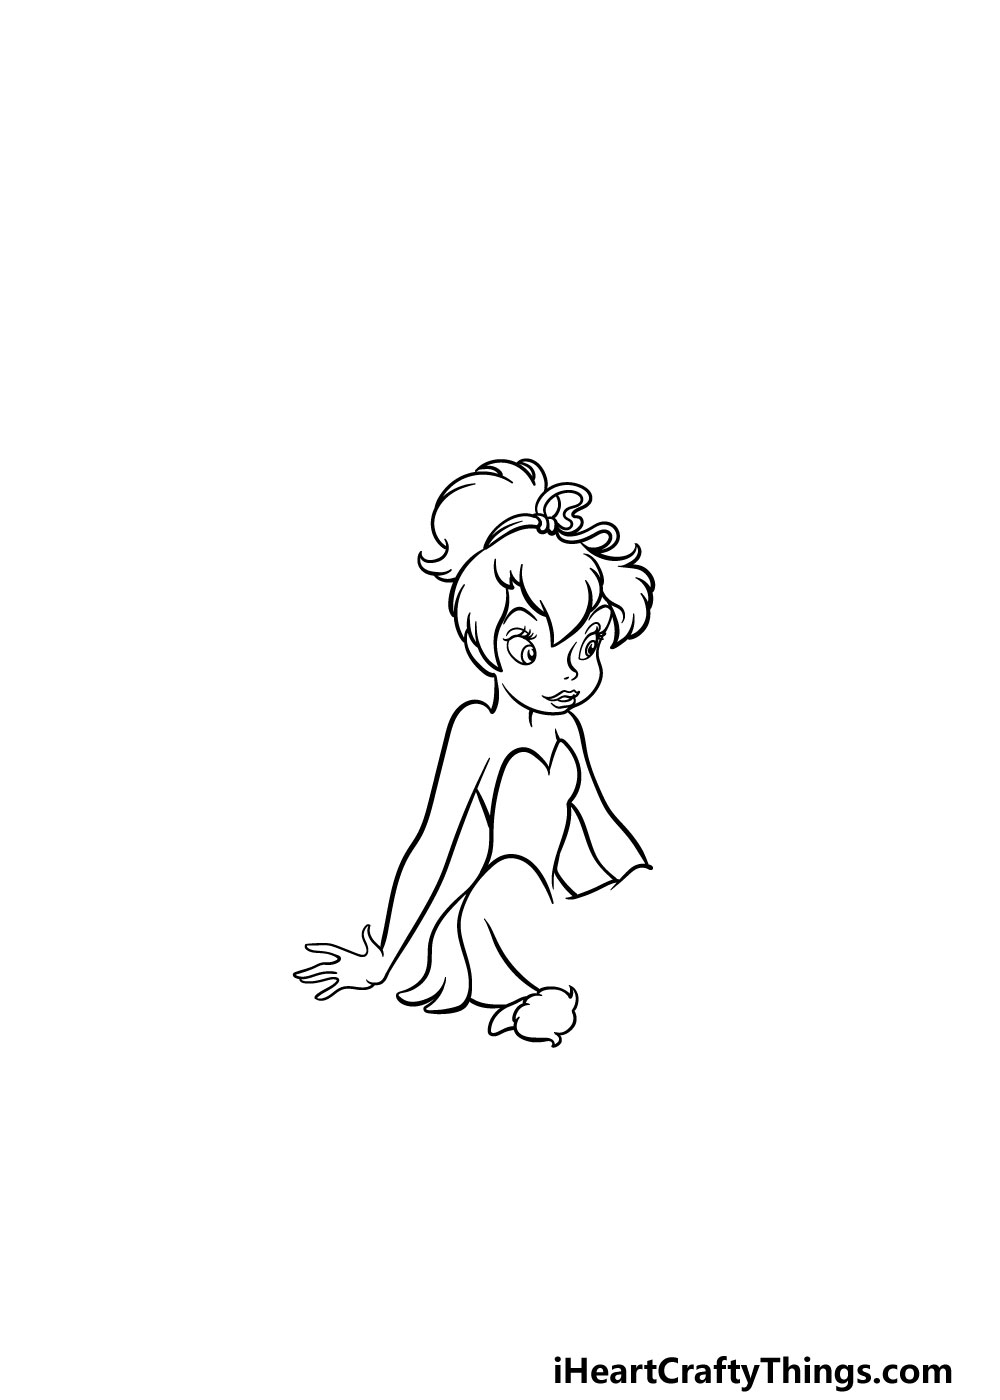
Step 7 – Now, finish off her legs

We will be finishing off the legs in this step of our guide on how to draw Tinkerbell. To do this, we will be using more rounded lines to draw her legs crossed beneath her.
Be sure to add some round shapes at the tips of her feet for her fluffy shoes!
Step 8 – Next, draw some wings for Tinkerbell
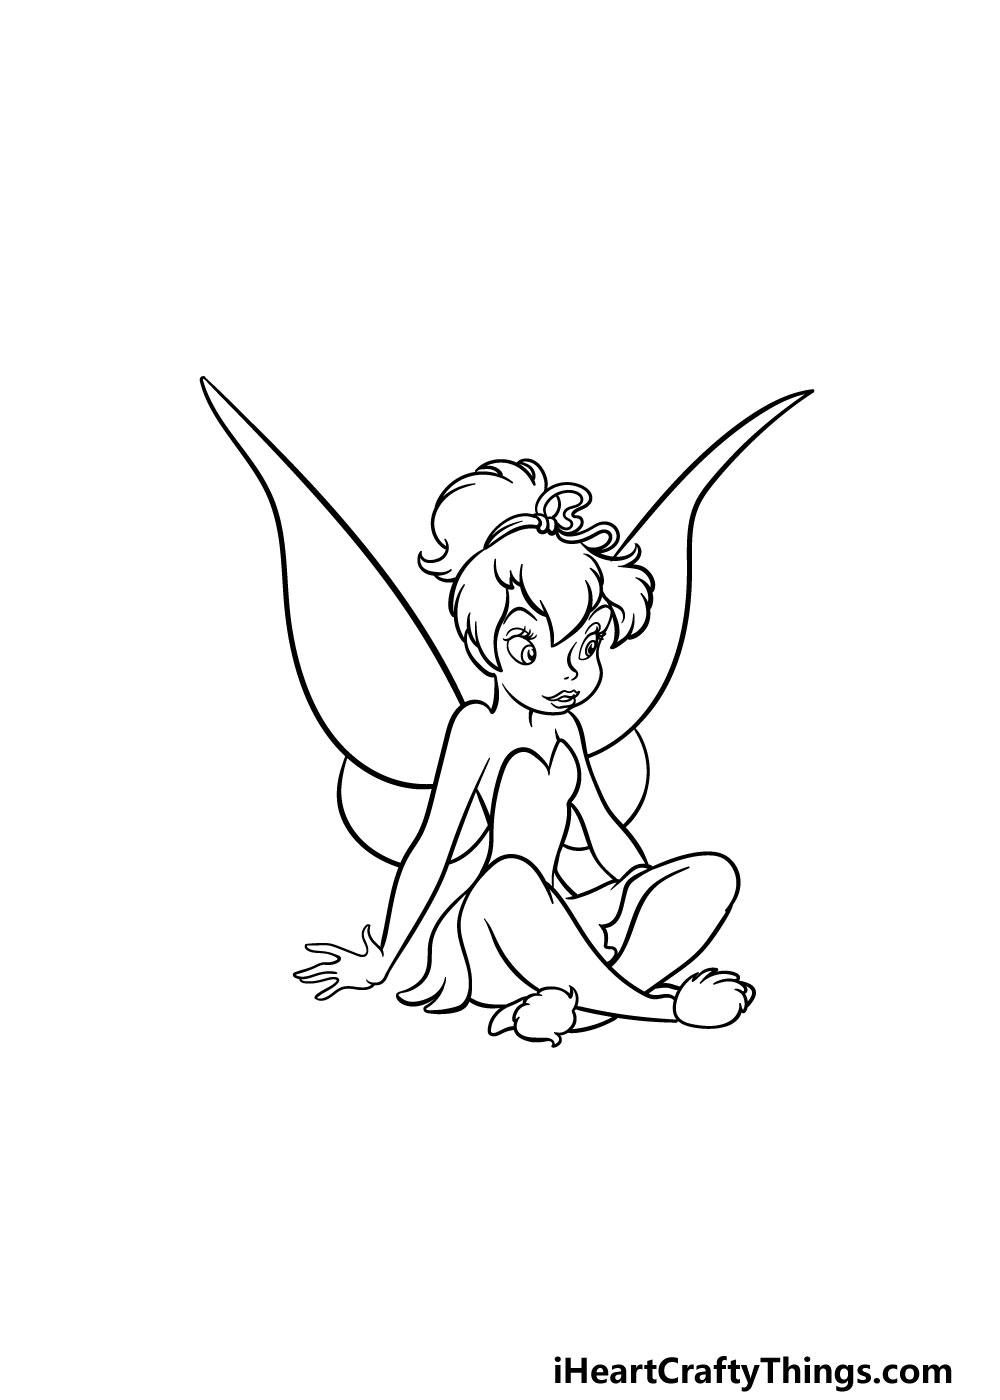
Before you color in your Tinkerbell drawing, there is just one more aspect to add to your Tinkerbell drawing.
She wouldn’t get around as quickly without her fairy wings, so we shall add them now! Each wing is separated into two parts. The top half is longer and thinner, while the bottom half is smaller and more round.
Once you have drawn the wings, be sure to add a background or any details you would like before you move on!
Step 9 – Now finish off your Tinkerbell drawing with some color
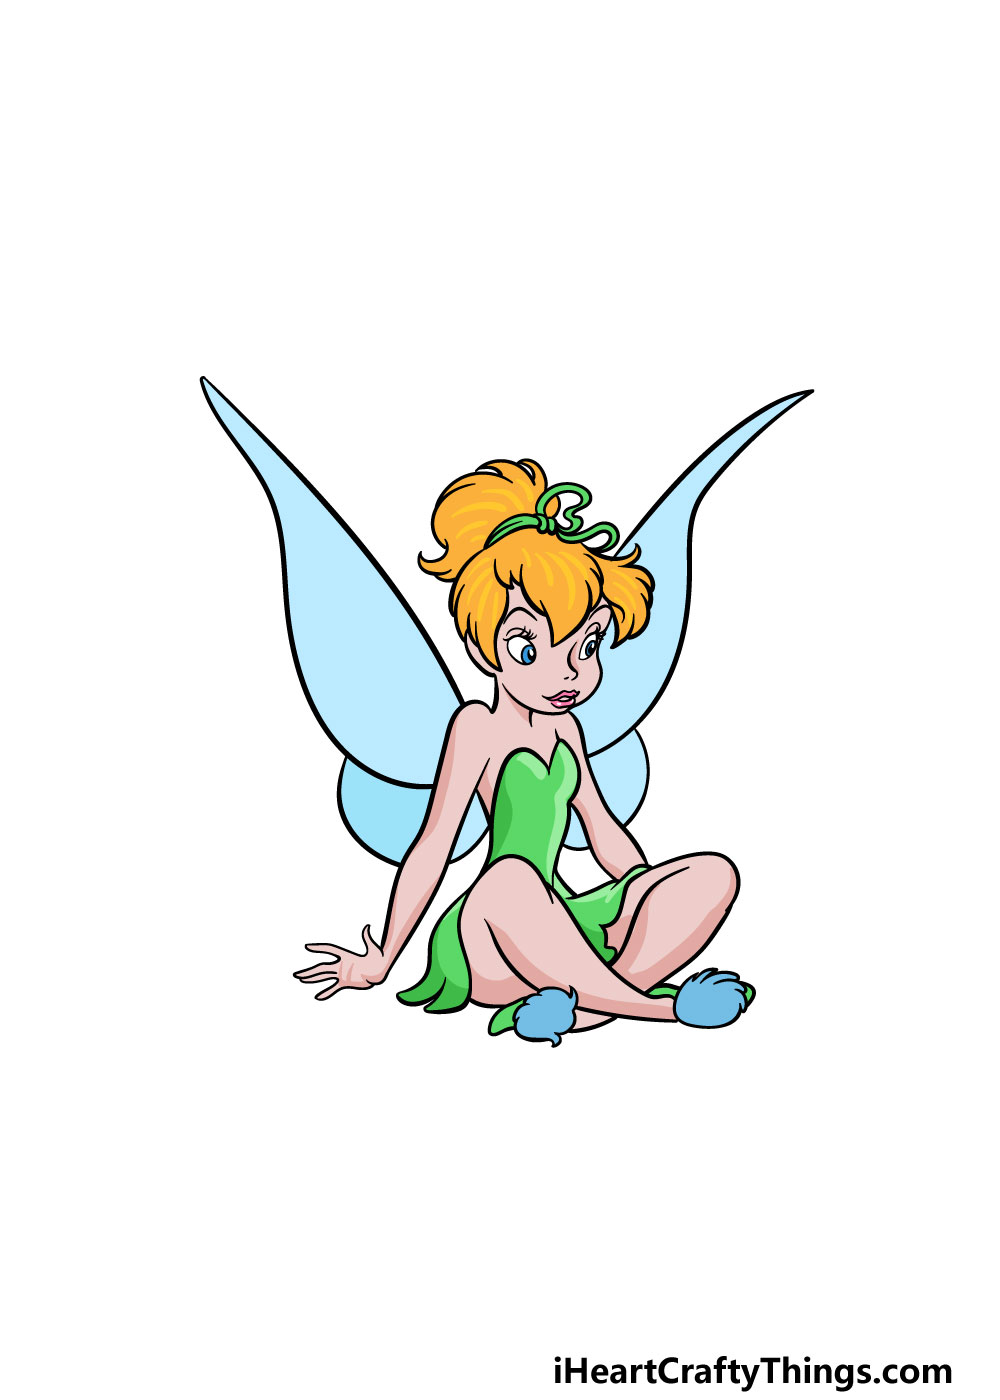
Now it’s time to finish off the image with some color in this final step of our guide on how to draw Tinkerbell!
She is well known for having a green and yellow color scheme in her film appearances, and that is what we went with in our example image.
For the picture, we used shades of green for her outfit while using golden yellow for her hair. Finally, we finished off with some mild blues for her wings.
These are the colors that we chose, but you should feel free to change up the colors as you wish!
When choosing your art mediums, maybe you could try to incorporate some glitter or glitter pens to give Tinkerbell some magical sparkle!
What colors and art mediums do you think you will use to finish off this magical drawing? We can’t wait to see what you go for!
5 Tips To Make Your Tinkerbell Drawing Even Better!
Create some artistic magic with these 5 ideas for your Tinkerbell sketch!
For this Tinkerbell drawing, we showed her sitting cross-legged on the ground. It’s a classic pose for Tinkerbell, but you may want to show her in some other poses instead.
You could easily do this by changing just a few details! Referring to some of the movies and TV shows she has appeared in would be very helpful if you wanted to try and do this.
Whether you change the pose of this drawing of Tinkerbell or keep it the same, it could benefit from a background. There are so many fun options you could go for if you wanted to try this!
There are loads of background settings from her various appearances that you could use.
This would be a great way to recreate your favorite Tinkerbell moments, but you could also go with a unique background.
This character is joined on her adventures by many famous characters. You could add some of them to finish off the scene you are creating!
These could be some of her fellow fairies from many of her cartoon appearances. Or, you could go with a famous character such as Peter Pan to represent some of her famous film moments.
Are there some characters that you can think of that would suit this picture?
The style we used for this Tinkerbell sketch shows her as she appears in the animated films. She has appeared in many forms of media, so you could use some of these styles instead.
For example, you could show her as she appears in some of the CGI films she has starred in. What other Tinkerbell styles do you like?
Finally, you can really enhance this Tinkerbell drawing with some crafts and fun art tools. For example, she is known to have sparkly fairy dust associated with her character.
There are a few ways that you could represent this! One of the best ways would be to use some glitter or glitter glues for a sparkly finish to the picture.
Your Tinkerbell Drawing is Complete!
All 9 steps of this guide on how to draw Tinkerbell have been completed, and we hope that you had a magical time working on it!
When drawing a character like this, it can often be trickier than expected.
By using this guide and taking it slowly, our goal is to make sure that this drawing would be fun and easy for you to accomplish. Hopefully we achieved these goals for you!
Now it’s up to you to put your own spin on the drawing to finish it off.
You could draw a background, experiment with colors and mediums or even add some more Peter Pan characters to the image. We can’t wait to see what you come up with!
Don’t forget to check out our website, as we have so many guides for you to enjoy there! We upload new ones all the time, so make sure to keep checking in.
We would love to see your pretty Tinkerbell drawing, so please do share it on our Facebook and Pinterest pages for us to enjoy!