When you mention the sky to someone, a different image may pop up in their minds depending on their viewpoint.
Some may picture a clear sunny day or others may conjure up a vision of immense rainclouds filling up the sky.
The sky can look really different depending on various conditions, so it has featured in many artworks and gotten people wondering how they can learn how to draw the sky.
If you are one of these people, then you are definitely on the right guide!
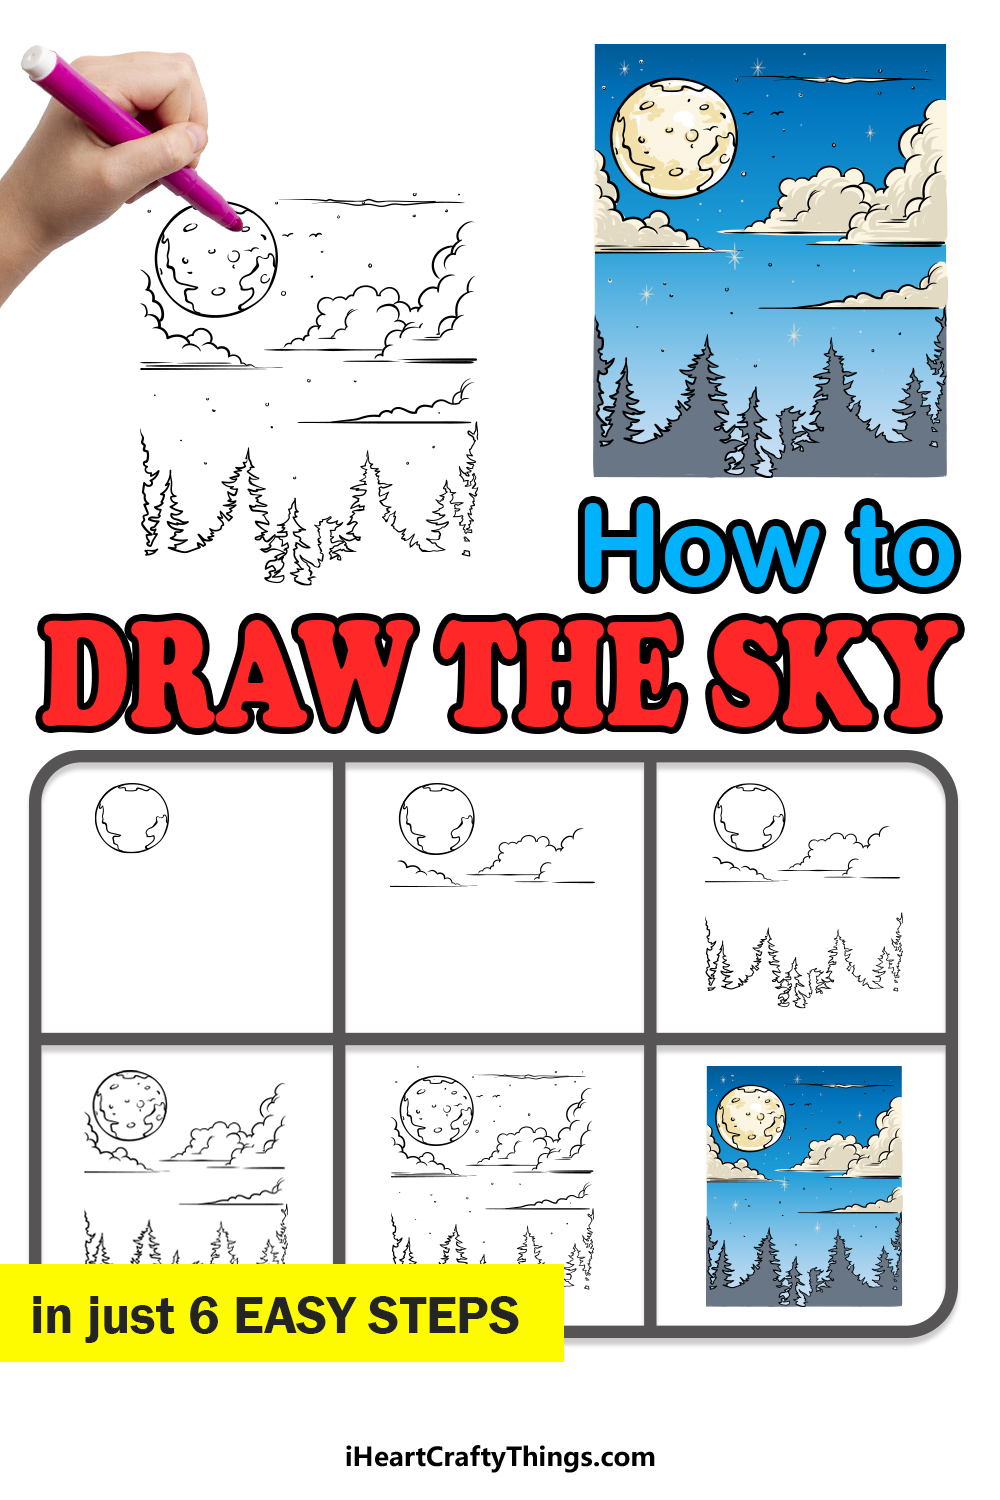
Our step-by-step guide on how to draw the sky will show you how to create a breathtaking sky scene in just 6 easy steps.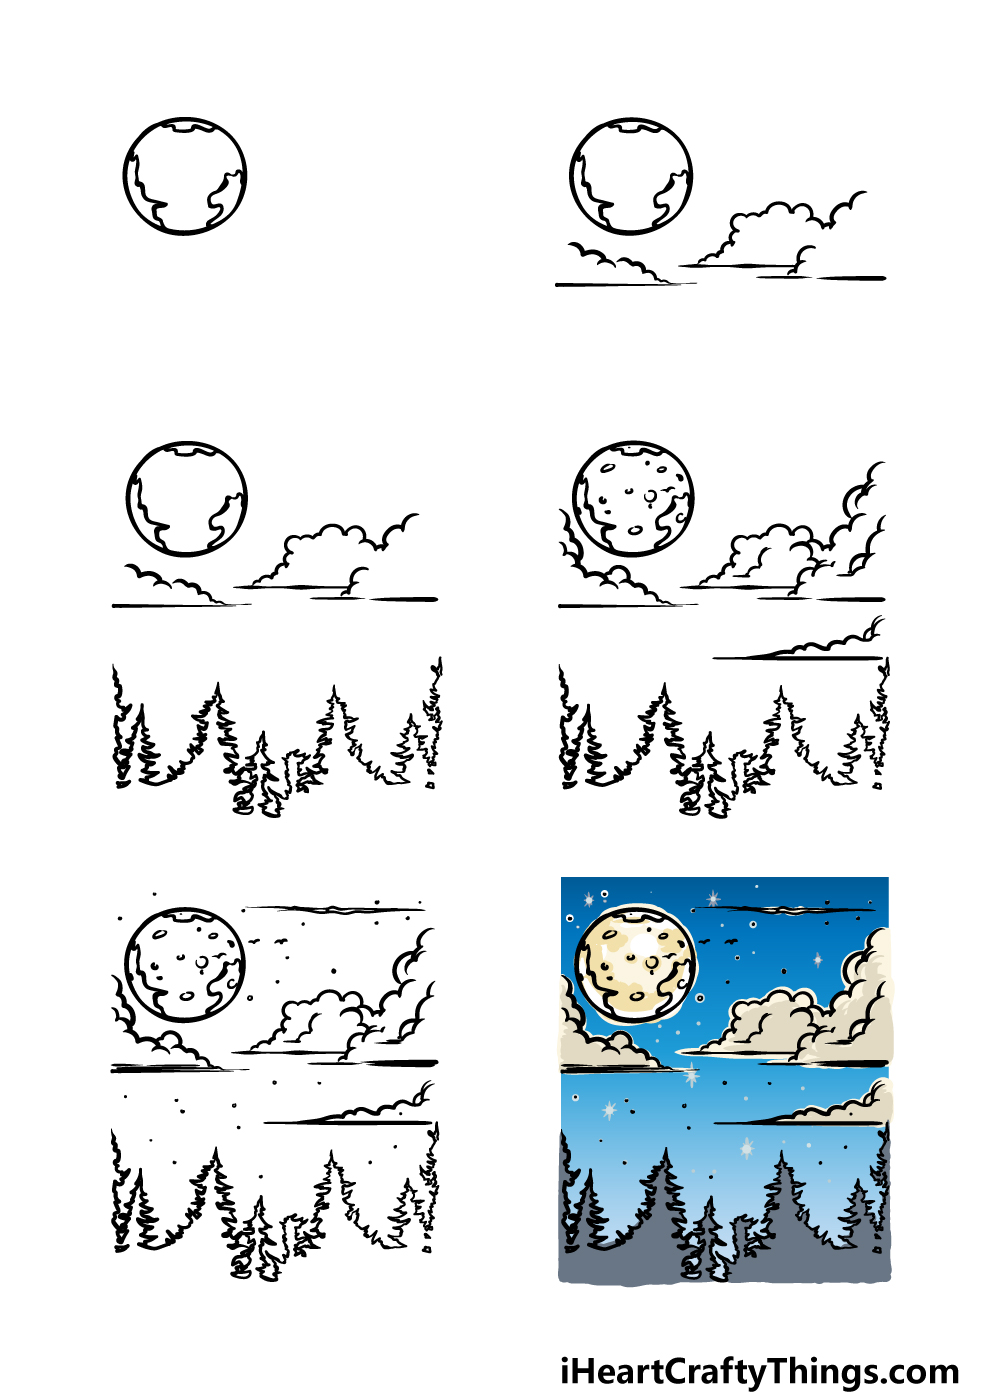
How to Draw The Sky – Let’s Get Started!
Step 1
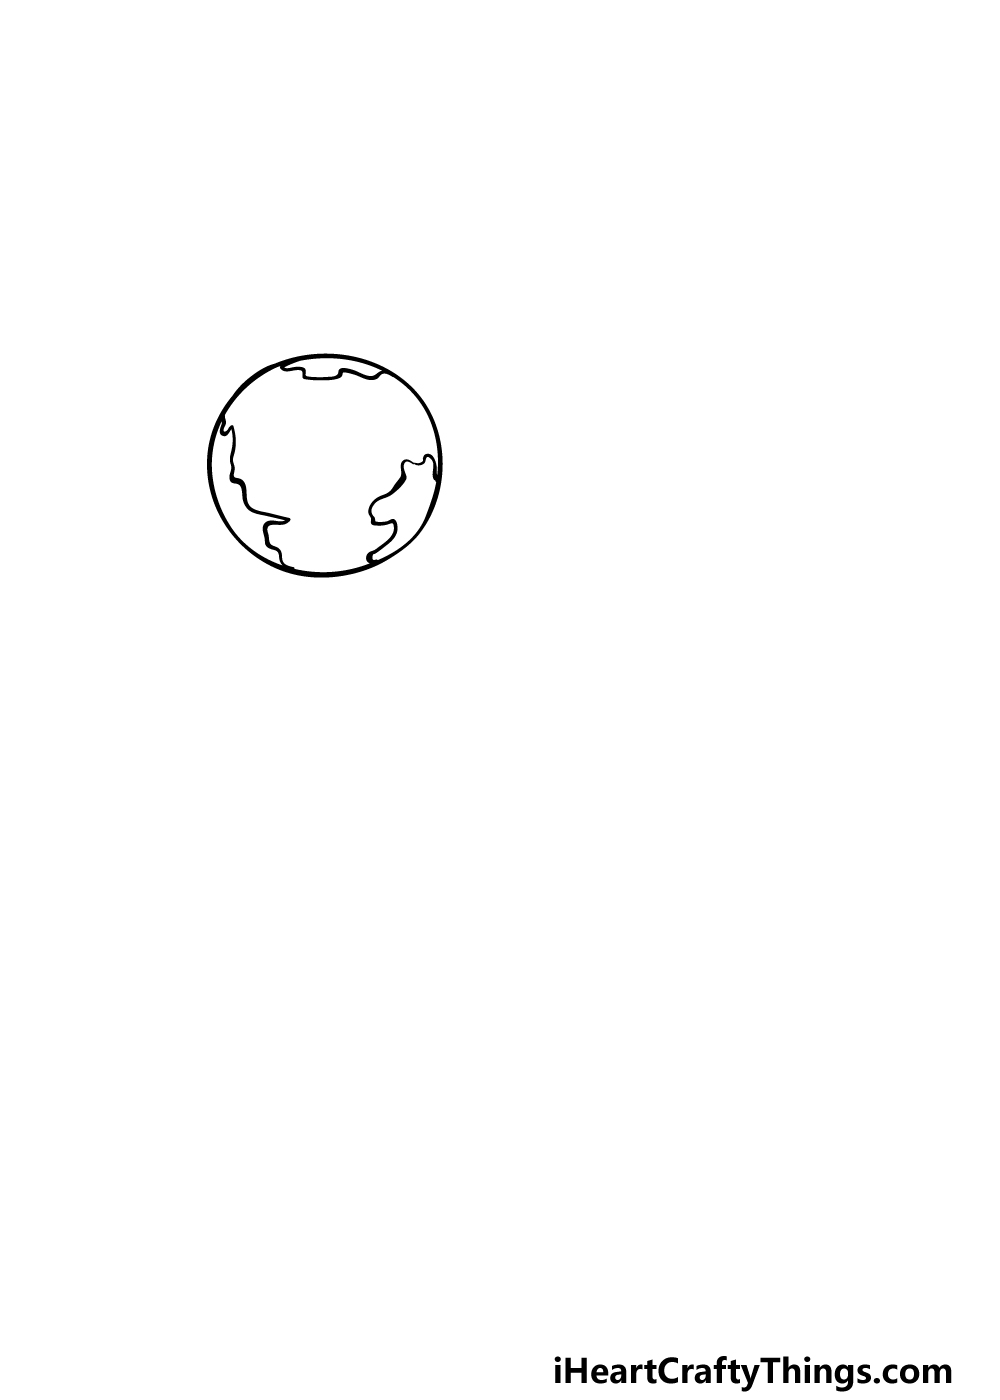
In this guide on how to draw the sky, we will be creating a gorgeous nighttime scene. To get this scene started, we will begin with the moon which will be presiding over the scene.
For this moon, we will first be drawing a simple circular shape. If you want a perfect circle for this moon, then you could use something like a drawing compass or a stencil to draw it, but you could also try your best at a freehand circle.
However you end up drawing the circle, you can finish off with some rounded shapes on it for some extra detail.
Step 2 – Next, draw some clouds for the image
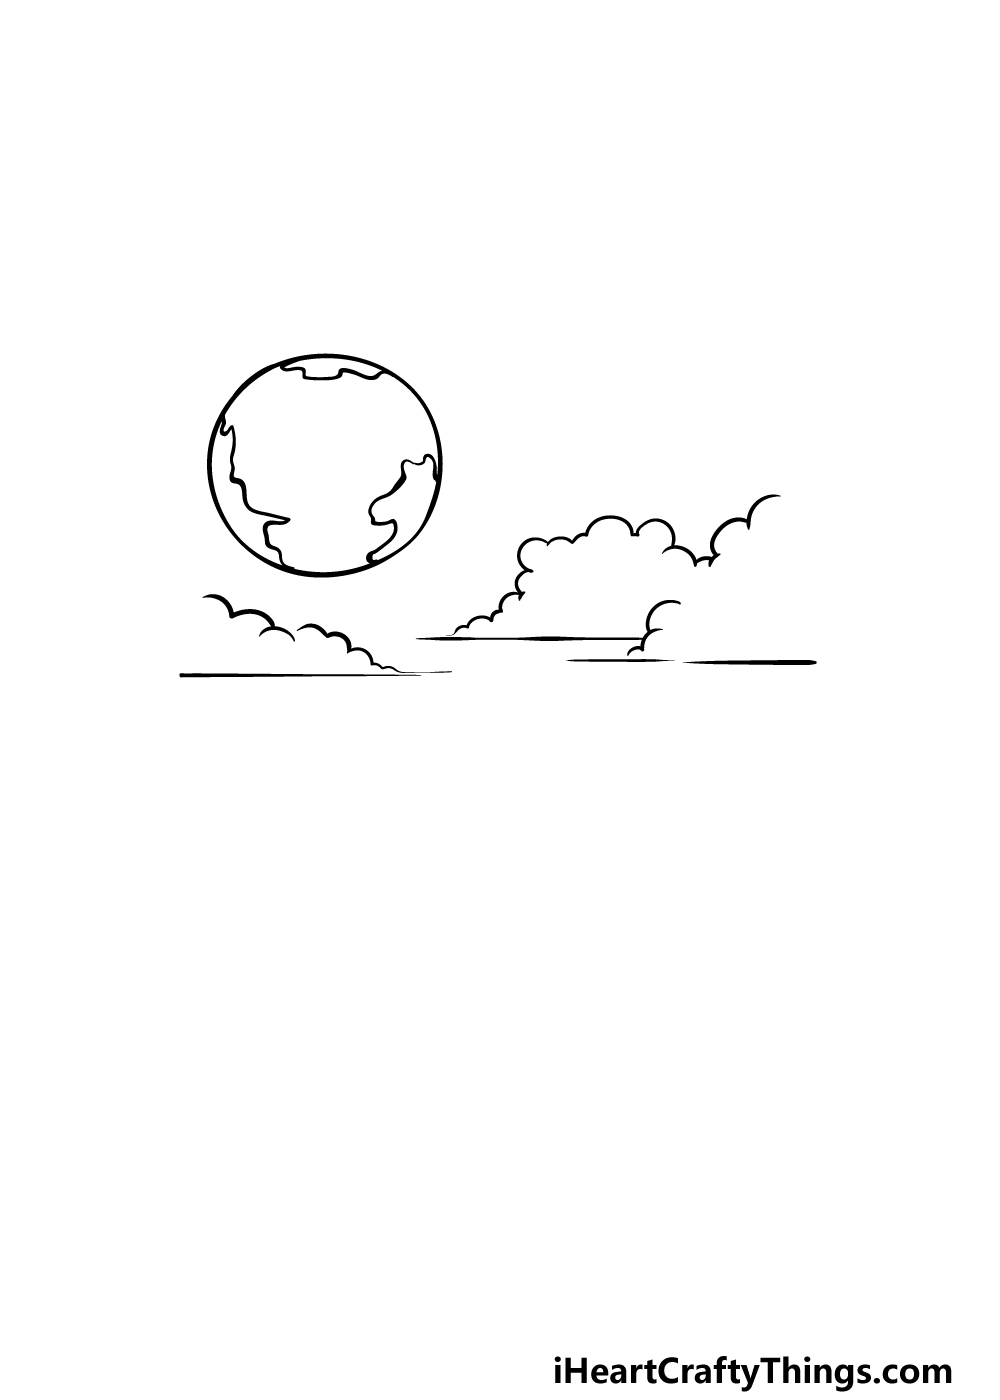
In this second part of your sky drawing, we will be drawing some clouds for the scene. These will help to create that beautiful nighttime atmosphere!
To draw these clouds, we will be using a flat line for the base of each one. Then, you can draw the body of each cloud using a bumpy line to create shapes that look nice and fluffy.
For this guide, we will be drawing three clouds in the sky, but you could draw more clouds if you wish! You could also draw them in different shapes or sizes depending on your preference.
Step 3 – Now, draw some trees
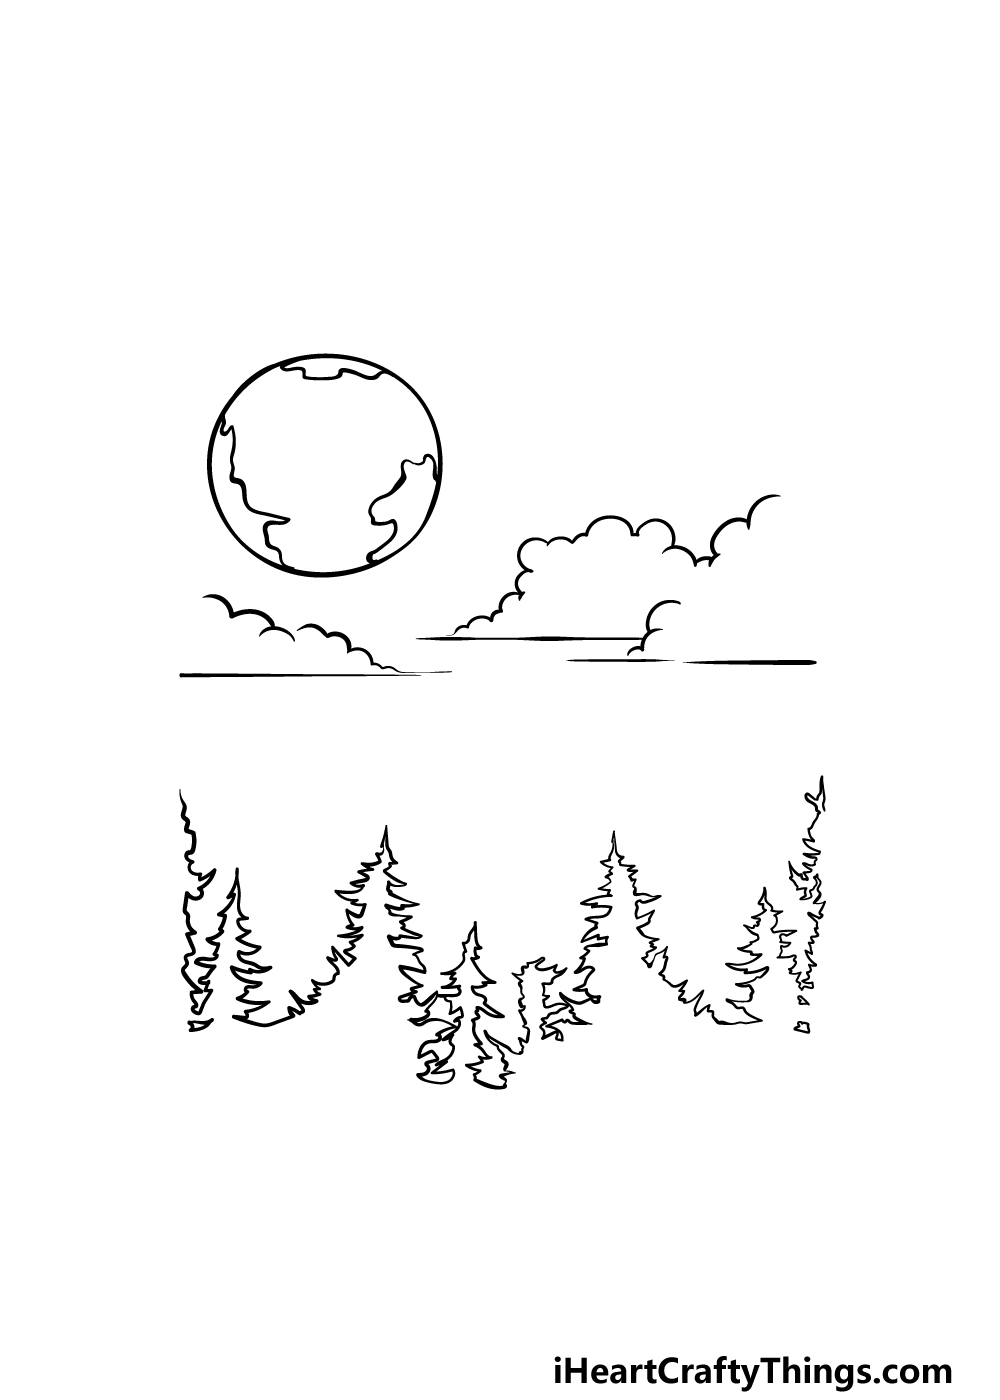
Next in this guide on how to draw the sky, we will be adding a pine forest to the base of the drawing.
Seeing the night sky above a wonderful forest is always a marvelous sight, and we will replicate that in this picture.
The trees will be seen as silhouettes, and you can use lots of pointier lines for the edges of the trees.
The row of trees will technically be one long line that goes up and then down again to make the tree shapes that are thick at the base and get thinner as they go up.
Once you have drawn this row of trees, you’re ready for step 4.
Step 4 – Next, build up some details for the moon and clouds
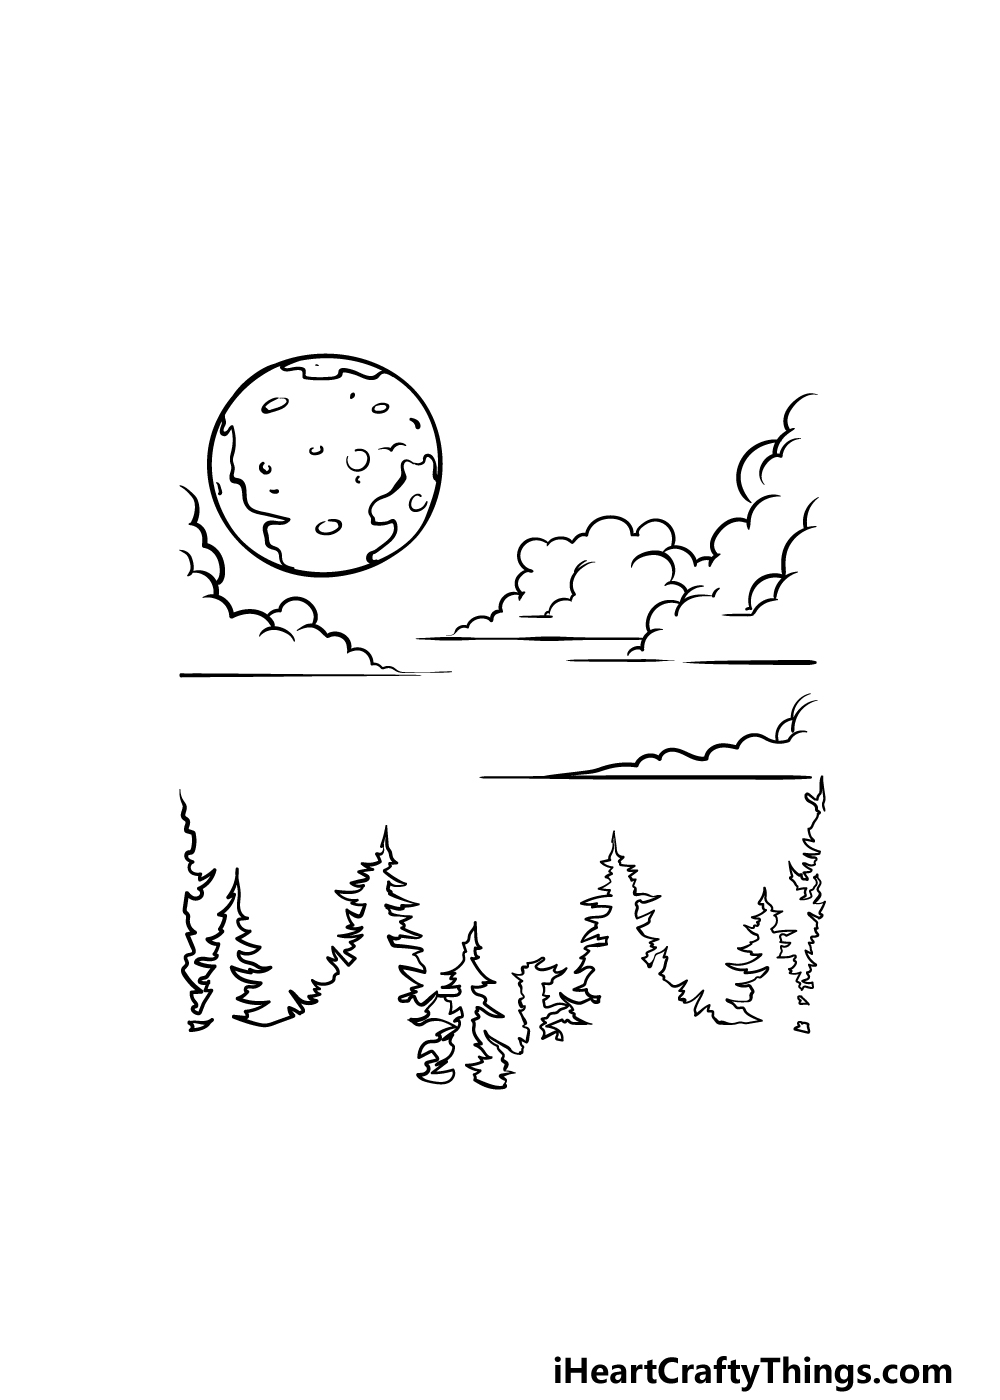
You have pretty much all of the outlines for your sky drawing done now, so for the next few steps we will finish off with some smaller details.
For the moon, you can draw some small circles and line details on it to give it a more textured look.
Then, we will focus on the clouds. These will have some bumpy lines drawn throughout them to make them look nice and fluffy.
In our image, we even added another thin cloud on the lower right-hand side of the image.
With these details drawn, we have just a few final touches to add in the next step!
Step 5 – Finish off your sky drawing with final details
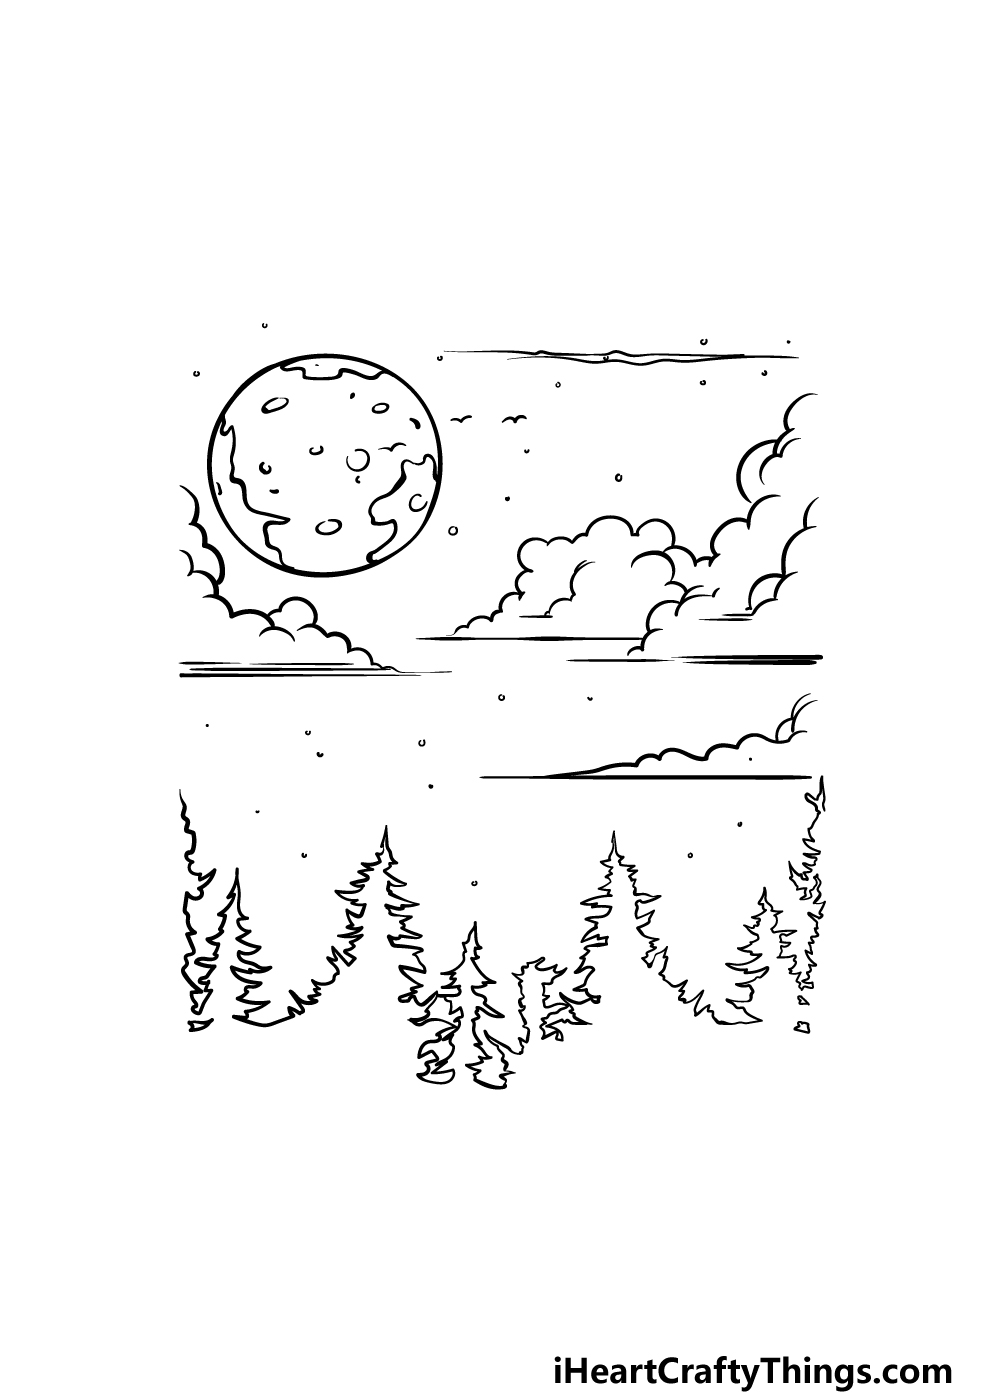
This step of our guide on how to draw the sky will be all about making it even more spectacular with some final touches and details!
There are so many great ideas that you could go for, so this is where you could really let your imagination run wild. First, for the details in our guide we added lots of small shapes to the sky for some stars.
Once these are added, you can then add some details of your own! Maybe you could draw an owl flying across the moon or add a gust of wind plowing pine needles about.
These are just some suggestions, but have you got any ideas for how to put your own spin on this picture? We can’t wait to see!
Step 6 – Finish off your sky drawing with some color
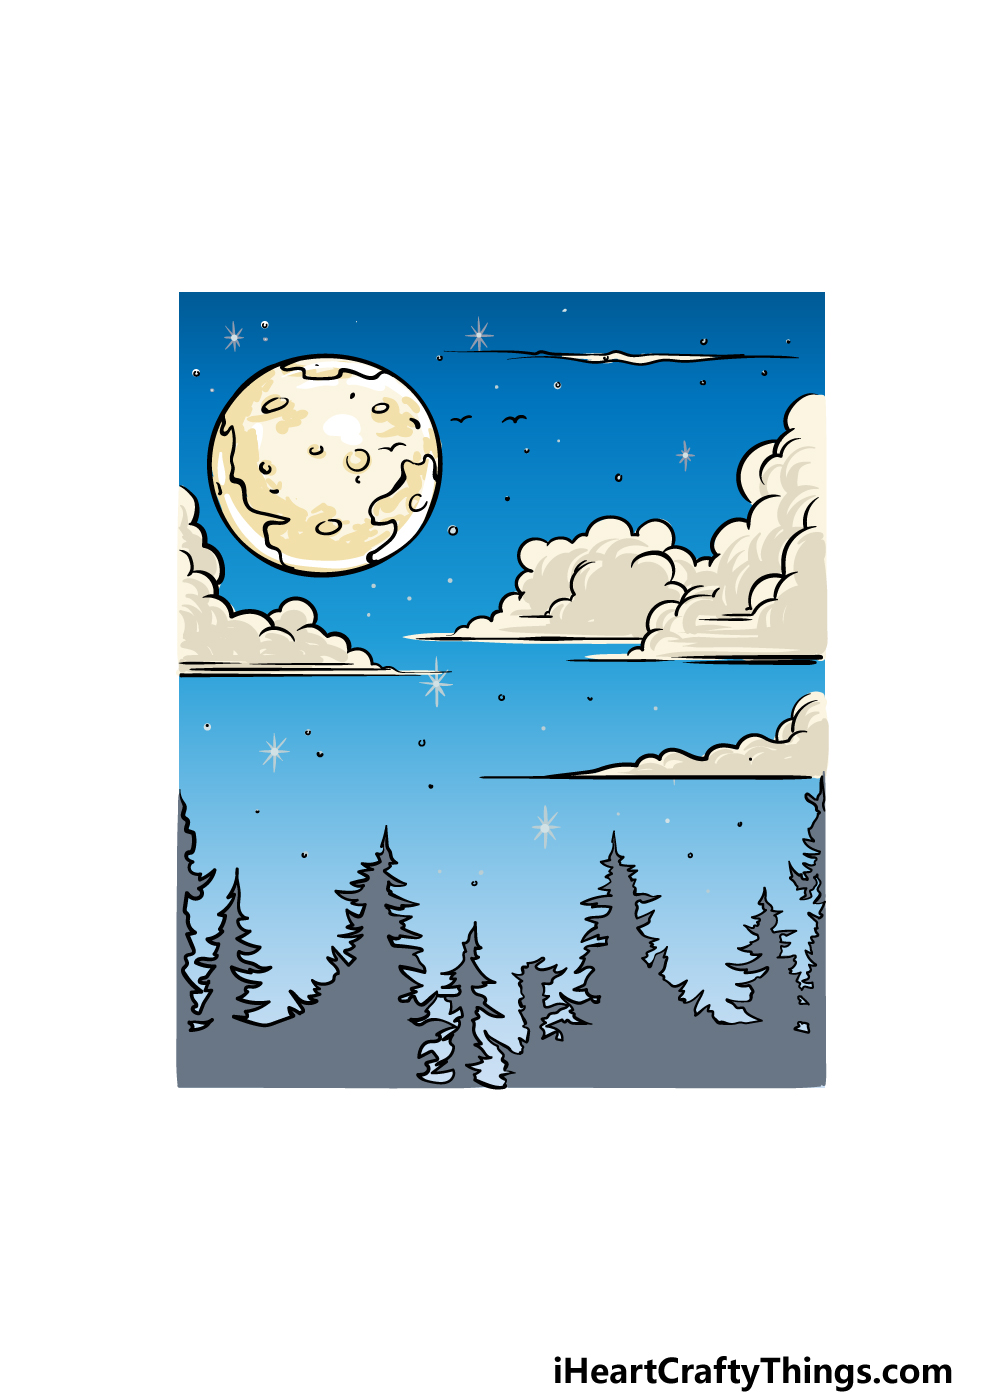
With all the final details and elements drawn, you can now focus on finishing off your sky drawing with some amazing colors.
In our reference image, we went for a beautiful gradient of shades of blue for the sky to give it a nice atmospheric look.
Then we used some really light greys and beige colors for the clouds and moon to finish it off.
These are the colors that we chose for this picture, but they are also just a suggestion. You should definitely feel free to use any colors and shades that you want for it!
Then you can pick which art mediums to use for the image.
Maybe you could create a lovely painterly look for it by using some watercolor or acrylic paints. Some colored pens, crayons or pencils would also look great, so it’s up to you!
What colors and mediums will you use to finish off this stunning sky?
5 Tips To Make Your Sky Drawing Even Better!
Reach for the skies as we show you how to make your sky sketch even better!
We added some nice details to your drawing of a sky, but there is always room for more! These can depend on whatever kind of mood you’re going for.
For instance, you could add some flying bats over the moon for a spookier look. What are some smaller details that you feel would suit this one?
Adding smaller details is one thing, but you could also add some larger extra elements. Continuing with the spooky theme, you could take it even further by adding a scary castle in addition to some bats.
These additions don’t have to be scary, as you could also potentially add a peaceful cabin for a cozier feel. It all depends on what kind of image you want!
Another way you could change up this sky drawing would be by removing elements instead of adding them. When creating a drawing, it’s all about trying to create your own vision.
That vision may be a simpler image that has fewer clouds or maybe even none at all! Maybe you’d like a picture that’s cloudless with lots of stars.
What are some details you could remove?
If you use a nice big piece of paper, you could extend the scene even further. By using the foundation of what we created in the guide, you could extend the landscape as much as you want.
Then, when you have done that you could take it even further with some of the suggestions we have already covered.
You could really create an epic landscape!
Finally, you could also change the entire nature of this sky sketch. We went with a lovely nighttime scene for our guide, but that is far from the only approach you could take.
Once you have the hang of this drawing, you may want to make it a midday or morning scene, for example. What kind of sky settings do you think you may want to try out?
Your Sky Drawing is Complete!
We hope that you enjoyed recreating this incredible scene with us on this guide on how to draw the sky!
Drawing something as immense and impressive as the sky can be a bit intimidating sometimes, so we tried to break it down into smaller, more manageable chunks for you.
Hopefully this made it so much more enjoyable for you as all the frustration is taken out of it!
Then you can go even further with this drawing as you add your own personal touches and details to it. We went over just a few ideas for you earlier in the guide, but this is where you can take over and show us your vision for this drawing!
Your drawing journey doesn’t have to end here either, as we have tons of amazing drawing guides for you on our website! Visit us there for more, and keep an eye out for the new guides we have coming soon.
We would love to see your beautiful sky drawing when it’s done, so please share it on our Facebook and Pinterest pages for us to marvel at!