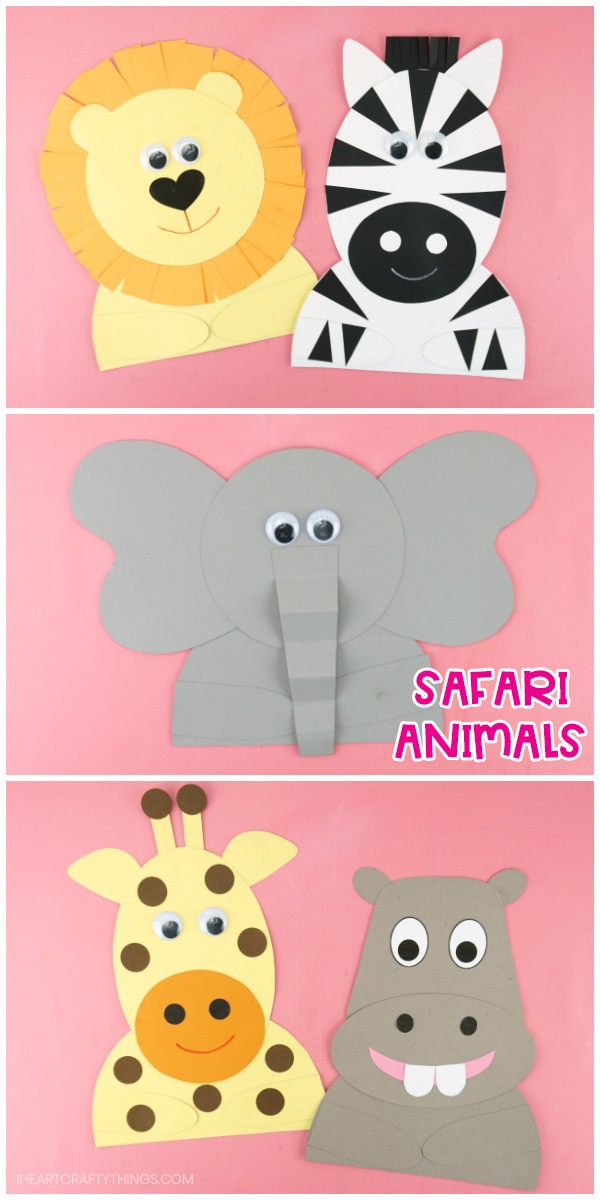
These adorable safari crafts are super easy for preschoolers, kindergartners and kids of all ages to make. They would make a great craft activity to go along with a safari learning unit and will look fantastic up on display in the home or classroom.
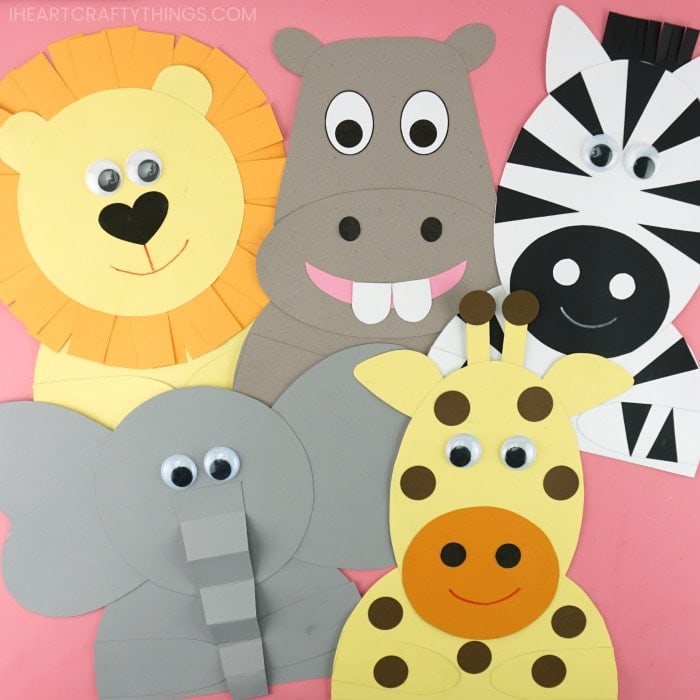
To add an extra learning component to the safari crafts, have children complete a writing prompt about the animal they created, and attach it to the bottom of the craft with the animal’s arms holding onto it. We’ve created five different safari animals for you to choose from: A zebra, lion, giraffe, hippopotamus and elephant. Choose your favorite animal to create, or make one of each for a full safari collection.
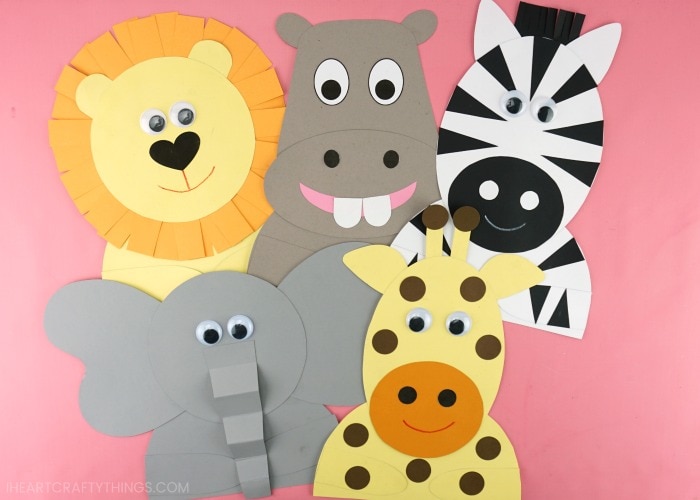
Read our simple how-to instructions below for making each of the safari animals. You’ll also want to watch our full video tutorial inside this post before you get started.
Supplies Needed:
- Safari Animal Crafts Template <—– Get the Template in our Shop
- colored cardstock paper
- 1-inch googly eyes (optional)
- crayons
- scissors
- glue stick
How to Make a Zebra Craft
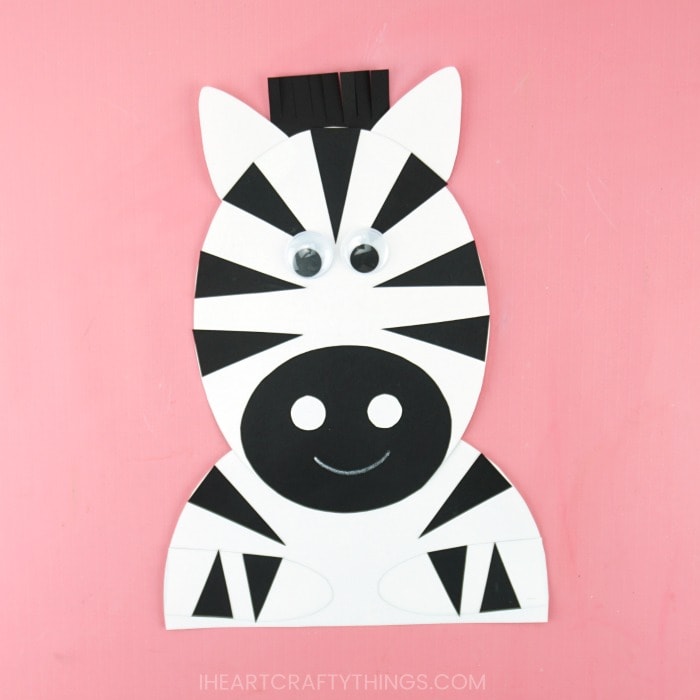
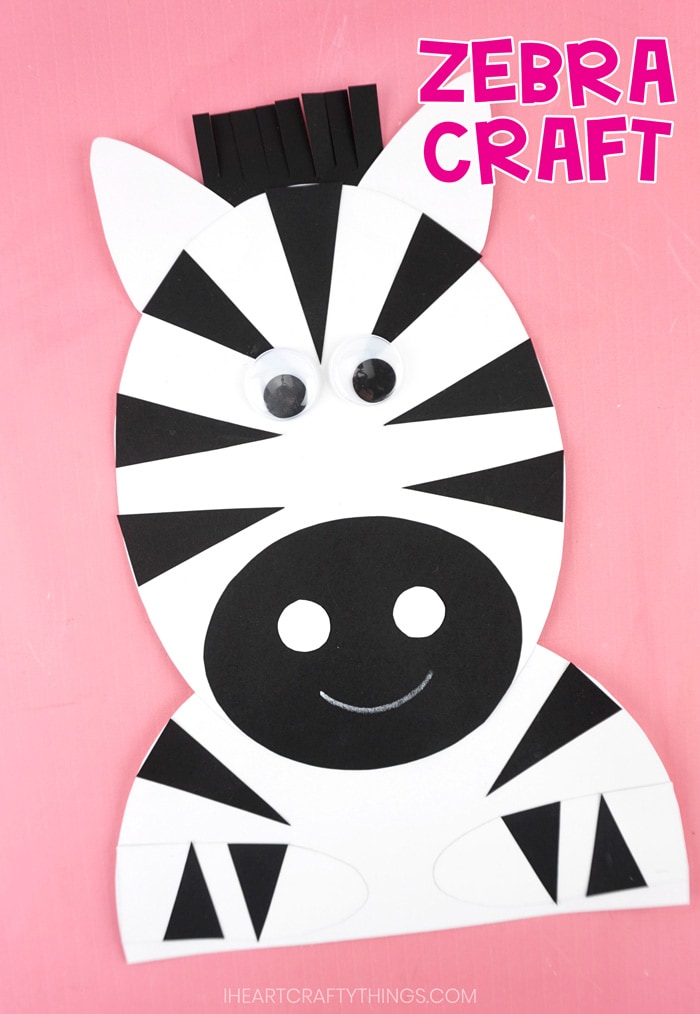
Zebras are an iconic animal from the safari. This cute zebra craft boasts fun triangle shaped stripes and scissor slit cut hair that helps to add some extra pizazz to the craft. You’ll find this paper craft to be super fun for kids to create.
1. Print out template
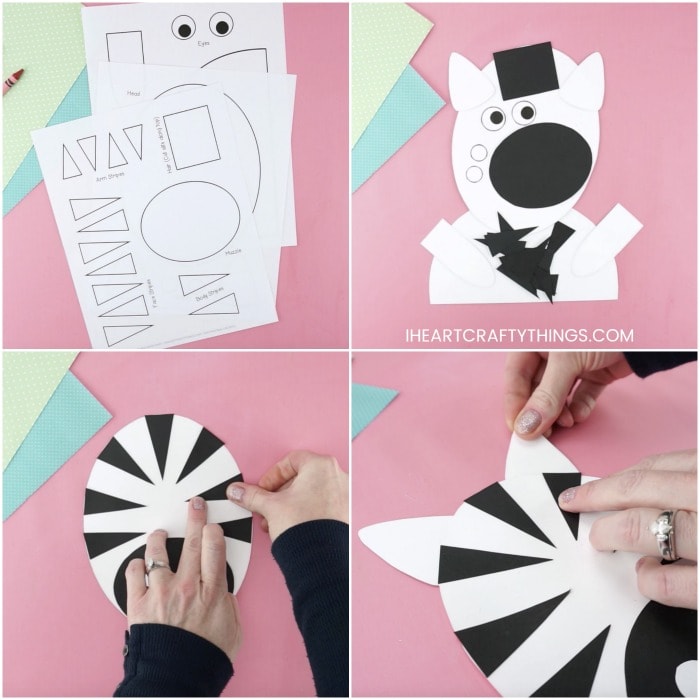
Get the safari animal templates from our shop. Print out pages 1 and 2 of the zebra template on white cardstock and page 3 on black cardstock. Cut out each of the pieces from the template.
Note: If your printer won’t print on black paper, print out page 3 on white cardstock and use the pieces as a template to trace and cut out each of the pieces on black cardstock. You can also have children color the template with crayons.
2. Glue muzzle & stripes on shapes
Glue the muzzle on the bottom of the zebra head. Then glue each of the face stripes around the perimeter of the head and the ears at the top of the zebra.
3. Add remaining face shapes
Glue the two nostrils inside the muzzle and then use a white crayon to draw a mouth on your zebra. Add googly eyes to your zebra, or the eyes provided in the template.
4. Make zebra hair
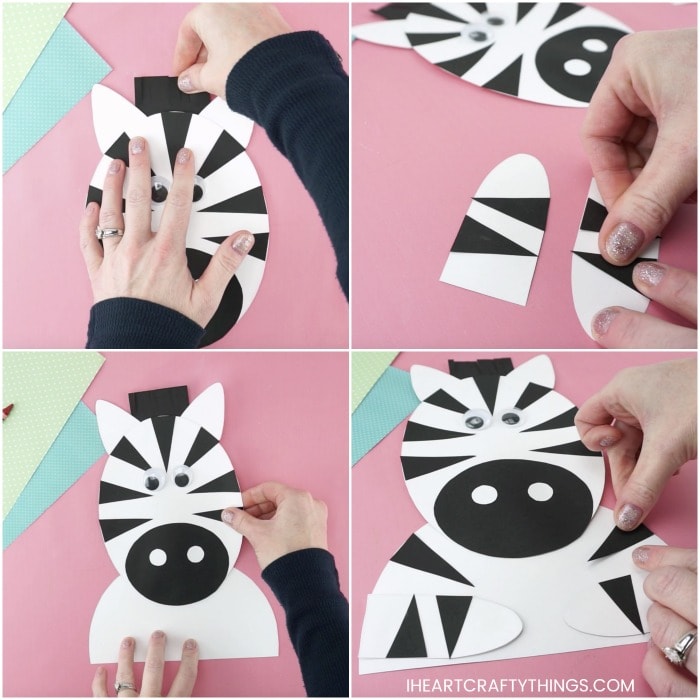
Cut slits along the top of the zebra hair rectangle and glue it on the back side of the head, behind the ears. Then glue the arm stripes on each of the arms.
5. Glue body parts together
Add glue at the top of the zebra body and attach the head to it. Then glue each of the arms onto the body, and the remaining two body stripes.
How to Make a Hippopotamus Craft
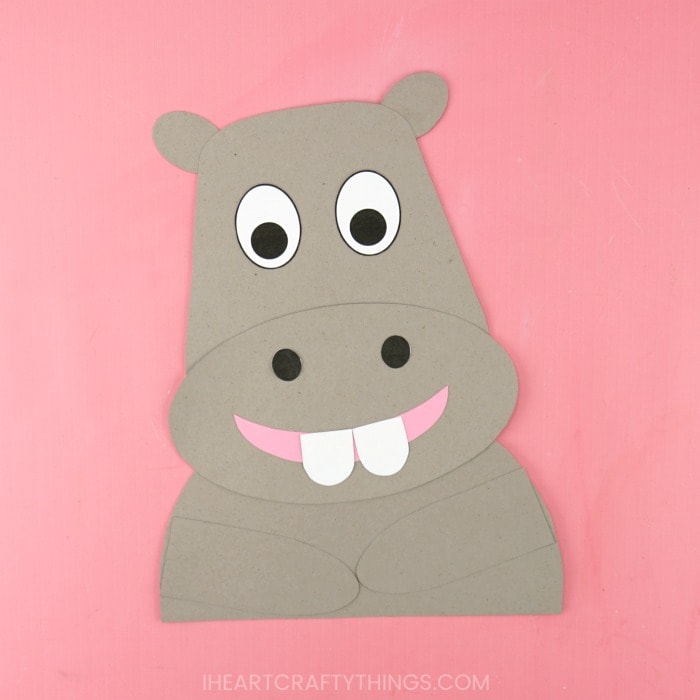
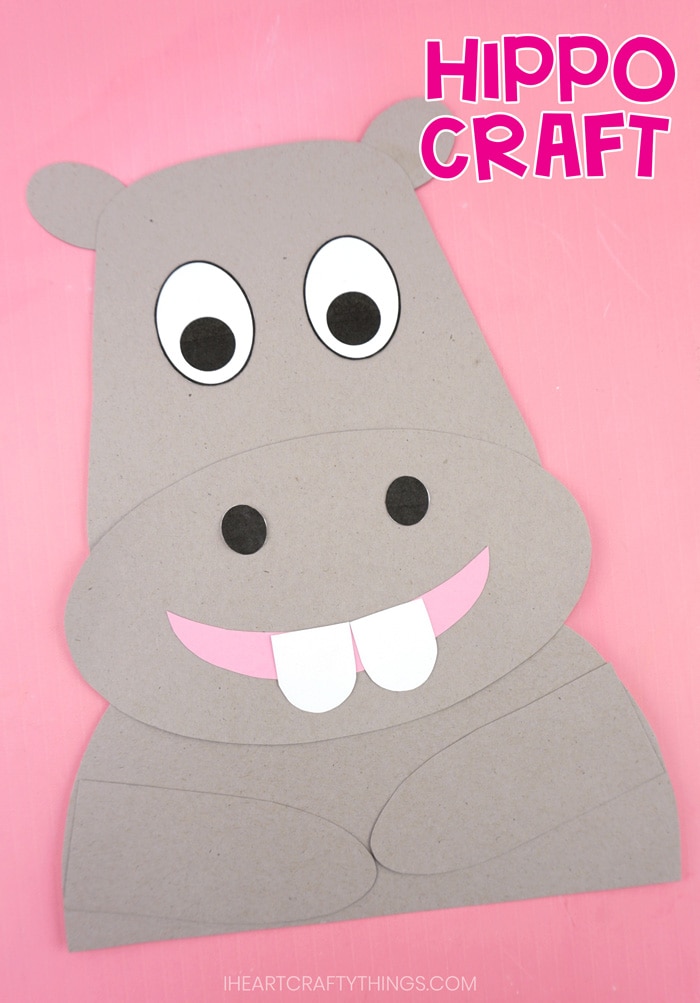
You don’t typically think of a chunky hippopotamus as adorable but this cute hippo craft might be my favorite of the collection. Those big teeth, big eyes and cheeky smile makes it such a cute craft for kids to make!
1. Print out template
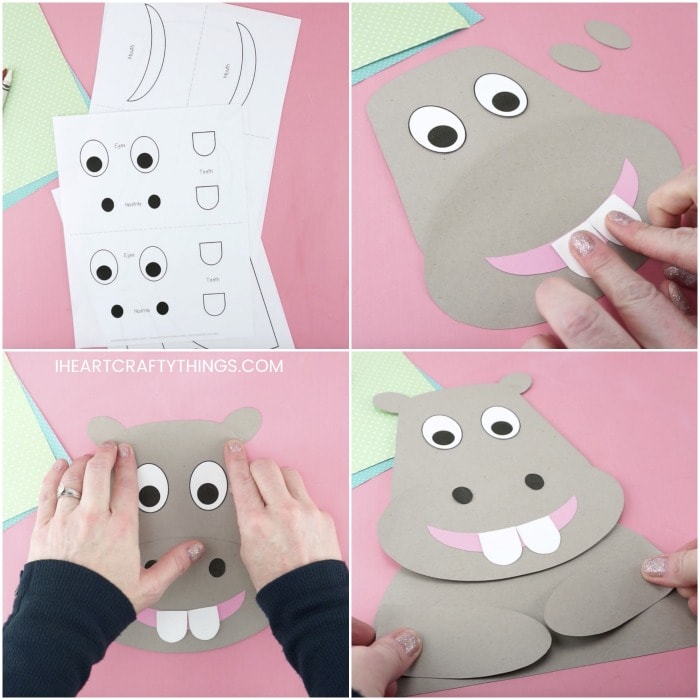
Get the safari animal templates from our shop.Print out pages 1 and 2 of the hippo template on gray cardstock, page 3 on white cardstock and page 4 on pink cardstock. Cut out each of the pieces from the template.
Note: You can also print out the entire template on white cardstock and have children color the template with crayons.
1. Glue muzzle & eyes
Add glue to the bottom of the hippo face and attach the muzzle. Glue the eyes included in the template on your hippo face.
3. Add more face details
Glue the nostrils, mouth and teeth on the hippo muzzle.
4. Glue on ears
Glue the ears at the top sides of the hippo head.
5. Connect all body parts together
Add glue at the top of the hippo body and attach the head to it. Then glue each of the arms onto the body.
How to Make a Giraffe Craft
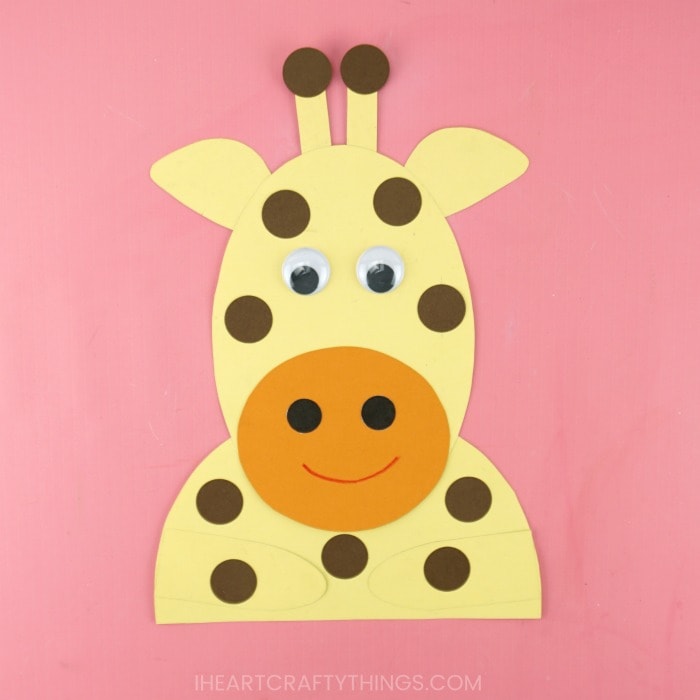
The giraffe is a favorite animal amongst children and that makes them a perfect choice for making a safari themed craft. This cute giraffe craft is easy for kids to create and will look beautiful hung on display at home or school.
1. Print out template
1. Get the safari animal templates from our shop. Print out pages 1 and 2 of the giraffe template on yellow cardstock, page 3 on orange cardstock, page 4 on brown cardstock, and page 5 on white cardstock. Cut out each of the pieces from the template.
Note: You can also print out the entire template on white cardstock and have children color the template with crayons.
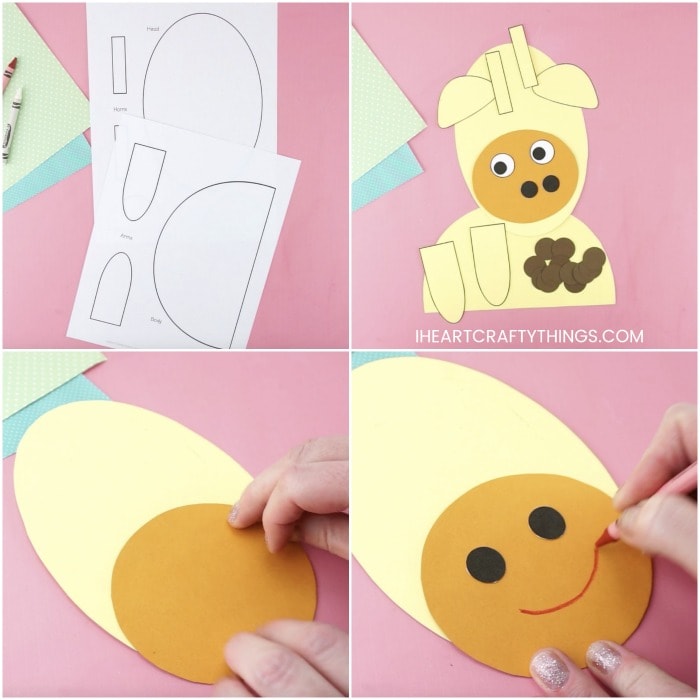
2. Prepare muzzle
Glue the muzzle on the bottom of the giraffe head. Then glue each of the two nostrils inside the muzzle and use a crayon to draw a mouth on your giraffe.
3. Glue face details
Glue the ears and horns at the top of the giraffe head. Then glue a brown circle at the top of each horn. Add googly eyes to your giraffe, or use the eyes provided in the template.
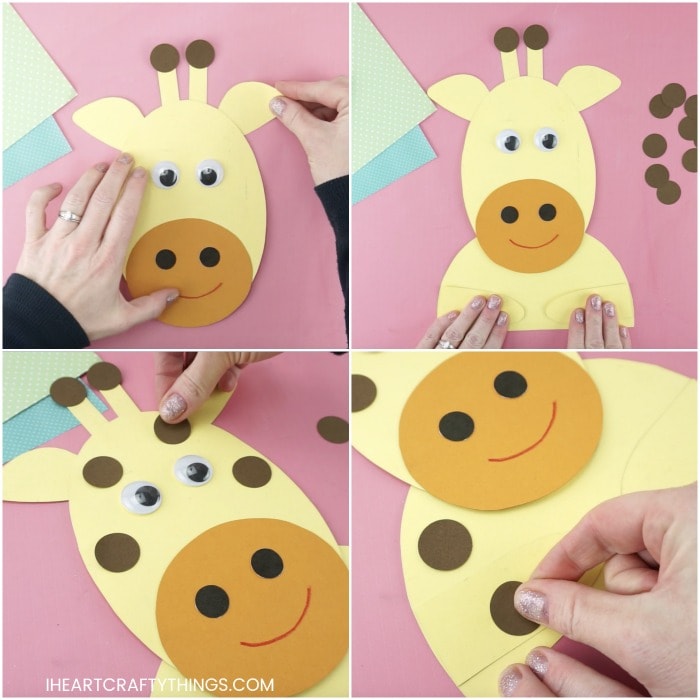
4. Connect all body parts together
Add glue at the top of the giraffe body and attach the head to it. Then glue each of the arms onto the body.
5. Decorate with brown spots
Glue the brown circle spots in various places on the giraffe head and body.
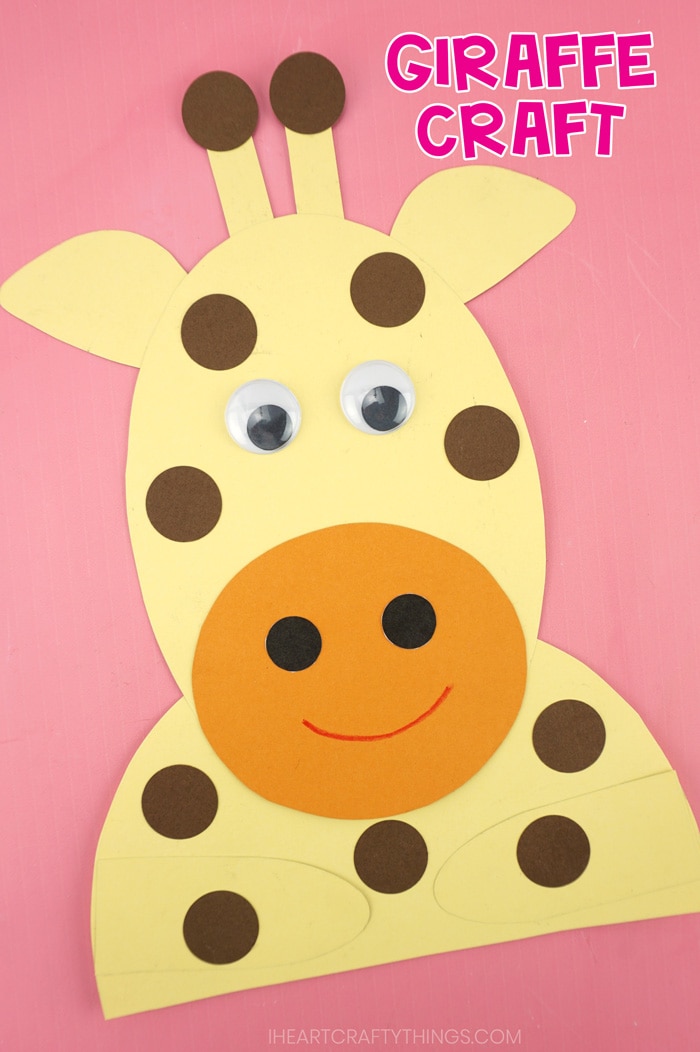
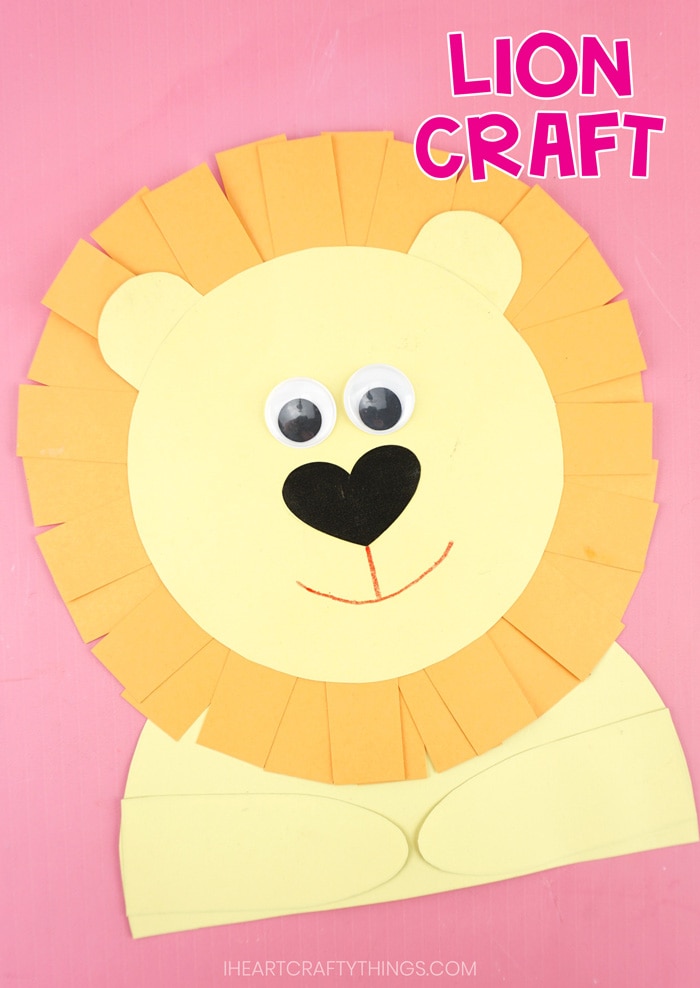
How to Make a Lion Craft
Rooarrrr! Kids are going to adore creating this cute paper lion craft. The contrast of the yellow and orange together makes it a fun and colorful craft that will look awesome hung up on display at home or school.
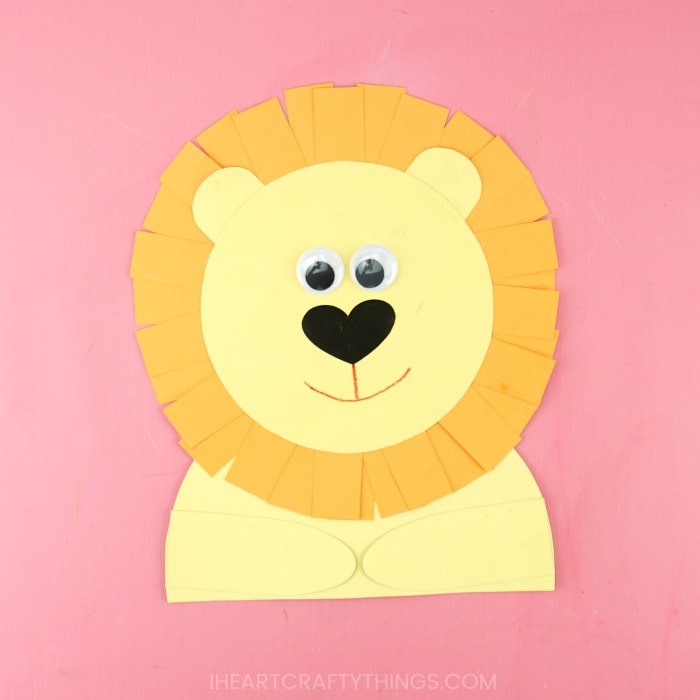
1. Print out template
Get the safari animal templates from our shop. Print out pages 1 and 2 of the lion template on yellow cardstock, page 3 on orange cardstock, page 4 on white cardstock. Cut out each of the pieces from the template.
Note: You can also print out the entire template on white cardstock and have children color the template with crayons.
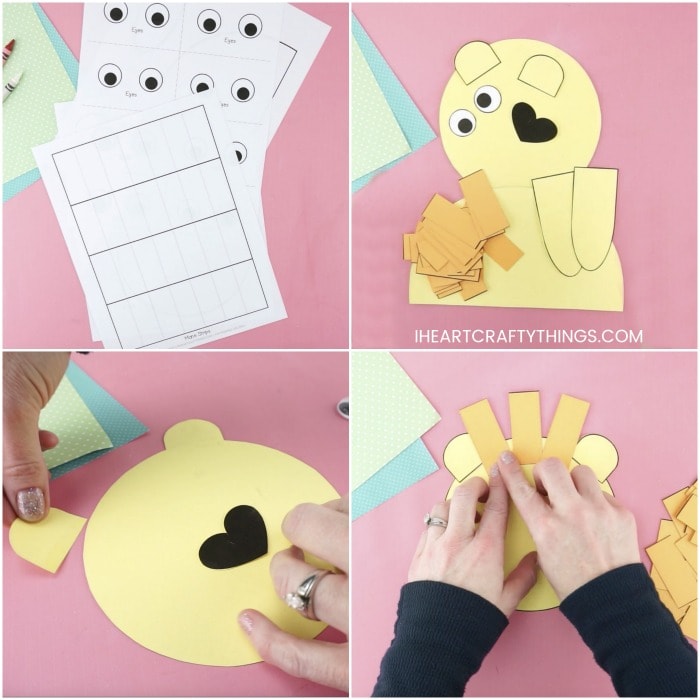
2. Glue nose & ears
Glue the black nose in the center of the lion head. Then glue the ears at the top of the head.
3. Glue paper strips around lion head
Turn your lion head face down. Glue the orange mane paper strips around the perimeter of the head to create a mane. You may need to create two layers till fill in any empty spaces.
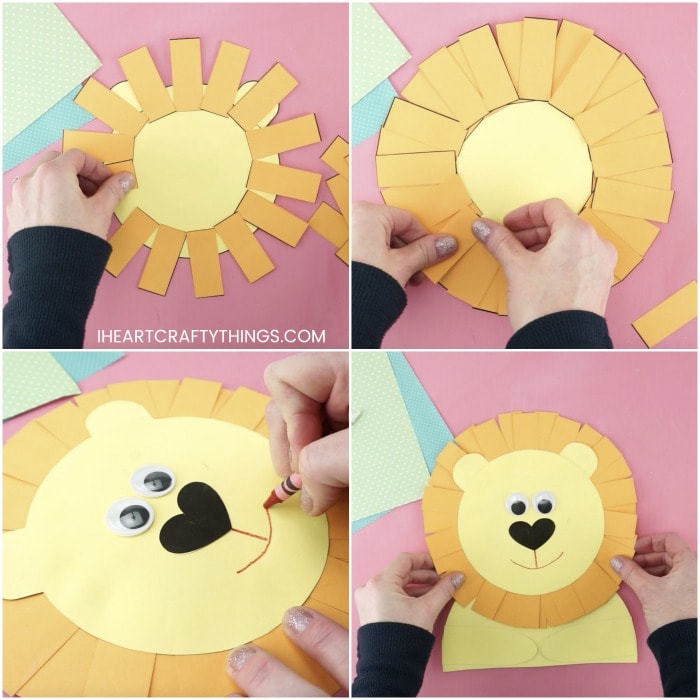
4. Glue eyes & draw a mouth
Add googly eyes to your lion, or use the eyes provided in the template. Then use a crayon to draw a mouth for your lion.
5. Connect body parts together
Add glue at the top of the lion body and attach the head to it. Then glue each of the arms onto the body.
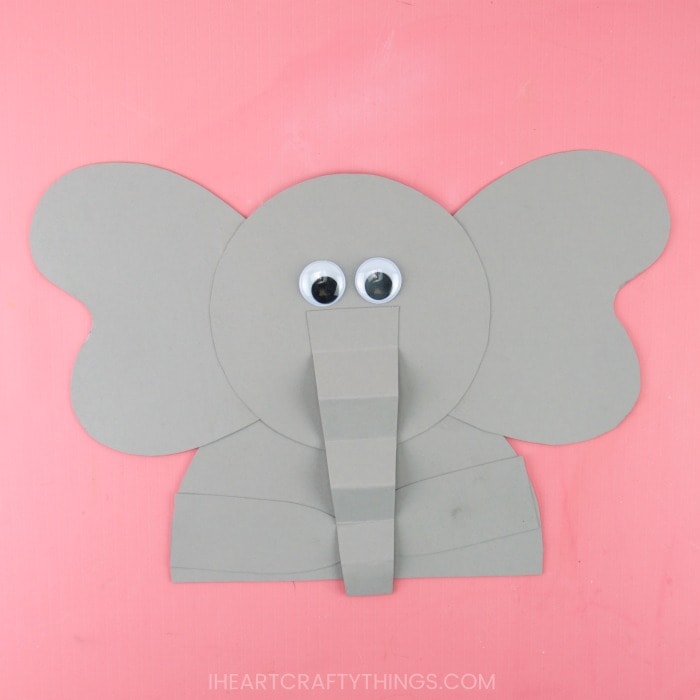
How to Make an Elephant Craft
This easy elephant craft will steal the show with it’s cuteness. We made a traditional gray elephant but I imagine kids can choose any color they want to create an extra colorful elephant. The accordion folded trunk helps to add fun dimension to the safari craft.
1. Print out template
Get the safari animal templates from our shop. Print out pages 1, 2 and 3 of the elephant template on gray cardstock and page 4 on white cardstock. Cut out each of the pieces from the template.
Note: You can also print out the entire template on white cardstock and have children color the template with crayons.
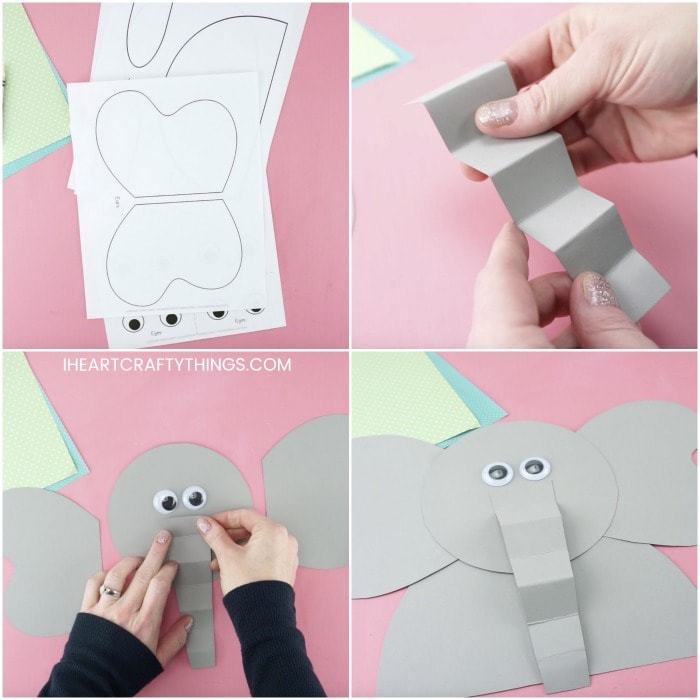
2. Make a trunk
Fold the trunk piece in an accordion fold and then unfold it. This gives fun texture and dimension to your craft.
3. Glue trunk & eyes
Glue googly eyes on the elephant head, or use the eyes provided in the template. Add glue to the top folded section of the trunk and glue it in the center of the head.
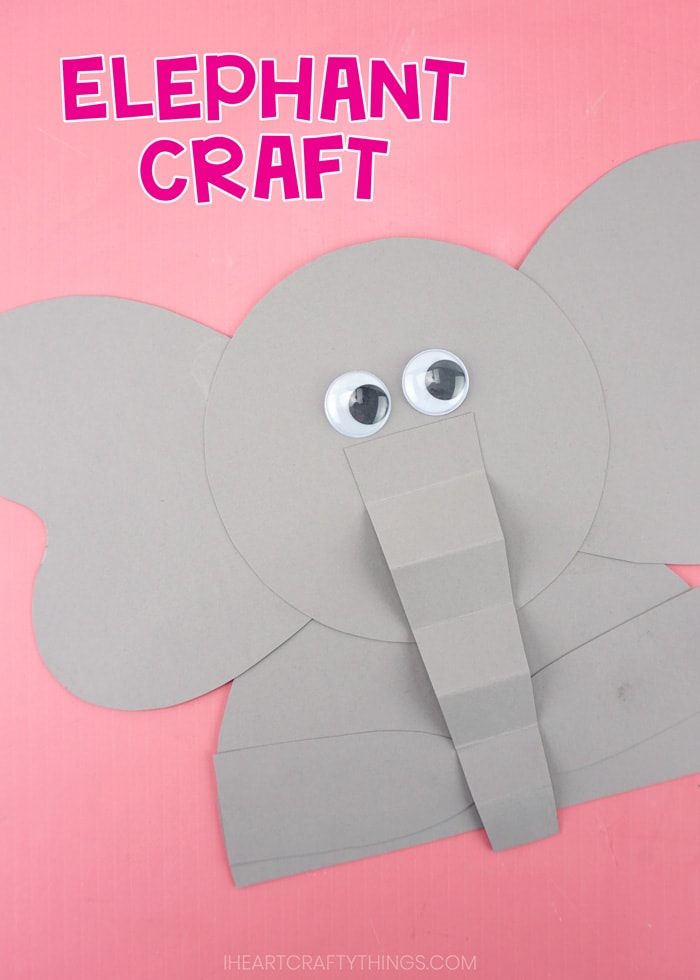
4. Add ears
Glue an elephant ear on each side of the head.
5. Connect body parts together
Add glue at the top of the elephant body and attach the head to it. Then glue each of the arms onto the body.
