There are many different groups in our society that serve to keep us safe, and the police force is one of the most important of these groups.
These men and women serve every day to help people in danger, and they put themselves in harm’s way many times in order to do this.
If one wants to show their appreciation for the police force, then learning how to draw a police officer can be a great way to do that!
By the end of the guide you’re on, you’ll be able to do just that and create your own police officer.
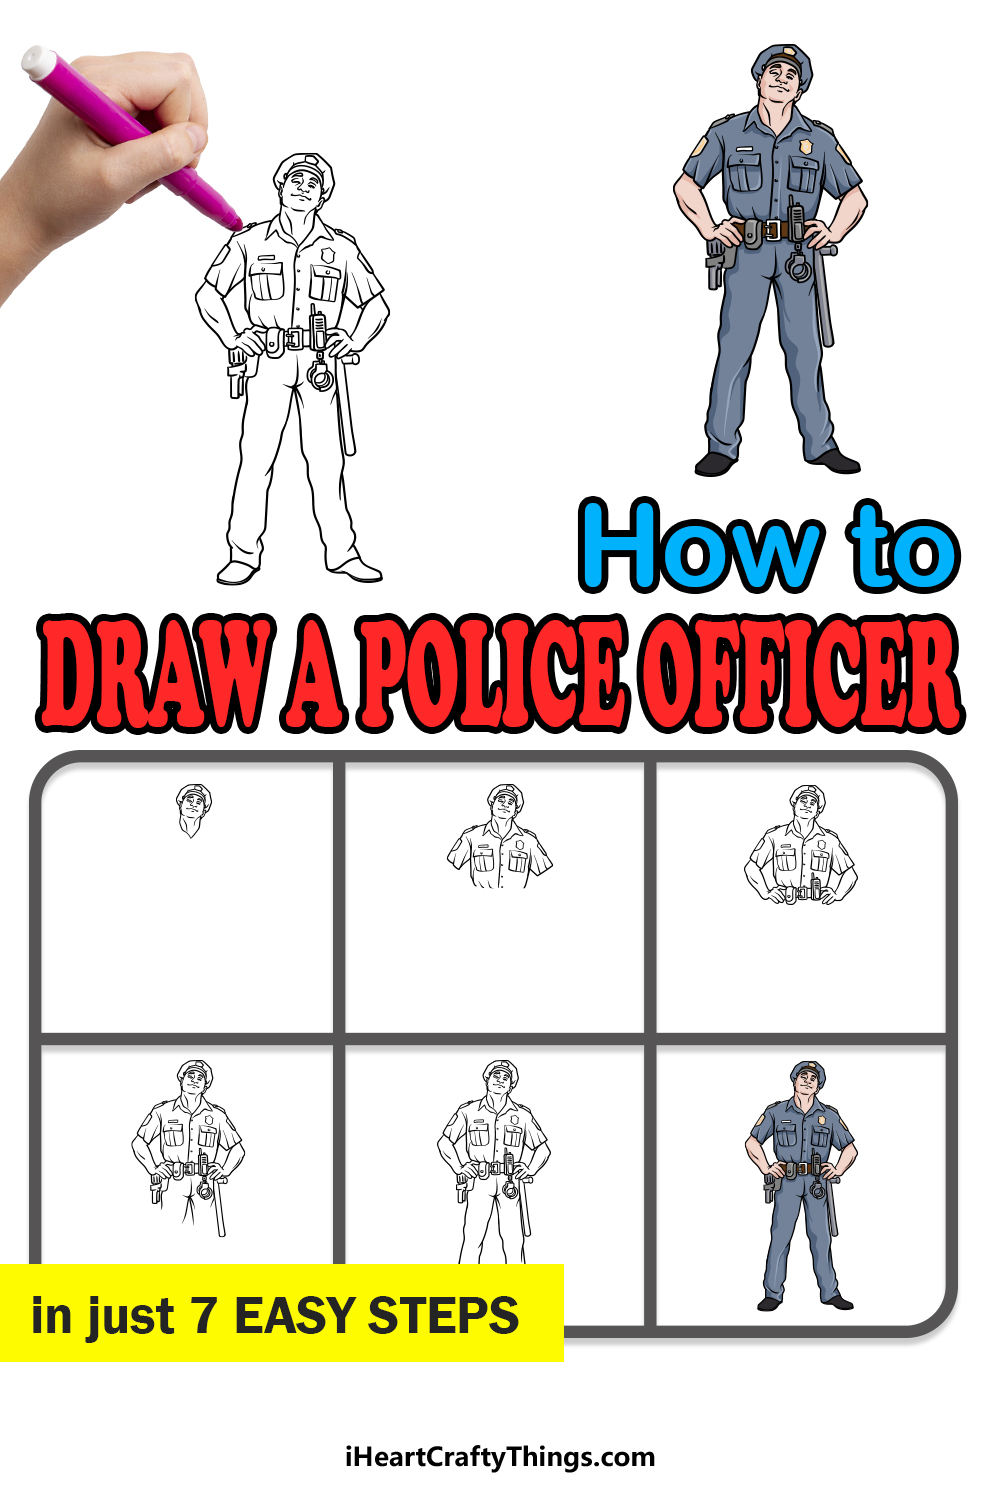
This step by step guide on how to draw a police officer will show you everything you need to know!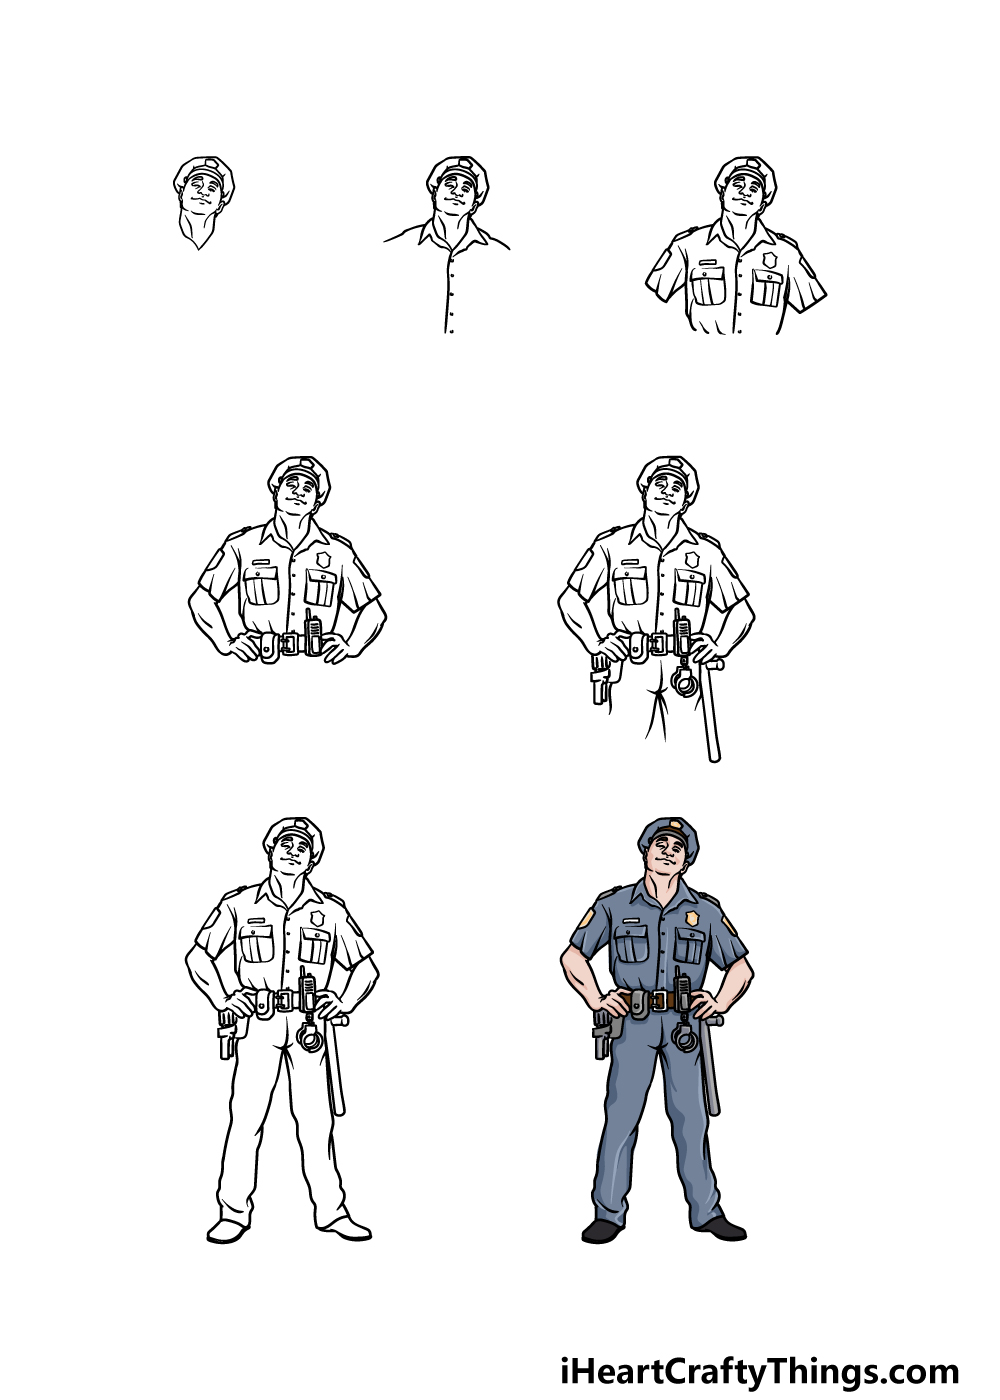
How to Draw A Police Officer – Let’s get Started!
Step 1
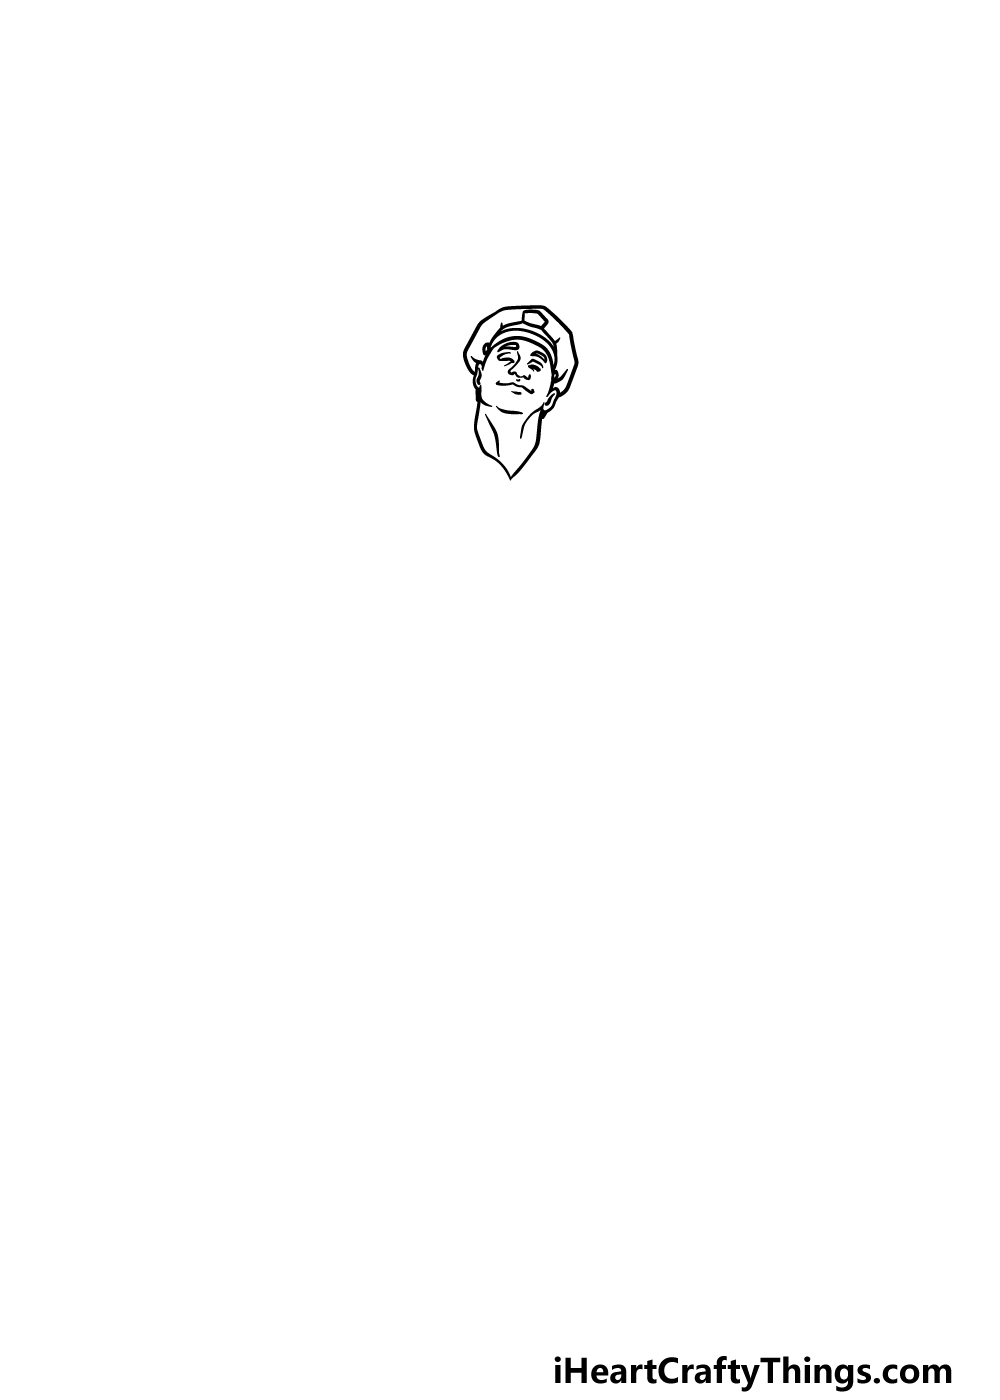
This first step of our guide on how to draw a police officer will see you drawing the head and hat of the officer.
Drawing a human head and face can be a bit of a challenge, so try to replicate the lines we drew in our reference image as best you can.
The officer is raising his head a bit, so his neck will be a bit stretched out with his face at an angle.
Once you have drawn his head, you can finish off by drawing his police hat surrounding his head.
Step 2 – Draw the shoulders and start the shirt
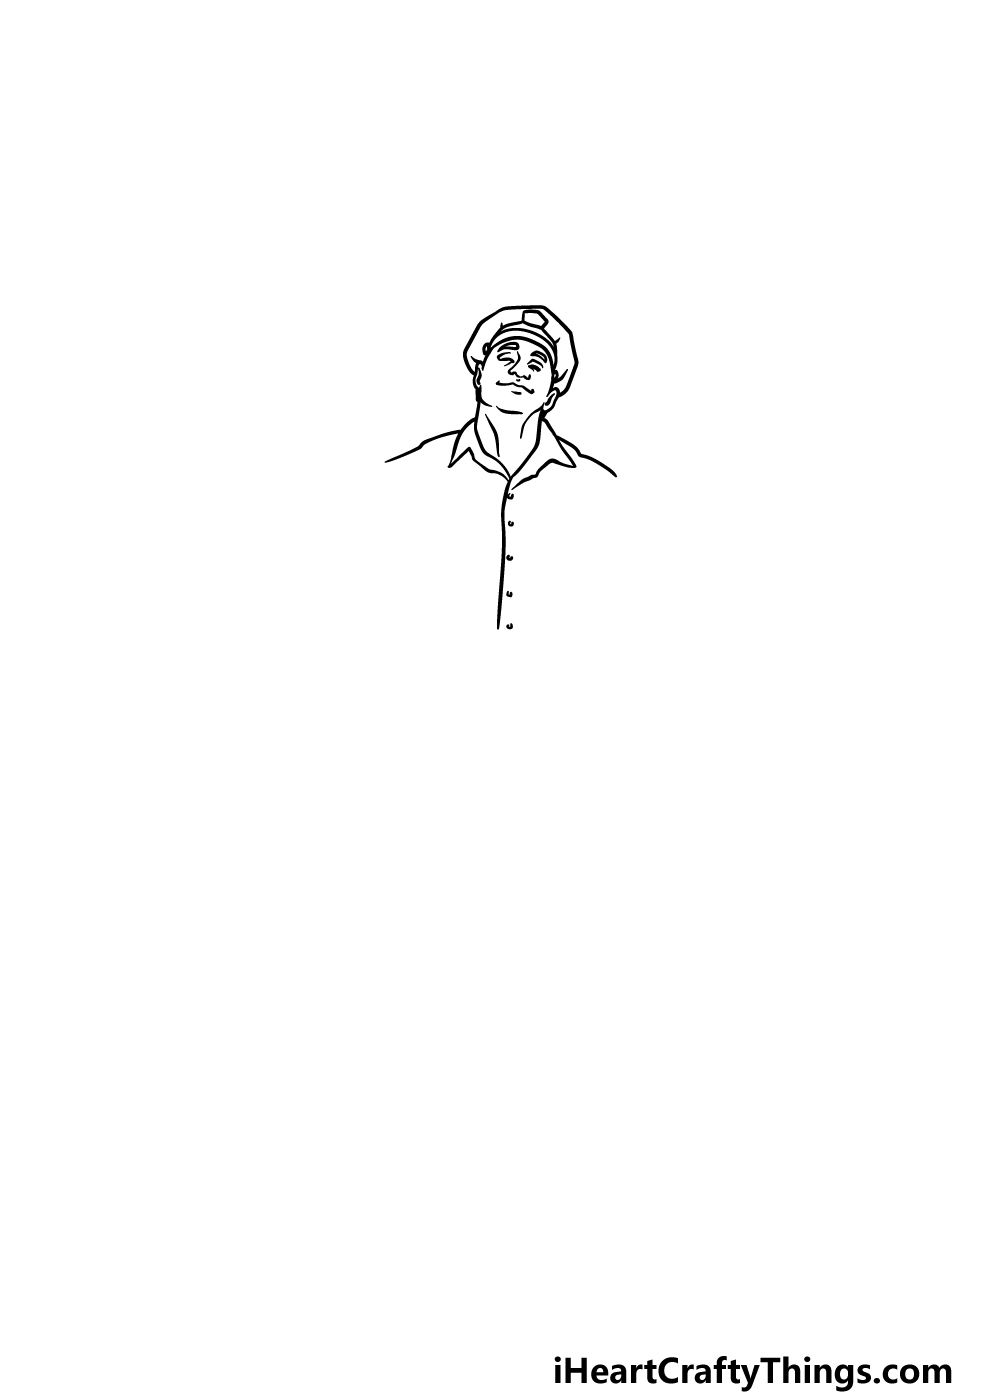
We will be adding to your police officer drawing in this next part. First, you can use some curved, pointy lines for the collar at the base of his neck.
Then, you can draw a fairly straight line going straight down from the collar for the center of his shirt. Once you have that line drawn, simply add a row of dots down it for the buttons of his shirt.
Finally, finish off this step by drawing some horizontal curved lines for his shoulders.
Step 3 – Next, draw the chest of his uniform
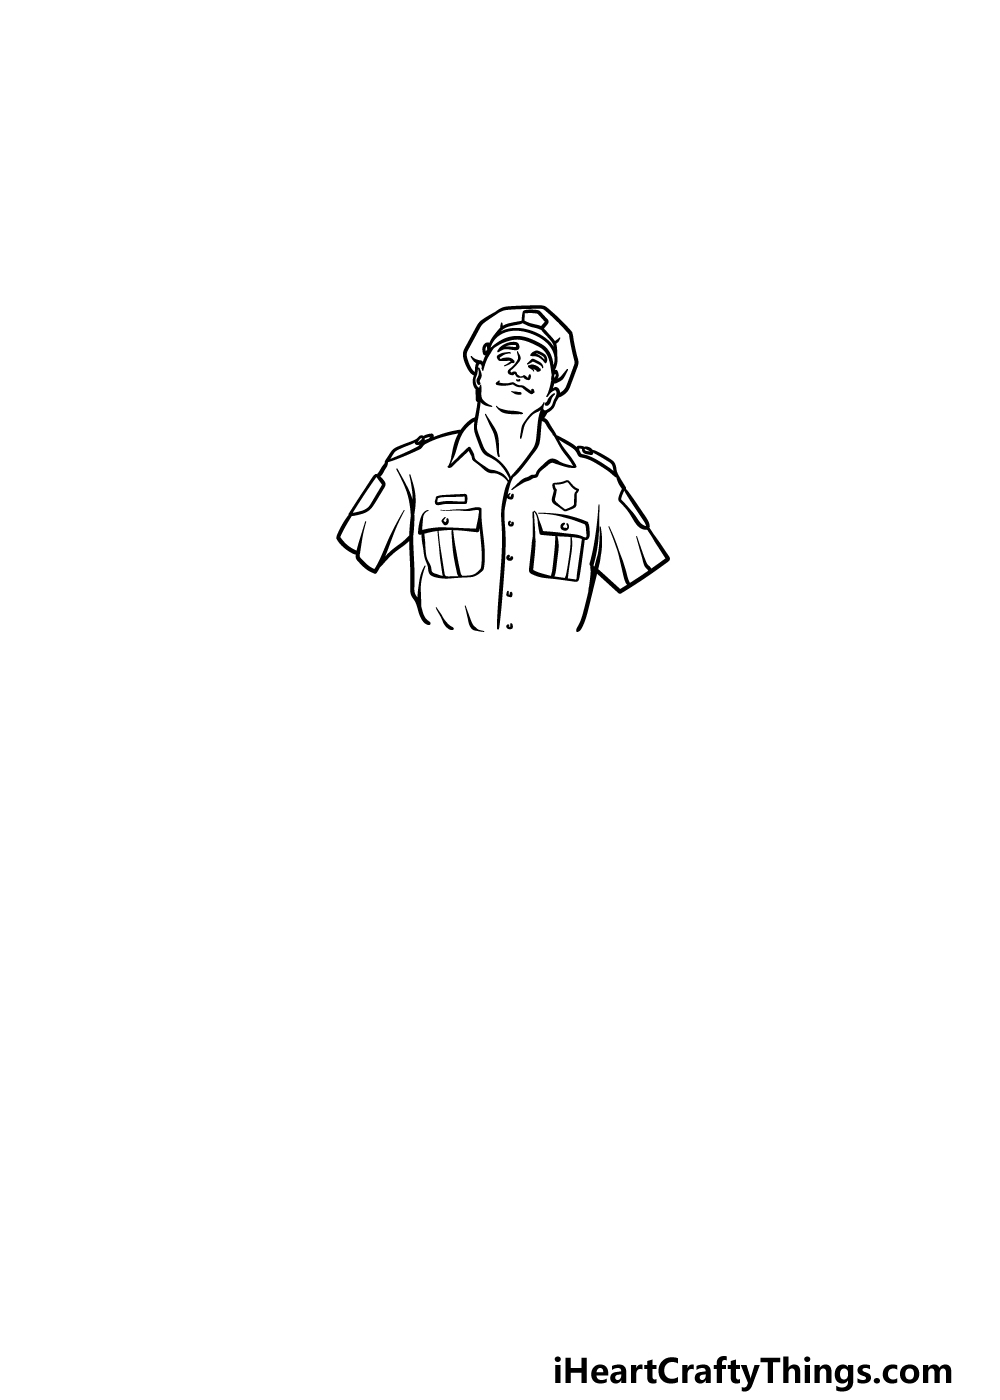
There are a lot of details that we will be adding in this step of our guide on how to draw a police officer, but don’t worry as we will take it slowly!
You can start by using some curved and straight lines to draw the short sleeves of his shirt. Then, use some more curved lines for the outlines of his chest.
Once you have the outlines for his chest, you can then draw some square shapes for the pockets of his shirt.
Finally, finish of this step by drawing some details such as his police badge and some details on his shoulders.
Step 4 – Now draw his arms and belt
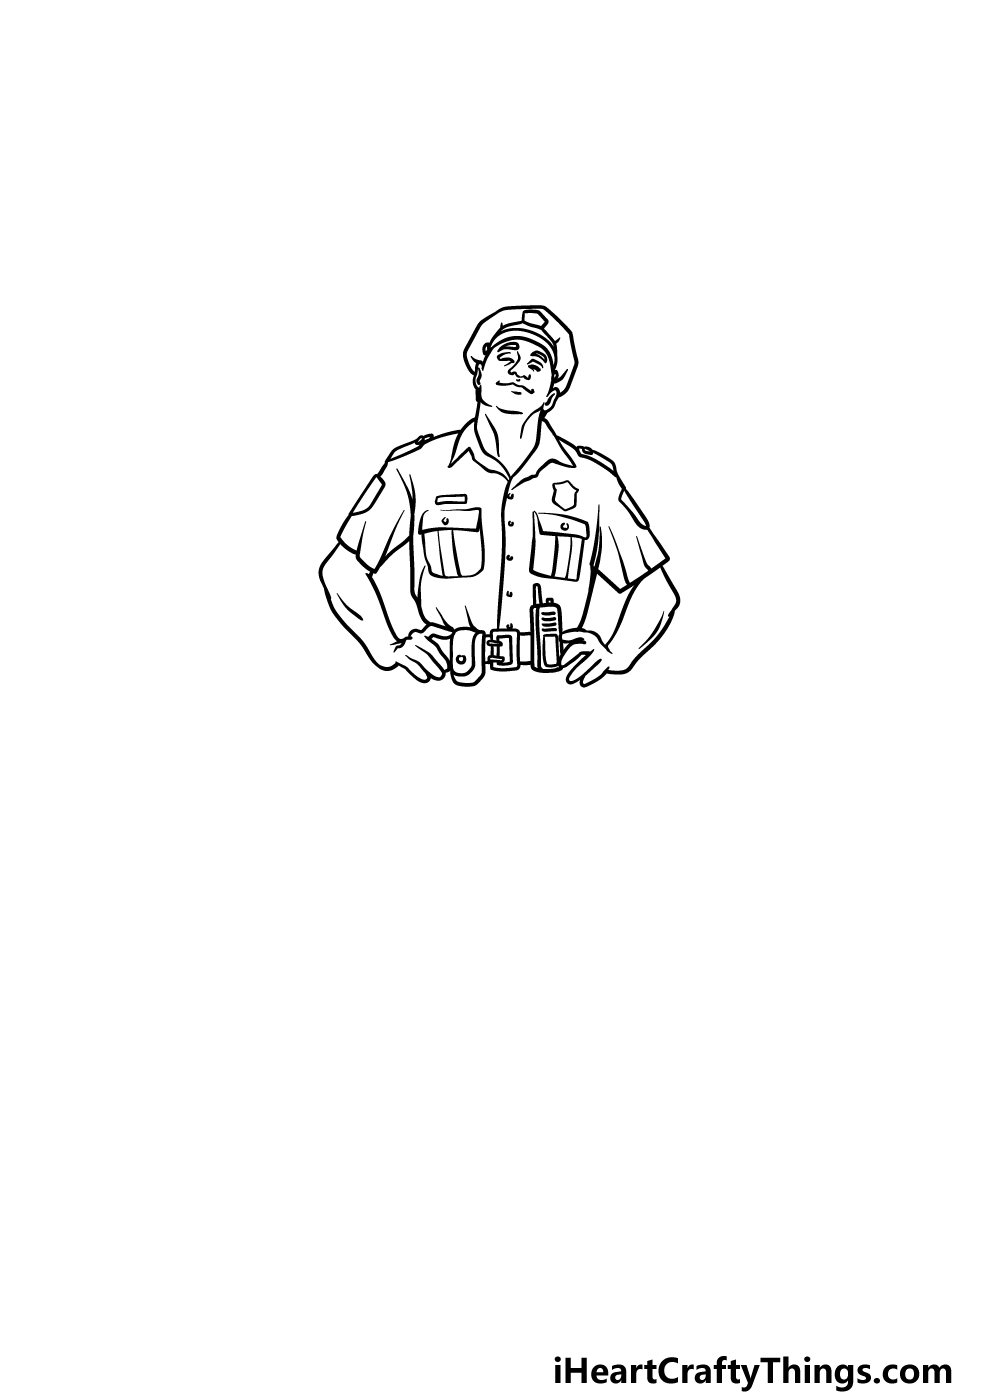
Your police officer drawing is looking really great so far! In this part, we will continue by using some curved liens to draw his arms bending to his waist.
Then, once you have replicated the arms as they appear in the reference image you can draw his belt hich will have things like a radio and a pouch clipped to it.
Step 5 – Next, start drawing his legs
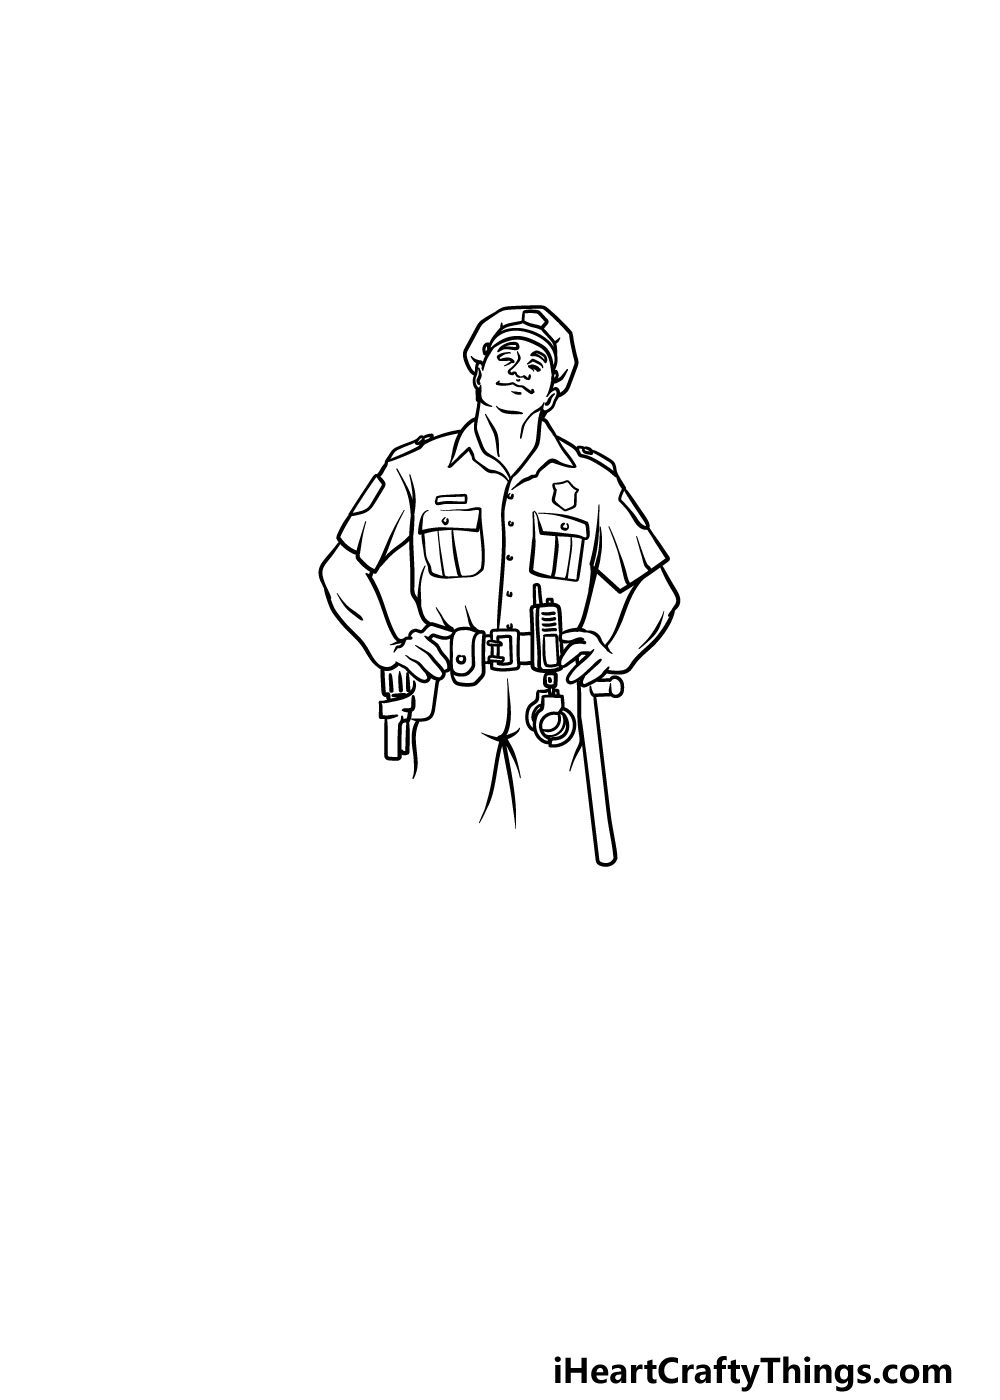
The top half of the drawing is pretty much done now, so we shall start on the bottom half in this step of our guide on how to draw a police officer.
The legs themselves will be drawn with some slightly curved lines, and we will also be adding some more details to his belt.
These will be comprised mostly of some handcuffs hanging from his belt, along with a police baton at his side. Once you have added all of these details, we can move on to some final details.
Step 6 – Now, finish drawing the legs
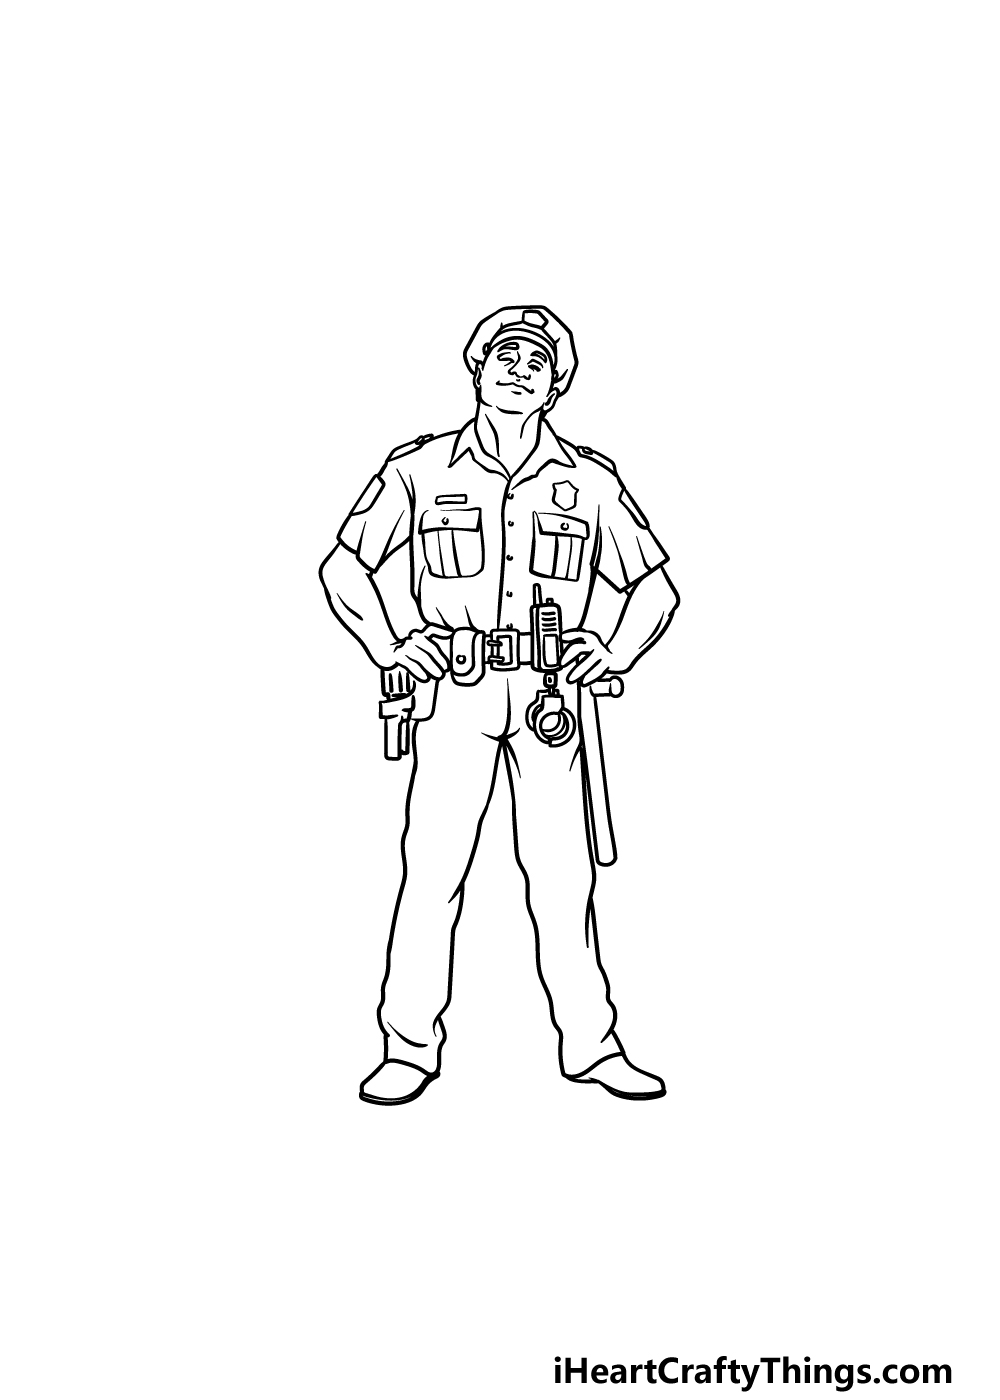
We can finish off the legs for your police officer drawing in this step.
To do this, simply extend the lines that you started for his legs down, and then they will end with his rounded shoes at the base of them.
Once you have added all of these details, you have finished the picture! Before you color it in for the next step, you can also add some details and elements of your own to really finish it off.
You could change up some of the smaller details, or even take what you have learned to create a unique police officer.
You could also look up some pictures of police cars and draw one in the background for this officer.
These are just a few ideas, but what else can you think of to finish off this drawing?
Step 7 – Finish off your police officer drawing with some color
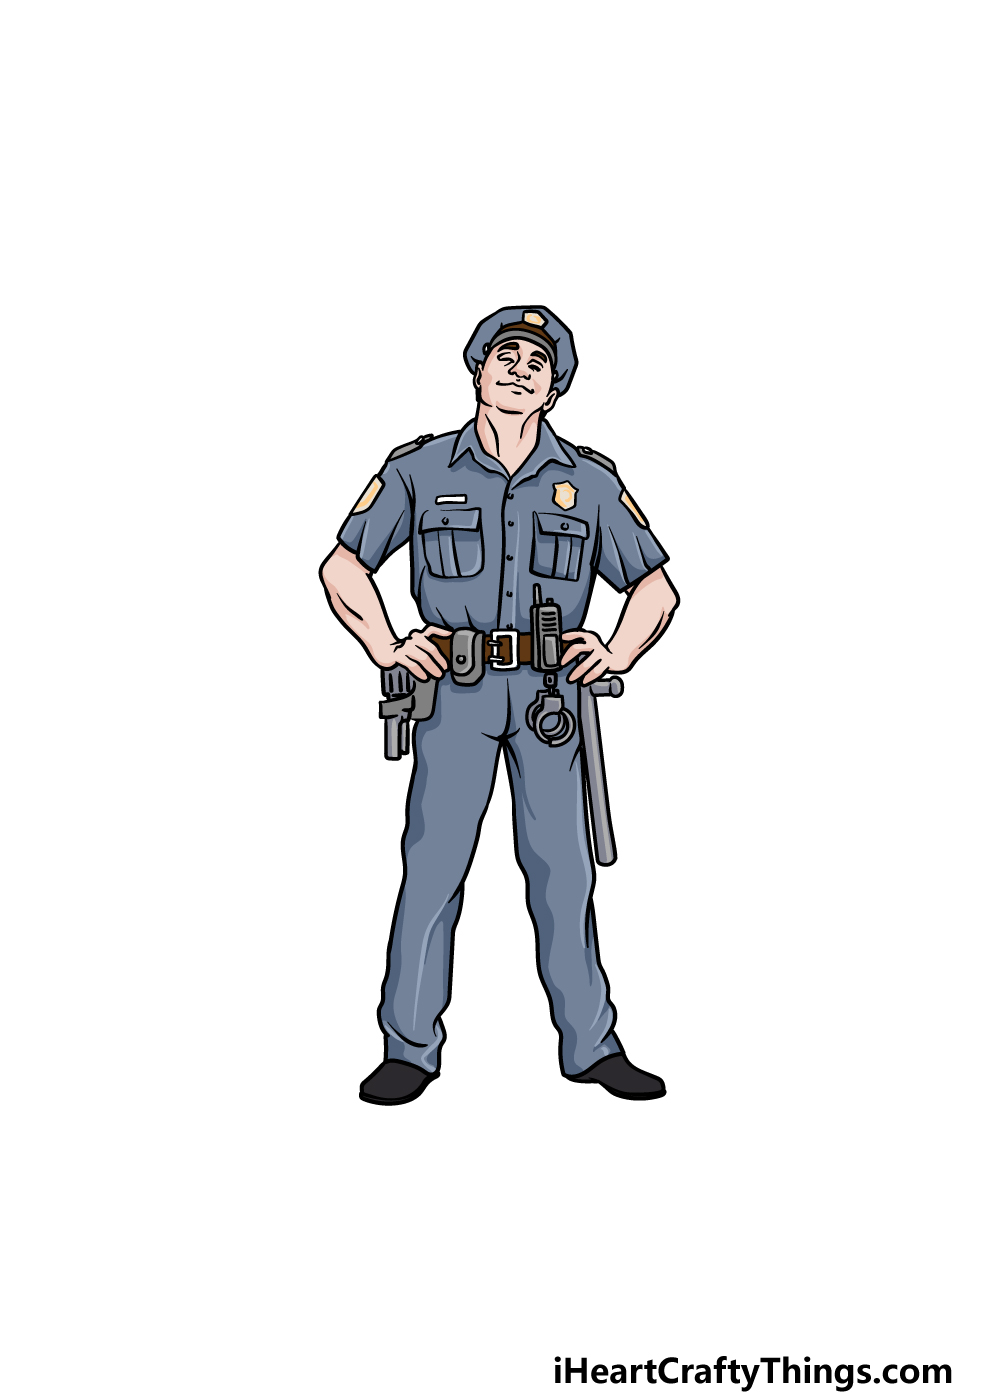
You have reached the final step of our guide on how to draw a police officer, and this is the one where you get to bring your artwork to life with some color!
A police officer’s uniform is often a darker blue color, and that is what we went for in our example image.
There are some variations that a police officer’s uniform can come in, however, so you have some options for how you could go about it.
You can also play around with different art mediums depending on the kinds of colors you would like for your picture.
For more muted tones, some watercolors or colored pencils would work best, whereas acrylics and colored pencils would be great for brighter colors.
What will you choose to color in this finished police officer drawing?
3 More tips to make your police officer drawing easy!
These tips to make this easy to draw police officer even easier are so good it’s criminal!
This police officer drawing we created together is really detailed and realistically proportioned. It is a style of drawing that looks really good, but it can be really tricky to master.
We created this guide to show you how to recreate it, but you shouldn’t feel shy to change any aspects you like to make it easier!
If you were working through the guide and found the crease lines of his uniform tricky, for instance, you could change or remove a lot of those details.
This depends on what you are having the hardest time with, and these changes will also make the drawing more unique to you.
We mentioned changing a few smaller details to make this police officer drawing easy, but you can also make more drastic changes.
One way of doing this would be to draw the police officer in a different style to the one we used. If you have a style of drawing you feel comfortable with, then that would be a good place to start!
For example, if you like to draw in a simpler cartoon style, you could follow the steps of the guide and adapt it to that style. That is just one example of a style you could use.
It could apply to any style you have in mind, and it will turn out even better if you’re not frustrated and working with a style you enjoy!
Finally, you can make creating this police officer sketch much easier if you use a real person to pose for you. Even if they aren’t dressed like a police officer, it can still be really helpful!
You can get a friend or a family member to strike a similar pose to the one in our guide and look at their proportions. If you know someone with a similar physique to the police officer we created then that would be ideal.
You may be shocked at how much it can help!
Your Police Officer Drawing is Complete!
You have successfully completed this guide on how to draw a police officer! We hope that this guide made it easy and fun for you to master all of the lines and details that this drawing entailed.
By taking it step by step we know that you will do a great job!
Now you can show us how creative you can be with your own details and additions. We will b curious to see what else you draw and also how you color in your drawing.
Our website has many more drawing guides covering many different topics, so be sure to visit us there for your next drawing challenge! Be sure to swing by often, as we upload new ones frequently.
Once your police officer drawing is complete, we also hope you will share it on our Facebook and Pinterest pages. We can’t wait to see your police artwork!