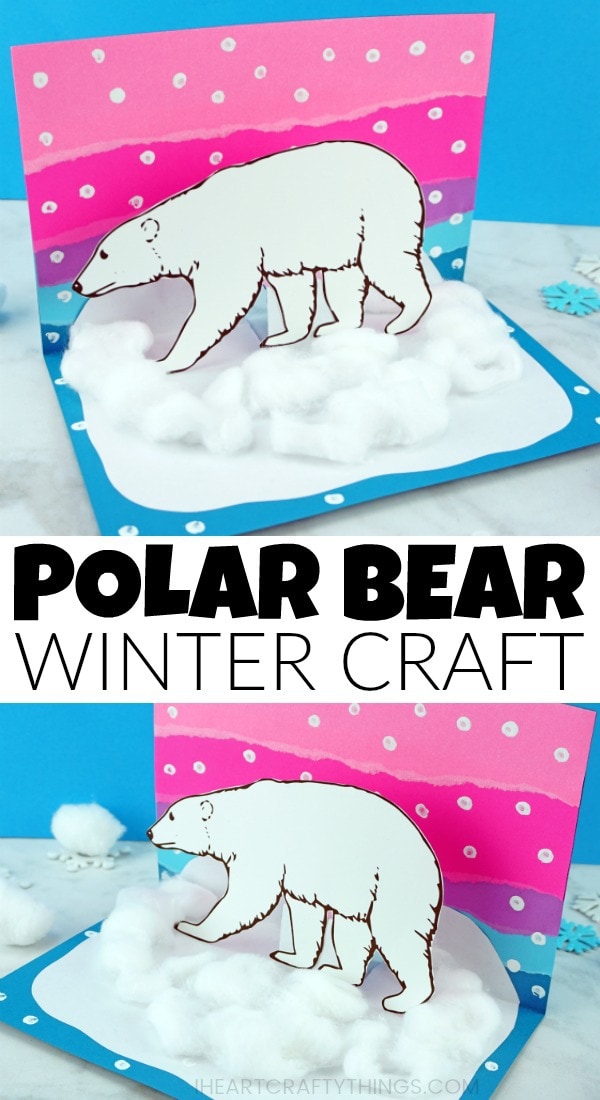
Are you gearing up to learn about some arctic animals this winter season? If so, you will love this awesome polar bear craft! In this post learn how to make this fun pop-up polar bear craft idea with our handy polar bear template, step-by-step tutorial and video.
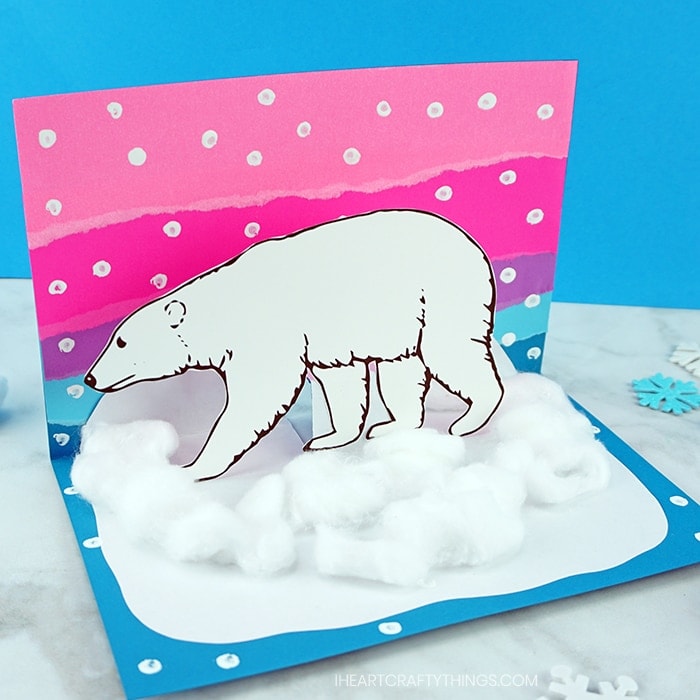
Every year in January when we feel the beginning of bitter cold temperatures, I’m reminded of why the winter months are such a great time of year to learn all about arctic and Antarctic animals. One of our favorite animals to learn about every year is the polar bear. We also love snowy owls and cute penguins. If you are learning and craft winter animals this year, you will love starting with our new polar bear craft idea we are sharing today.
This post contains affiliate links to the products mentioned. I Heart Crafty Things is a participant in the Amazon Services LLC Associates Program, an affiliate advertising program designed to provide a means for sites to earn advertising fees by advertising and linking to amazon.com.
Supplies needed:
- polar bear craft idea template
- pink, purple, white, blue and dark blue colored paper
- white paint
- Q-tip
- cotton balls
- scissors
- glue
Instructions:
1. Hold paper in half
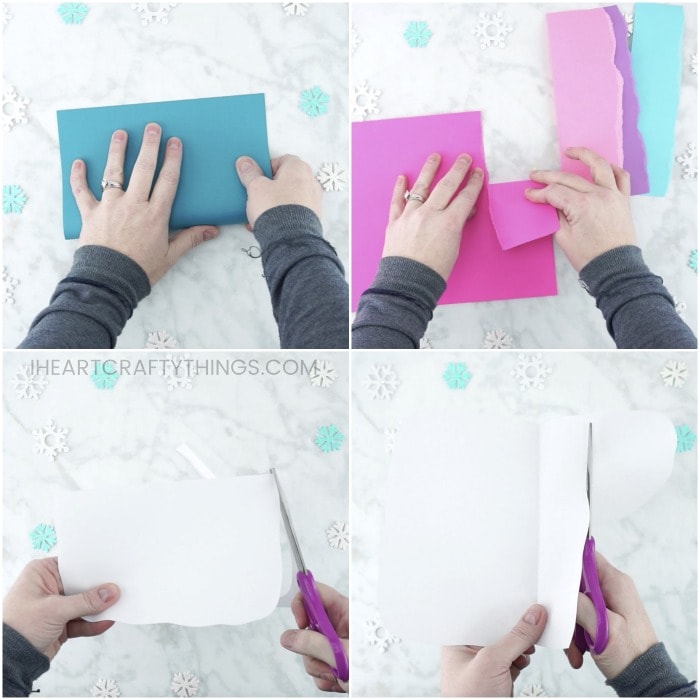
Begin by folding your dark blue cardstock in half. Set it aside for a moment.
2. Tear strips out of colored paper
Gather your pink, purple and blue colored paper. Tear a 2-inch strip off the top of each paper. These colors will be used to create your winter sky.
3. Make a snow out of white paper
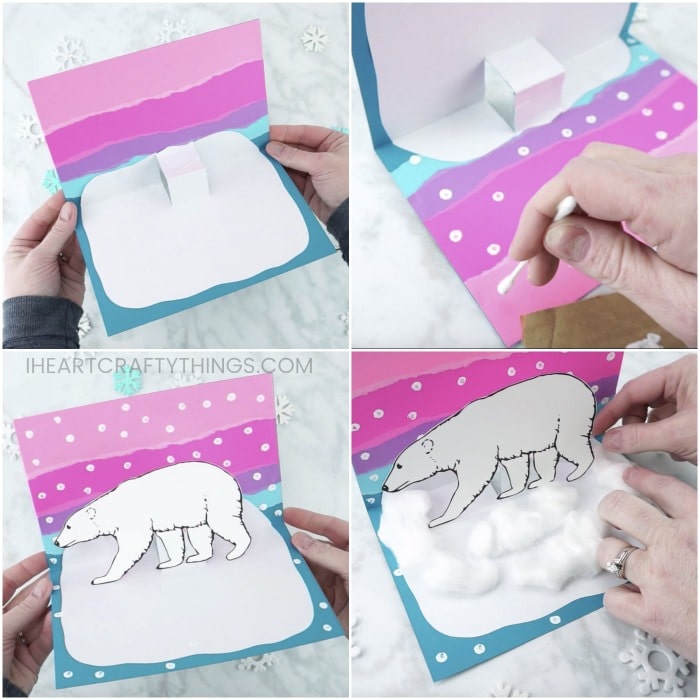
Fold your white paper in half. Then use scissors to trim around the outside edges of your paper. Open up your paper and trim down further on one-half of the paper leaving about 1-2 inches at the top.
4. Glue all paper strips to the card
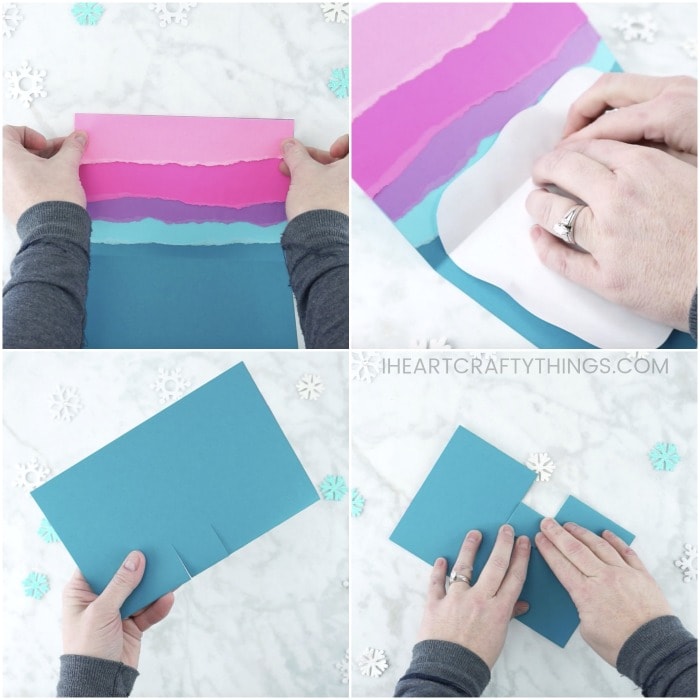
Open up your folded dark blue cardstock. Add glue to it and layer your colored paper strips to make your winter sky background. Now add glue on the back of your white paper. Line the creases of the white paper and dark blue cardstock together and then glue them to each other.
5. Make slits
Close the blue cardstock and make two slits in the middle of the folded edge of the paper about 1-1/2 inches apart. Fold down the blue paper along the slits you cut.
6. Invert folded piece
Open up the blue cardstock again, invert the folded piece in the middle of the paper so it stands upright in the middle of the crease.
7. Draw snowflakes
Add a small amount of white paint to a piece of cardboard or a paper plate. Dip a Q-tip into the paint and press it onto the colorful sky background of your polar bear craft. Continue dipping the Q-tip in paint and then all over the background to create snowflakes falling from the sky. You may even like to add some on the bottom half of your craft.
8. Print & cut out bear template
Print out the polar bear craft template on white cardstock paper and cut it out.
9. Glue bear to the card
Add glue on the pop-out section of the folded cardstock. Attach your polar bear to the glue.
10. Glue cotton balls to the card
Stretch out 3-5 cotton balls to make them longer and thinner to look like clumps and hills of snow. Add glue on the bottom of your craft, around the polar bear, and glue the cotton ball pieces down.
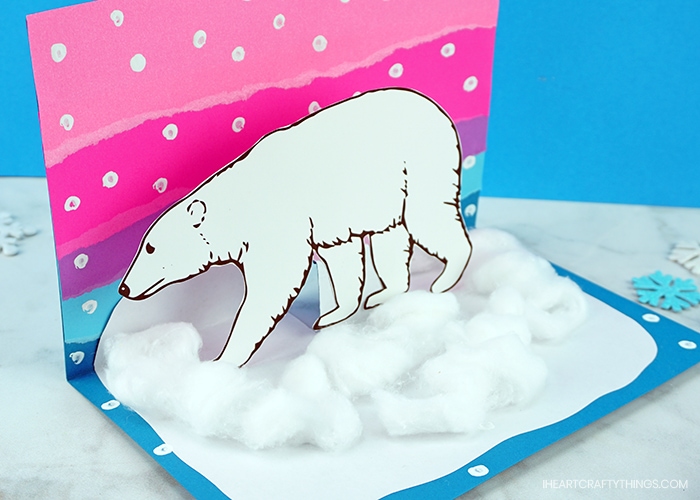
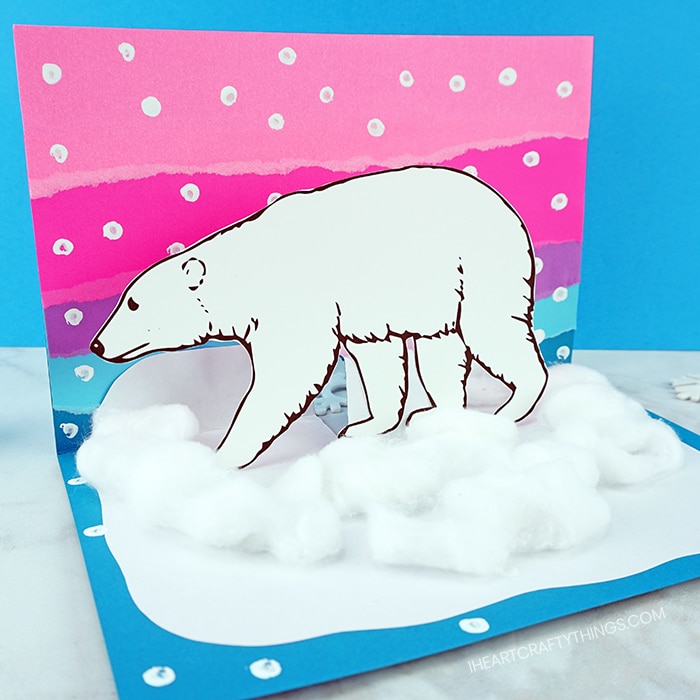
Your awesome polar bear craft idea is complete!
The colorful background and the way the polar bear pops off the page gives this fun polar bear craft a fantastic two-dimensional look. Cotton ball snow at the bottom of the craft adds extra texture and dimension to the polar bear too.
