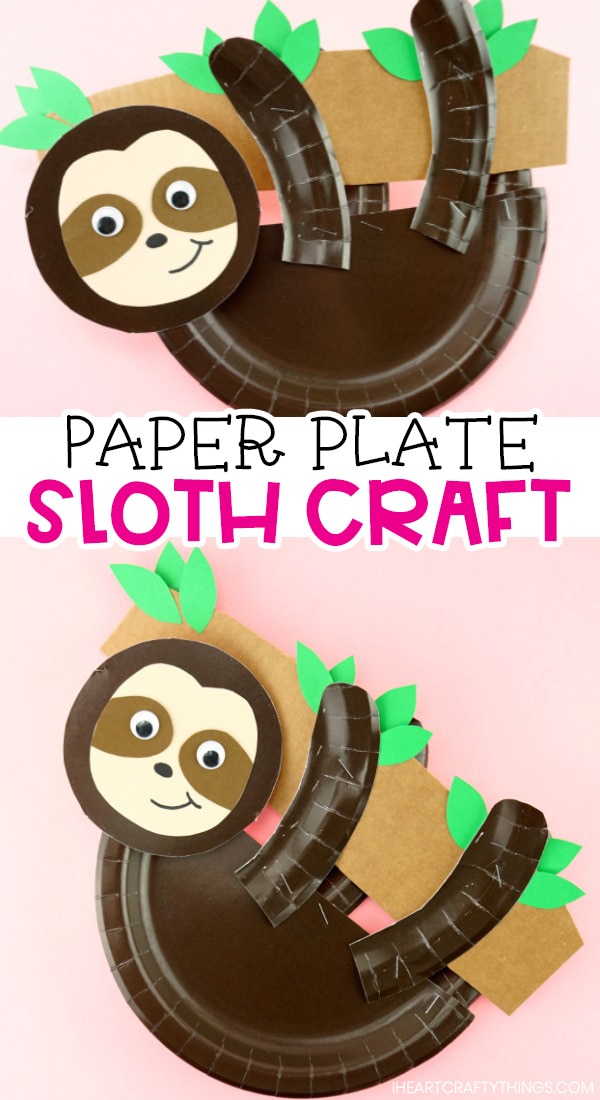
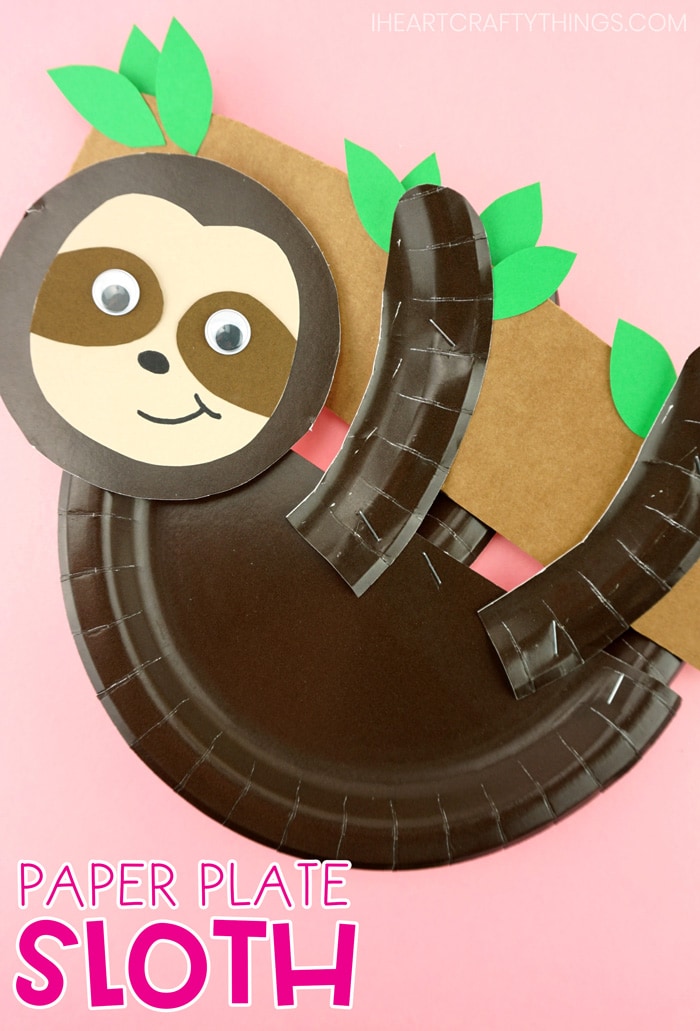
Do you love making paper plate crafts with your kids? If so, you are going to jump for joy over this adorable paper plate sloth craft!
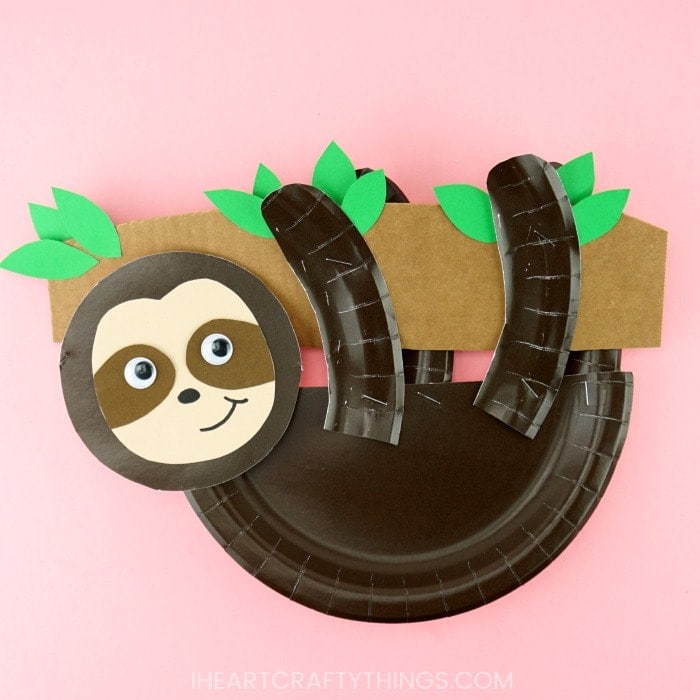
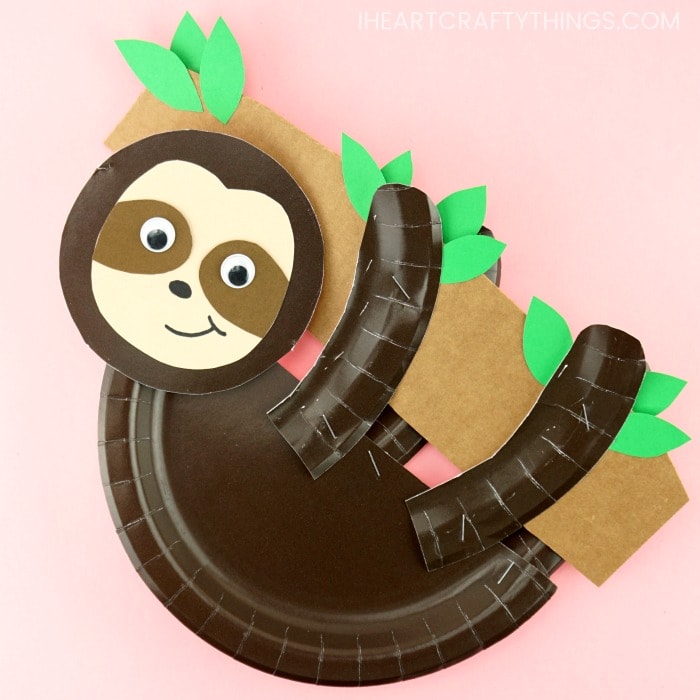
You won’t believe how simple this cute sloth is to make! All you need is two paper plates, cardboard and some simple craft materials like cardstock and googly eyes and you’ll have this paper plate sloth whipped up in no time at all.
I’m convinced you can make anything imaginable out of a paper plate. That’s why they are my most favorite craft material. They are also a super easy craft supply to keep on hand which makes paper plate crafts perfect for last minute crafting.
Read our simple how-to instructions for making this cute sloth craft below, and make sure to catch our full video tutorial near the bottom of this post.
This post contains affiliate links to the products mentioned. Read our disclosure policy for more information.
Supplies needed:
- sloth craft template <— Get the Template Here
- brown paper plates
- cardboard
- tan and brown cardstock paper
- googly eyes
- black marker
- scissors
- glue stick
- stapler
Instructions:
1. Prepare your template
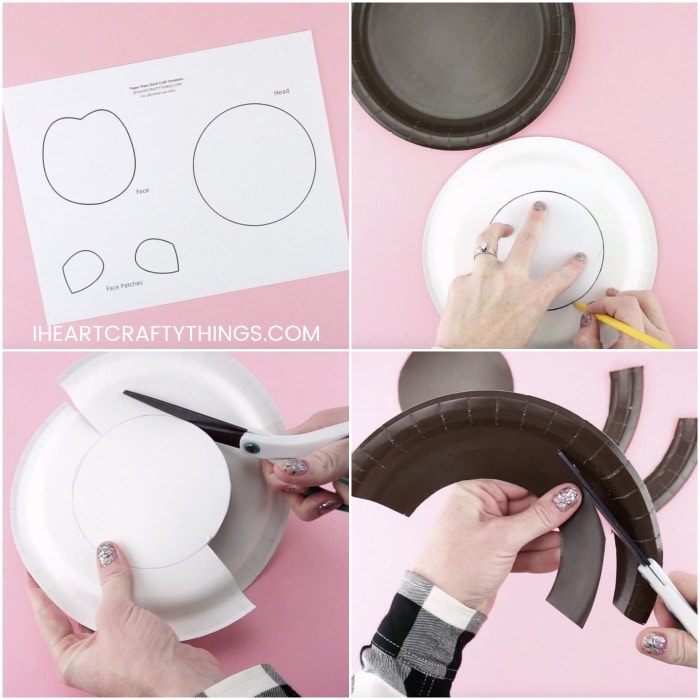
Download and print out the sloth craft template. Cut out each of the pieces of the template.
2. Cut out shapes
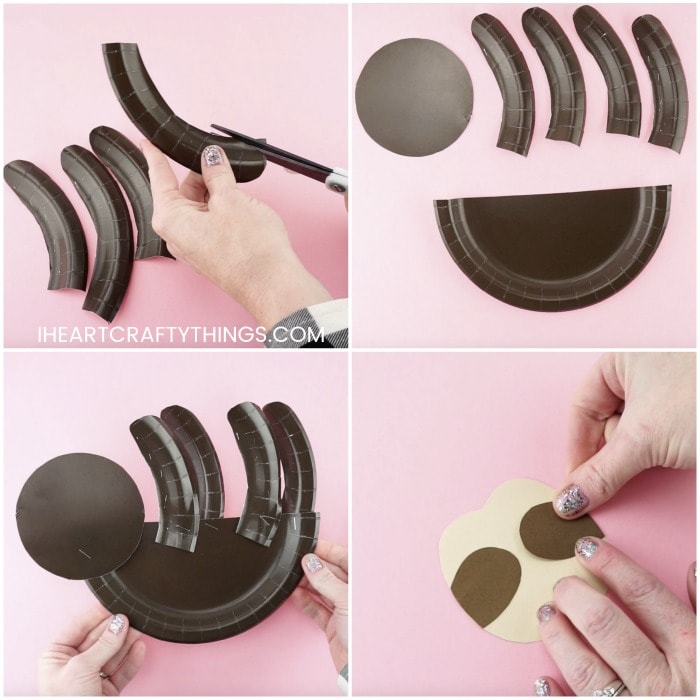
Trace the sloth head template on the back of one of your brown paper plates in the center of the plate. Cut a slit on each side of the paper plate (dividing it in half) until you reach the circle you traced. Cut out the sloth head making sure to keep the rim of the paper plate intact. See pictures below.
Note: If you don’t want to purchase brown paper plates, simply paint a few white paper plates with brown paint before you get started.
3. Cut legs shapes
Cut out along the rim of the two paper plate pieces, removing the excess center from the paper plate. Then cut each of those sections in half to create four sloth legs. Use scissors to cut a rounded edge on each of the sloth legs.
4. Glue sloth body together
Cut a second brown paper plate in half for a sloth body. Use a stapler to attach the sloth head to the body. Then staple each of the legs at the top of the sloth body.
5. Glue face patches
Use the printable template to trace and cut out the sloth face and face patches on tan and brown cardstock. Glue the face patches onto the sloth face.
6. Decorate the face
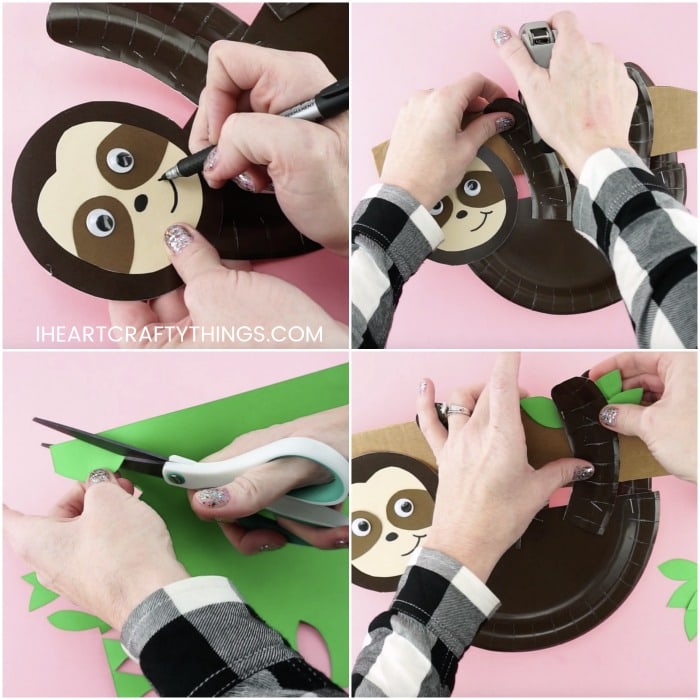
Glue the sloth face onto the paper plate sloth head. Then glue googly eyes onto your sloth face and use a black marker to draw a nose and mouth onto your sloth.
7. Make a branch
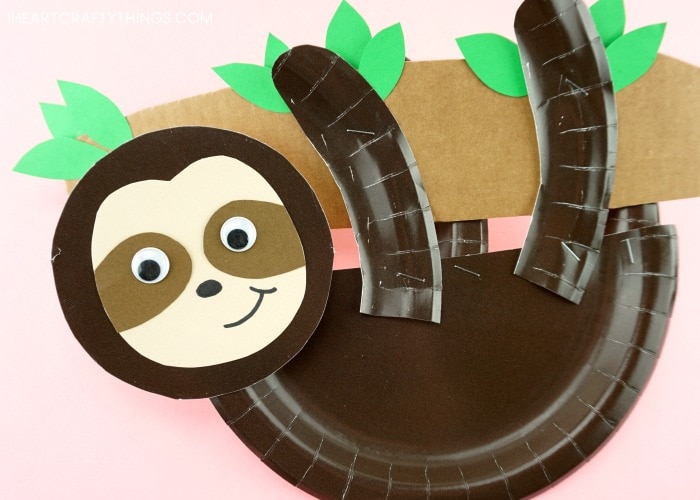
Cut out a section of cardboard for a tree branch. Use a stapler to staple it between the sloth legs so it looks like he is hanging from a tree branch.
8. Glue on leaves
Cut tree leaves from green cardstock paper or construction paper. Use a glue stick to glue each of the leaves around the tree branch. Make sure to tuck some leaves under the legs and glue some on the back of the tree branch to add extra dimension to the craft.
Find more easy paper plate crafts and animal craft ideas by browsing the categories at the top menu bar of our website.
