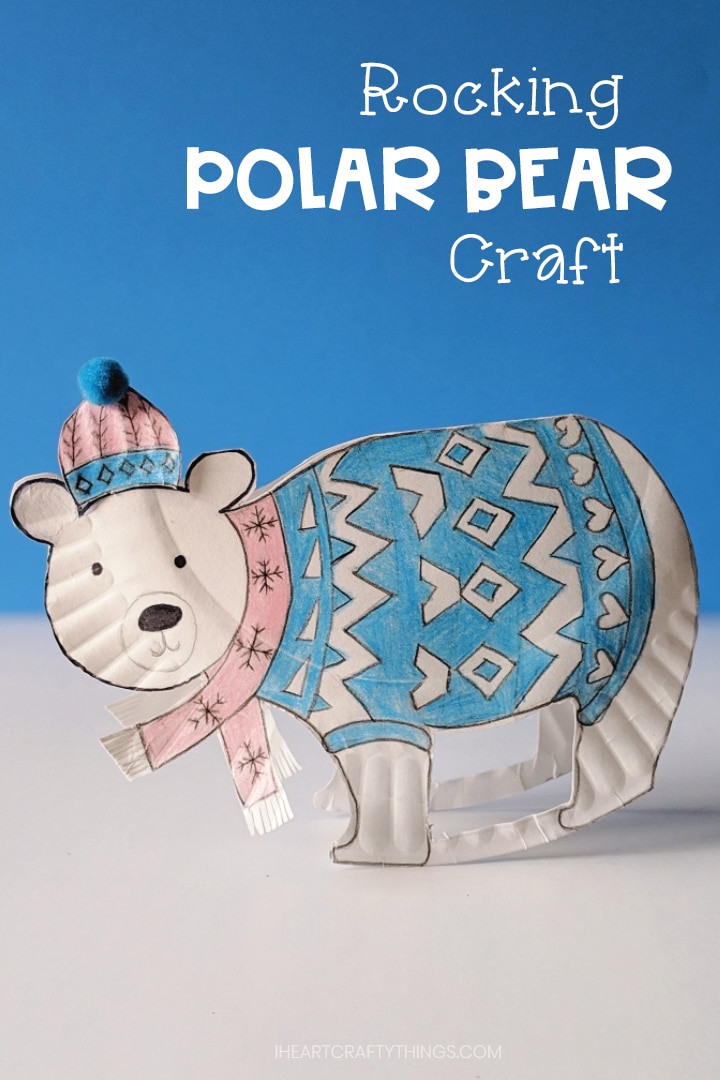
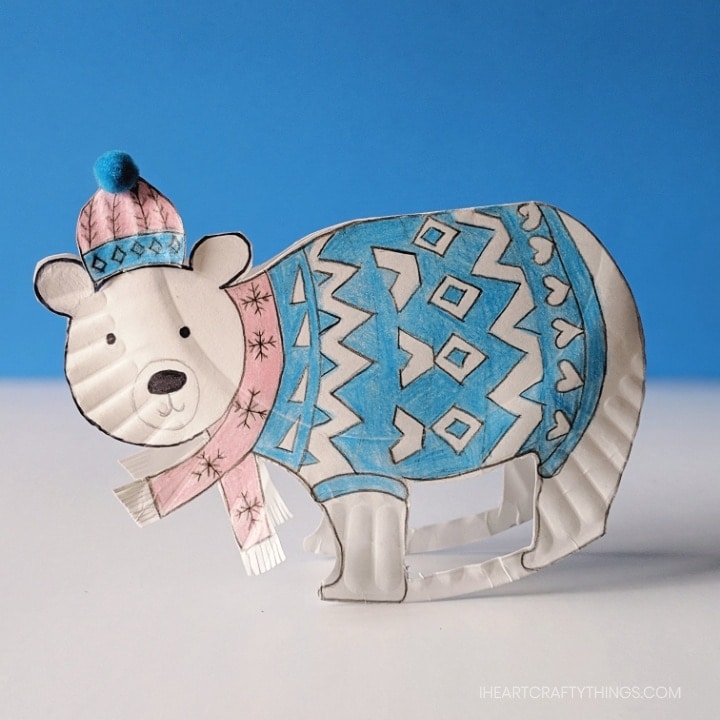
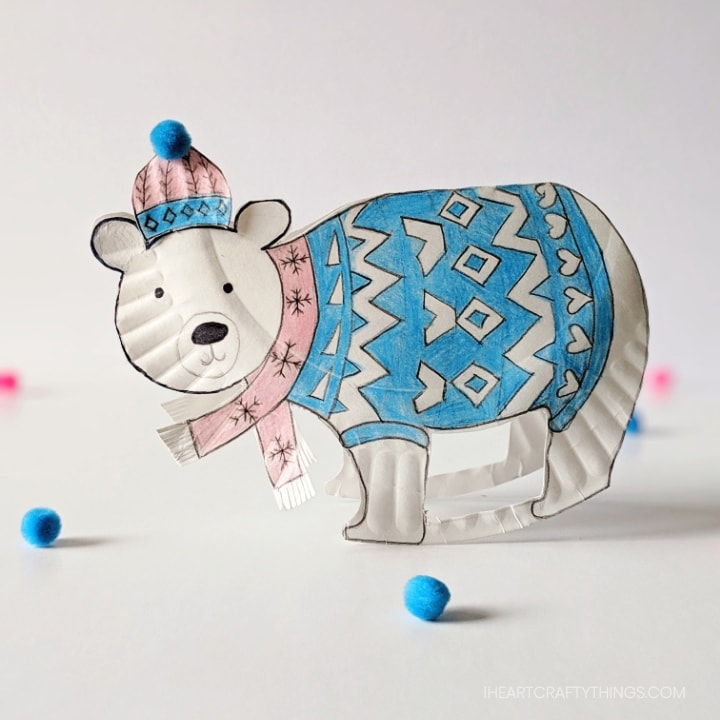
Looking for a fun craft to keeps the kids out of the cold winter weather and entertained for the afternoon? If so, you are going to love this paper plate rocking polar bear craft we are sharing today! In this post learn how to make this fun rocking polar bear with our step-by-step tutorial. Find a video of this cute little guy in action near the bottom of the post.
Supplies needed:
Tutorial:
1. Draw a bear
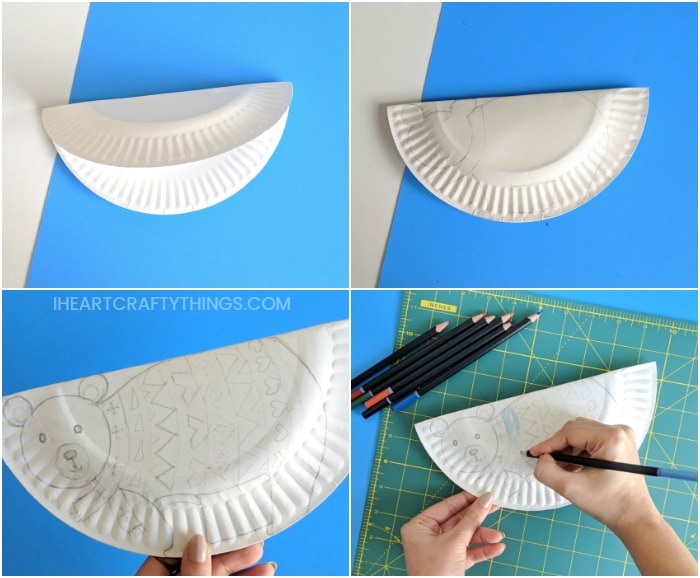
Fold a paper plate into the half and trace the polar bear’s outline on one side. Make the pattern for polar bear’s sweater and scarf. Also, make bear’s eyes, nose and mouth.
2. Color the pattern
Fill the sweater and scarf pattern using pencil colors.
3. Cut out your bear
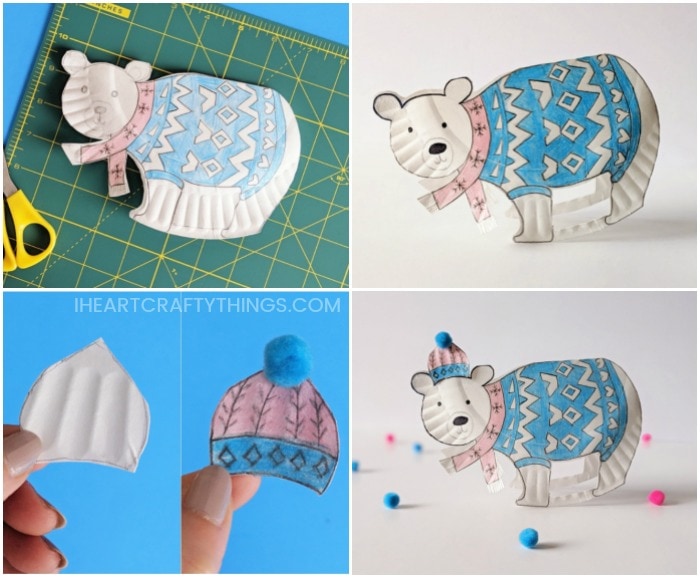
Cut out the polar bear leaving the top part intact. Carefully cut out the paper plate section between the legs leaving approx 0.5″ of the paper plate connecting the legs to make the runner. Cut slits on both of the ends of the scarf and fray them a little bit to look like scarves.
4. Make a plate
Cut out a hat from paper plate scrap left. Make a pattern on hat and fill it with pencil colors. Glue a pom-pom on the top.
5. Glue hat on
Attach the hat on the bear’s head. And your bear is ready to rock in winter.
