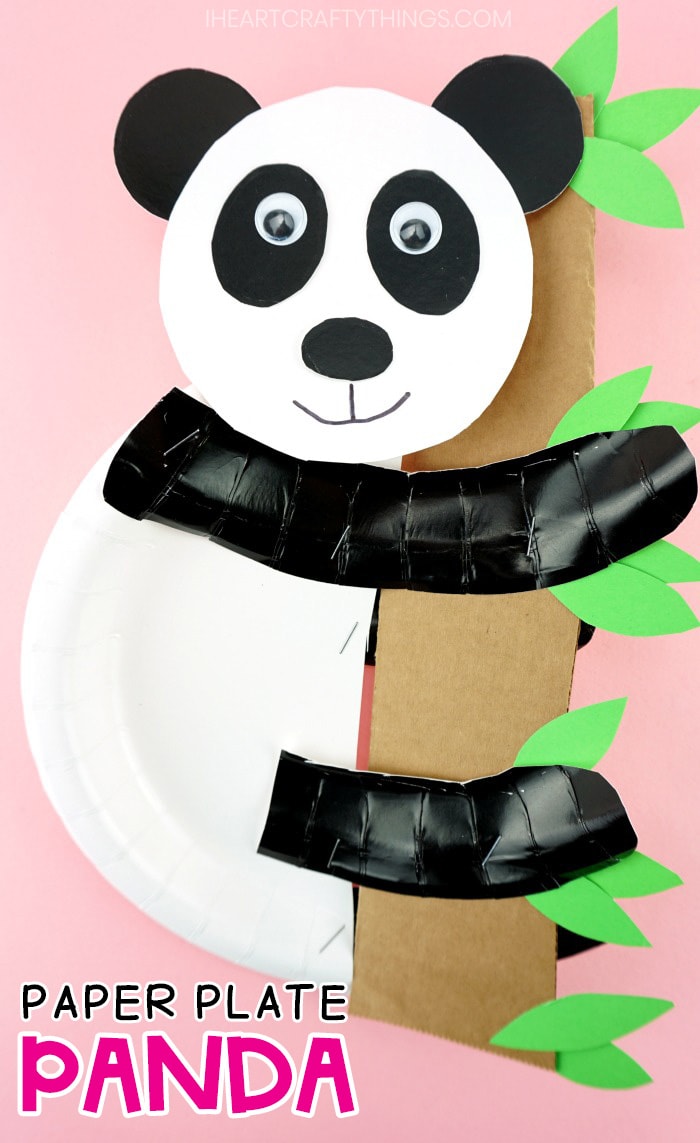
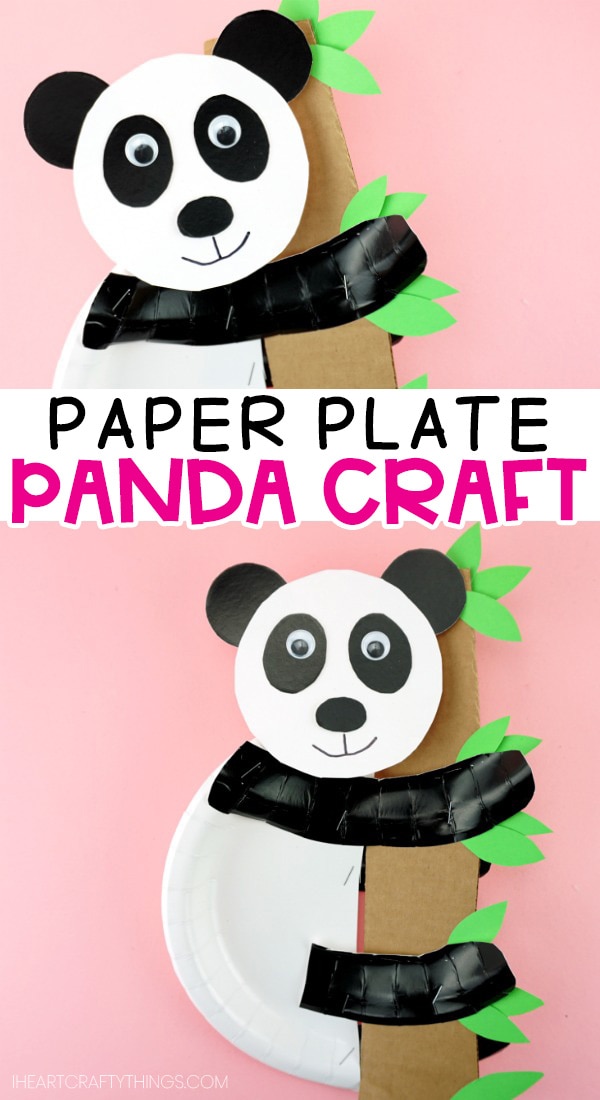
Grab our pattern template and some simple craft supplies and get ready for a fun time making this cute paper plate panda bear craft with your kids today!
Are you ready for ultimate paper plate cuteness? We’ve recently created some amazing paper plate animal crafts like our adorable sloth and darling koala, and today I’m super excited to introduce you to our amazing panda bear.
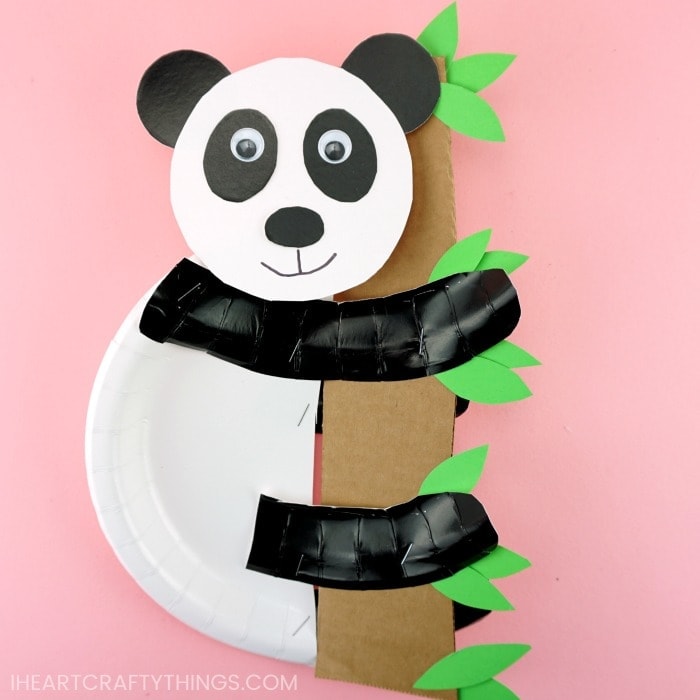
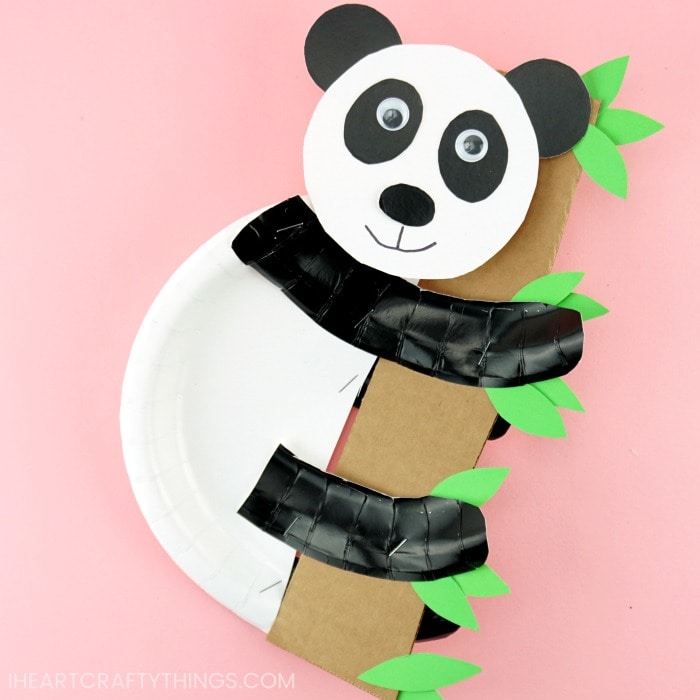
All you need to make this cute craft is a few paper plates (of course), some cardboard, googly eyes and a few other simple craft supplies I’m certain you already have on hand right now. This easy paper plate craft will delight preschoolers and kids of all ages, especially with the help of our craft template.
Read our simple how-to instructions for making this paper plate panda bear below and then watch a full video tutorial near the bottom of this post.
This post contains affiliate links to the products mentioned. Read our disclosure policy for more information.
Supplies Needed:
- panda bear craft template <— Get the printable template HERE
- 2 white paper plates
- 1 black paper plate
- cardboard
- green cardstock or construction paper
- googly eyes
- pencil for tracing
- stapler
- scissors
- glue stick
Tip: Don’t have any black paper plates? No problem! Simply paint two white paper plates with black paint before beginning this how-to tutorial.
Tutorial:
1. Print & cut out template
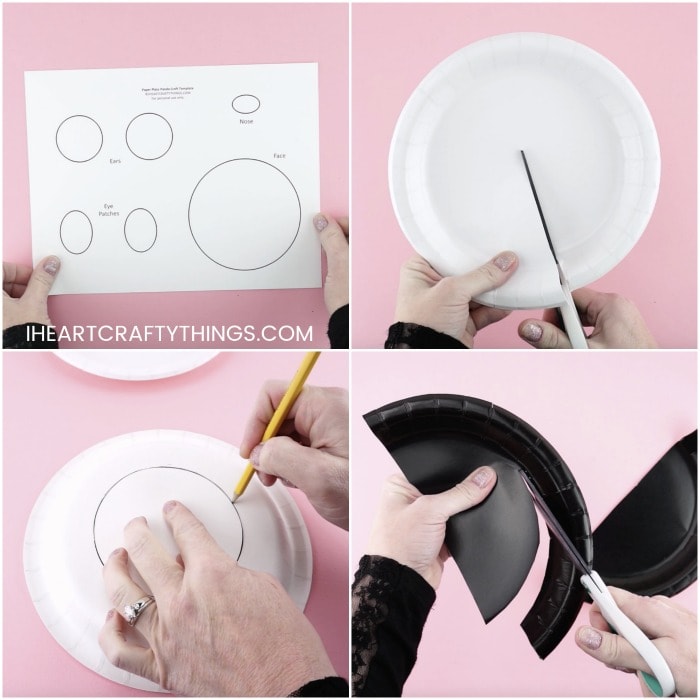
Before starting, download and print out our paper plate panda bear template. Cut out each of the pieces of the template.
2. Cut plate in half
Cut one of your white paper plate in half. You will only use one of the halves, so set the other half aside to use another day for a different craft project.
3. Cut out face shape
Turn your second white paper plate face down. Trace the panda bear face template on the back of the paper plate. Cut it out.
4. Cut out paper plate rim
Cut your black paper plate in half. Then cut out along the rim of each paper plate half, removing the inside paper plate pieces. Set the inside pieces aside for Step 6.
5. Make arms
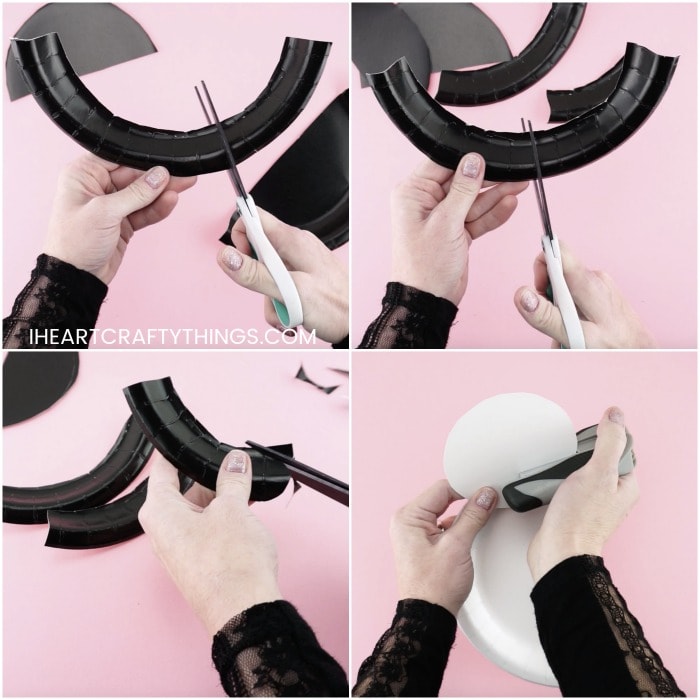
Cut the first paper plate rim half about two-thirds in to create a longer panda arm and a smaller panda arm. Cut the second paper plate rim half in the center to create two panda legs. Using your scissors, cut a rounded shape at the end of each panda arm and leg.
6. Cut out face shapes
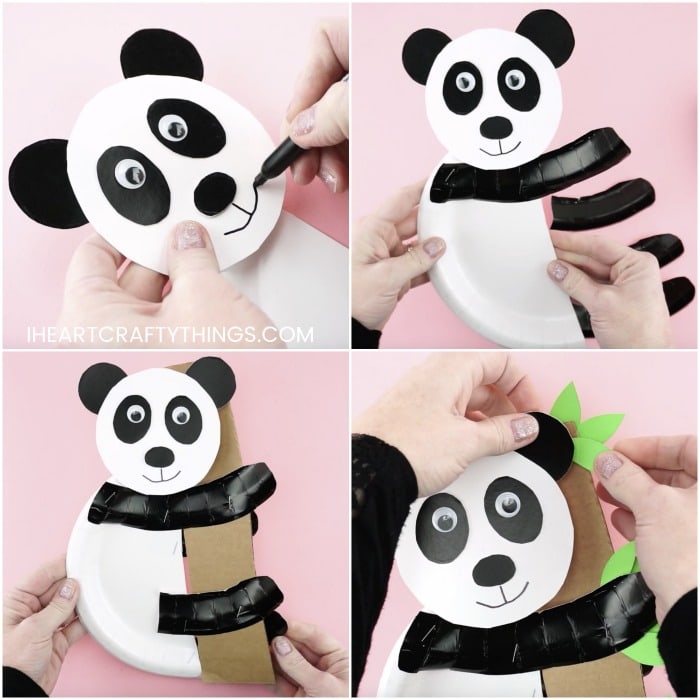
Place the black paper plate sections left over from step 4 face down. Trace the panda bear ears, nose and eye patch templates on them. Then cut out each of the pieces.
7. Glue all pieces together
Staple the panda face at the top of the panda body. Glue the panda ears, nose and eye patches onto the panda face.
8. Add eyes & draw a mouth
Glue googly eyes inside the panda bear eye patches. Then use a black marker to draw a mouth onto your panda.
9. Stample arms & legs
Staple the arms and legs onto the panda body. Start by stapling the longest arm onto the panda directly under the panda face. The longer length creates that black stripe that goes across the panda’s back.Then staple the remaining arm and legs onto the panda. Make sure to staple one arm and leg on the front and back of the paper plate to add dimension to the craft.
10. Make a tree branch
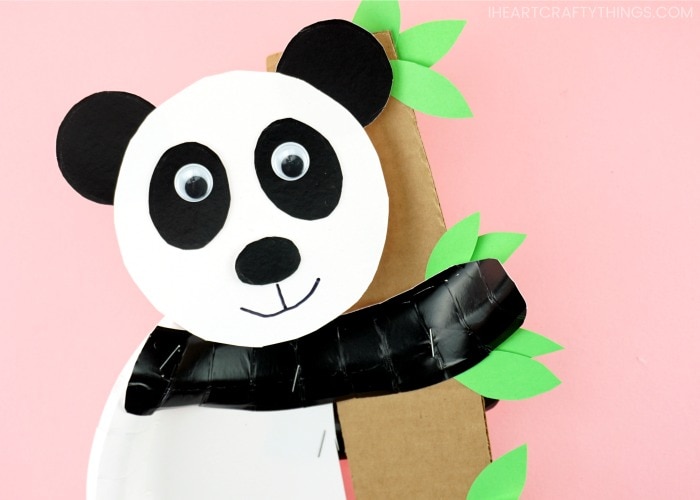
Cut out a section of cardboard for a tree branch. Use a stapler to staple it between the panda arms and legs so it looks like he is hanging from a tree branch.
11. Finish with tree leaves
Cut out tree leaves from green cardstock paper or construction paper. Use a glue stick to glue each of the leaves around the tree branch. Make sure to tuck some leaves under the legs and glue some on the back of the tree branch to add extra dimension to the craft.
Video Tutorial: How to Make a Panda Paper Plate Craft
Watch the video below for a step by step guide on how to make this cute panda bear craft with our simple template. Find more easy paper plate crafts and animal craft ideas by browsing the categories at the top menu bar of our website.


