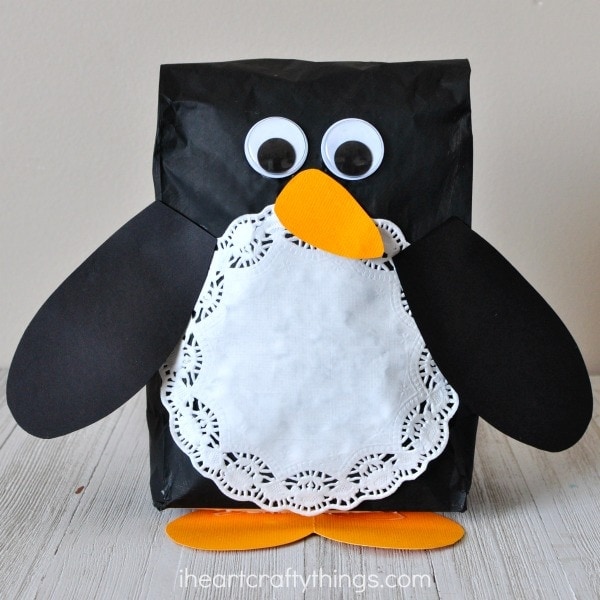
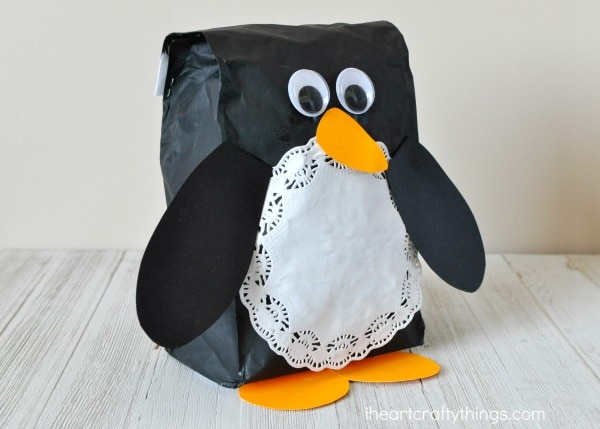
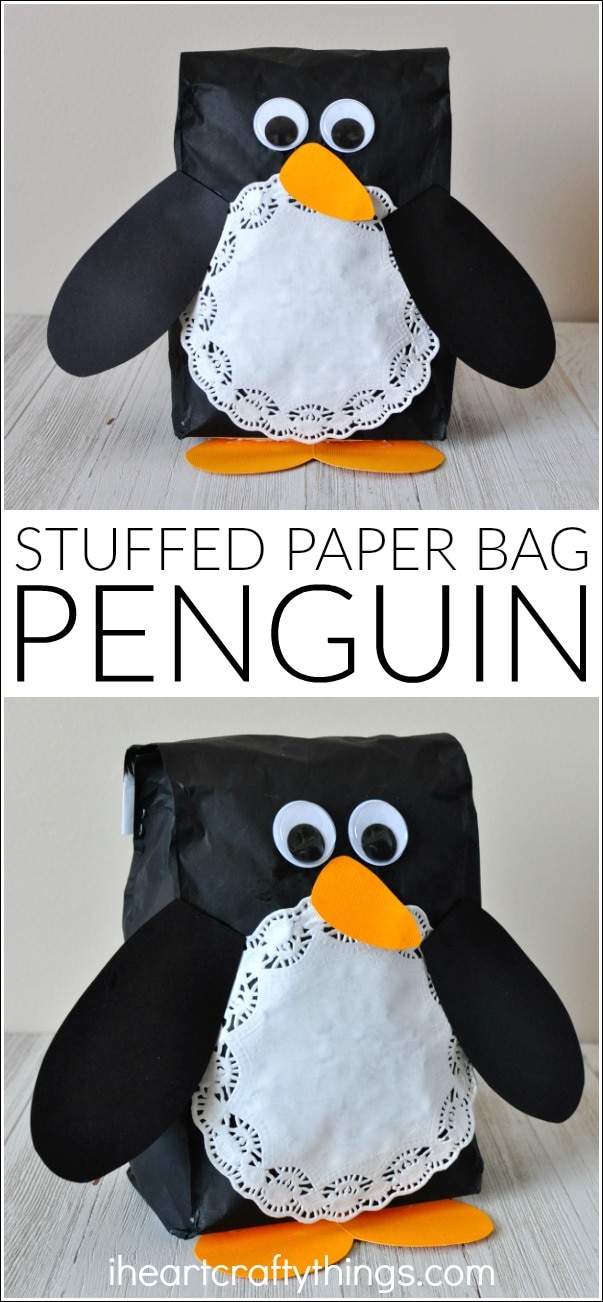
I love me some adorable penguin crafts every winter! We’ve already shared how to turn a plastic spoon into a penguin puppet and today we are sharing this super cute stuffed paper bag penguin craft.
The stuffing in the paper bag helps it to sit upright so the craft is a fun one to put on display on a shelf or mantel all winter long.
Who is ready for to get started on some penguin cuteness?

This post contains affiliate links to the products mentioned. Read our disclosure policy for more information.
Supplies Needed:
- white paper lunch bag
- black paint
- paintbrush
- round doily
- black and orange cardstock
- googly eyes
- stapler
- newspaper strips or plastic bags for stuffing
- glue dots
Instructions:
1. Paint your paper bag
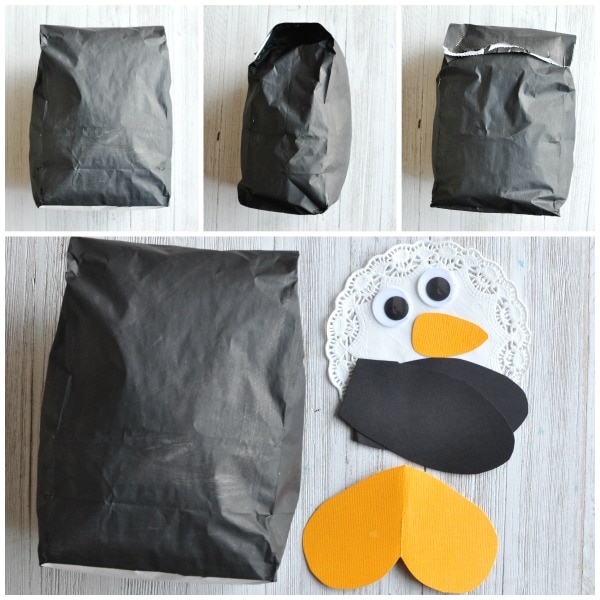
Start by painting the outside of your paper bag with your black paint. This can be a bit tricky so the best way I find to do it is to place your hand and arm inside the open bag and turn it around as you paint it. Then set the bag down on it’s bottom and let it dry. As an alternative you could also stuff the bag first then paint it.
2. Stuff your bag
When your paper bag is finished drying, crunch up newspaper strips or plastic bags and stuff your bag almost full. Fold down the top of the bag and staple it to the back of the bag and the sides closing it shut.

3. Cut out all penguin body parts
Cut out two penguin arms from your black cardstock and a beak and feet from your orange cardstock. For the feet we simply cut out a heart shape. You’ll also want to grab your circle doily and googly eyes.

4. Glue all parts to the bag
Use glue or Glue Dots to glue on the pieces and finish your stuffed paper bag penguin craft. First glue the doily onto your bag then the black arms. Next, glue on the beak and googly eyes. Finish by gluing the penguin feet onto the bottom of the paper bag.


