The fashion and makeup industries are some of the largest in the world! There are tons of products and accessories that people around the world use to make themselves look glamorous and stylish!
Lipstick is one of the most commonly used aspects of makeup, and it can come in many colors and intensities to suit each individual wearer.
Using makeup can be a lot of fun, and learning how to draw lipstick can be a great way to have some fashion fun without spending a fortune on real makeup!
This is the guide to be on if you would like to know how it can be done.
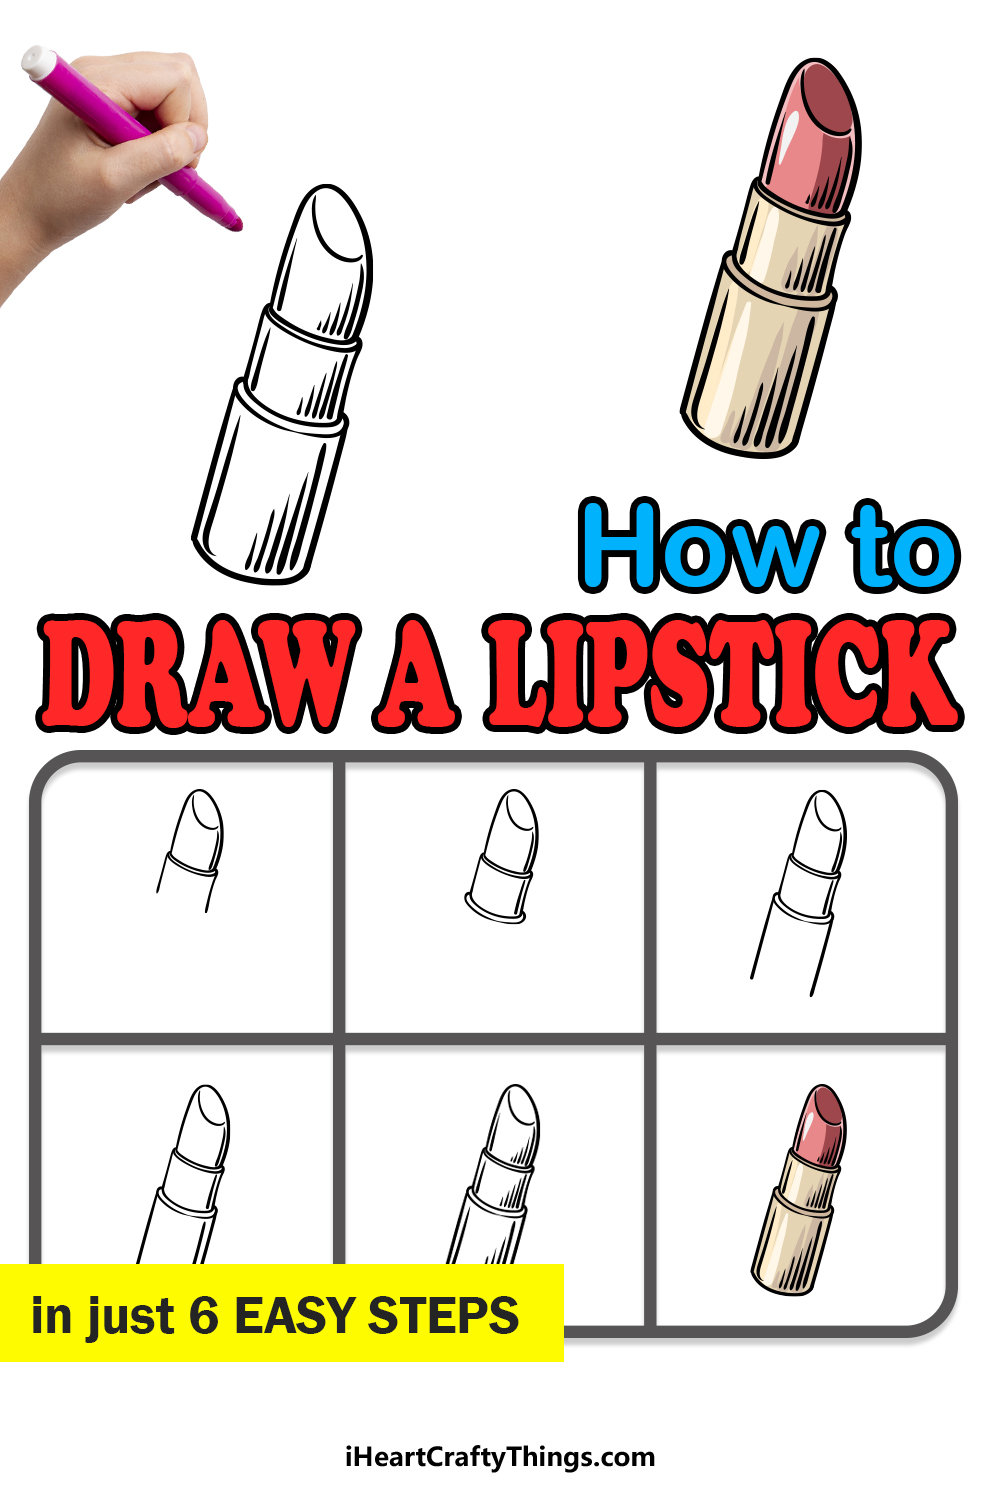
Please sit back, relax and enjoy this very fashionable step-by-step guide on how to draw lipstick in 6 easy steps!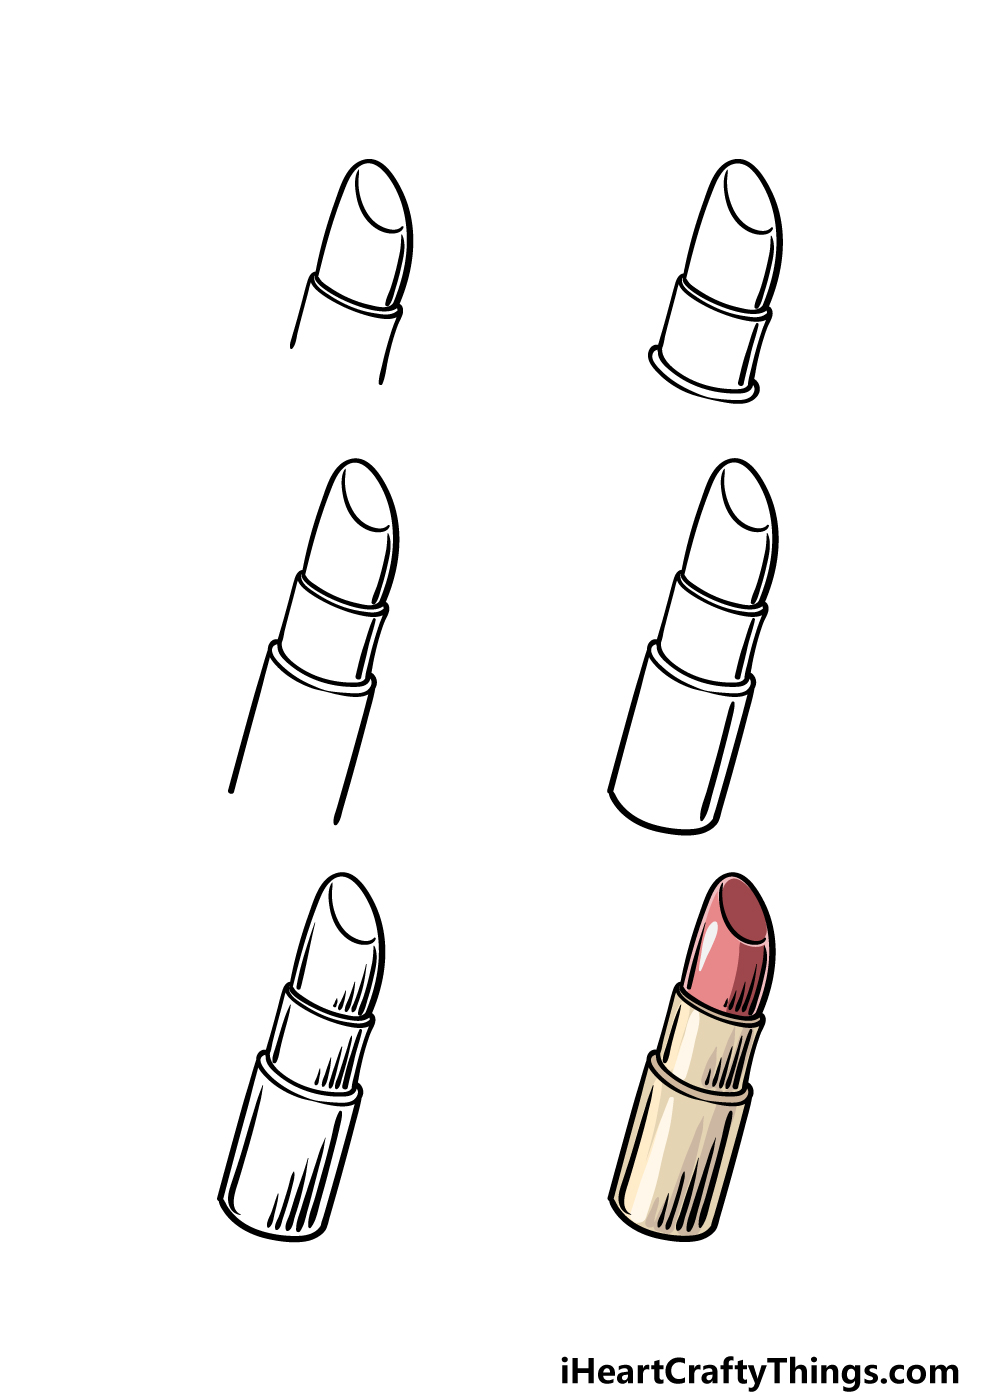
How to Draw Lipstick – Let’s Get Started!
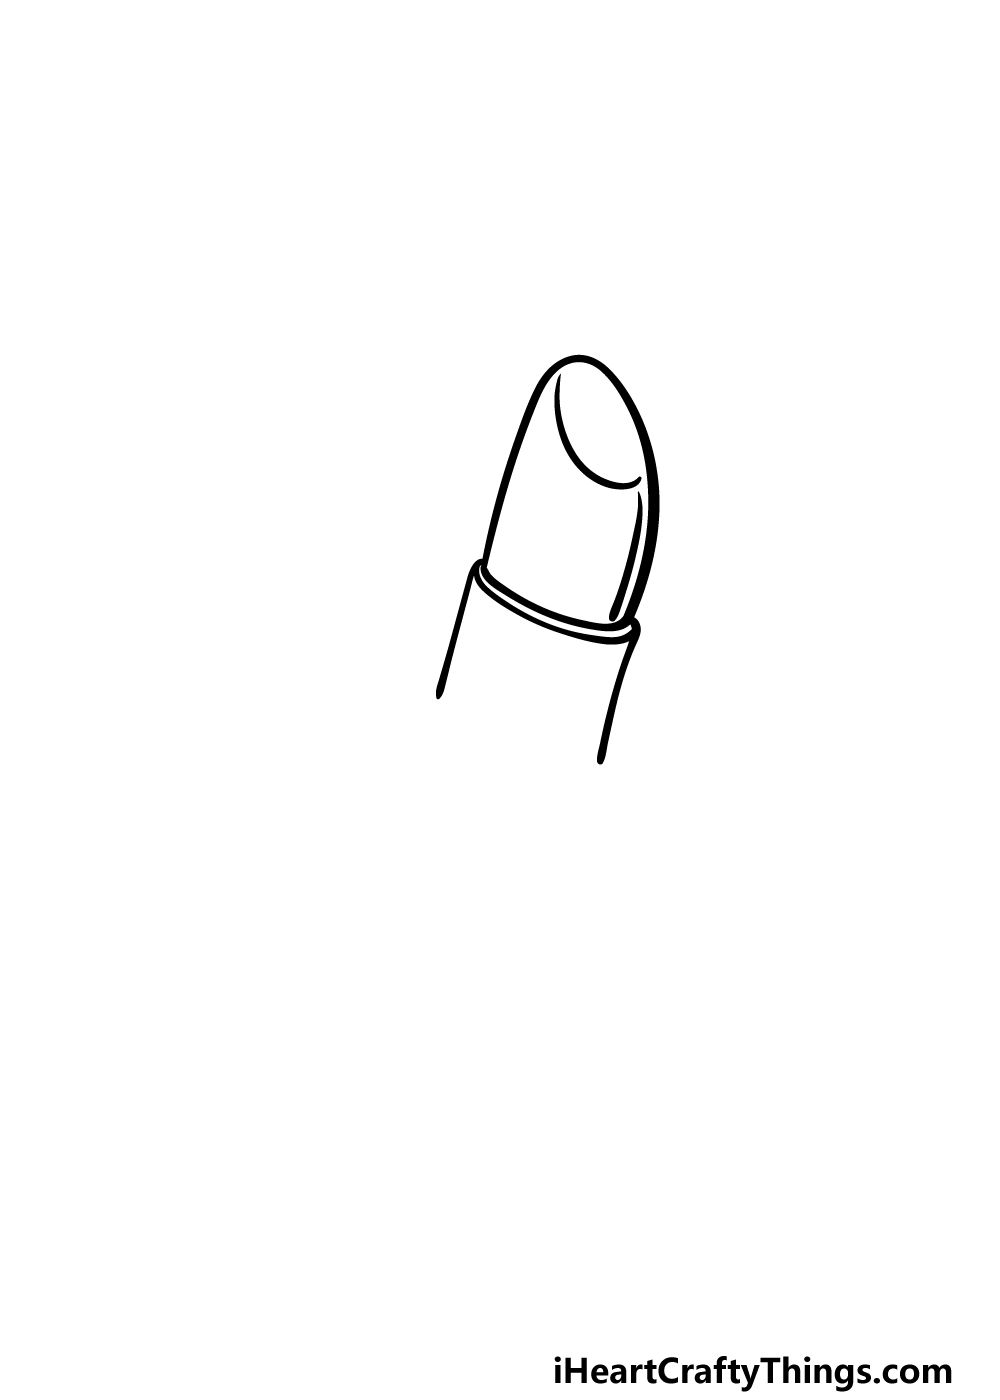
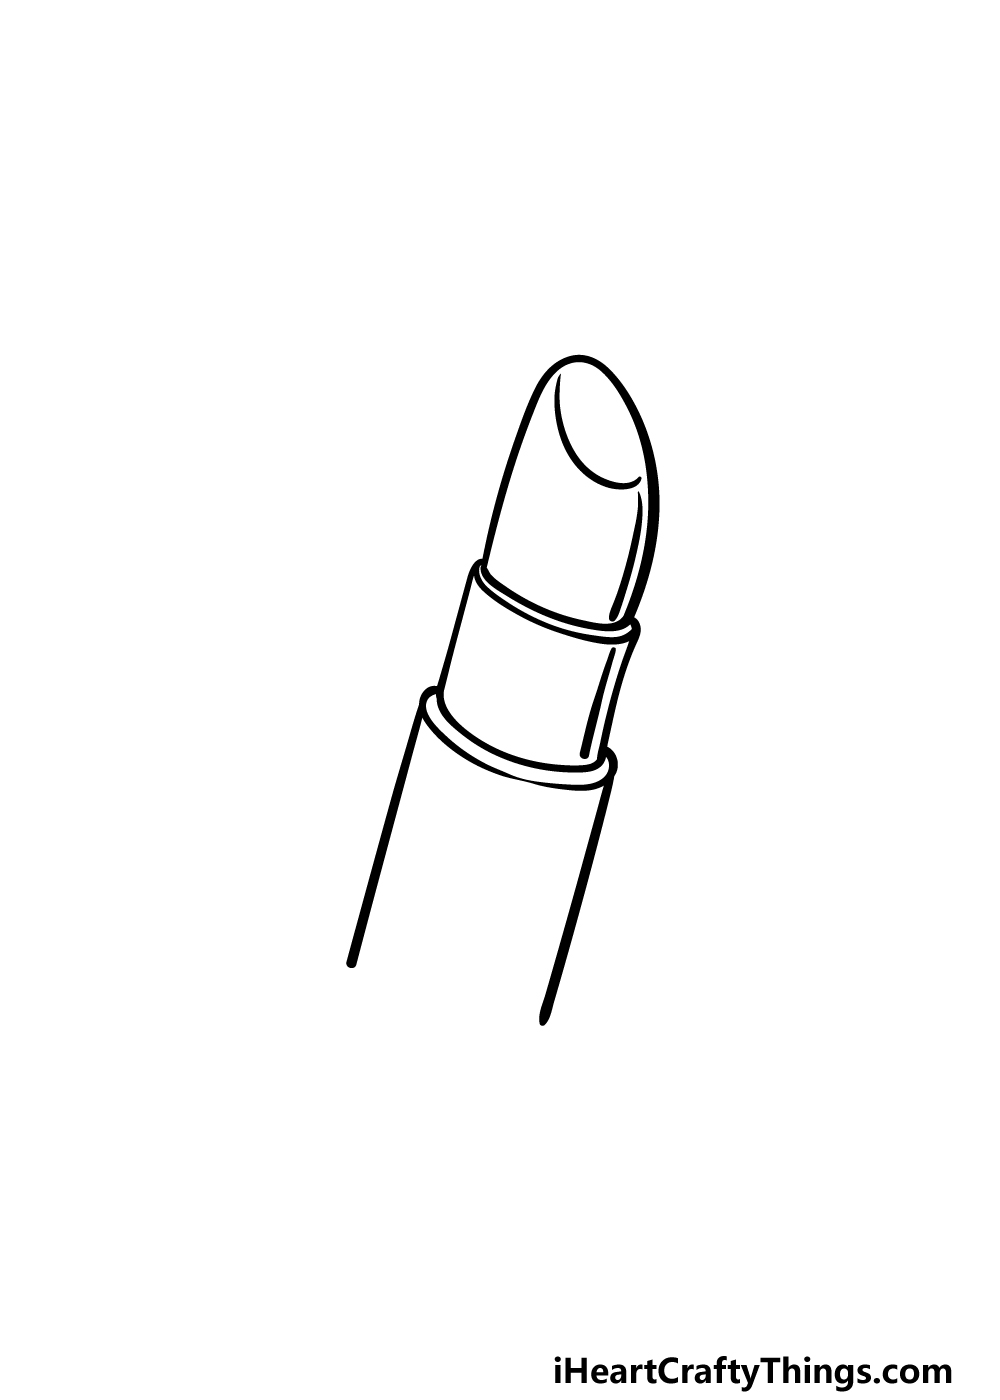
Step 1
On the surface, lipstick is quite a simple object. It’s a small tube that contains the lipstick itself, and doesn’t have many moving parts or details.
You may even use lipstick most days of your life, but despite this, it can still be tricky to learn how to draw lipstick properly.
That won’t be the case after you have finished with this guide, however! We shall begin by drawing the lipstick poking out of the tube.
We will be using a curved line for this, and it will have a rather rounded tip to it. There will then be a smaller curved line near the top, and this will be to give the tip a flat edge.
Once that is done, we shall then draw the tup. Add a thin rim to the end of the lipstick, and then extend some straight lines down from it. That will finish this step, and we can go on to step 2!
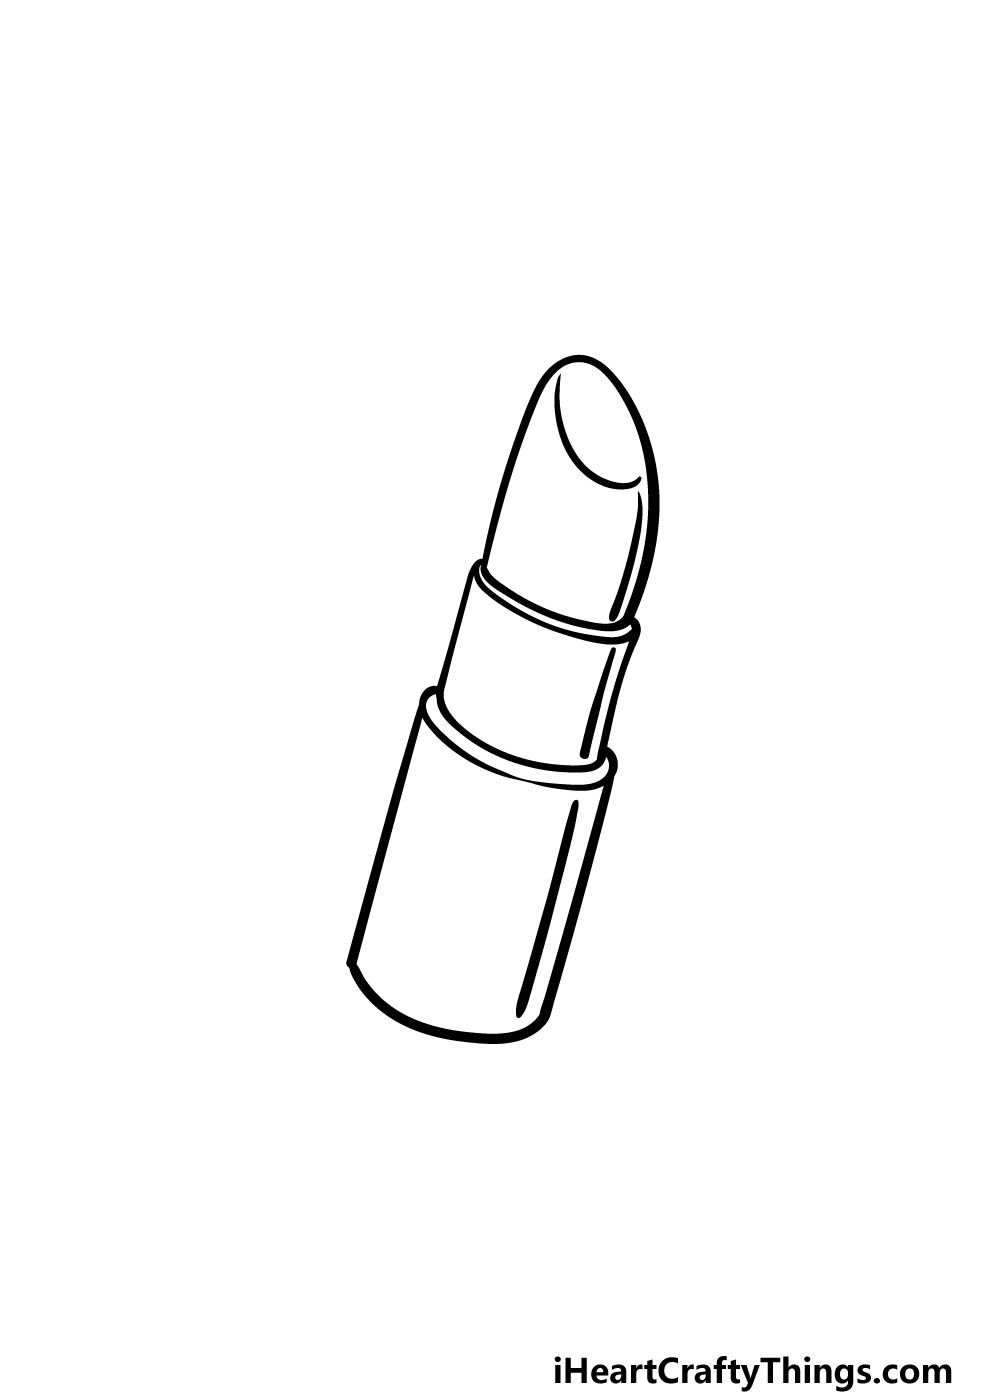
Step 2 – Next, draw the rest of this section of the tube
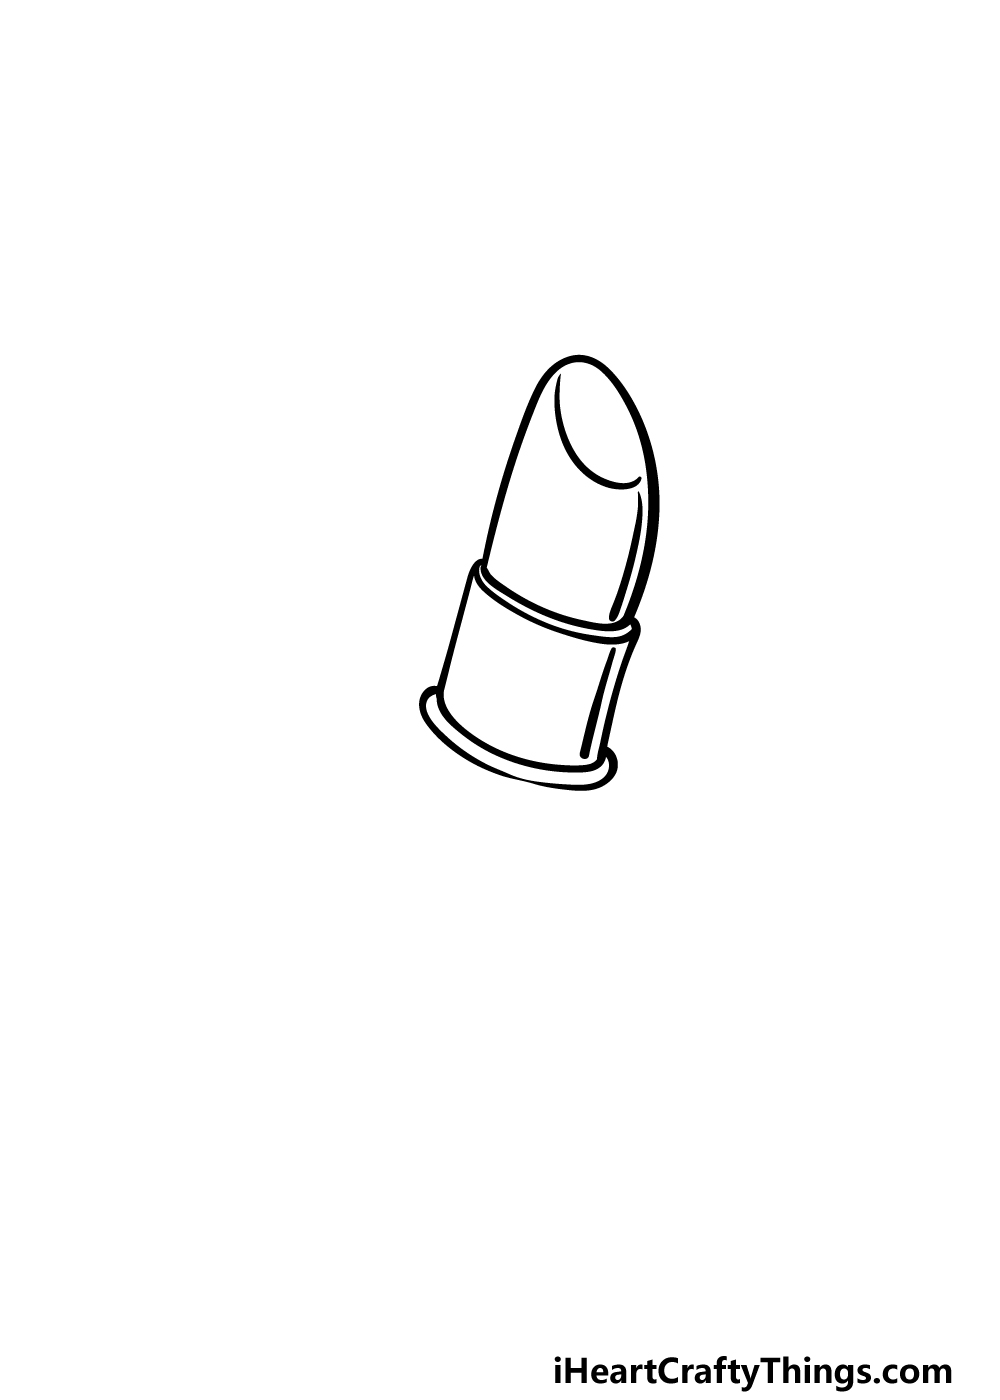
In this second part of your lipstick drawing, we will add some more to this little section of the tube that you started in the first part.
To do this, use some more curved lines to add another, slightly thicker rim to the bottom of this section.
Then, all you need to do is draw a fairly thick line close to the right-hand edge of this section to give it some depth. Then you will be ready for step 3 of the guide!
Step 3 – Now add some more of the tube for the lipstick
This third step of our guide on how to draw lipstick should be nice and easy for you to do!
All you need to do for this step is draw two straight lines down from the sides of the rim that you drew in the previous step.
Just like with the rest of the tube, you may want to use a ruler to draw these lines so that they are nice and straight.
There will be a space left at the base of the lipstick, but we will fill that in shortly.
Step 4 – Draw the rest of the base for the lipstick
We mentioned in the previous part of your lipstick drawing that we will be filling in the space left at the base of the tube now.
That’s exactly what we will be doing in this step, and once again it should be an easy aspect to draw! First, draw another curved line for the base of the tube.
That will finish off the outline for the lipstick, but before you move on to the final touches in the next step, you can also add a line near the right-hand edge of the tube.
This will also help to give the lipstick a bit more depth.
Once these aspects are done, we can move on to those final details and touches in the next step!
Step 5 – Add the final touches for your lipstick drawing
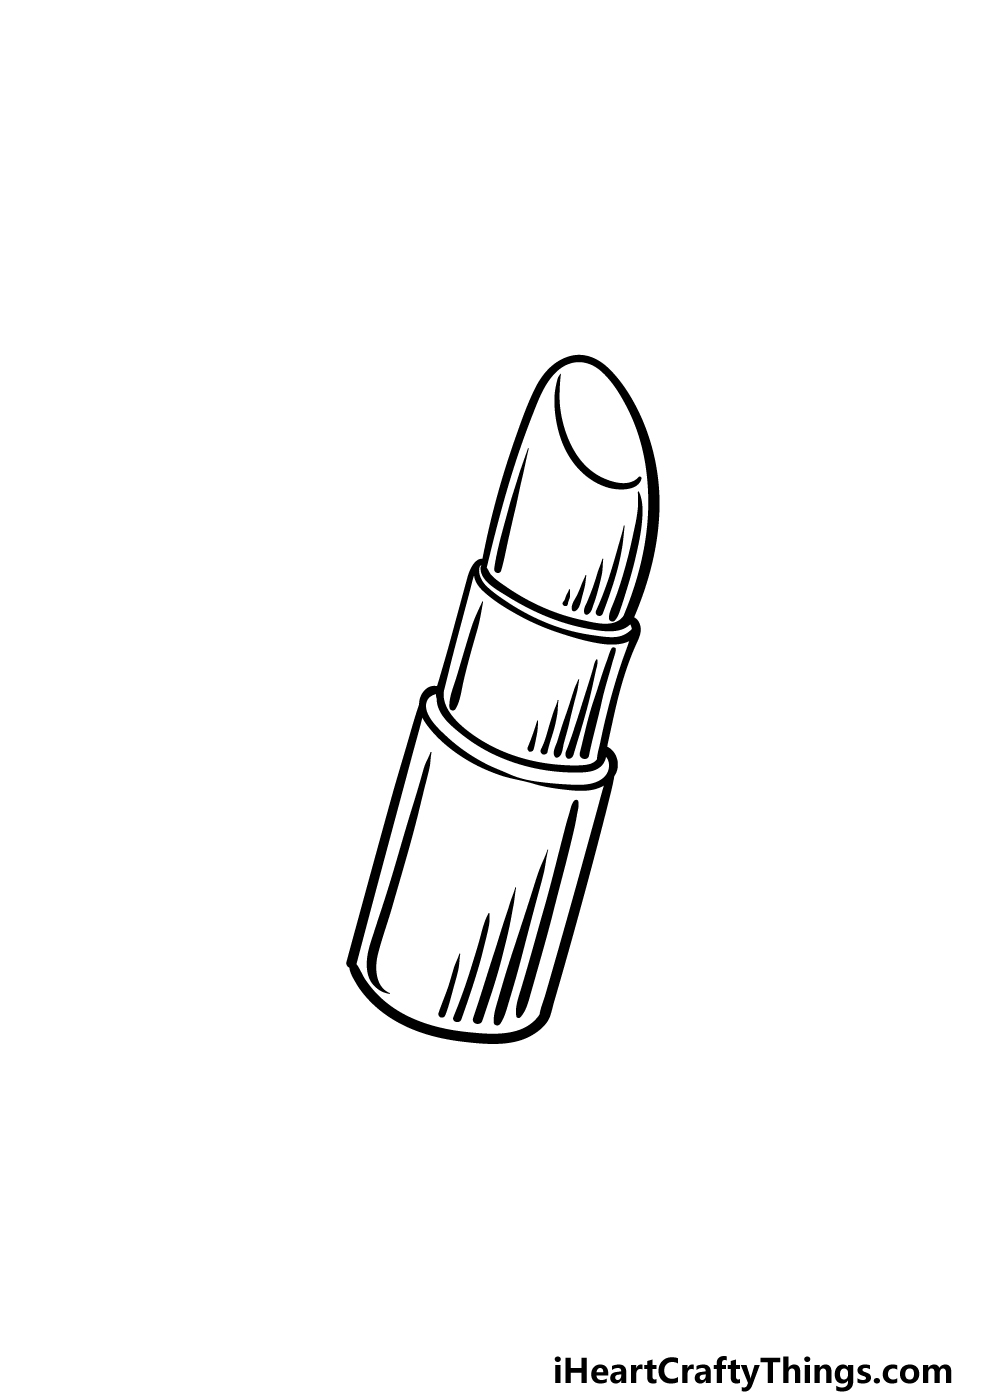
Now you are ready to add some final small details before we move on to the final stage of this guide on how to draw lipstick.
To add yet more depth to the tube, you can draw several straight lines of varying lengths onto the sides of the tube. Also, add a line to the left-hand side of each section of the tube.
Once these are drawn, you’re ready to color in! Before you do, you could draw some extra details of your own. One idea would be to draw the label of your favorite makeup brand onto the lipstick.
You could also draw a background to show what other pieces of makeup you would use with this lipstick tube. These are just a few ideas, but what else can you think of?
Step 6 – Finish off your lipstick drawing with some color
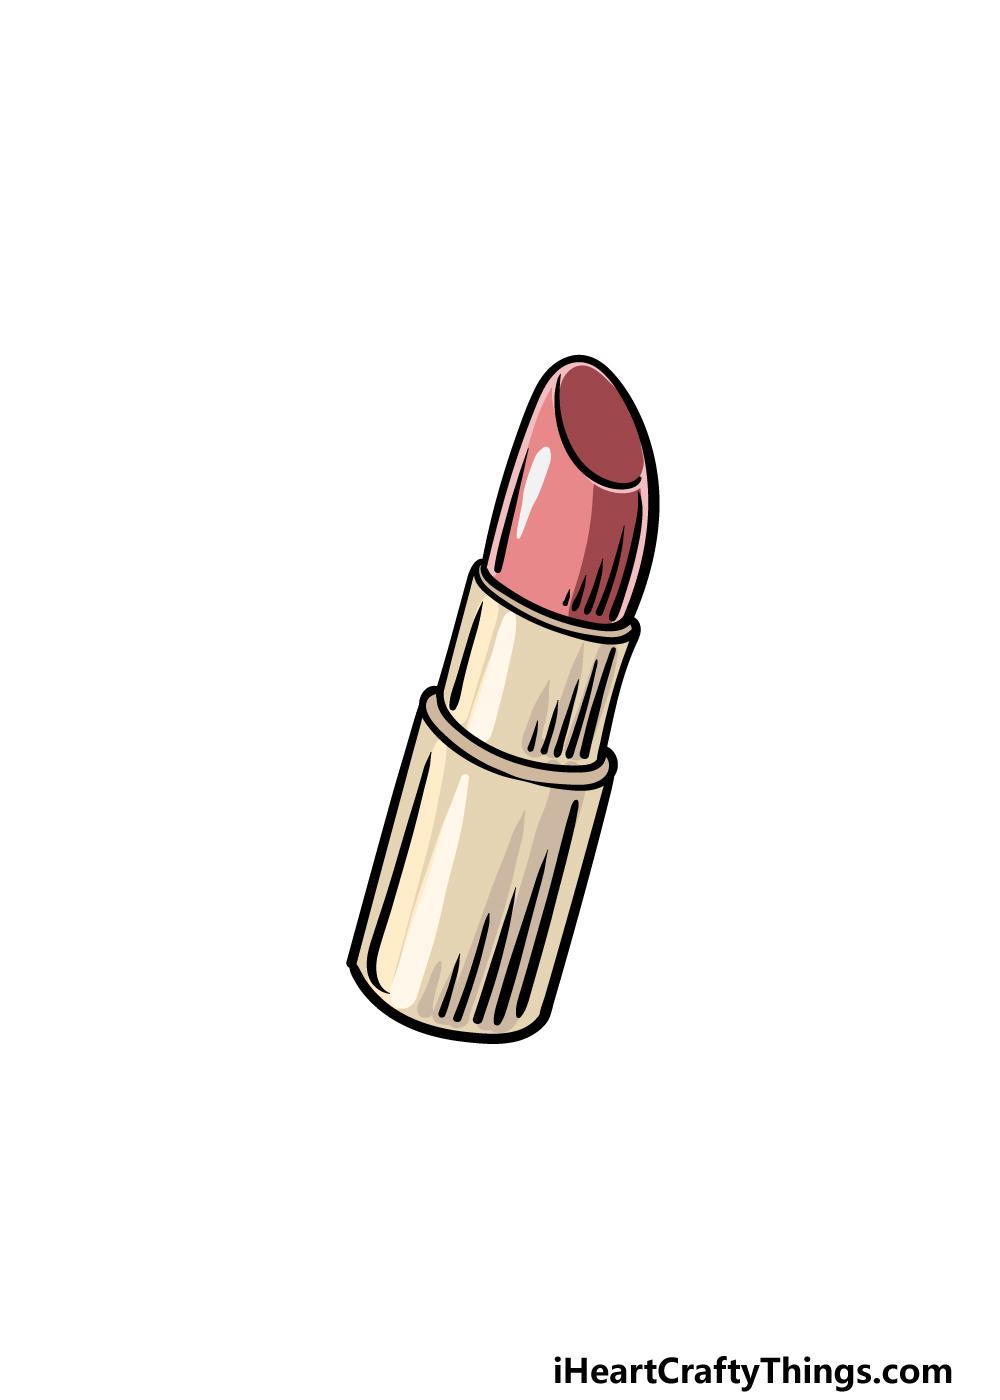
Lipstick can come in many different colors and tones, so that gives you a lot of freedom with how you can color in your own lipstick drawing.
We used some tones of red and pick for the lipstick in our reference image, and we also used various shades of gold and yellow for the tube.
These are just some of the color choices that you could go for, and you should use any colors you like to create your own perfect lipstick brand!
You can also get different tones and color intensity depending on the art mediums you choose, so have fun with it and see what you can come up with!
Here’s how you can make your lipstick drawing even better…
Get ready to apply these tips we have for making your lipstick sketch even better!
This drawing of lipstick has a tube that is blank if you don’t count the color and shading details.
Tubes of lipstick will often have a logo or some kind of marking on them, so you could add that detail to this one!
This logo could be based on a real lipstick brand if you want to show off what your favorite one would be. Or, you could even create your own brand of lipstick by designing a unique logo!
When using lipstick, it will often be paired with other kinds of makeup. Once you are happy with how this lipstick looks, you could add some other types of makeup that one might use.
For example, you could have some eyeliner, blush or maybe some lip gloss. These are just a few examples, but you could look at any makeup currently in your house for some inspiration.
What are some other kinds of makeup you could include?
Going back to the lipstick drawing, there are some other ways you can customize it. The lipstick itself is a light pink color, but lipstick can come in many other colors and shades.
If you prefer a different color, then you could use that for the lipstick! Not only that, but different art mediums can be used to make the colors pop.
Whether it’s colored pens, markers or some thick paint, mediums can make a big difference when portraying colors.
Once you have this lipstick sketch exactly as you want it, you can then take it even further by drawing a background. There are many fun and creative ways that you could do this!
One would be to show it inside a handbag along with any other items you may have wanted to add. Or, you could show it in someone’s fingers as they apply it to their lips.
These are just two simple ideas, but what are some other backgrounds you could create?
Your Lipstick Drawing is Complete!
We hope that you enjoyed letting your inner makeup designer go free as you worked on this guide on how to draw lipstick!
As we mentioned earlier, drawing simple, everyday objects like this isn’t always a simple task, so we aimed to make it easier by breaking it down for you.
By following the steps in this guide, we hope that you found it to be a fun and simple challenge to work on!
Now you can show off your creativity as you add to this drawing and turn it into something unique to you!
Then, when your artwork is finished and you’re ready for more, be sure to head to our website for more awesome drawing guides!
We upload new ones often for you, so keep checking in to make sure you never miss out.
Please also remember to share your finished lipstick drawing on our Facebook and Pinterest pages, as we would be thrilled to see how your picture turned out!