While many people look forward to warm Summer days, when the hottest days of the season roll around it can start to become quite uncomfortable!
Luckily, there are a few ways to stay cool when the heatwaves start coming, and one of the best ways is to enjoy a cold beverage with some ice cubes inside of it.
While they have quite a simple shape to them, you may be surprised to discover that learning how to draw an ice cube isn’t always so easy!
When you know what to do it can be made much easier, and that’s what this tutorial is here to do!
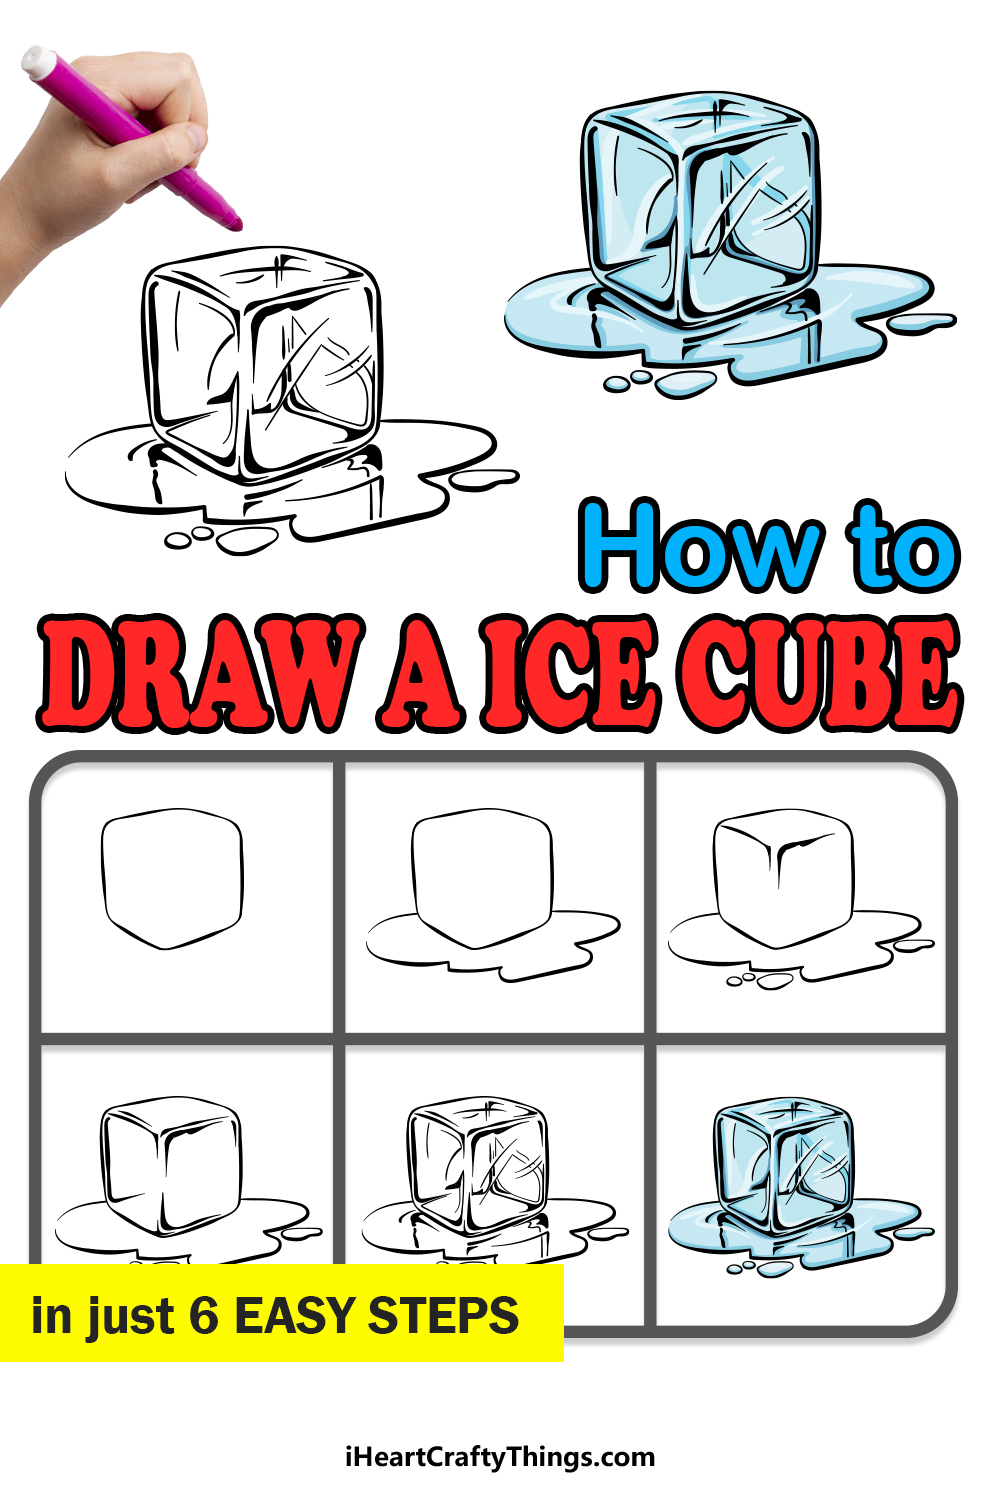
Our step-by-step guide on how to draw an ice cube will show you how to draw a detailed depiction of this icy shape.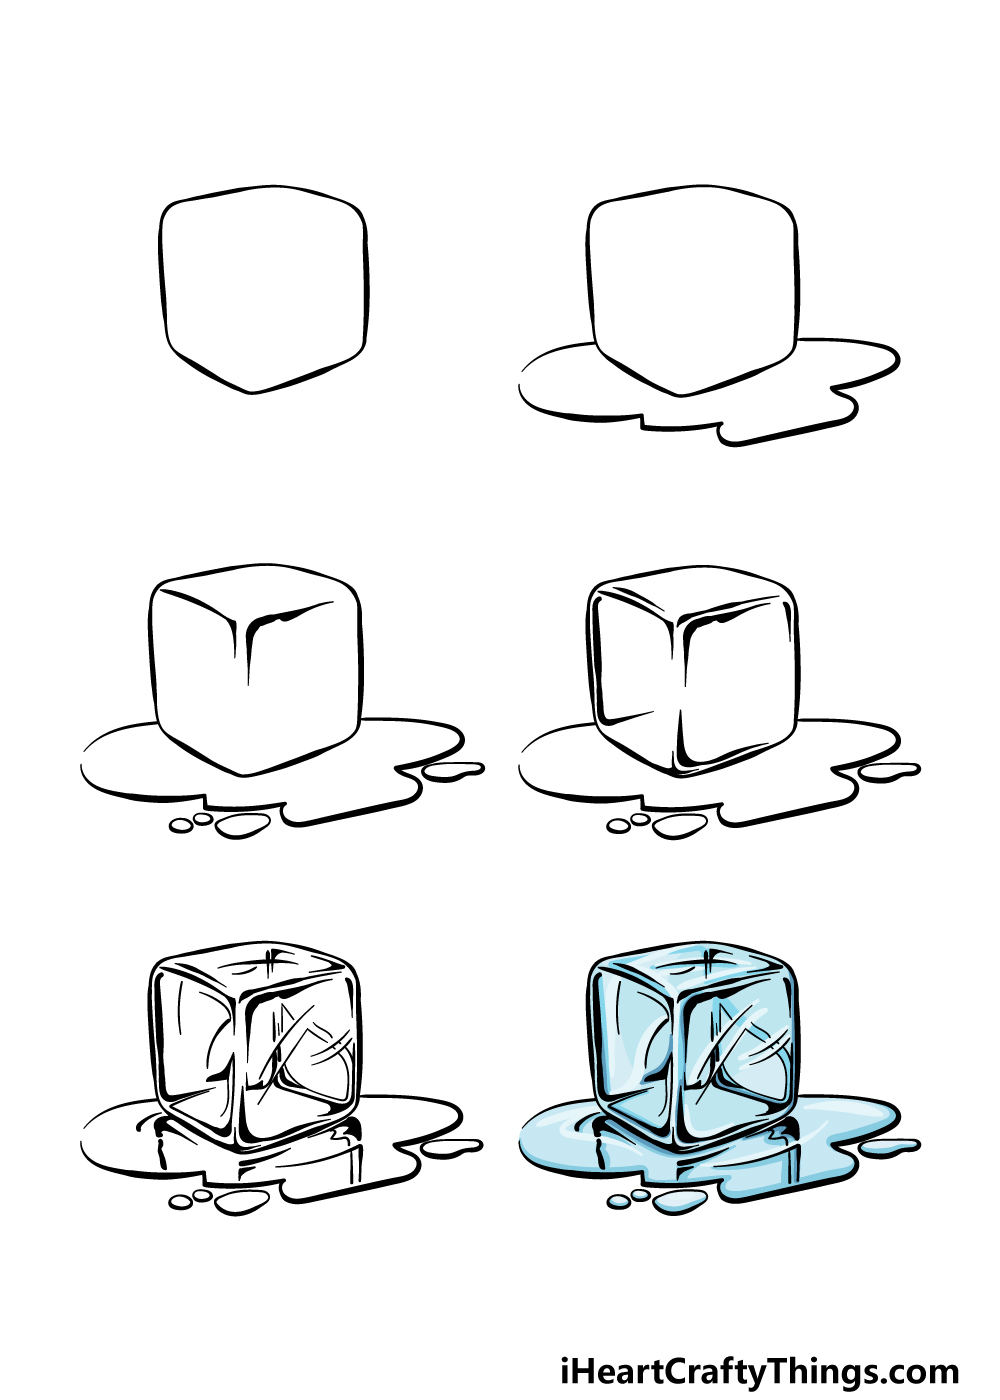
How to Draw An Ice Cube – Let’s Get Started!
Step 1
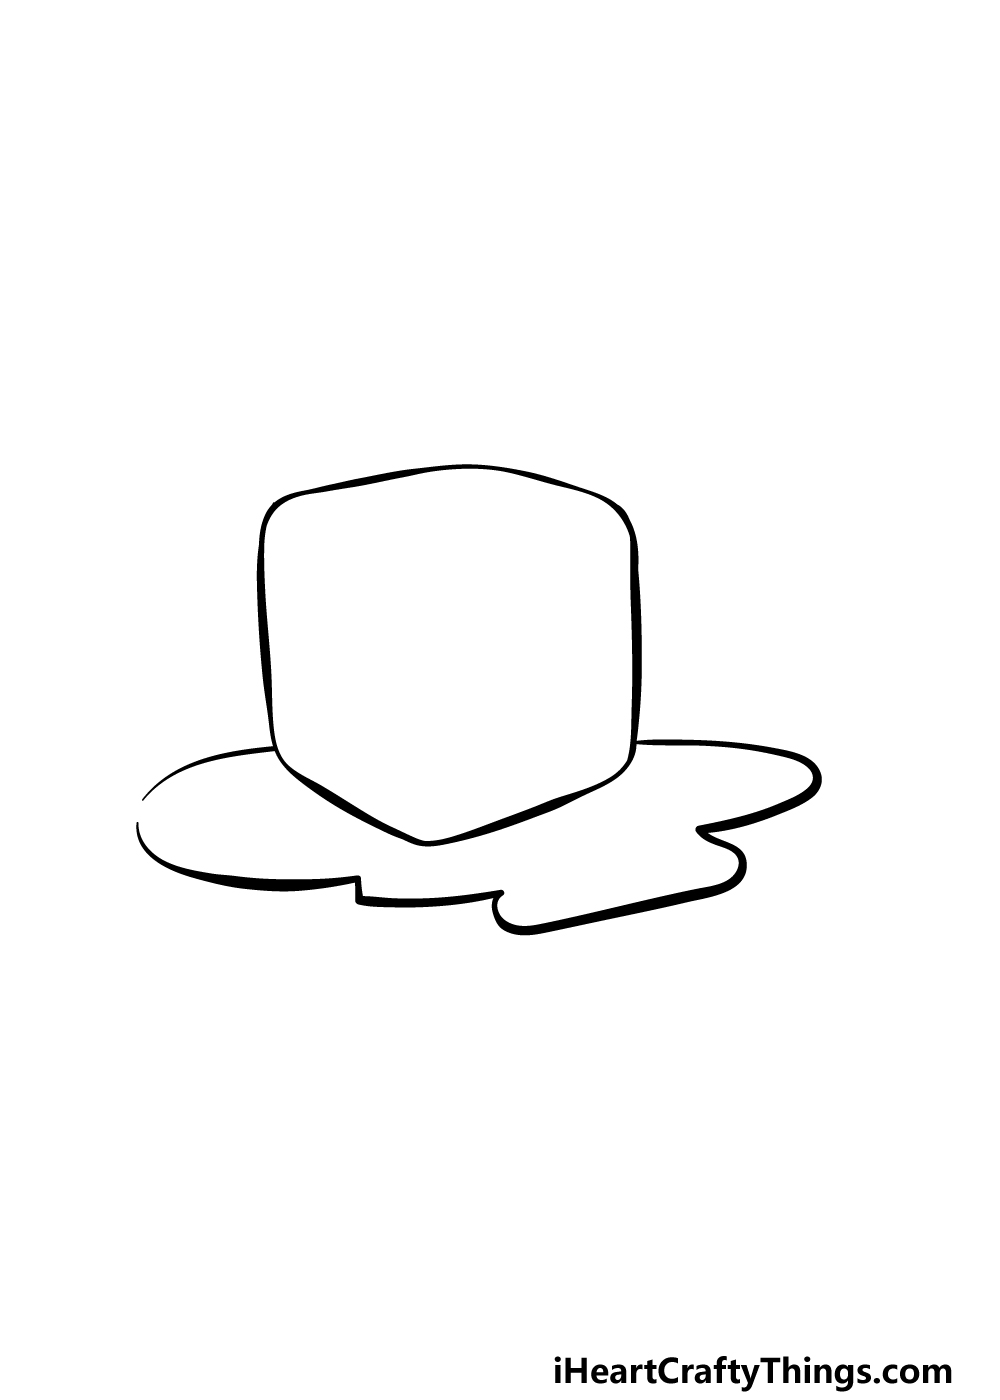
We will keep things nice and simple for this first step of our guide on how to draw an ice cube. For now, we will be drawing the outline of the cube itself, and as you may imagine this will be square in shape.
Try to imagine a physical cube as you draw this outline, and keep that in mind as you replicate the shape in our reference image.
Even though it is a squared shape, we would advise against using a ruler and to rather draw it freehand.
The reason for this is that the edges of the ice cube have melted a little bit, so the edges won’t be totally straight.
Then, once you have this shape drawn, we will add some details for the ice cube in the next few steps.
Step 2 – Next, draw a small puddle beneath the ice cube
We mentioned a bit earlier that the cube in your ice cube drawing will appear slightly melted, and we shall begin to portray that in this next step.
You can do this by drawing a small puddle beneath the cube, and this can be done with some rounded lines to create the puddle shape shown in the reference image.
That’s all we shall be drawing for this step, so when you’re ready then we can proceed!
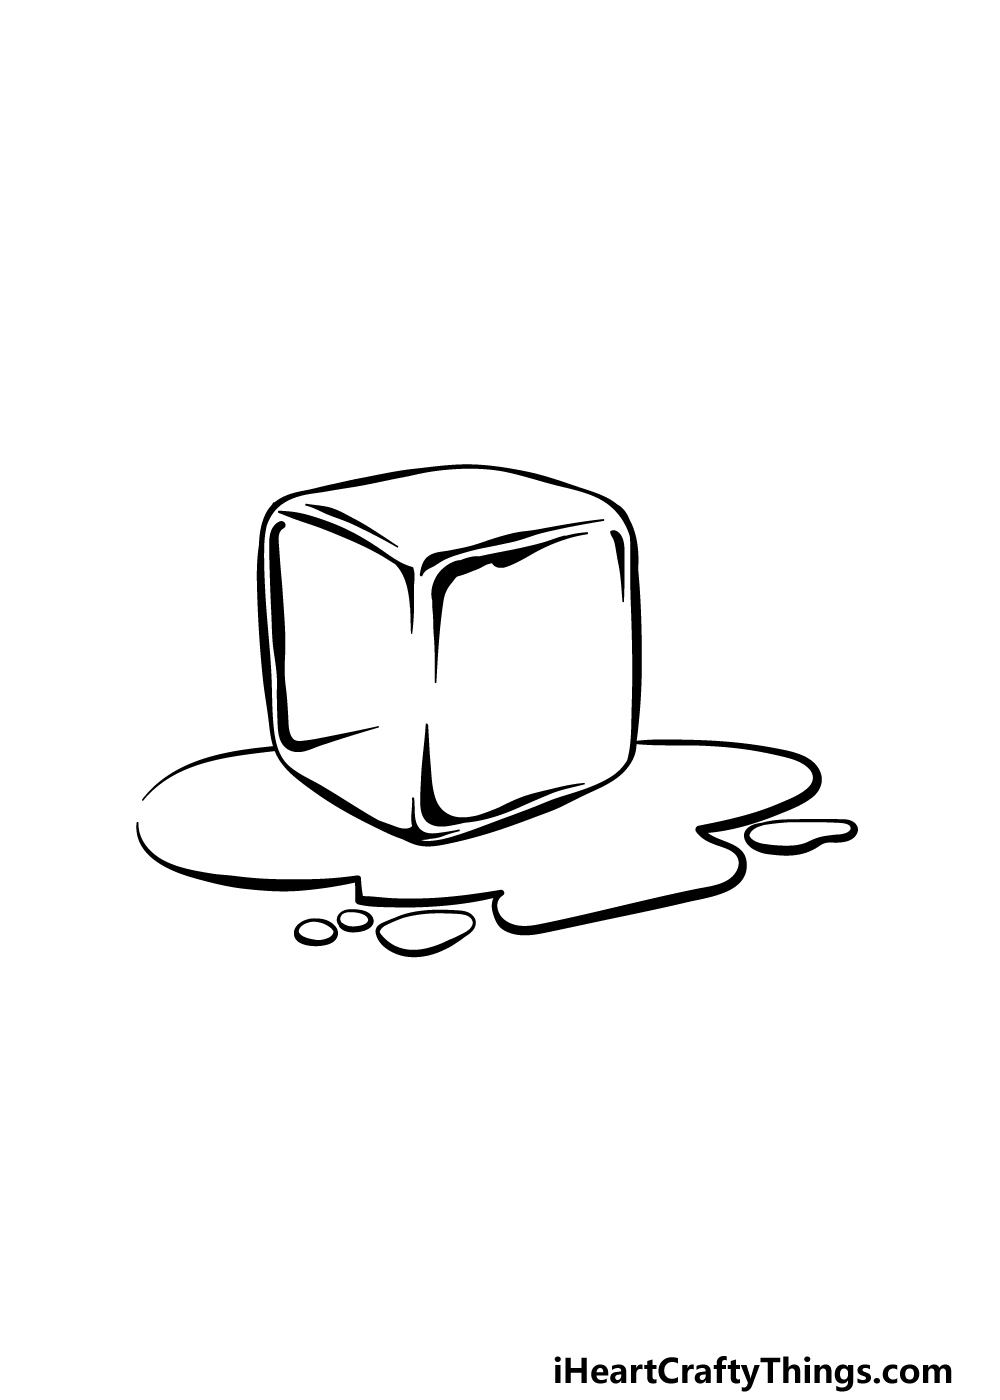
Step 3 – Draw the edges of the ice cube
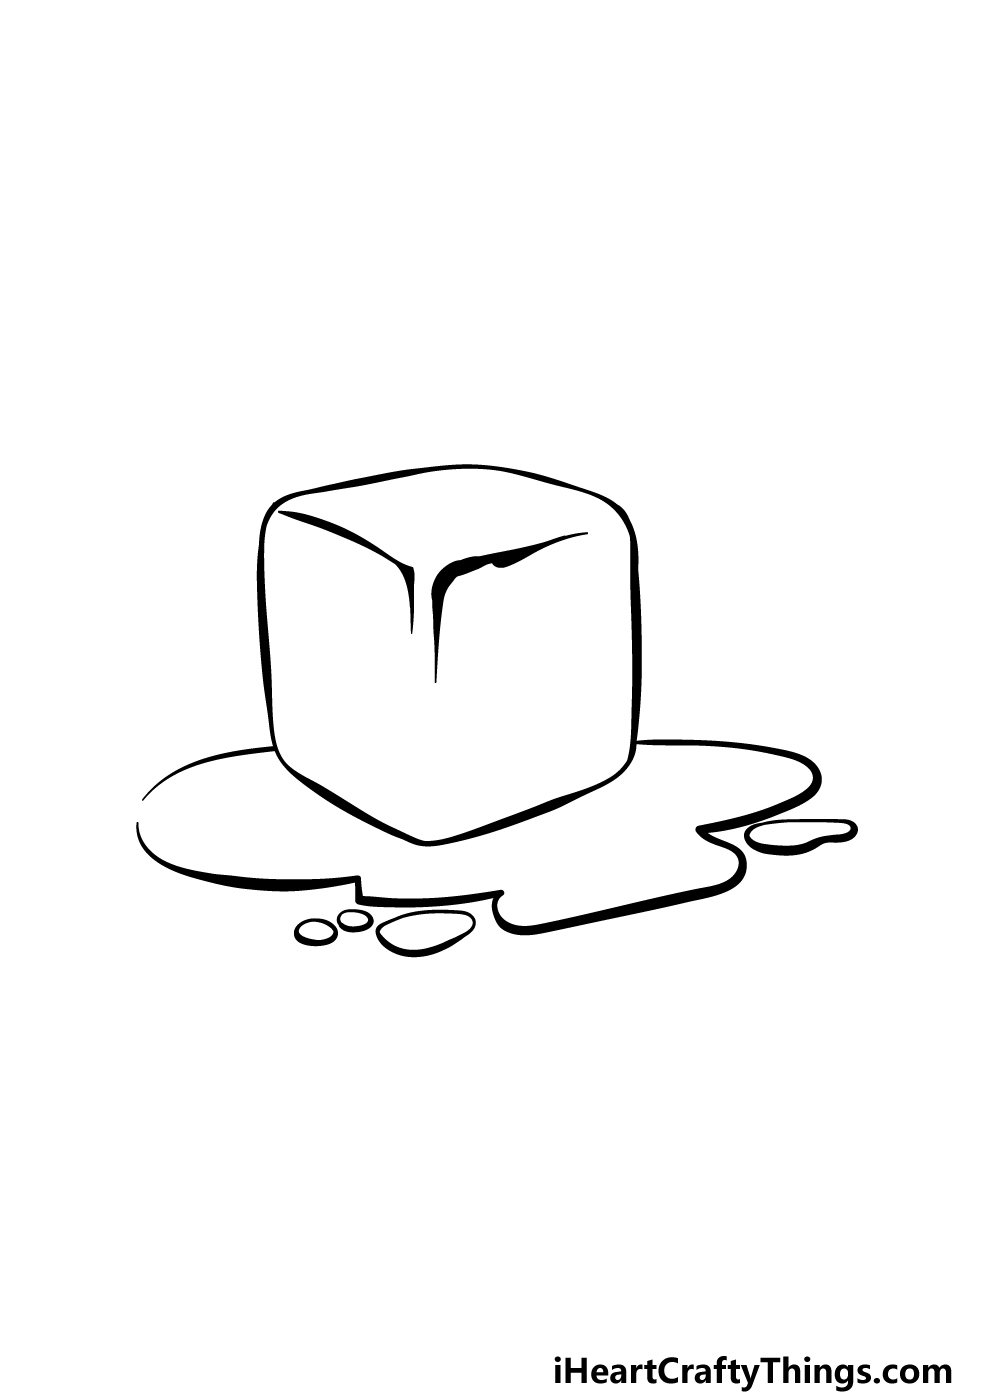
You have the outline and puddle for this image drawn, so for this next step of our guide on how to draw an ice cube we shall start what is arguable the most difficult effect for this picture.
The ice cube is transparent, so representing that transparency can be a bit of a challenge.
We will show you how to do it, however, and we will start simply! To get started with this effect, draw two curved lines near the top of the center of the ice cube.
As you can see in the reference image, these two simple lines help to show where the top and sides of the ice cube are.
We won’t add any more to these for now, so you can finish off this step by drawing some small round shapes as some more small parts of the puddle.
Step 4 – Now, keep adding to the transparency effect
In this fourth step of your ice cube drawing, we will continue to add to that transparency effect you began in the previous step.
First, you can draw some lines above the two that you added in the last step. Then, we will add some curved lines to the left-hand side of the cube as well as near the base of it.
This is certainly a step where you will want to refer closely to the reference image as you draw. Simply try to copy the new lines exactly as they appear in our picture and you will get the hang of it!
Step 5 – Add some final details to your ice cube drawing
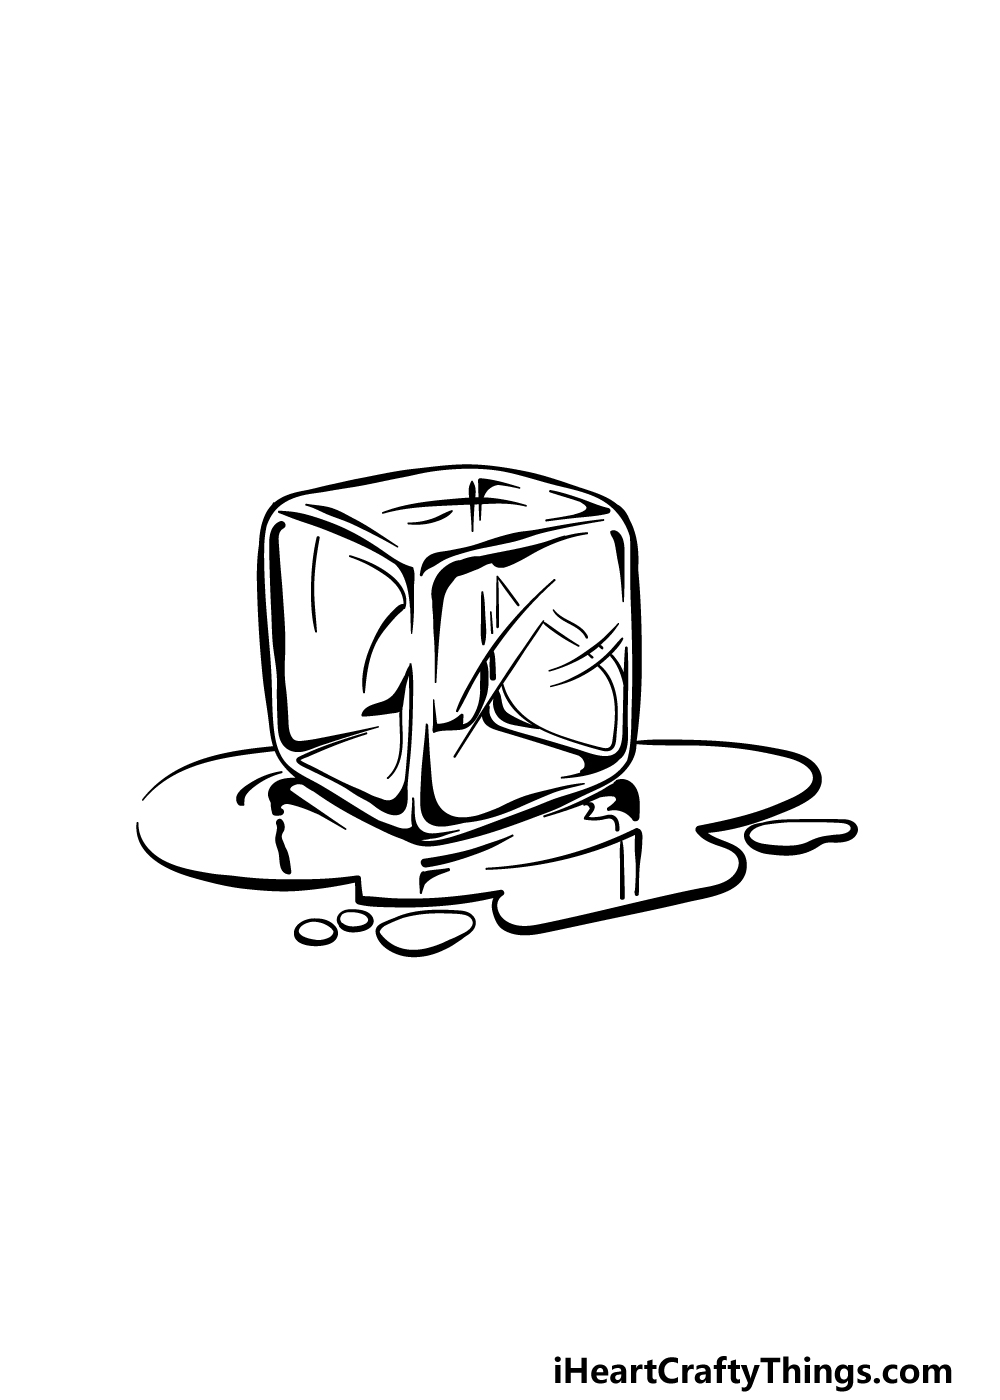
Now it’s time to finish off the picture to get you ready for the final step of this guide on how to draw an ice cube.
To do this, we will be focusing on finishing off the reflective effect of the cube. To do this, we will be adding some more corner lines to the cube, but they will be a bit more distorted than the ones that you’ve drawn already. This will be because they are to be seen through the rest of the cube.
Once you have drawn these lines, you can add some straight, reflective lines onto the side of the cube and then finish off by drawing a reflection in the puddle.
Once you’ve finished all of these details you will be ready for the final step!
Step 6 – Finish off your ice cube drawing with some color
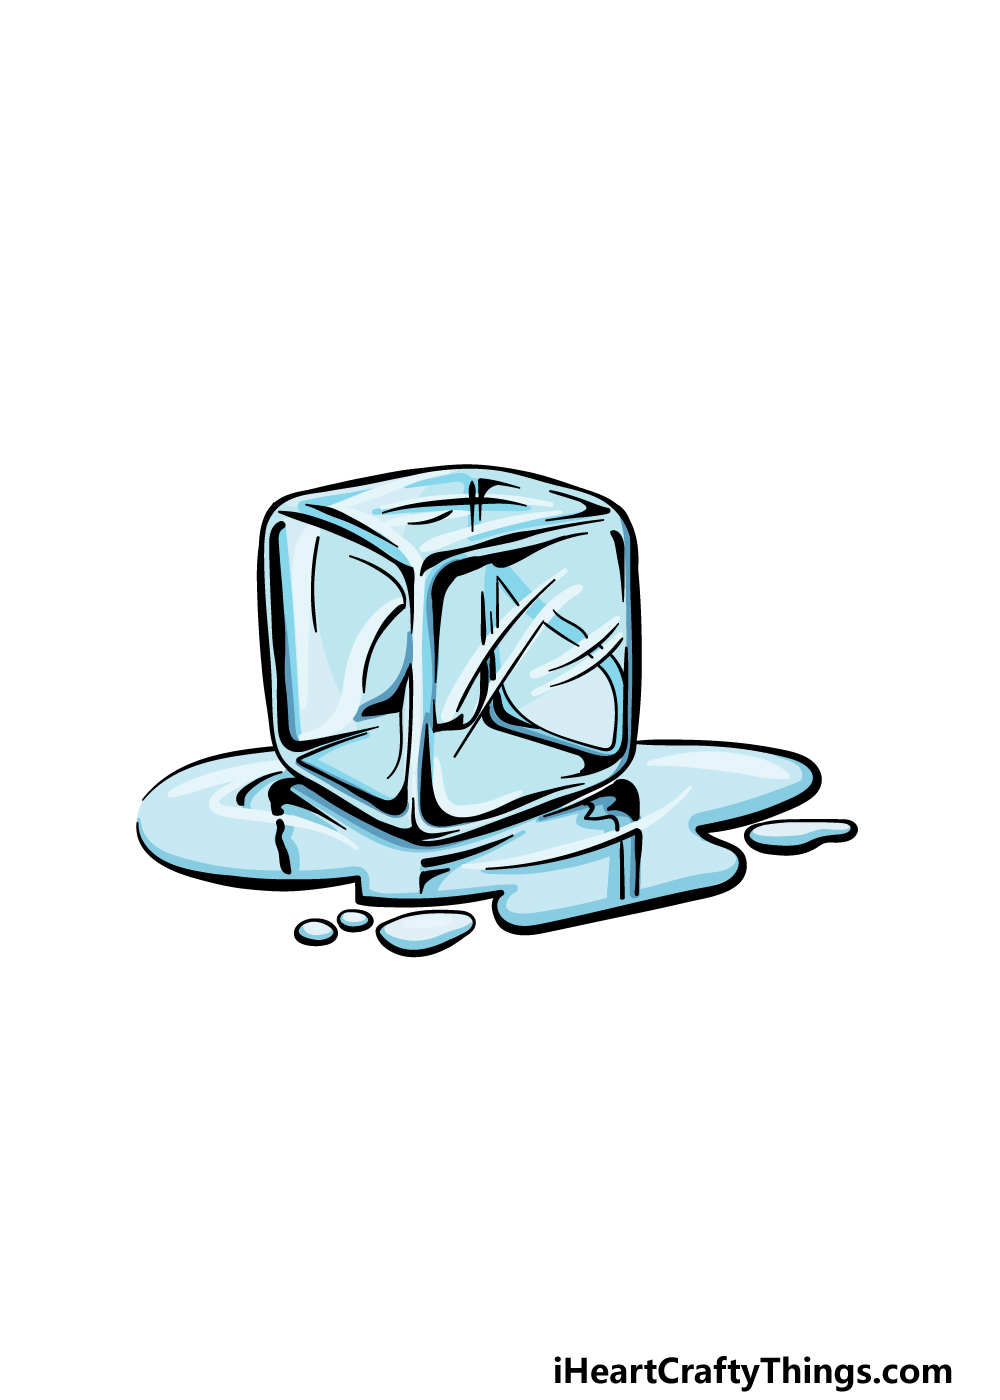
In this final step of your ice cube drawing, you can finish off by adding some color for it. In our reference image we used some light shades of blue.
You may want to try and use the lightest blues you have, as we’re aiming for a transparent look to the ice cube.
The mediums that you use for the colors can have an impact as well, and we would recommend a softer medium to use for the colors.
Some of the mediums we would choose would be watercolors and colored pencils. Then you could use a black pen or marker for some of the edge details for some contrast. Which colors and mediums will you choose to finish this picture?
4 More Ways To Make Your Ice Cube Drawing Unique
These 4 fun tips will make your ice cube sketch even cooler!
This drawing of an ice cube looks great just on its own, but often one ice cube will be joined by a few more. Now that you know how to draw an ice cube, you could add one or two more to the drawing.
These new ice cubes could be at slightly different angles or maybe at different stages in the melting process.
How many ice cubes would you like to add, and how will you arrange them in this icy composition?
This ice cube is shaped like a classic cube, but ice can also be frozen into other shapes. You could draw some other ice cubes in other shapes to go with this classic one.
These could be in any shape you like, and you could make them look like they have 3 dimensions as the classic cube does. They could also be in the shape of other objects such as fruits and other kinds of food.
What are some more novelty shapes you could use for additional ice cubes?
Ice cubes, no matter what shape they are, need to be made in an ice cube tray. That is another object you could add to this ice cube drawing.
These trays may look simple, but they can be surprisingly tricky to draw. You may want to use a real one from your own freezer or look up some pictures online to help you as you draw one.
Of course, ice cubes aren’t made just for the fun of it. They can have many uses, but the main one is to help keep beverages cool.
That’s why we think it would be fun to draw the beverage that this ice cube sketch would be used for! There are a few ways that you could do this.
For one, the ice cube could actually be floating in the drink already. Or, maybe the ice cube could be beside the glass, ready to go in.
Your Ice Cube Drawing is Complete!
We mentioned earlier in this guide on how to draw an ice cube that it can be harder than one may think to draw something like this, but hopefully this guide made it fun and easy for you!
The reflective effect is surprisingly complex, so as long as you follow the steps and images while taking your time with it then we know you will manage to do it!
Once you’re done, can you think of any extra details to add? You could add a background featuring a tasty Summer beverage for one idea!
When you’re satisfied with how this turned out, you can then check out the other drawing guides we have for you on our website. We also will be uploading new ones soon, so be sure to check them out!
Then, by sharing your finished ice cube drawing on our Facebook and Pinterest pages you can let us have a look at your brilliant artwork. We look forward to seeing it!