The oceans that cover huge portions of our Earth are filled with a huge assortment of different animals, plants and other organisms.
It’s hard to take a look at what the ocean has to offer and not be filled with wonder.
While the ocean is full of many small and medium-sized creatures, there are also massive animals that really serve as an incredible sight to behold!
Whales are a great example of this, and the distinctive humpback whale is one of the most stunning whale species out there.
Learning how to draw a humpback whale is certainly an experience not to be missed!
If you would like to know how to recreate this gentle giant in some stunning artwork, then this tutorial was made for you.
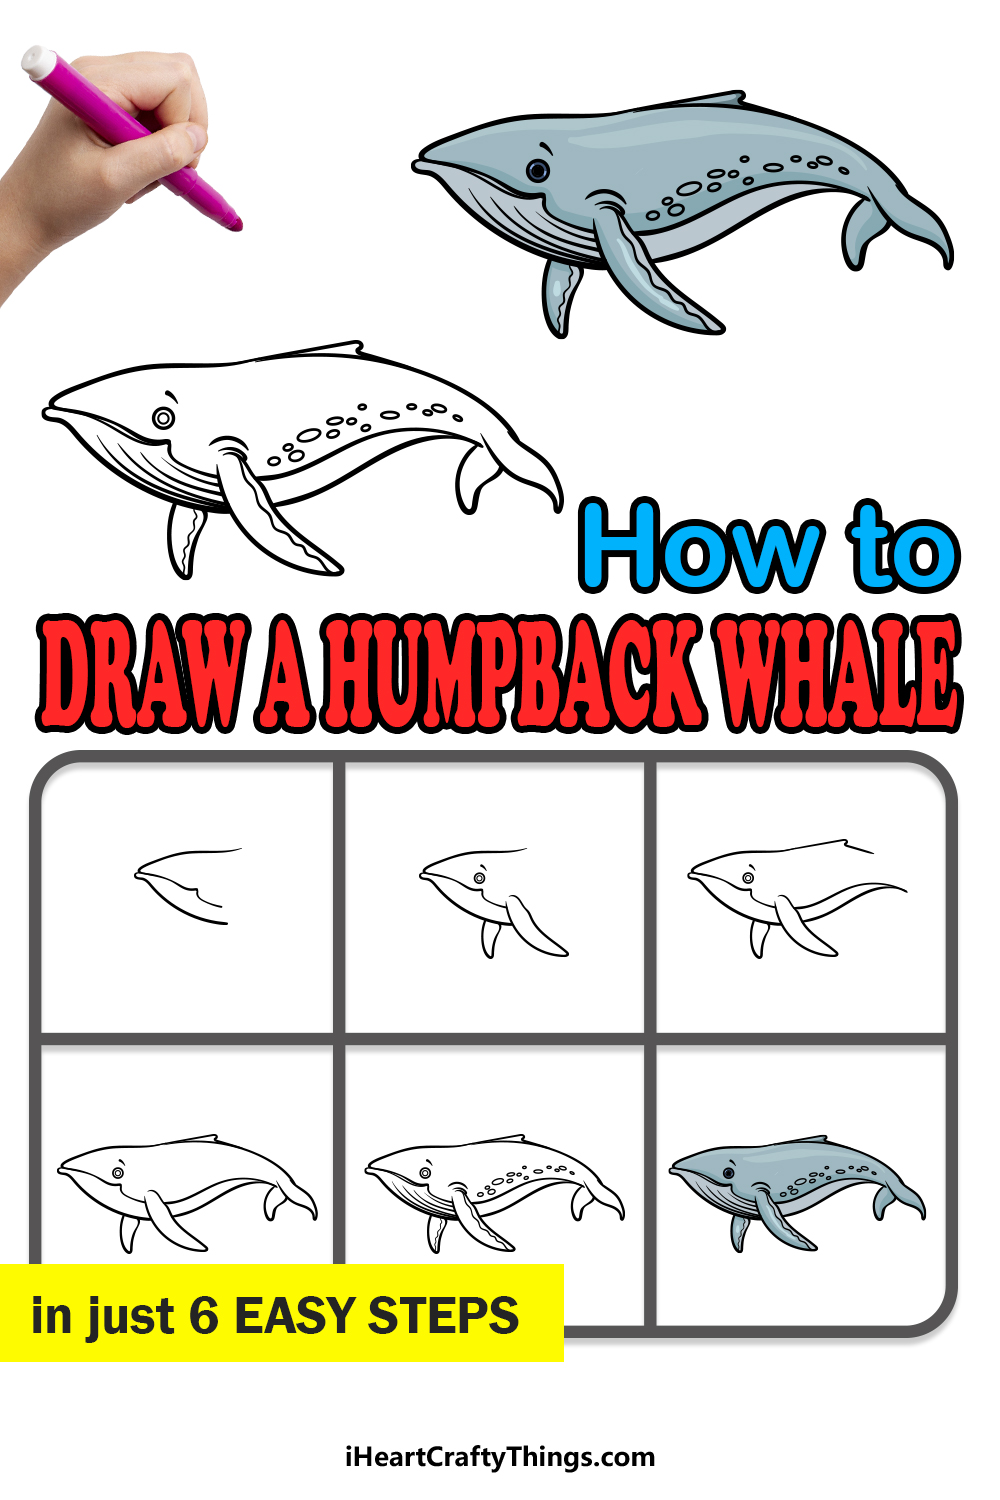
Our step-by-step guide on how to draw a humpback whale in just 6 steps will show you how to represent this incredible creature.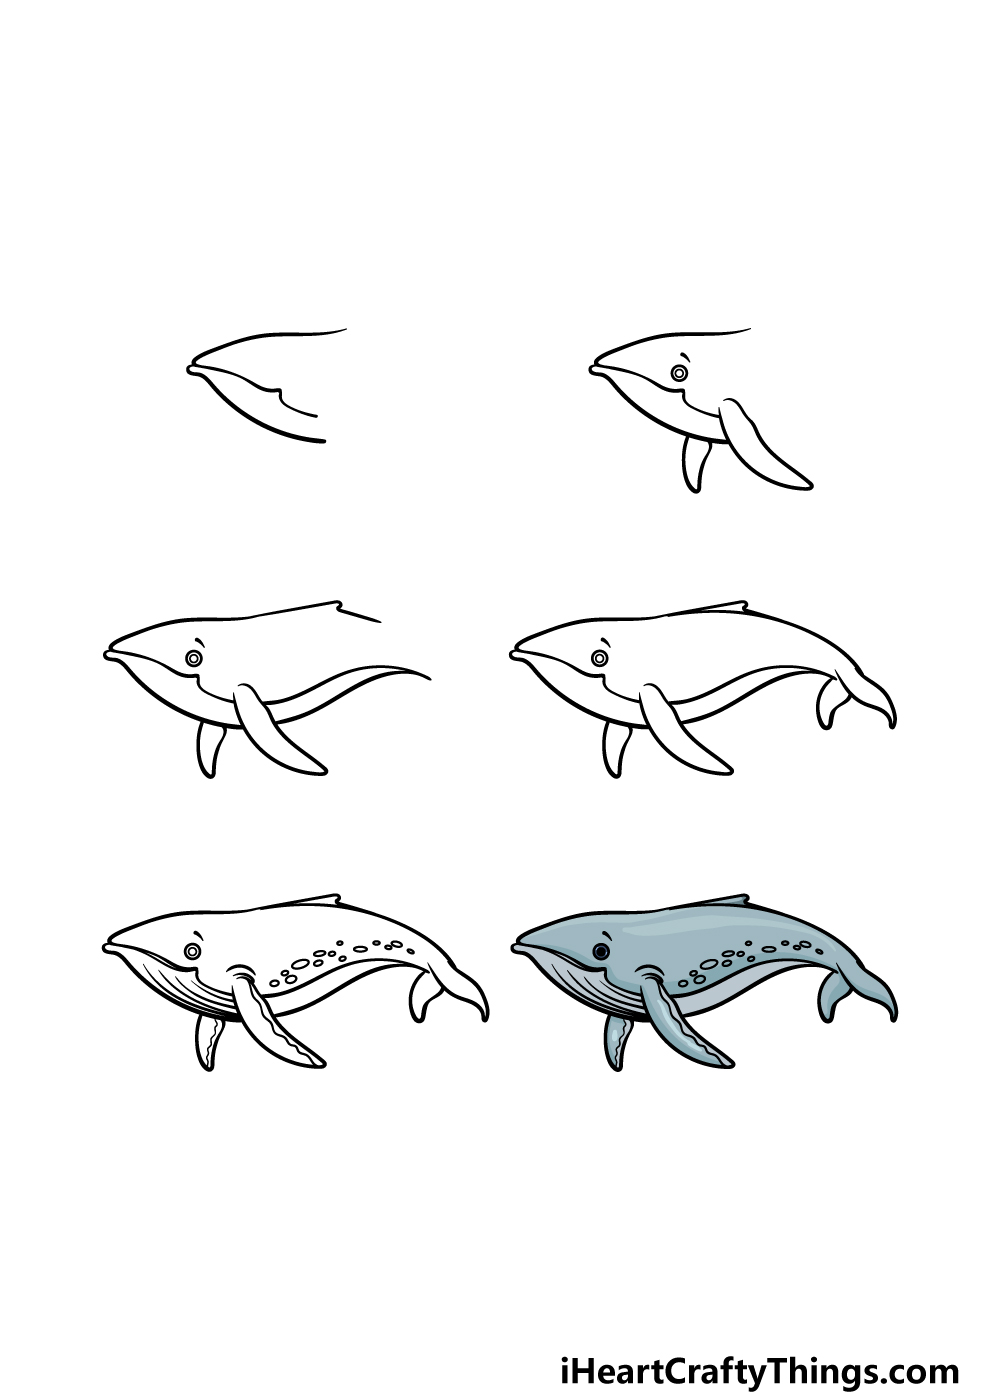
How to Draw A Humpback Whale – Let’s Get Started!
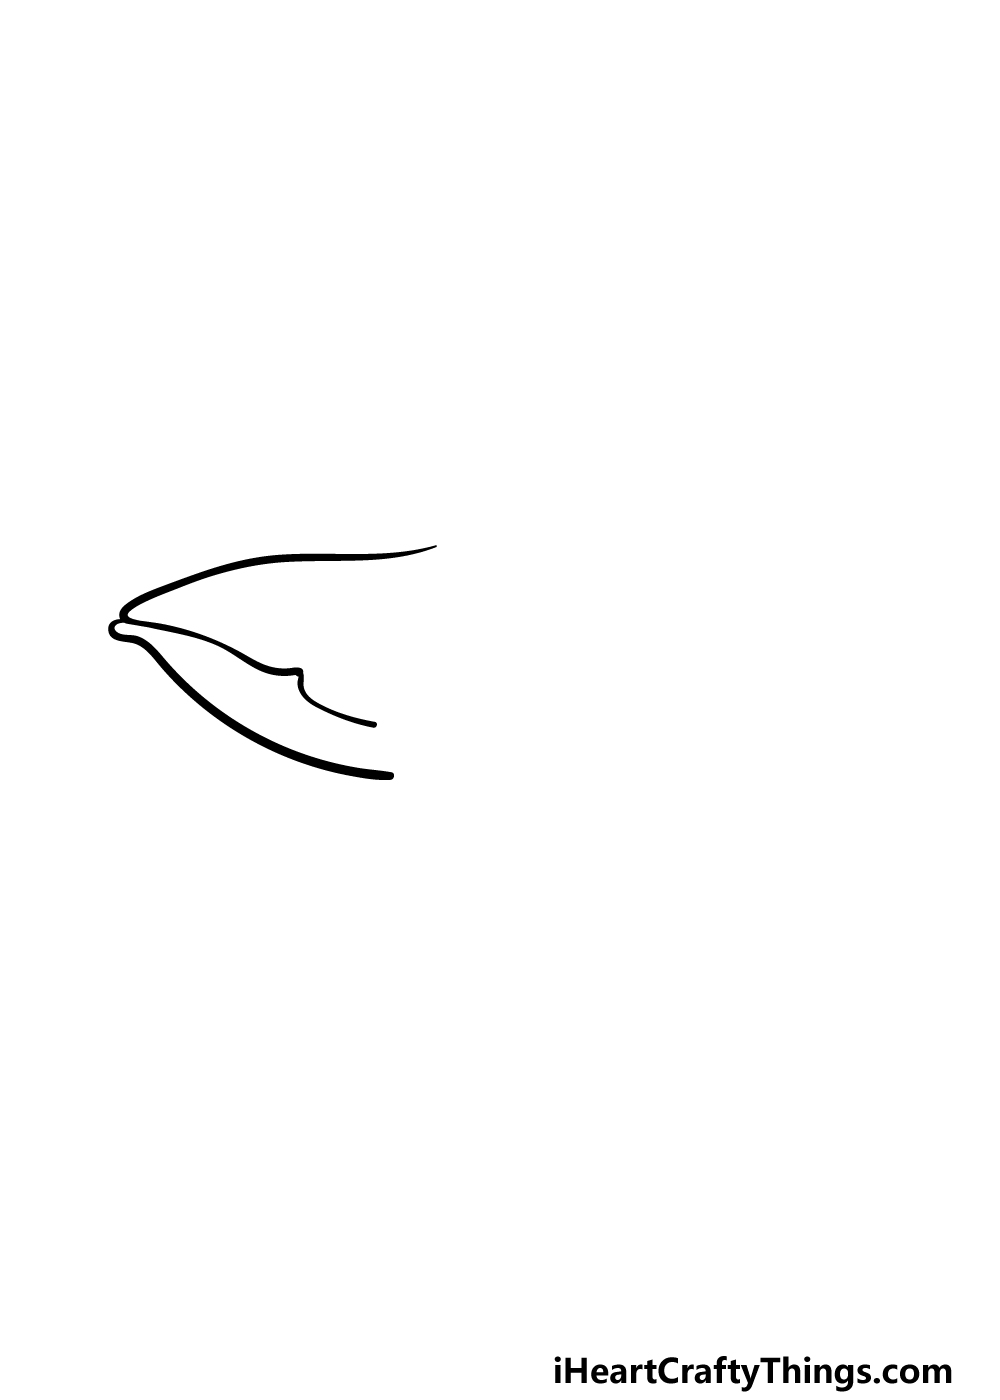
Step 1
The whale that we will be drawing in this guide on how to draw a humpback whale is truly an incredible creature for many reasons!
This portrayal will be a bit more stylized, and this serves the purpose of making the drawing a bit easier to master while also creating a charming image.
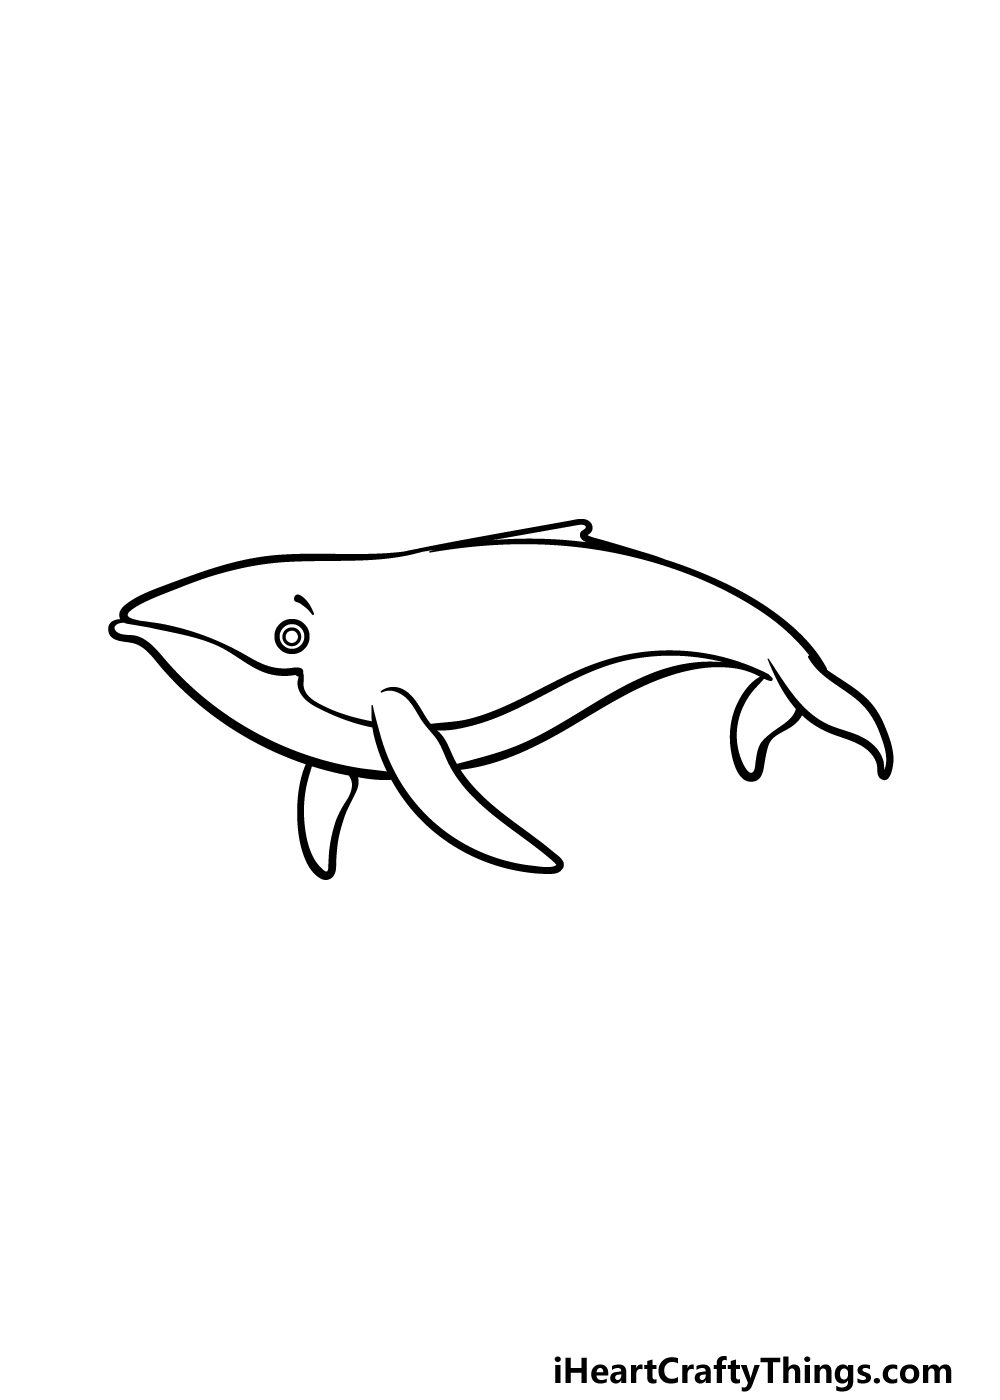
To begin this guide, we will start with the outline for the head of this whale. As shown in the reference image, the head will be facing the left.
It can be drawn using some curved lines that culminate in some pointy tips where the lips meet. This point will also extend into the outline to form the large mouth of the humpback whale.
Once this head outline is complete, we can move on to step 2.
Step 2 – Now, draw some eyes and the flippers underneath the body
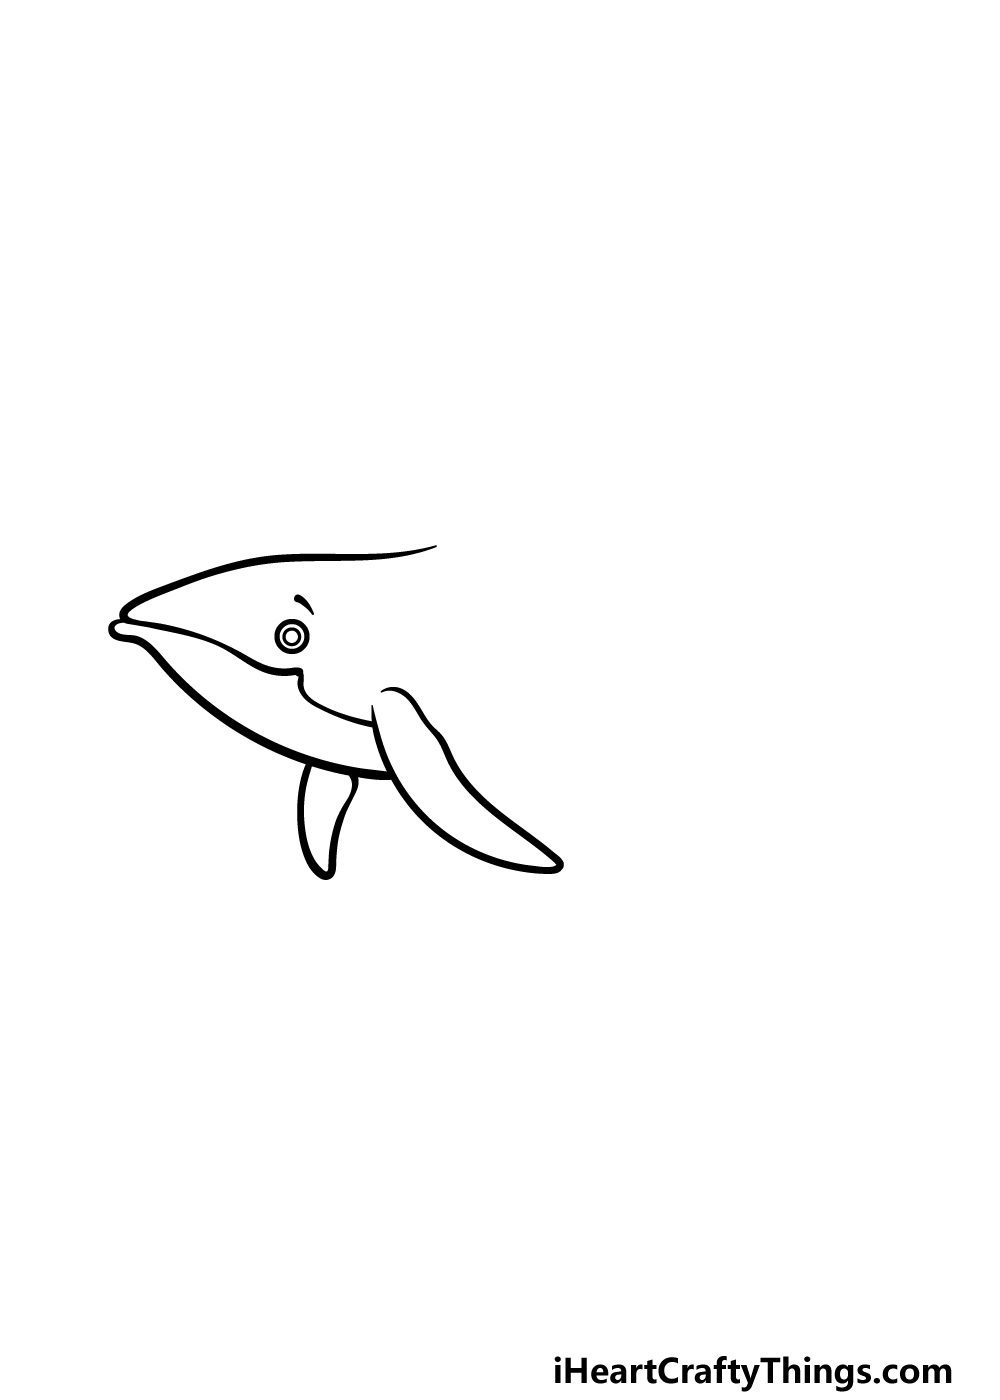
Now we will be drawing the eye and first fins for your humpback whale drawing in this second step.
The eye should be rather simple, as all you have to do is draw a small circle near the center of the head, and then draw an even smaller one inside of it.
After that, you can then add a small curved line above the eye to give the face more expression.
Then, we will be adding the flippers below the body. The fins are fairly long, thin and have pointy ends, as shown in the reference image.
Otherwise, they should be rather simple to draw, and you’ll then be ready for step 3 of the guide.
Step 3 – Draw the central section of the whale’s body

This third step of our guide on how to draw a humpback whale will see you adding the next section of the whale’s body.
For the top, we will be drawing a slightly curving line that has a small pointy tip near the center of it.
For the belly, we will then be drawing two wavy lines coming from the back of the flippers. These will meet at a single point near the back, and this pointy tip will go inwards a little bit.
Step 4 – Next, draw the rest of the outline
Before you begin adding some smaller final details, we must first complete the outline for this humpback whale drawing. To do this, we will be adding the end of the tail.
Like many whales, the humpback whale has a tail that ends in two sections that extend outward. This end of the tail will be pointing downward to show that this whale is in mid-stroke.
Once you have finished this outline, we will move on to those final details and elements when we get to the next step!
Step 5 – Add the final details to your humpback whale drawing

You’re ready to finish off the final details before you move on to some coloring fun in the next step of our guide on how to draw a humpback whale!
First, we will be drawing some curved lines onto the belly of the whale. This will help to add some texture to this area. Then, we will add some wavy lines onto the front flippers.
Finally, finish off by adding some small circular shapes along the side of the whale’s body. Once you have added all of these details, you’ll be ready for the final step of the guide!
Before proceeding, remember to add any additional details or elements that you may want for it.
One example would be to draw a stunning ocean background behind this humpback whale, but what other creative ideas can you think of to finish it off?
Step 6 – Finish off your humpback whale drawing with color
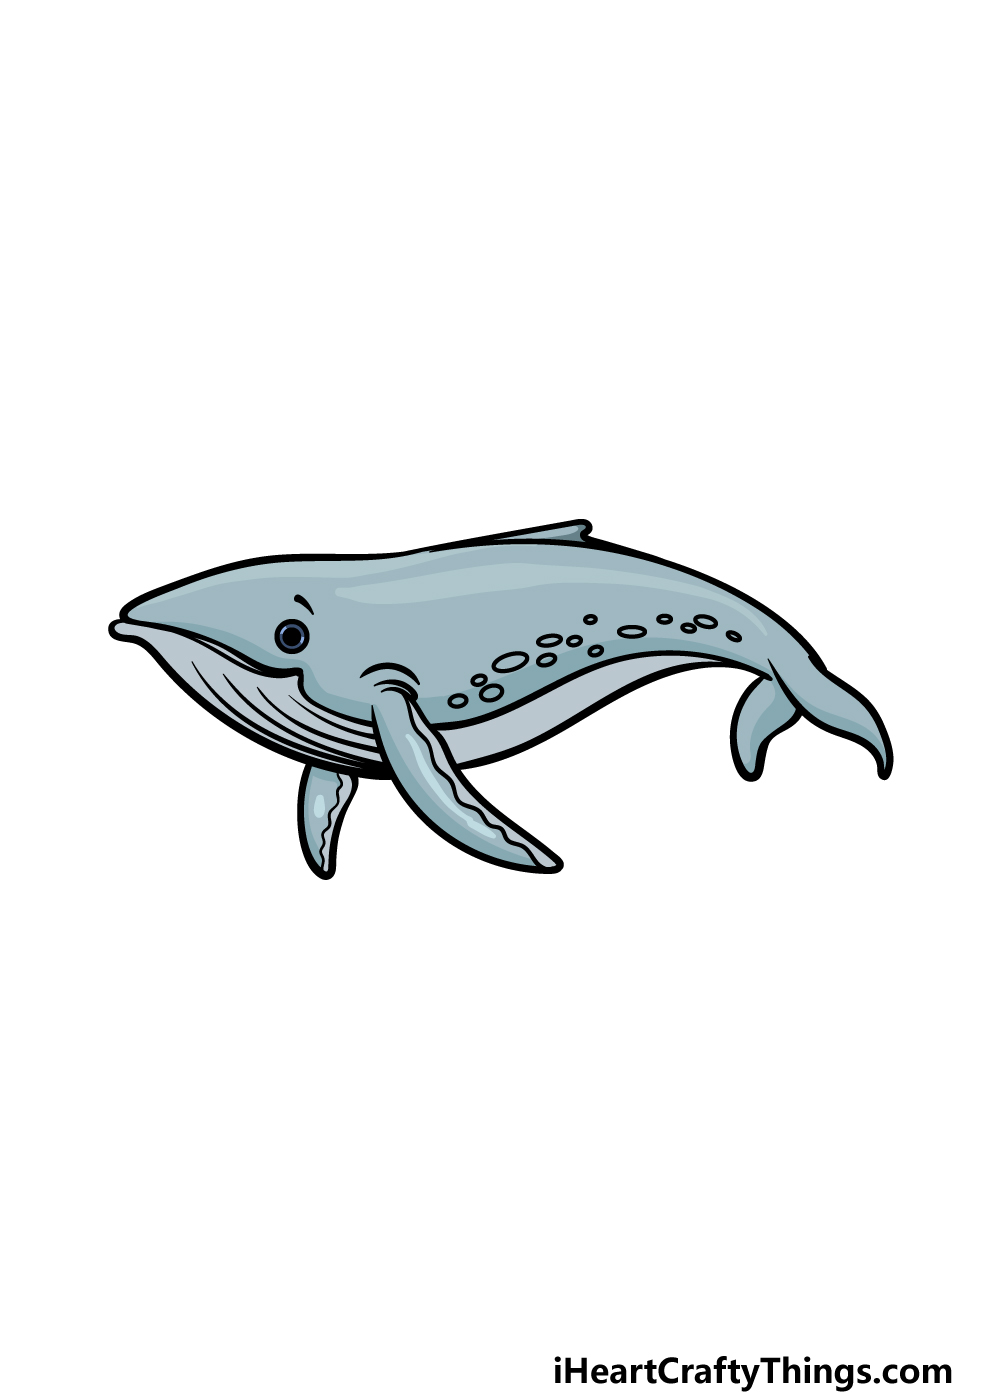
This is the final step of this humpback whale drawing, and in it we shall finish off with some amazing colors! In our example image, we kept things muted and more realistic when choosing the colors.
That means that we used various shades of grey for the entirety of the whale’s body. While this is one approach that you could take when coloring your own one, it’s far from the only one!
Humpback whales can come in a few different colors, but you could also go for a cool stylistic appearance by using some brighter colors.
What colors and art mediums will you use to finish this giant of the sea?
4 More Ways To Make Your Humpback Whale Drawing Unique
Dive into these tips for making your humpback whale sketch even better!
Seeing a humpback whale in the wild is an incredible experience, and this is only even more the case when you see more than one at once.
For that reason, you could add a second whale to this drawing of a humpback whale to make it even more incredible! If you wanted to, you could even add several more humpback whales to the scene.
Simply follow the steps of the guide again and then change the poses up a bit to make each one unique!
There are many other kinds of whales other than the humpback whale, and these could also be added to the image. Some of these would include the blue whale or even something smaller like an orca.
While adding other whales would be a great touch, you could also add any other ocean creatures you like!
Which of your favorite sea creatures would you like to be swimming with this majestic humpback whale you have created?
In the first tip for this humpback whale drawing, we spoke about how wonderful it is to see a humpback whale in the wild.
You could draw a group of people lucky enough to see this humpback whale to show this.
There are a few ways you could depict this moment. One would be to have some people on a boat as the whale swims beneath the water. Or, you could have it diving from the water for the people to admire!
No matter whether you decided to go with our suggestions or not, you could finish off this humpback whale sketch with a background.
There are some amazing underwater scenes you could create around this humpback whale!
It would be a great opportunity to draw all sorts of underwater landscapes with plants, sunken ships and maybe even a chest of treasure.
These are just a few features you could add to the background!
What are some others you could add to finish off this background?
Your Humpback Whale Drawing is Complete!
With all 6 steps of this guide on how to draw a humpback whale completed, we can only hope that you had a whale of a time working on it!
This creature is really an incredible animal to behold, and we wanted to help create a great portrayal of it.
If you follow all of the steps in this guide and try your best then you’ll have the hang of it in no time!
Once you are finished with all the final details, we will be interested to see how you finish off this image!
We spoke about drawing a background and adding details as a few ideas, but what else can you think of?
Then, you’ll want to keep checking our website regularly for more drawing guides. There’s a huge selection to choose from and many more are on the way for you to enjoy!
When you’re ready to show off your humpback whale drawing, you can then share your creation on our Facebook and Pinterest pages for us to see!