Garfield is one of the most beloved comic strip characters of all time! The sarcastic, lasagna-loving cat first graced newspapers in 1978 and still remains a powerhouse to this day!
Since his debut, Garfield has enjoyed the spotlight as the star of countless books, films, TV shows, video games and toys.
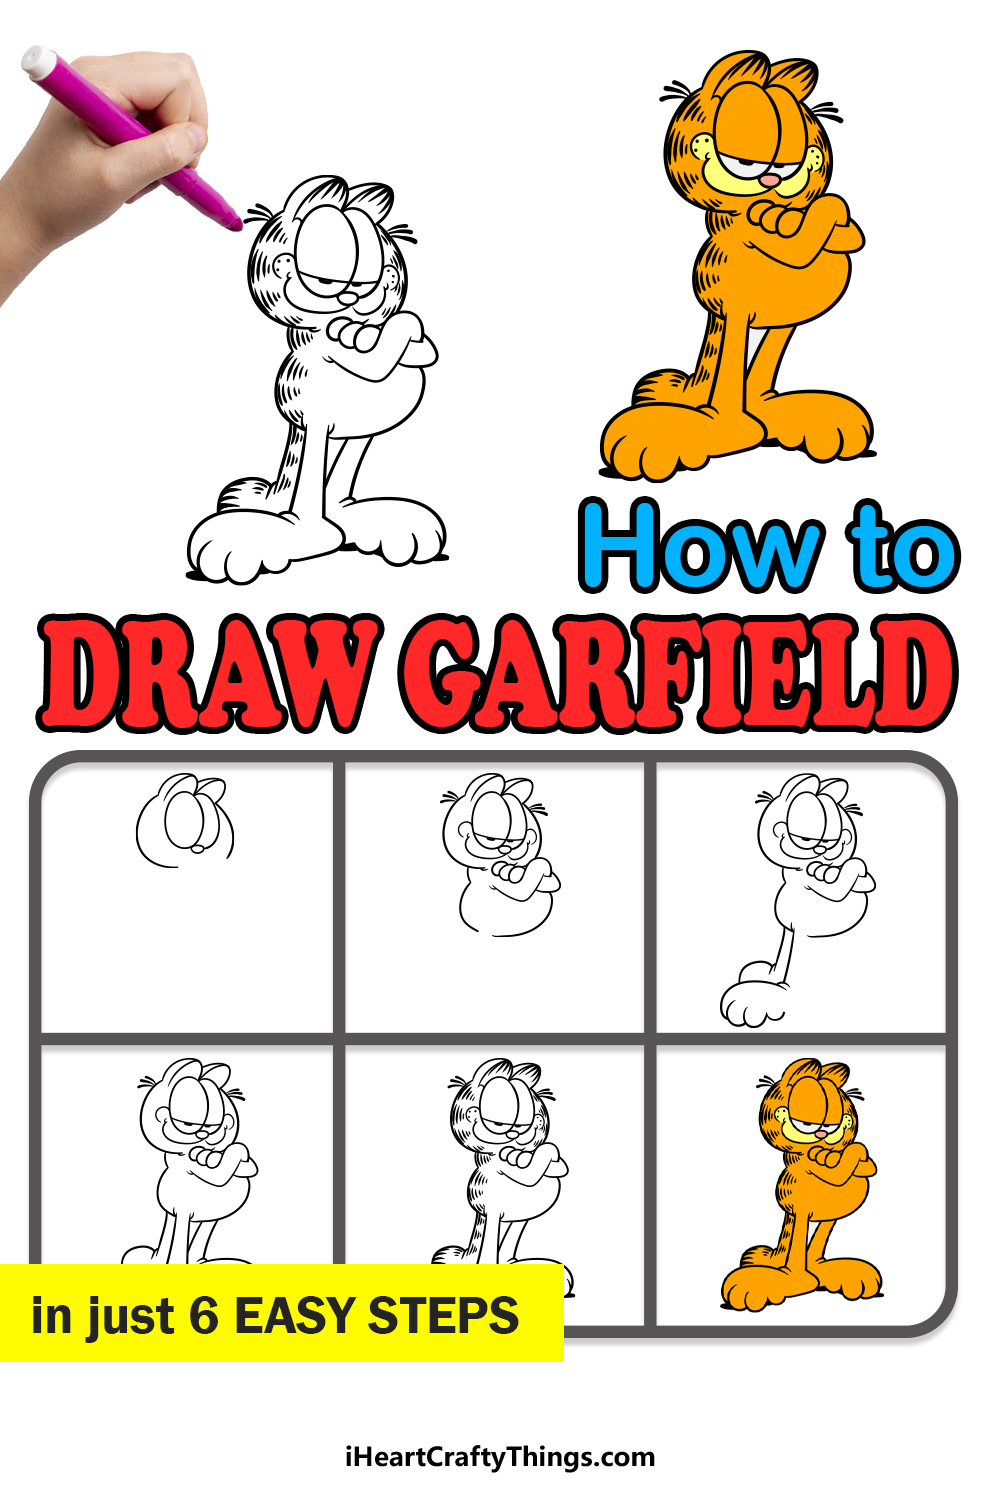
His fans both young and old love to portray the orange feline in their own fan artworks, and it can be lots of fun learning how to draw Garfield!
By the end of this guide, you will be able to impress your friends with some incredible Garfield drawings.
We hope that you enjoy working with us on this step-by-step guide on how to draw Garfield!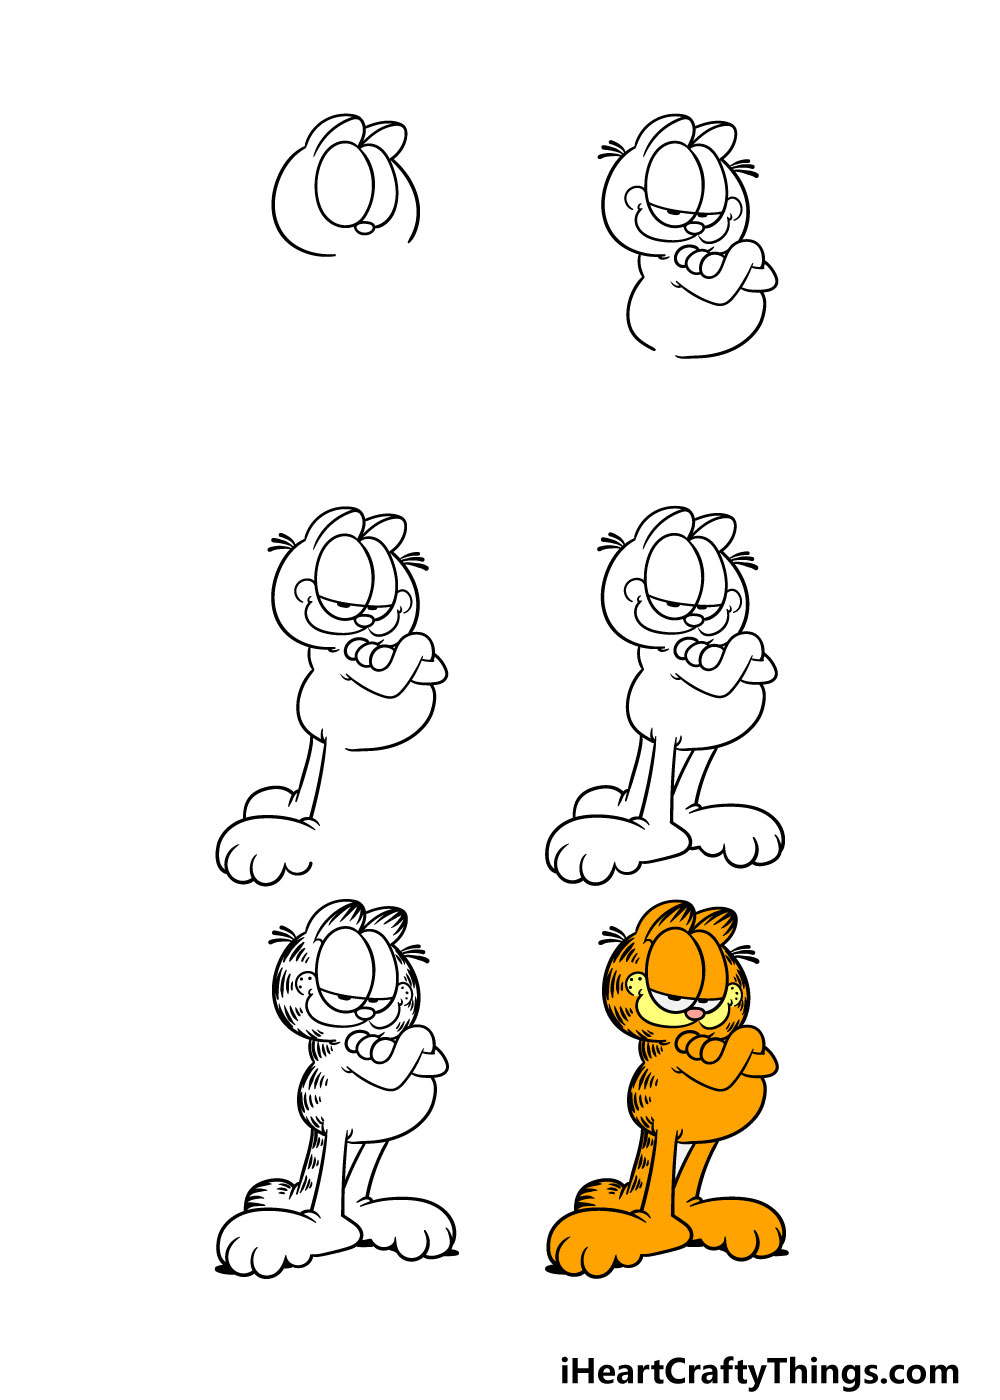
How to Draw Garfield – Let’s get Started!
Step 1
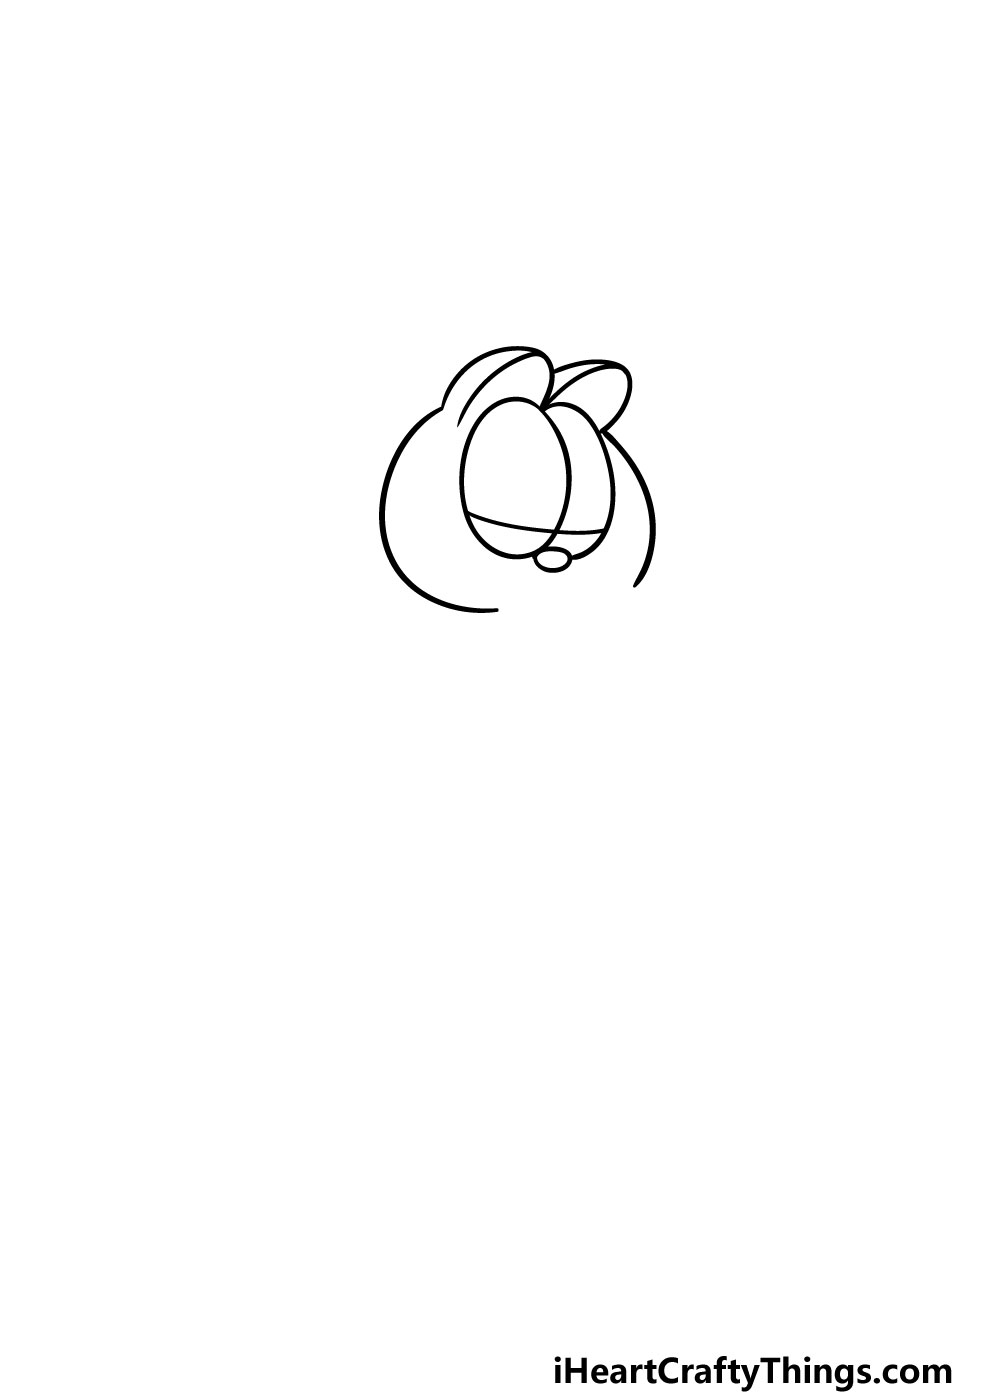
To begin this guide on how to draw Garfield, we shall start with his head. To do this, you will find it much easier if you begin with his eyes! For his eyes, you can start with a long, vertical oval.
Then, draw another half oval connected to the side of it, and then finish off with another small oval for his nose underneath the eyes.
Finally, draw a curved line across the eyes near the bottom to make it look as if his eyelids are lowered.
For his ears, you can then draw some curved shapes coming from the top of his eyes and down again. Finally, you can use more rounded lines for the sides of his head as shown in the reference image.
Step 2 – Draw some facial details and his arms
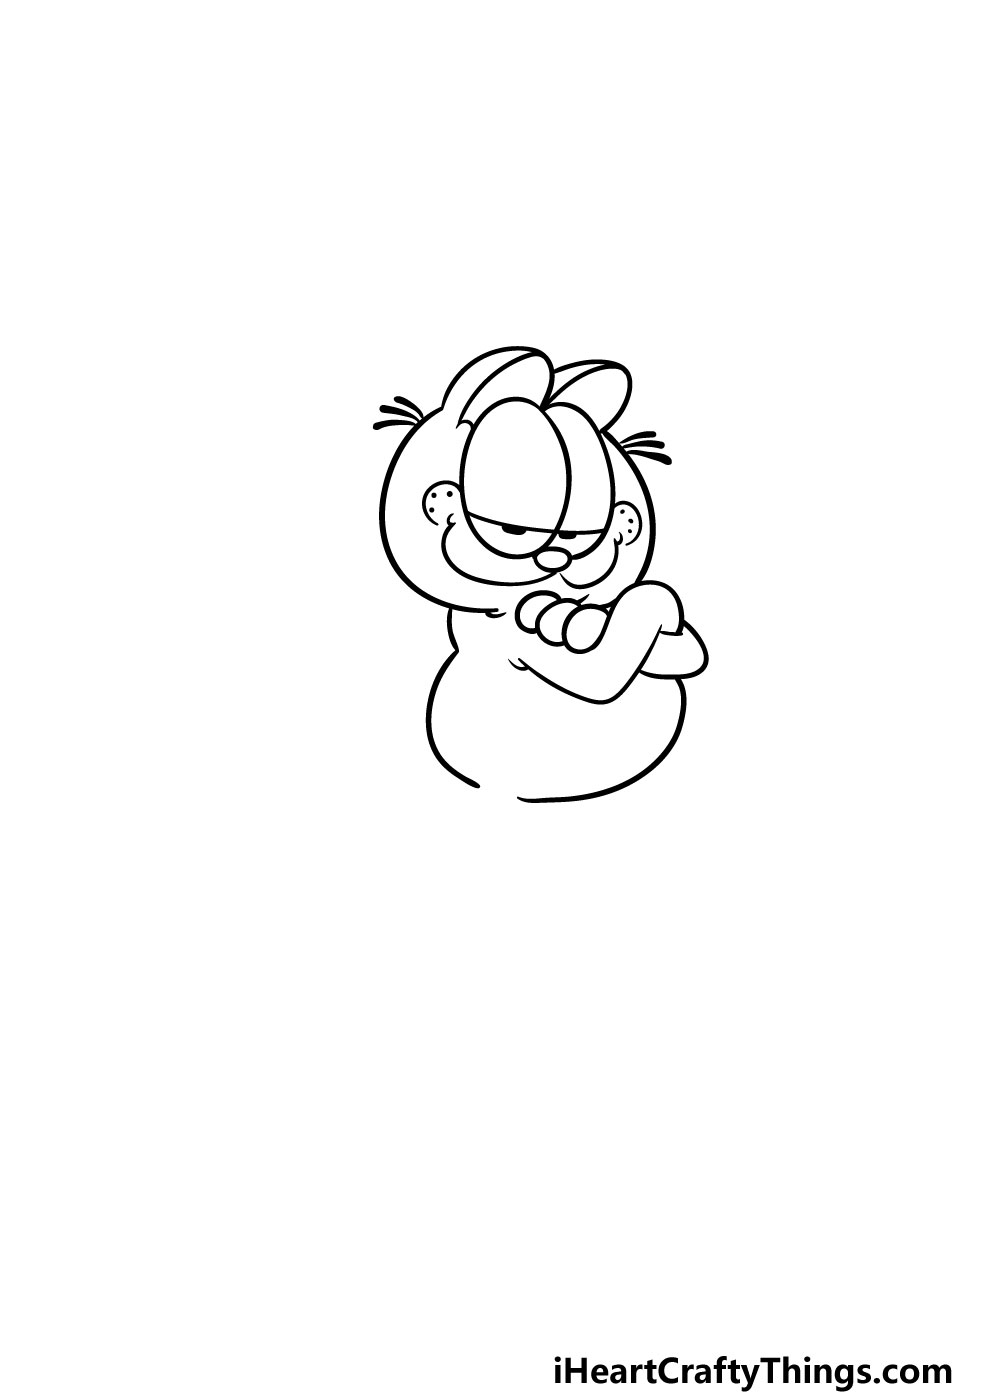
Now that you have the head outline of your Garfield drawing, you can start to draw some facial details. First, you can draw two dots into his eyes to form the pupils.
Then, you will be drawing some curved lines originating at his nose and moving along the outline of his eyes for his mouth.
Then, draw two more round lines over the ends of his mouth lines for his cheeks.
Moving lower down, we will be working on his body. You can start by drawing his arms underneath his face.
They will be crossed, and his right arm will be drawn with some curved lines that go up. Then, all you will see of his left arm will be three fingers tucked into the bend of his other arm.
Finally, you can use some more rounded lines for his back and belly to finish off this step.
Step 3 – Now, you can draw his tail and first leg
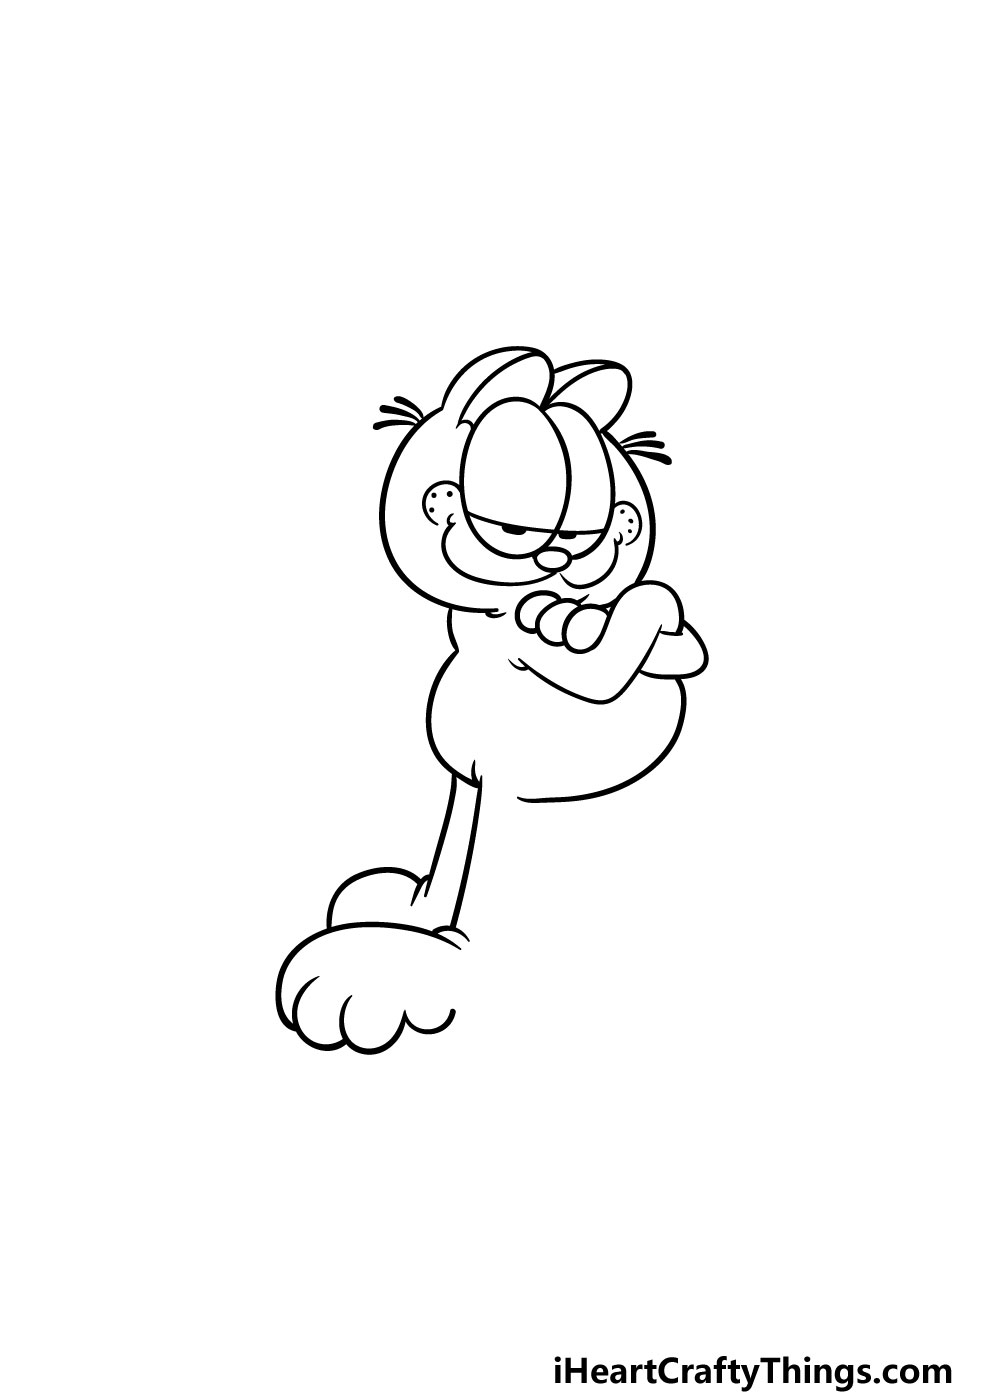
You’re making great progress in this guide on how to draw Garfield! To keep this momentum going, we will be drawing the tail and first leg in this step.
First, extend a straight line down from his body for the side of his leg. Then, you will use some more rounded lines to show his foot poking to the left, as shown in the reference image.
Then, you can draw another straight line running parallel to the leg line that ends in a rounded shape for his tail.
Step 4 – Next, draw the rest of his leg details
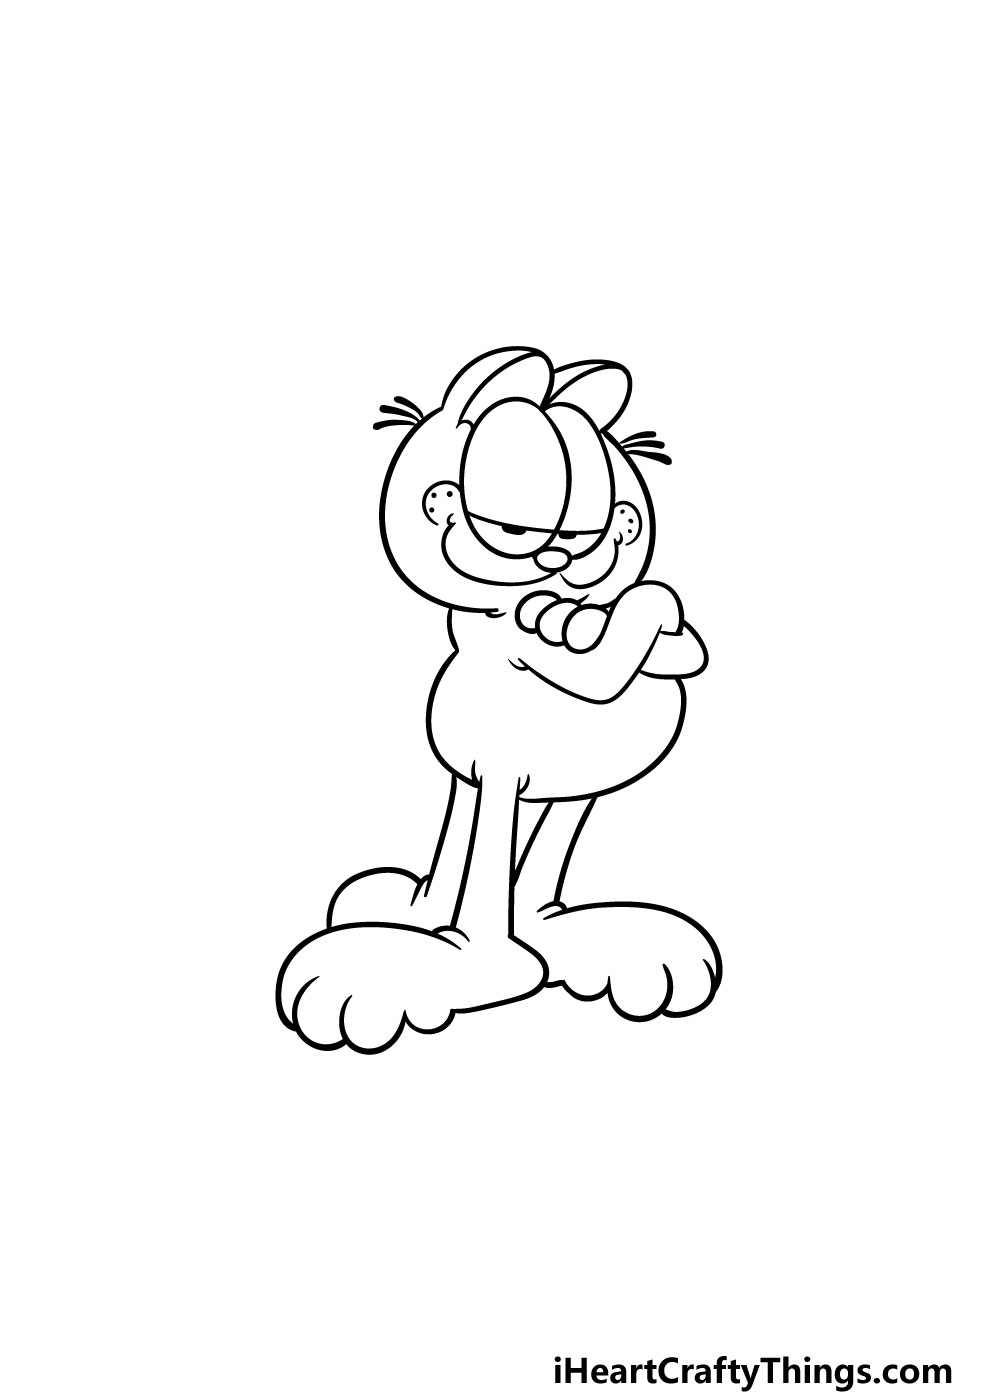
We will be adding some final details to your Garfield drawing in the next step, but before we do that we have a few more elements to finish off.
First, you can use some more straight and curved lines to finish off the leg on the left. Then, his leg and foot on the right will look very similar to the one that you just drew, except it will be pointing to the right.
That will take care of the outline for your Garfield drawing, and next it’s time for those final details we mentioned!
Step 5 – Now, you can finish off with some final details
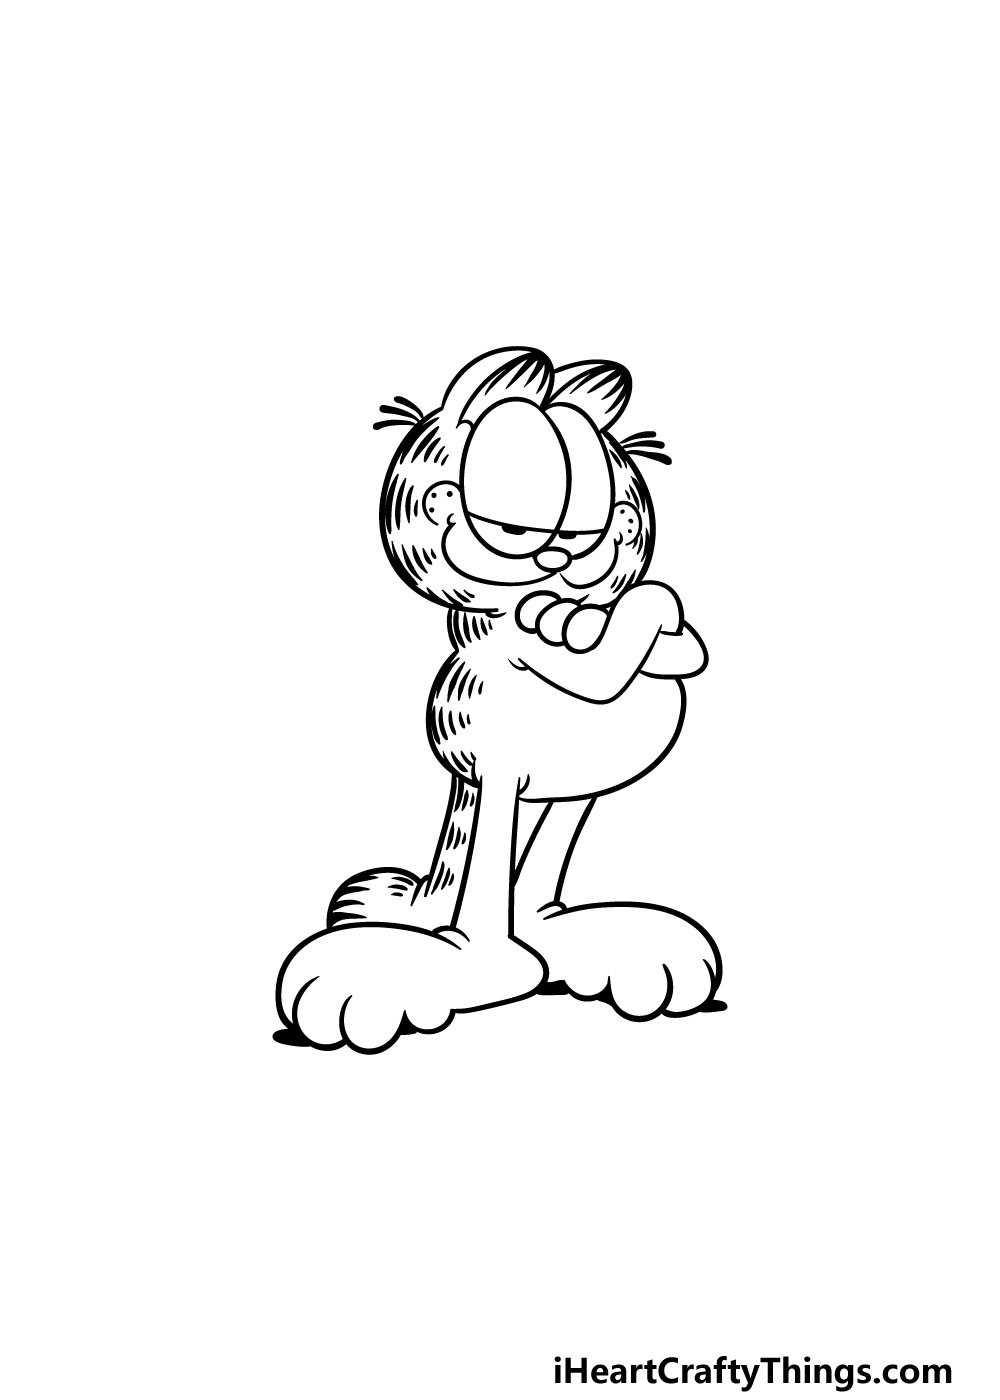
With the outline done, we will be finishing off the drawing before the final step of our guide on how to draw Garfield.
The main elements that we will be adding will be some stripes all along his head and body. Each stripe will be drawn using three small lines that get shorter with each line.
Then, you can also add some spiky lines inside of his ears.
Finally, draw some shadow shapes underneath his feet to give the drawing some depth. That will do it for the details in this guide, but you can also add some details of your own!
One idea would be to draw a background for your image. Perhaps you could replicate a scene from your favorite Garfield comic for one idea!
If you’re feeling extra creative then you could draw different characters from the strip such as Odie the dog or his owner Jon.
There are so many options at your disposal, so how will you finish off this Garfield drawing?
Step 6 – Finish off your Garfield drawing with some color
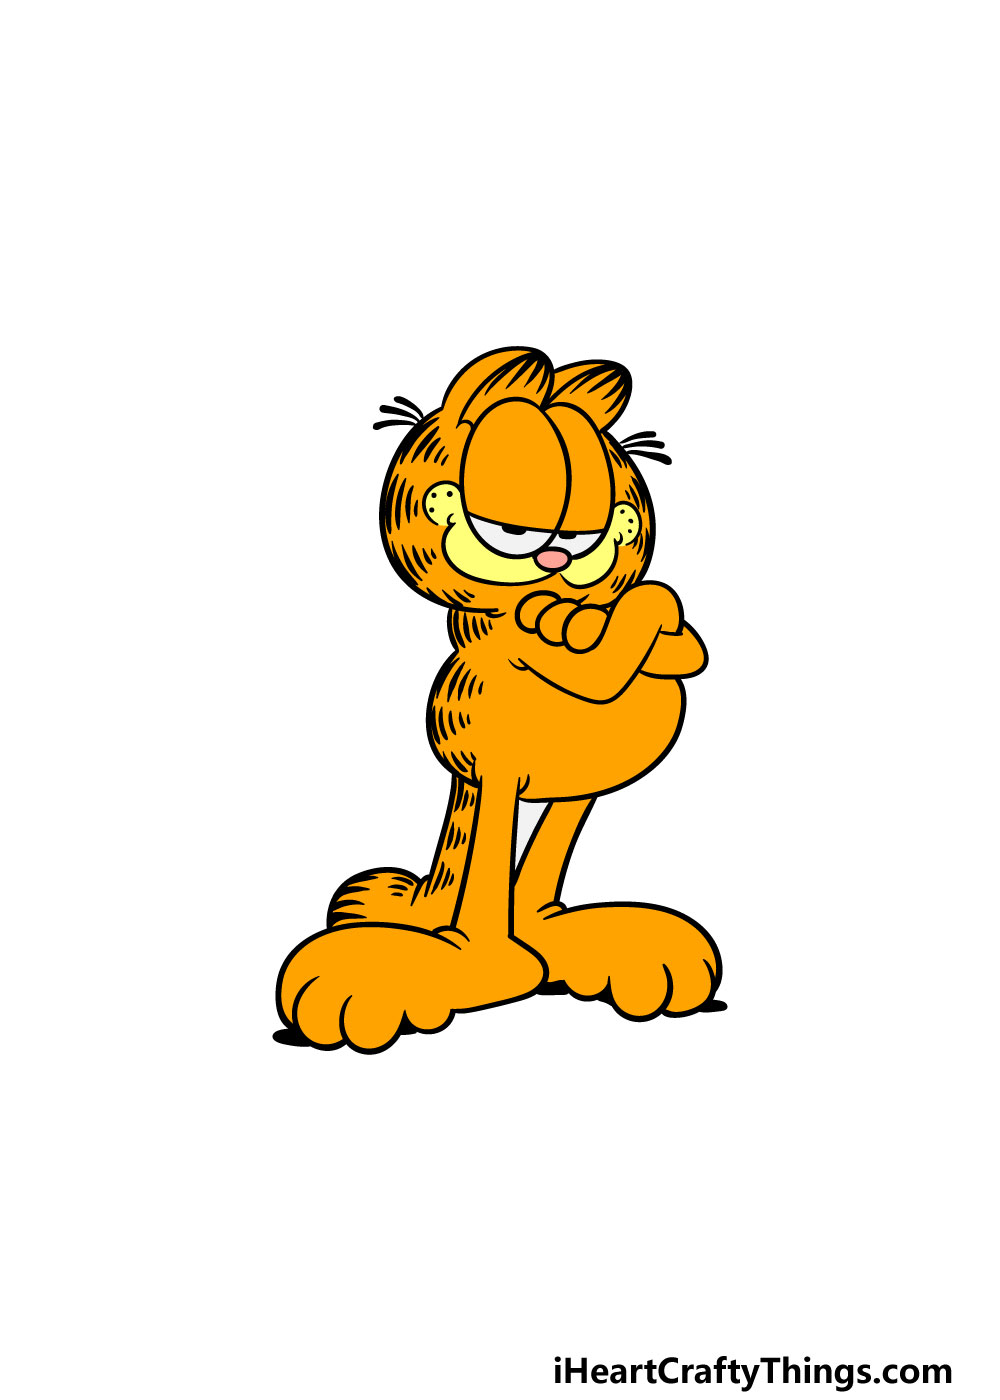
This final step of your Garfield drawing will see you bringing it to life with some amazing colors! Garfield is well known for his bright orange coloring, and that is the color scheme we went for in our example image.
Even if you stick to these colors, you can get some more awesome color variation by coloring the background or any other elements you drew!
If you want to replicate the bright colors of the comic strip, then your best would be acrylic paints, colored pens or markers.
You could use any mediums that you love to use and it would look great, though!
5 Tips To Make Your Garfield Drawing Even Better!
Beat the Monday blues with these tips for making your Garfield sketch even better!
This drawing of Garfield shows him standing confidently, but there are many other poses he can appear in. He is a famously lazy cat, so many of these poses aren’t very adventurous.
You could make a montage of these different poses by showing him sleeping, eating or sitting around. These are a few of his favorite activities, but what other poses could you create?
If there’s one thing Garfield loves, it’s food. For that reason, you could add some yummy treats for Garfield to enjoy in this image.
Some of his favorites would be lasagna, burgers and pizza, but there isn’t much that he would say no to. You could have a mix of some of his favorites and yours!
Sometimes, Garfield will be seen wearing types of clothing and outfits. You could draw him wearing some fun items in this Garfield drawing to make it even more fun!
For instance, if it’s close to Christmas time, then he could be wearing a Santa outfit. Or, he could be wearing a Winter sweater.
What are some items of clothing that Garfield could be wearing in this piece?
In the comics, there are other characters that interact with Garfield, and these characters have become beloved as well. These characters would be fun to add to your drawing!
First, there is Jon, Garfield’s owner. Or, you could draw the dog that Garfield loves to hate: Odie.
Arlene and Nermal would be some less common characters, but there are so many to choose from! Which of your favorite characters would you like to include?
Finally, you could make this Garfield sketch look like it came straight from the comics by adding a background. Luckily, the backgrounds from the comics have a simple yet pleasing style.
You could recreate locations such as Jon’s house, the yard or maybe the vet’s office. These are all common locations in the comics, but what other settings can you think of?
Your Garfield Drawing is Complete!
We really hope that you had an amazing time working on this guide on how to draw Garfield!
It may have seemed intimidating to take on drawing this iconic cat at first, but hopefully with the help of the guide you found it to be easy and fun!
You can take it even further by drawing your own background or by adding some cool extra details and elements. We can’t wait to see how creative you can be with it!
Now that you have finished this guide, you can visit our website to enjoy many more incredible guides! We upload new ones frequently for you to enjoy as well, so be sure to visit often!
Once your Garfield drawing is complete, we would love to see your artwork! You can let us take a look by sharing it on our Facebook and Pinterest pages for us to enjoy.