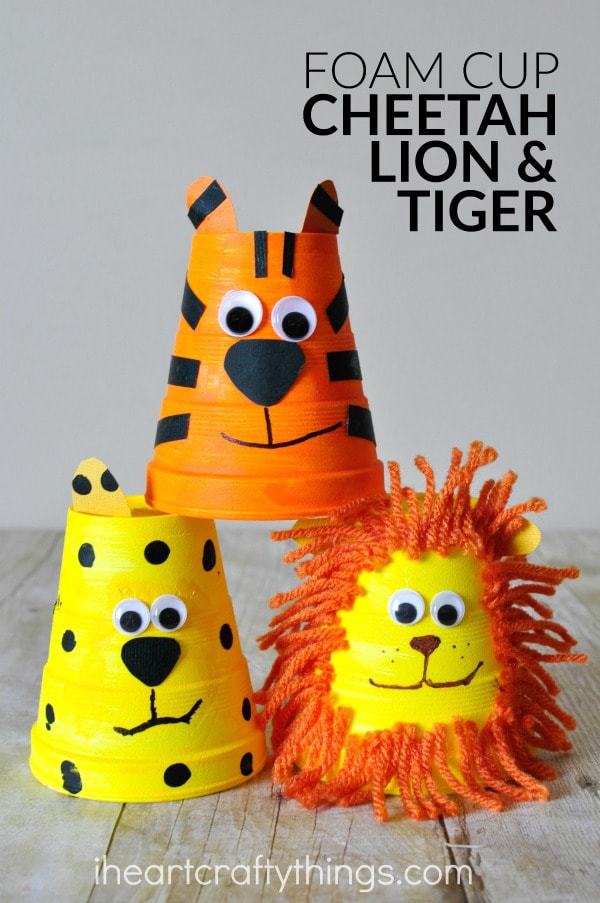
We have been working our way crafting through a package of small foam cups that I bought several months ago at my local dollar store.
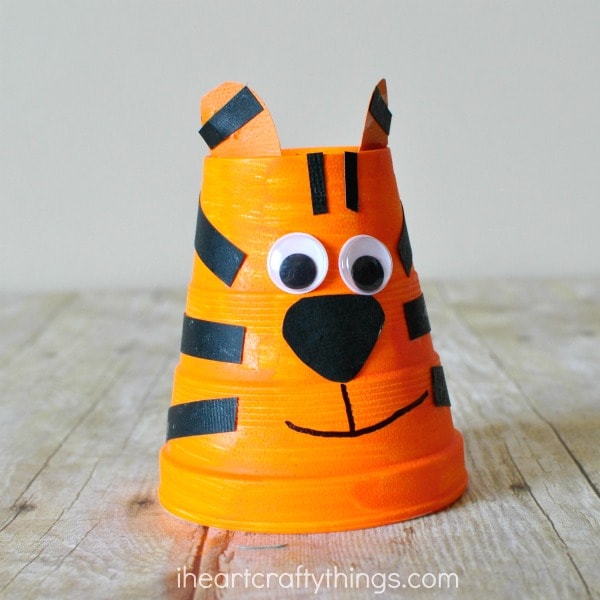
It’s amazing what fun things you can create with a simple foam cup so it’s a perfect material to keep on hand with your craft supplies. Our latest creation is this adorable foam cup tiger craft. It’s really simple to make and kids will love playing with it afterwards.
Supplies Needed:
– small foam cup
– orange acrylic paint
– paintbrush
– black and orange cardstock paper
– googly eyes
– black marker
– scissors
– glue
Tutorial:
1. Paint your cup
Start by painting your small foam cup with your orange paint. Set it aside to dry completely.
2. Cut out details
While your paint is drying, cut out a nose from your black cardstock paper and small strips for your tiger stripes. You will also need to cut out tiger ears from your orange cardstock paper.
3. Glue on eyes & nose and draw a mouth
Glue your nose onto the middle of your foam cup. Then glue your googly eyes onto your cup. Next, draw a mouth on your tiger.
4. Attach ears
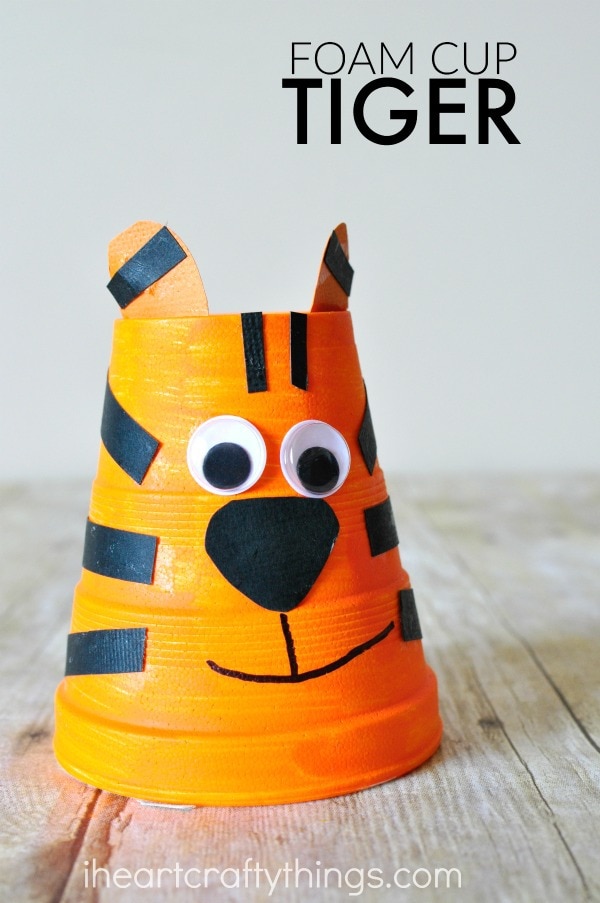
Make a fold at the bottom of your ears, apply some glue to the fold and glue them to the top of your foam cup (which is actually the bottom of the cup).
5. Decorate with black stripes
Finish your foam cup tiger craft by gluing black stripes all over his face. We put them on the sides, top and on his ears.
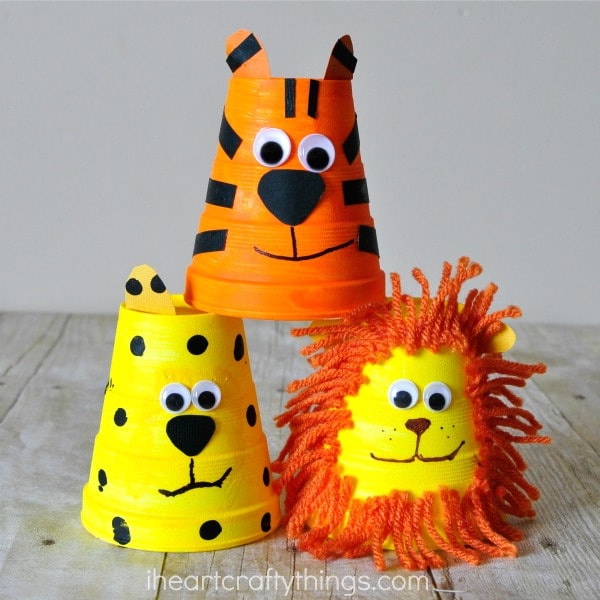
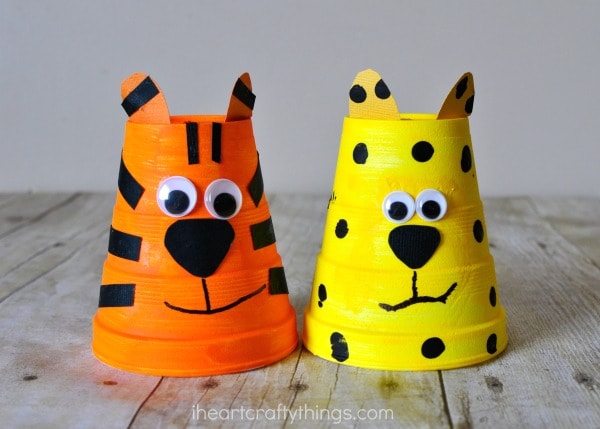
We are having so much fun with these little foam cup animals so we also decided to make a foam cup cheetah craft to go with our growing collection. The pictures are pretty self explanatory for how to make it. It is super simple to make, just like the tiger, and my daughter used fingerprints to add all of the fun black spots on it.
