Animal crafts are among our absolute favorites! Since spring and summer time are a favorite for going to the zoo and checking out all of the animals, it makes it the perfect time to get crafting some of your favorite animals.
Recently we made some adorable giraffe finger puppets, which is my daughter’s favorite animal at the zoo. Today we are sharing how to make a foam cup lion craft for kids. We chose to make a lion next because it’s my sons favorite animal at the zoo.
There are some new baby lion cubs at our local zoo this year too, so we are pretty excited about our upcoming trip there.
If you don’t have any foam cups on hand you can always try making this cute lion craft with a paper cup too.
This post contains affiliate links to the products mentioned. Read our disclosure policy for more information.
Supplies Needed:
– small foam cup
– yellow paint
– paintbrush
– orange yarn
– yellow cardstock paper
– googly eyes
– brown marker
– scissors
– tacky glue
Tutorial:
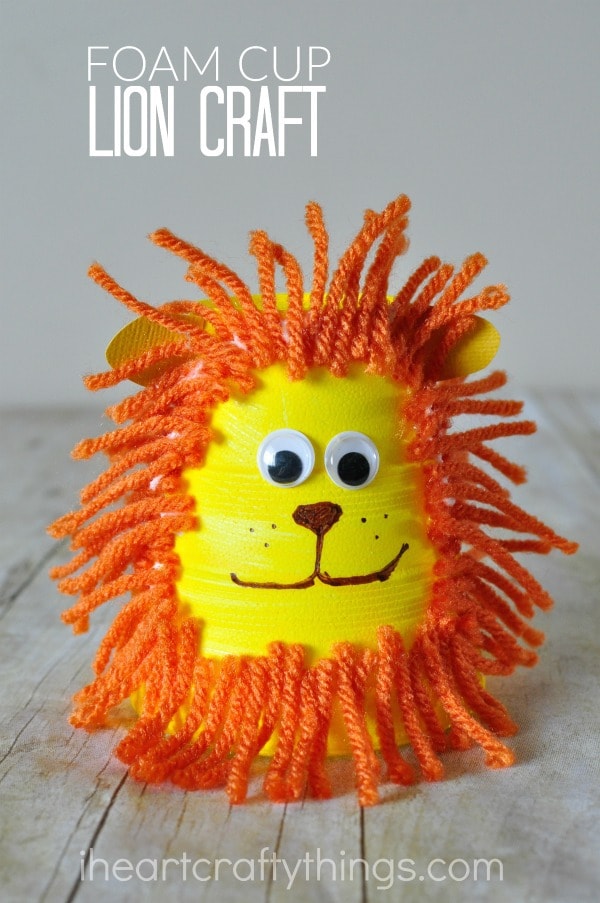
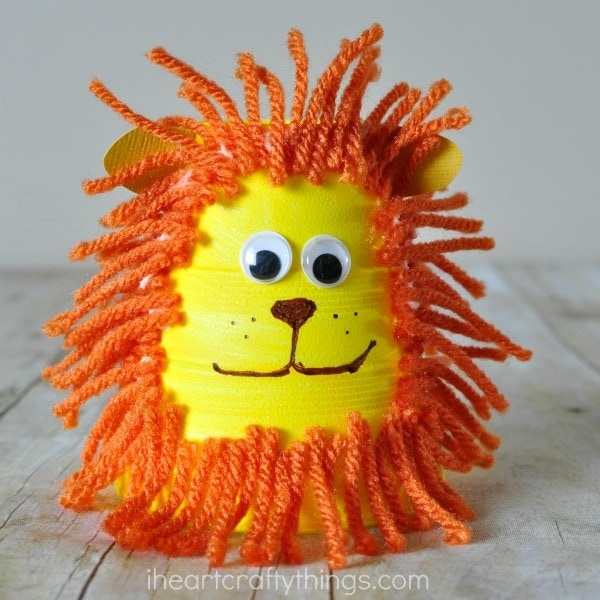
1. Paint your cup
Start by painting the outside of your foam cup with your yellow paint. Let it dry completely.
2. Glue yarn on the cup
Cut a handful of orange yarn strands off of your yarn roll. Add a line of tacky glue in an oval shape around your foam cup. Start placing your yarn pieces all around the oval. Add more tacky glue and yarn strands in any places that need some additional hair. (Note: We used tacky glue because it’s a tougher glue than regular school glue. I’m not sure if school glue will work well with holding on the yarn.)
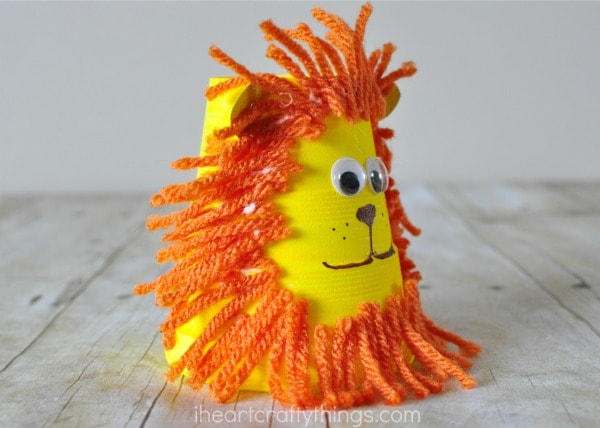
3. Glue on ears
Cut out some lion ears from your yellow cardstock paper. Fold the end down, apply some glue and glue them onto your foam cup lion craft.
4. Add eyes and draw face
Finish your lion craft by gluing on your googly eyes and using your brown marker to draw on a nose, mouth and whisker dots.