Sometimes, it can be the things that we’re most familiar with that can be the trickiest to draw! Also, sometimes it’s things that have a simple structure that can be tricky as well.
We’ve all been in that situation where you drop something liquid that drips down a countertop or other surface.
It’s annoying when it happens but it can also look pretty cool! It can also be fun to learn how to draw drips like this, even though it can be trickier than expected.
Luckily, this guide you’re on will make it much easier than expected!
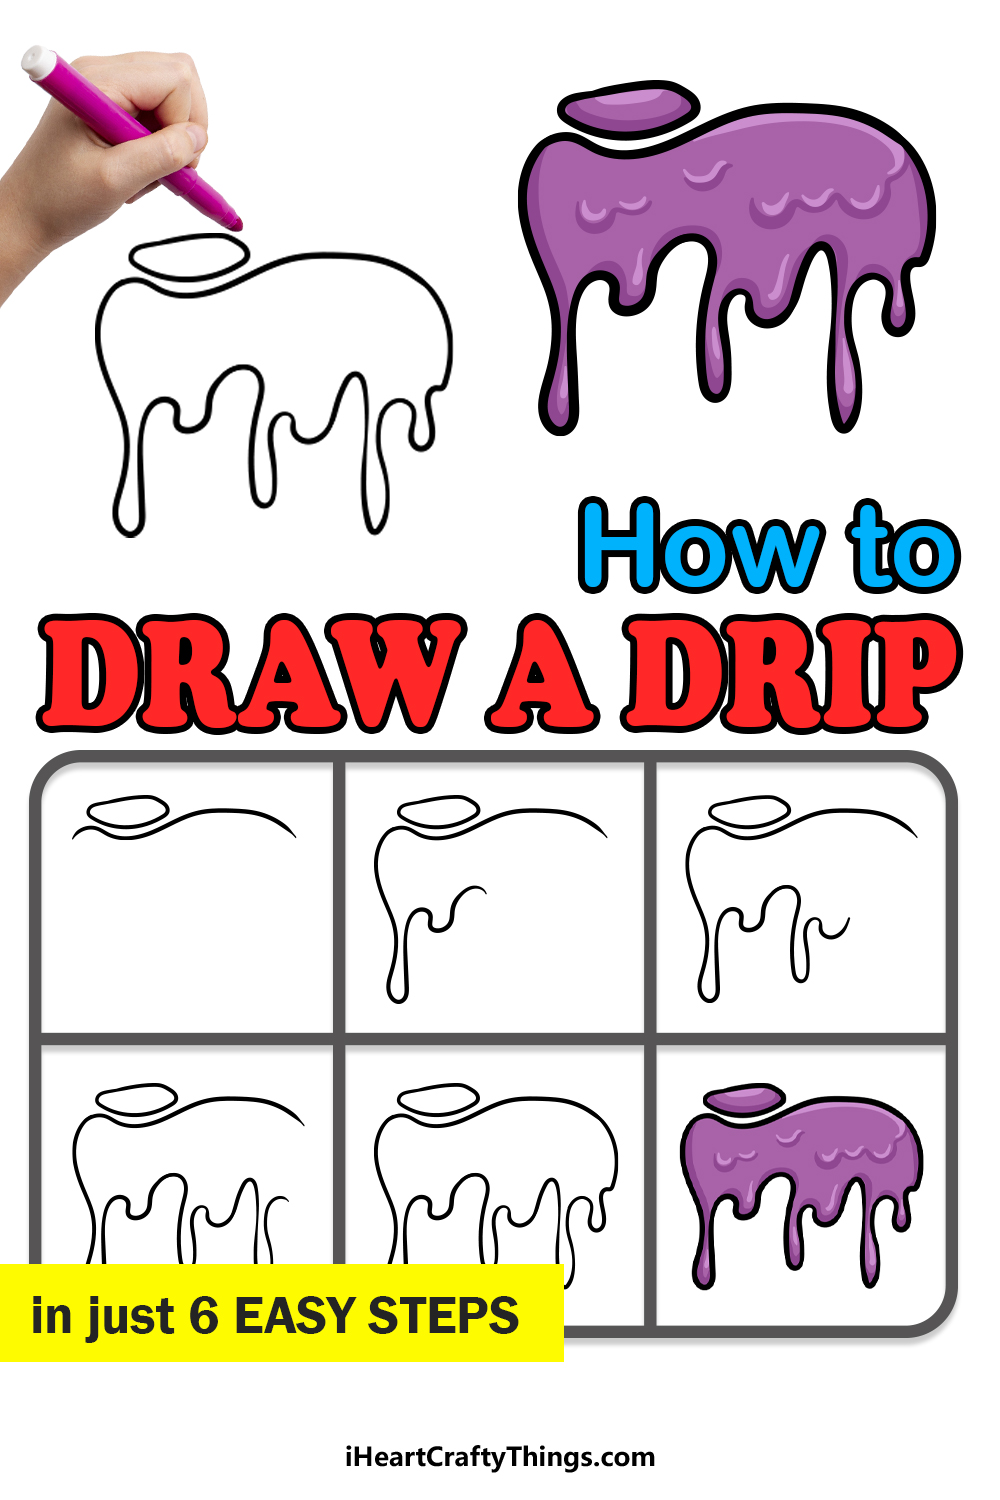
This step-by-step guide on how to draw drips will show you how to draw this thing that we’re all familiar with.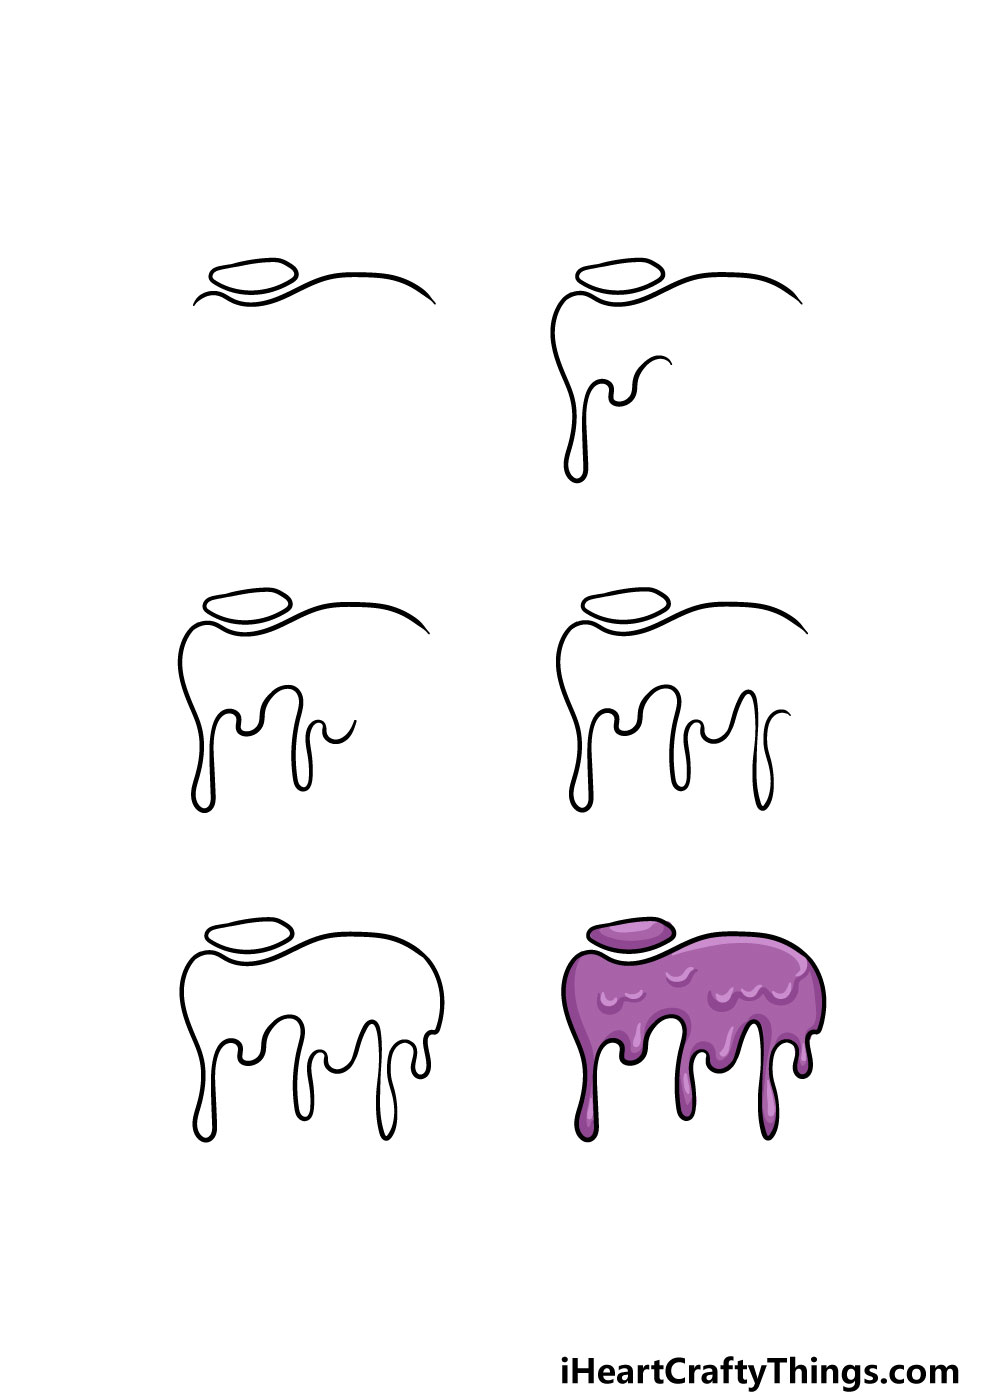
How to Draw Drips – Let’s get Started!
Step 1
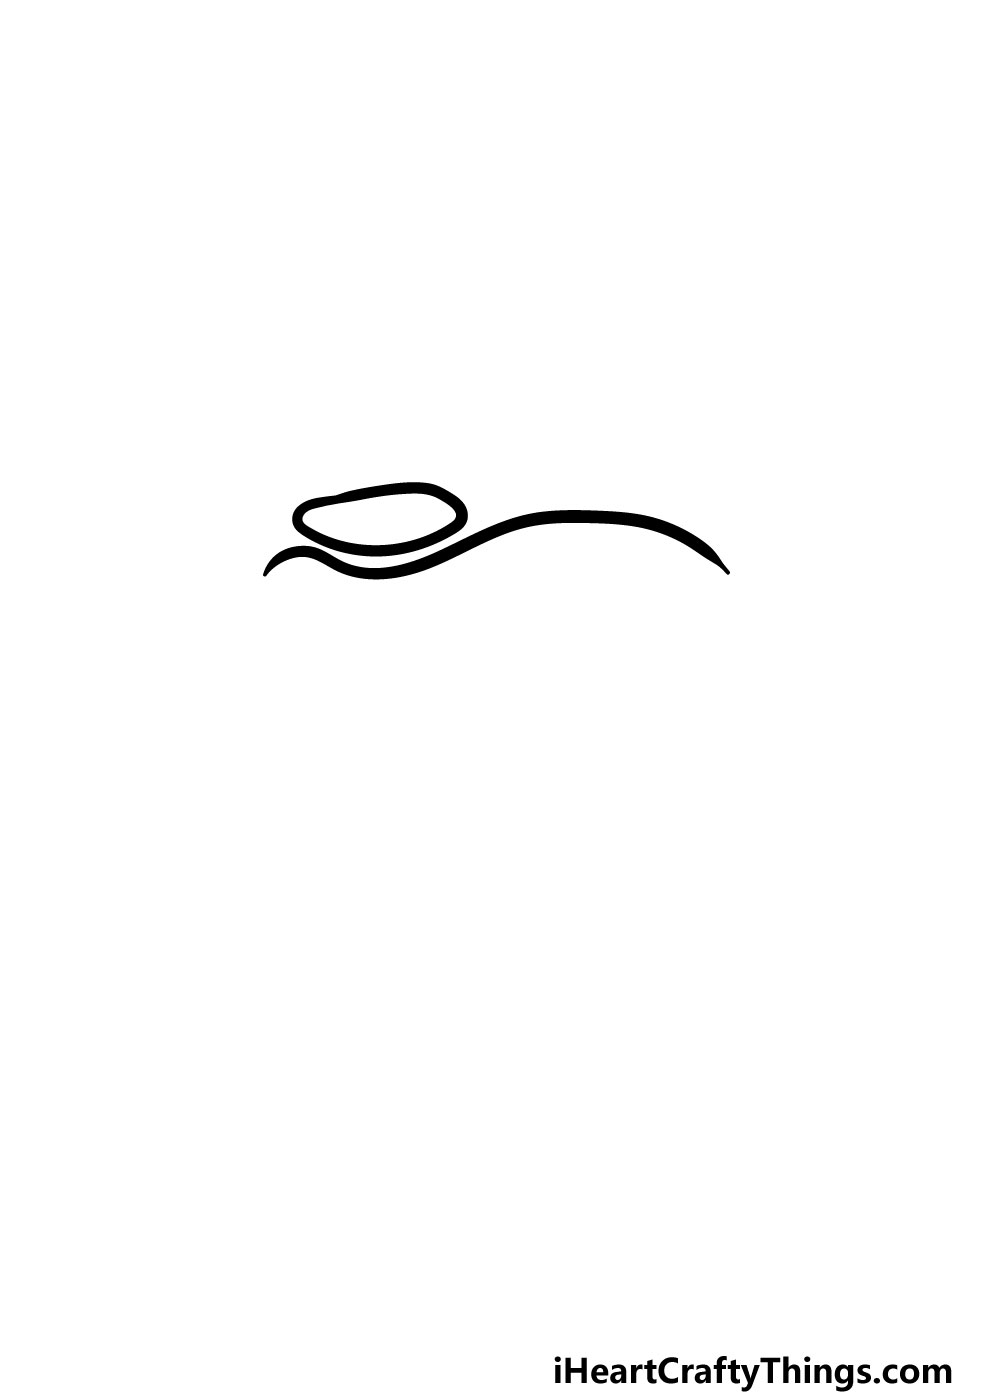
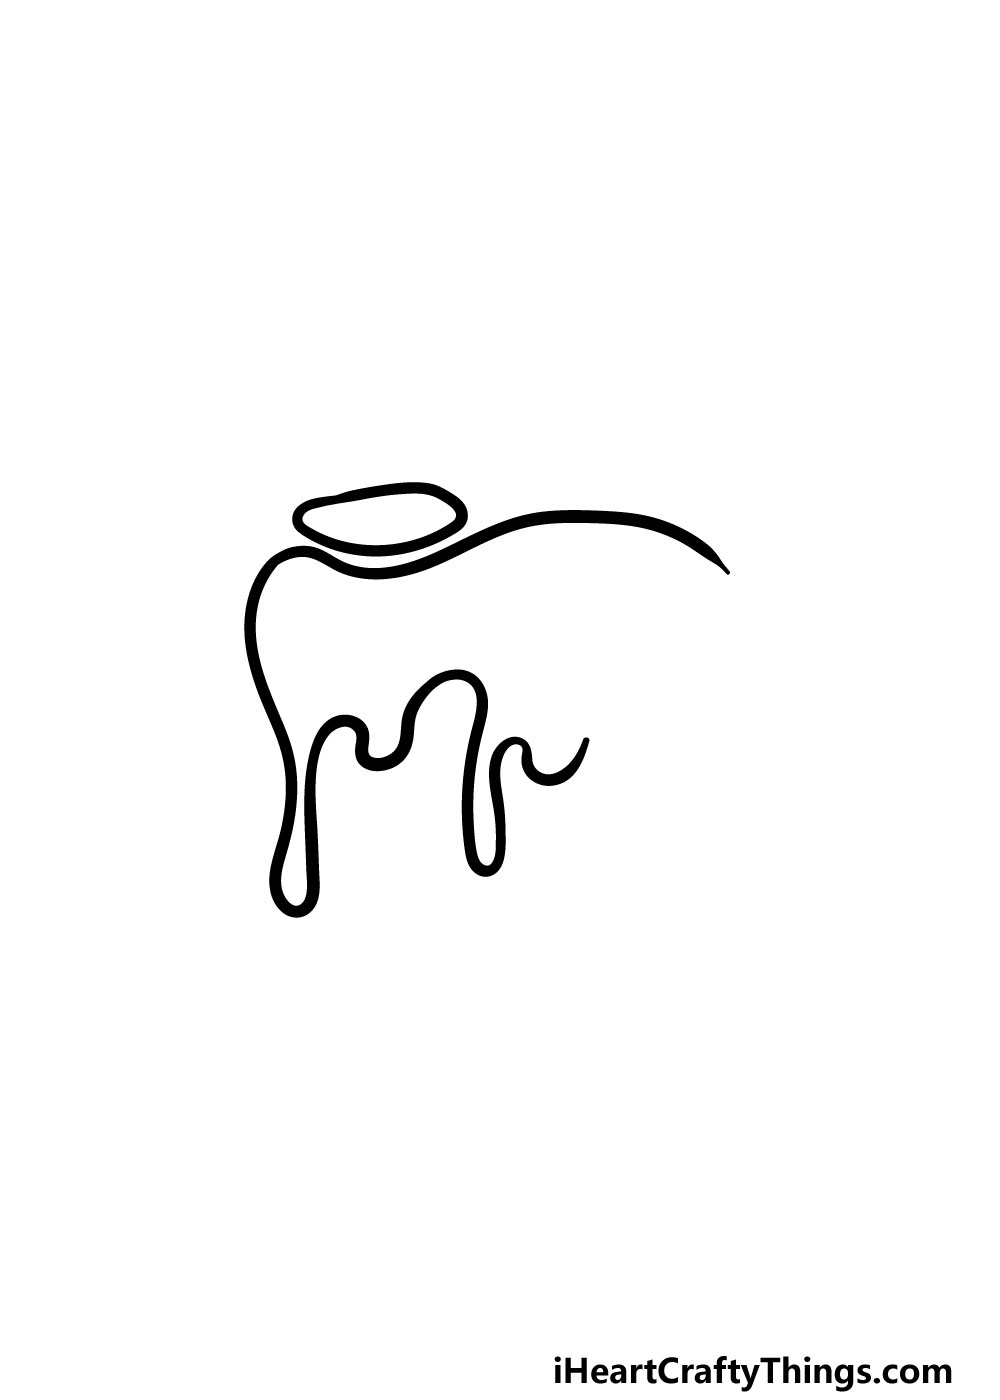
For this first step of our guide on how to draw drips, we will be drawing one small shape and one curved line.
The small shape will look like a blobby oval that will sit above the main shape of the spill causing the drip.
As for the spill itself, you can start that aspect by using a curvy, wavy line beneath that oval shape. That will form the top of the spill, and we will start drawing the dripping in the next few steps.
Step 2 – Draw the first of the dripping aspects
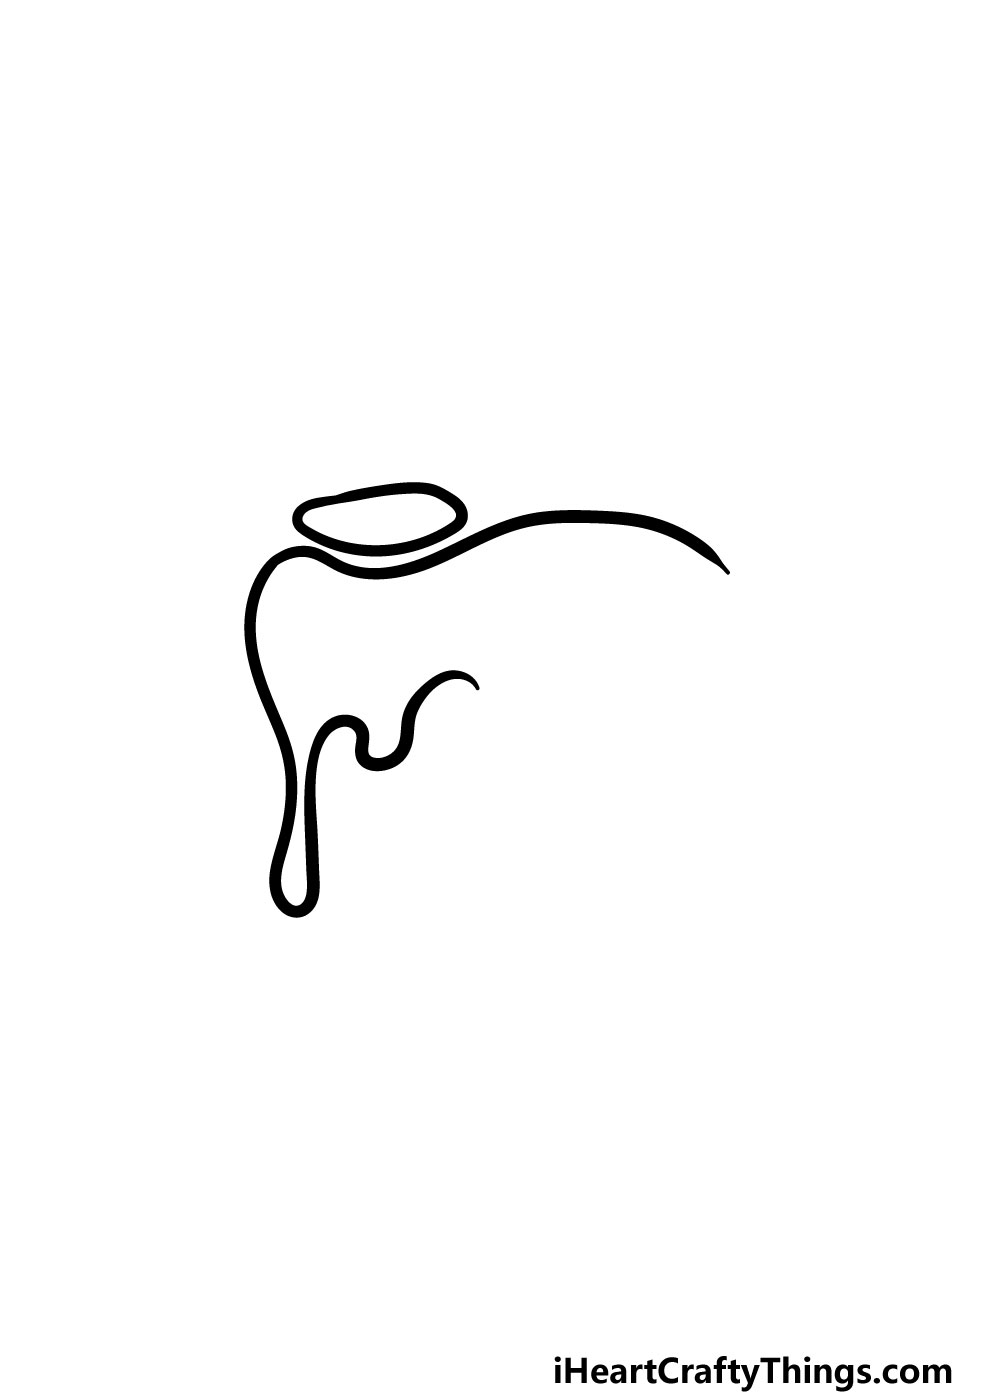
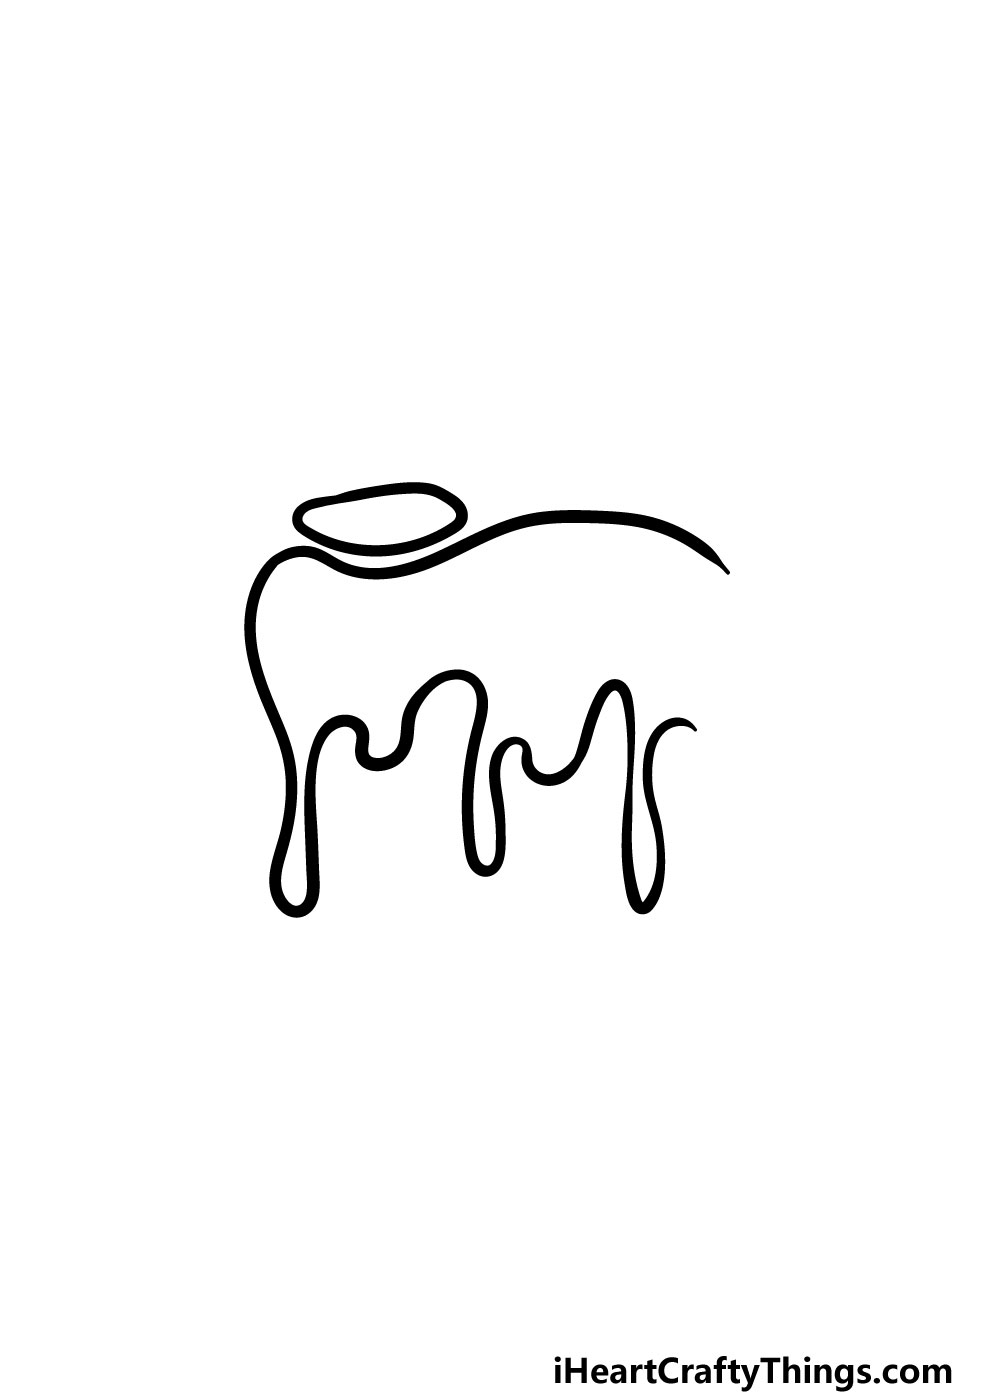
Now that you have the source of the dripping and the top of the spill drawn, you can start adding on to the lower part of your drips drawing.
To start this part, you can extend a line don from the left-hand side of the top of the drip. Then, you can extend a rounded line down from that for a gloopy drip dropping down.
You can then extend a shorter yet thicker drip coming down next to this one. We will be adding more drips next to it in the next few steps, so let’s move on!
Step 3 – Now, draw some more of the drips
In this third step of our guide on how to draw drips we will continue to add some drips dropping down from the spill.
This one will be somewhat similar to the previous step in that there will be one long, thin drip coming down on the left with a smaller, thicker one to the right.
These ones will be a bit smaller than their step 2 counterparts, however.
Step 4 – Draw the next drips coming down
You’re really getting the hang of it now! The next few steps of your drips drawing will be about finishing off the final details and drips.
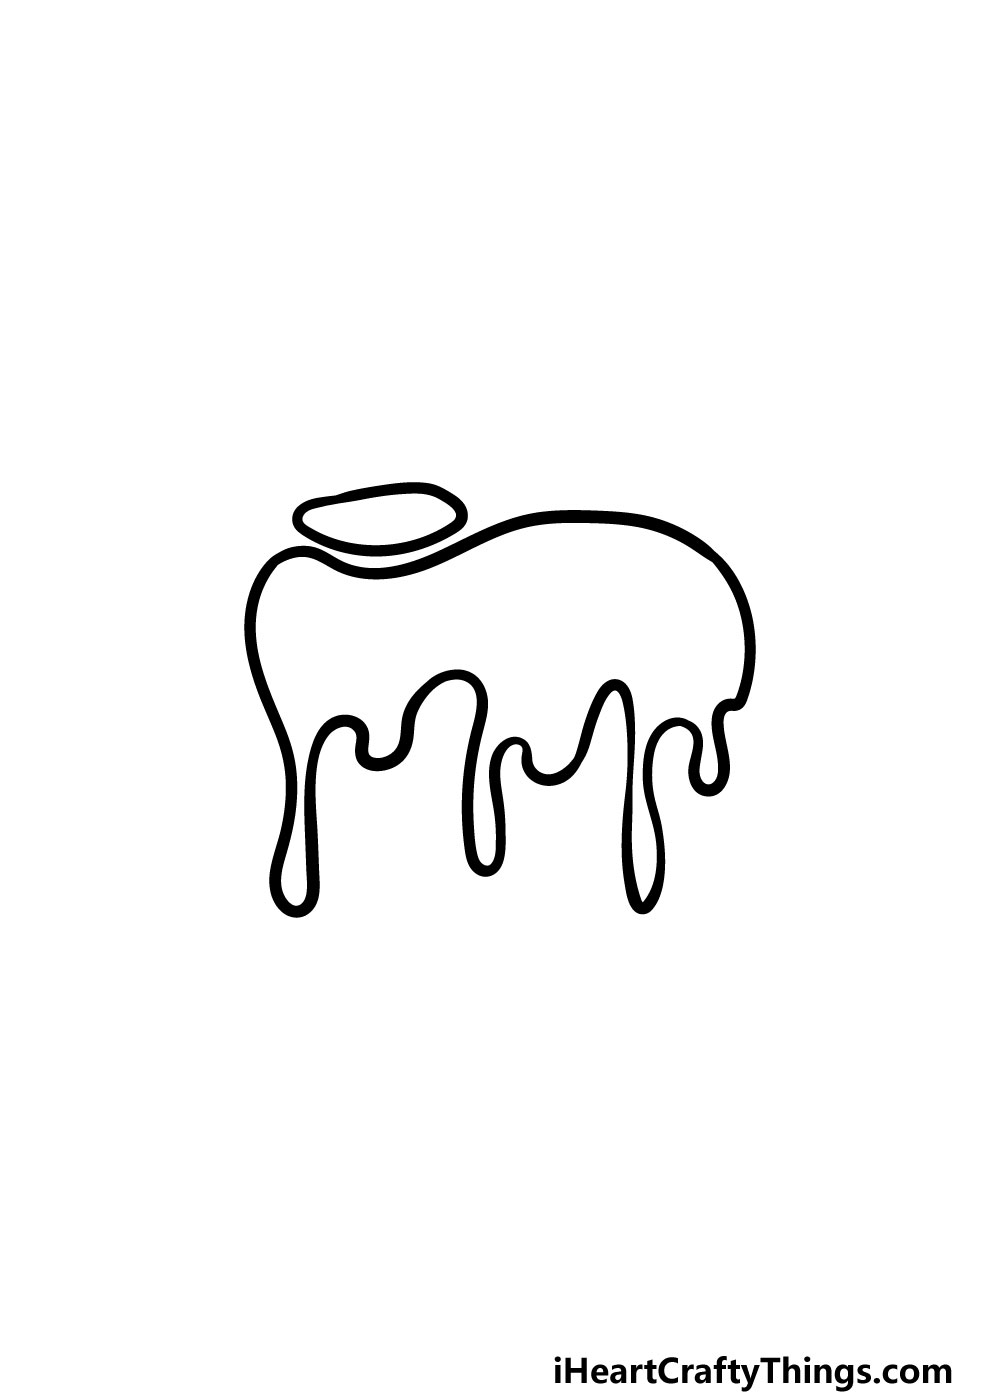
This step of the guide will be a little bit different from the previous two that you did, as in this one you will be drawing only one drip coming down instead of two.
This one will also be a bit long and thin like some of the previous drips you drew. It will also be around the same length as the first long drip that you drew.
This is also just how we have it in this guide, and you can also vary the lengths of the drips as you go if you wish! Once you have drawn this drip, then you’re ready for some final details in the next step!
Step 5 – Now, you can finish off the last drips and extra details
This fifth step of our guide on how to draw drips will be all about adding some final details and elements before you bring some color to it.
This will also be the step where you can add some of your own personalized details and extra parts!
To finish off the details in our guide there will be one more curved line for another drip coming down from the spill.
Finally, you can use one more rounded line on the right-hand side for the edge of the spill on the right.
That will finish off the final details of this guide, but before you move on you should feel free to add your own details! One fun idea that you could try would be to show what is causing the spill.
Perhaps it’s a barrel of radioactive sludge, or maybe some fuel leaking out of an alien spaceship.
These are just a few ideas that you can try, but what else can you think of that could be causing these drips? We can’t wait to see what creative ideas you come up with!
Step 6 – Finish off your drips drawing with some color
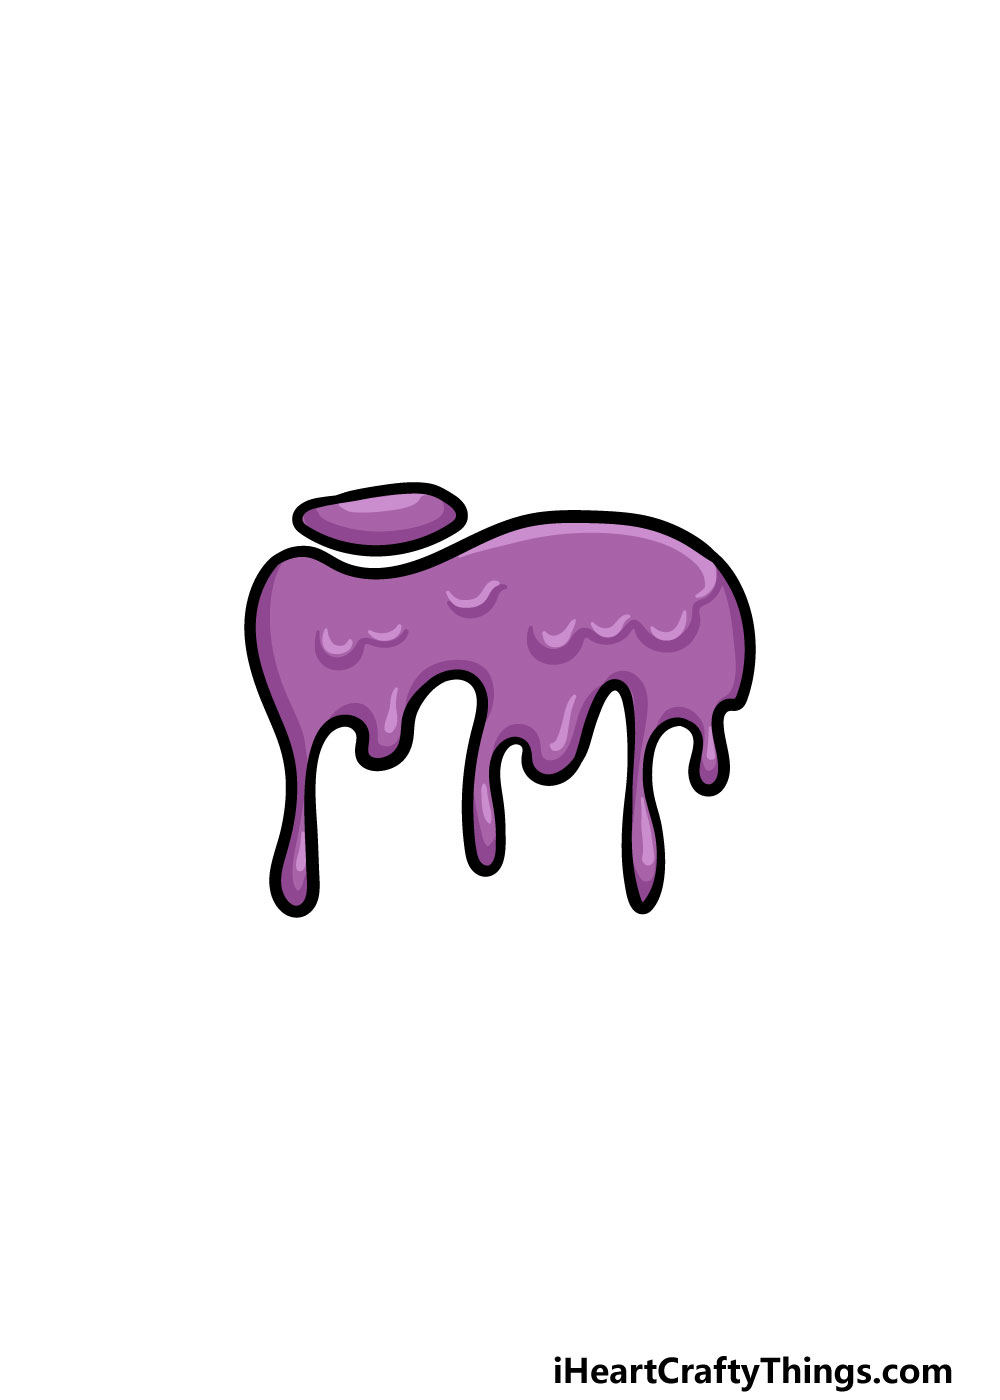
It’s time for the final step of your drips drawing, and this is a fun step where you get to finish it off with some beautiful color!
We used a bright purple for our example image, and this makes it really look like some kind of toxic sludge or alien goo!
We also used some different shades inside the drawing to create a look of more goop dripping down.
This is just one way out of many that you could use to color in your image though! This would be a great opportunity to use any of your favorite colors to finish off the image.
You can also experiment with some art mediums to achieve the look. You could use some thick layers of acrylic paints to make it look like the substance is dripping down for one idea. What colors and art mediums will you use to finish off this picture?
4 More Ways To Make Your Drips Drawing Unique
See how you can make this drips drawing even better with these fun tips!
We kept the size of this dripping substance pretty small for our example. This was to make this drips sketch a bit easier for you to learn, but now you can make it bigger!
You have a chance to create a glorious mess for this picture without having to clean it up later. We think you should make this substance as big and messy as you can for this picture, as the more chaotic it is the better!
Now that you have made your drips drawing as big as you like, another way is to add some more objects. This could be a huge variety of things, and you could show what is causing this mess.
Maybe the drips are coming out of a vat of toxic waste or out of the mouth of a gross monster. These are just a few examples you could go with, but this is your chance to get really creative with this drips drawing.
Another way to make this drawing of drips even more unique would be to draw some more messes with it.
These could take on any shape and form, and you can create a really wonderfully chaotic scene! As we suggested in the previous tip, you could also draw what you think is causing all of these messes.
We would be interested to see what kinds of creative scenes you can come up with!
This kind of drawing is perfect for using some creative and messy mediums. We drew drips in the picture, but you could create some real ones as well!
You could use some paint that is a bit runny, but not too runny. Paint a thick swatch near the top of the drawing and then tip your page over gently to create some running drips.
If you try this out, be sure to put some newspaper down so you don’t create a real mess! You may also want to use some thicker cardboard for this tip.
Your Drips Drawing is Complete!
That brings you to the end of this guide on how to draw drips, and you should be very proud of your awesome drawing!
Breaking down a drawing into smaller steps that are more manageable is the best way to make taking on a new drawing much easier to do, so we hope this guide did just that for you.
Now you can take over and show off your creativity for this drawing. You can do this by adding your own fun details, elements, additions and cool color choices. Be sure to have fun with it and see what happens!
When you’re ready for more drawing fun, you can visit our website for more amazing drawing guides! We upload new ones all the time as well, so be sure to visit us often.
Once your drips drawing is finished, we would also love to see your artwork. You can let us take a look by sharing it on our Facebook and Pinterest pages!