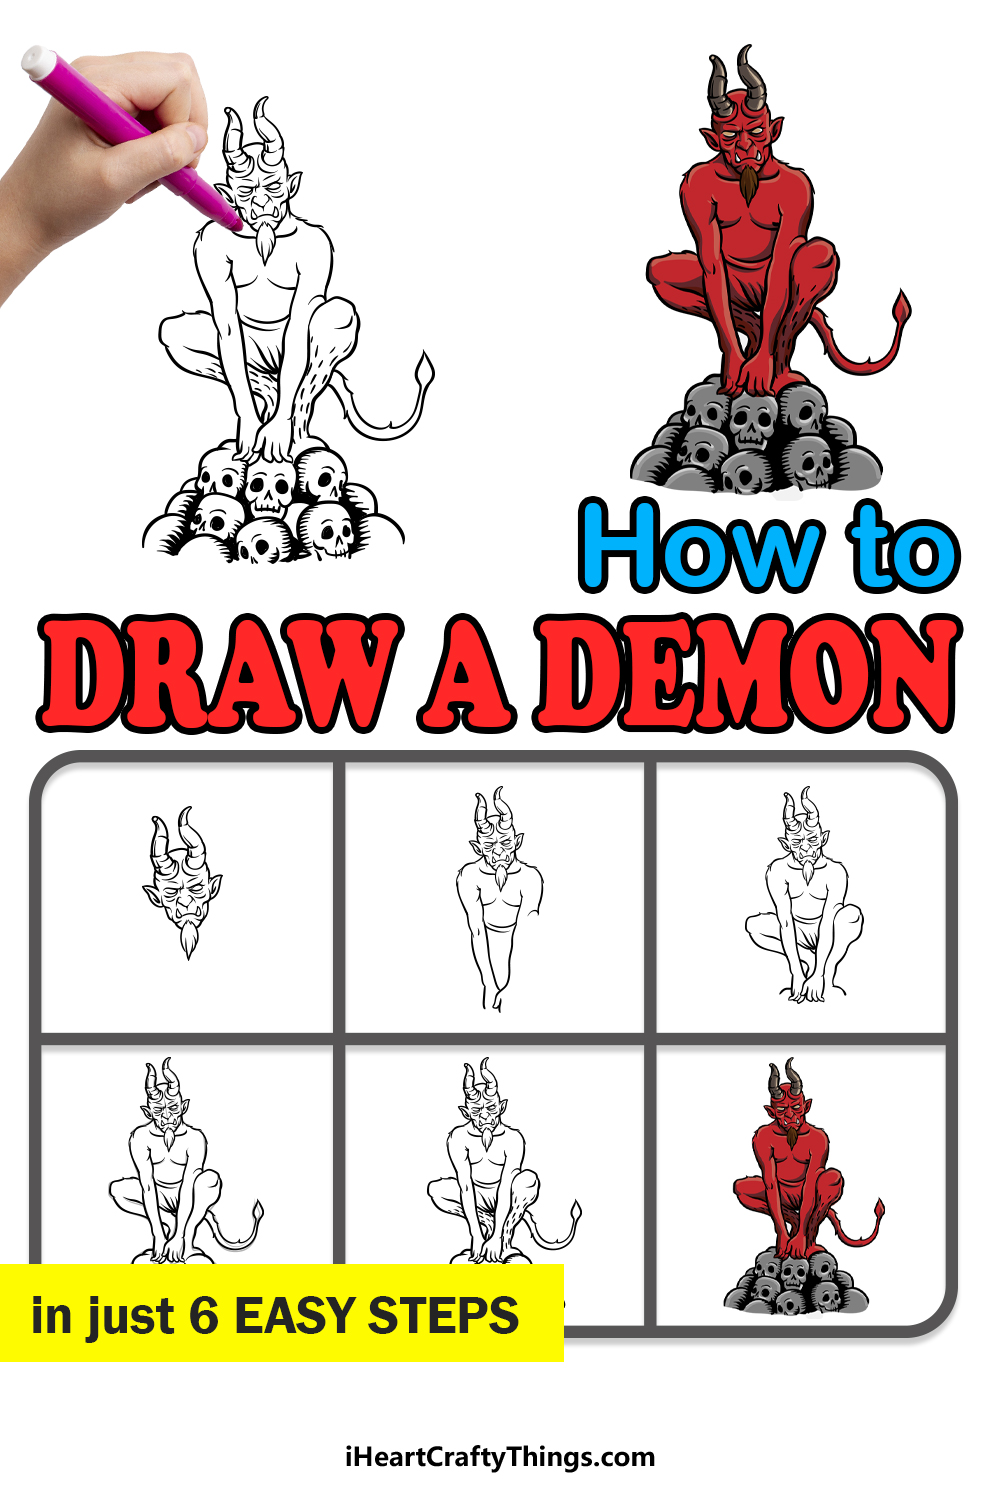
Demons have a bad reputation, but they’re not really that bad!
Okay, that may not be true as they are the embodiment of evil in many cultures, but the designs that they have in many forms of media can be pretty cool!
From album covers to works of literature and film, these malevolent beings pop up everywhere. Because of their unique appearance, it can also be fun to learn how to draw a demon.
This step-by-step guide on how to draw a demon in 6 easy steps will show you how to draw one of these beings without bursting aflame with frustration!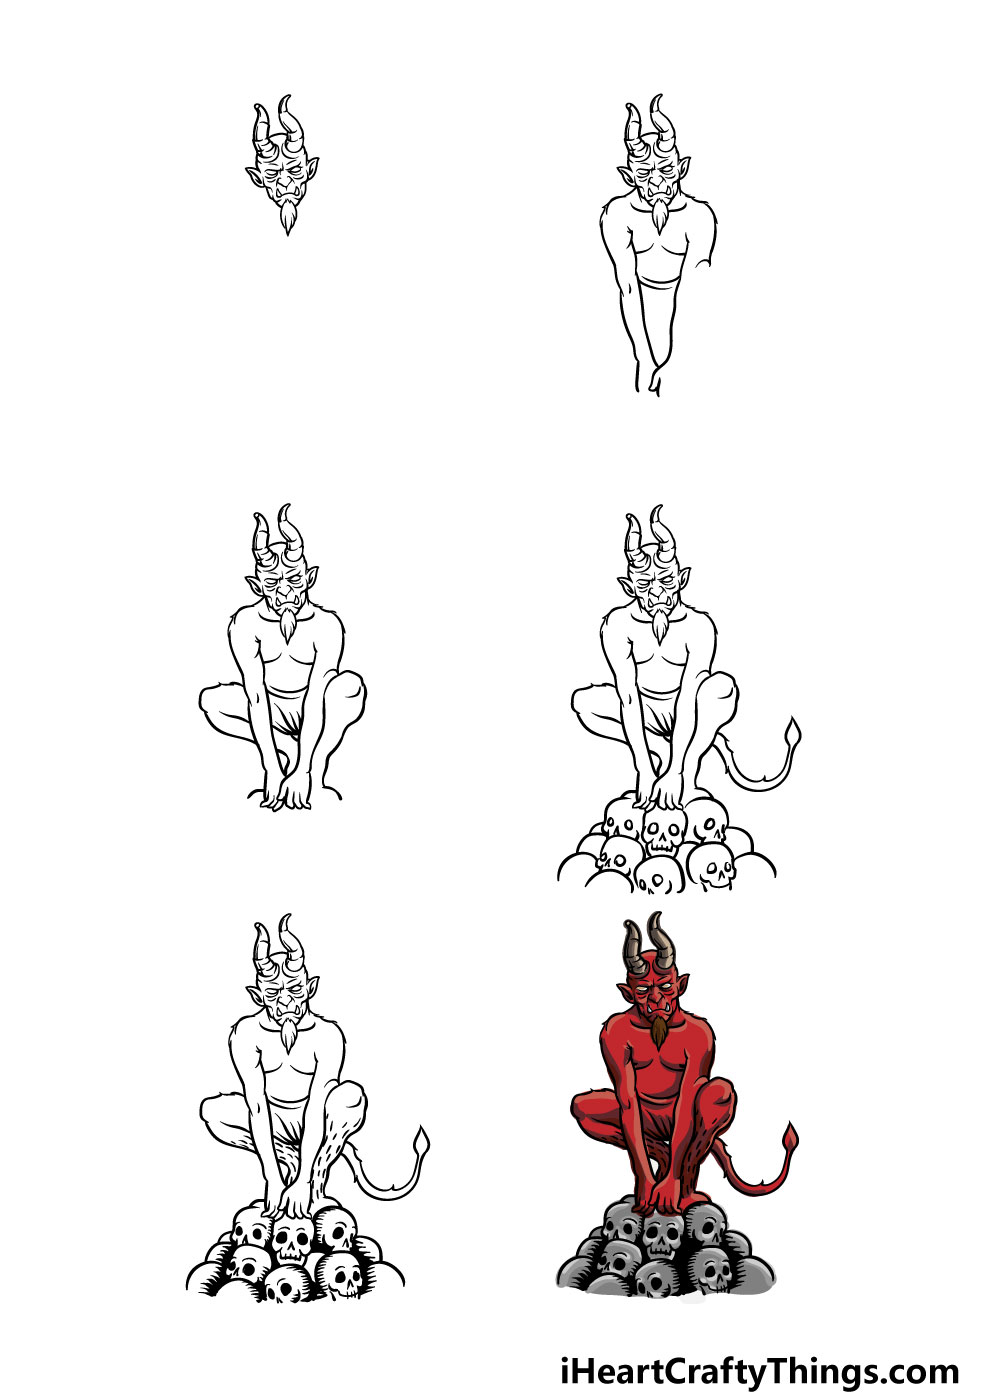
How to Draw A Demon – Let’s Get Started!
Step 1
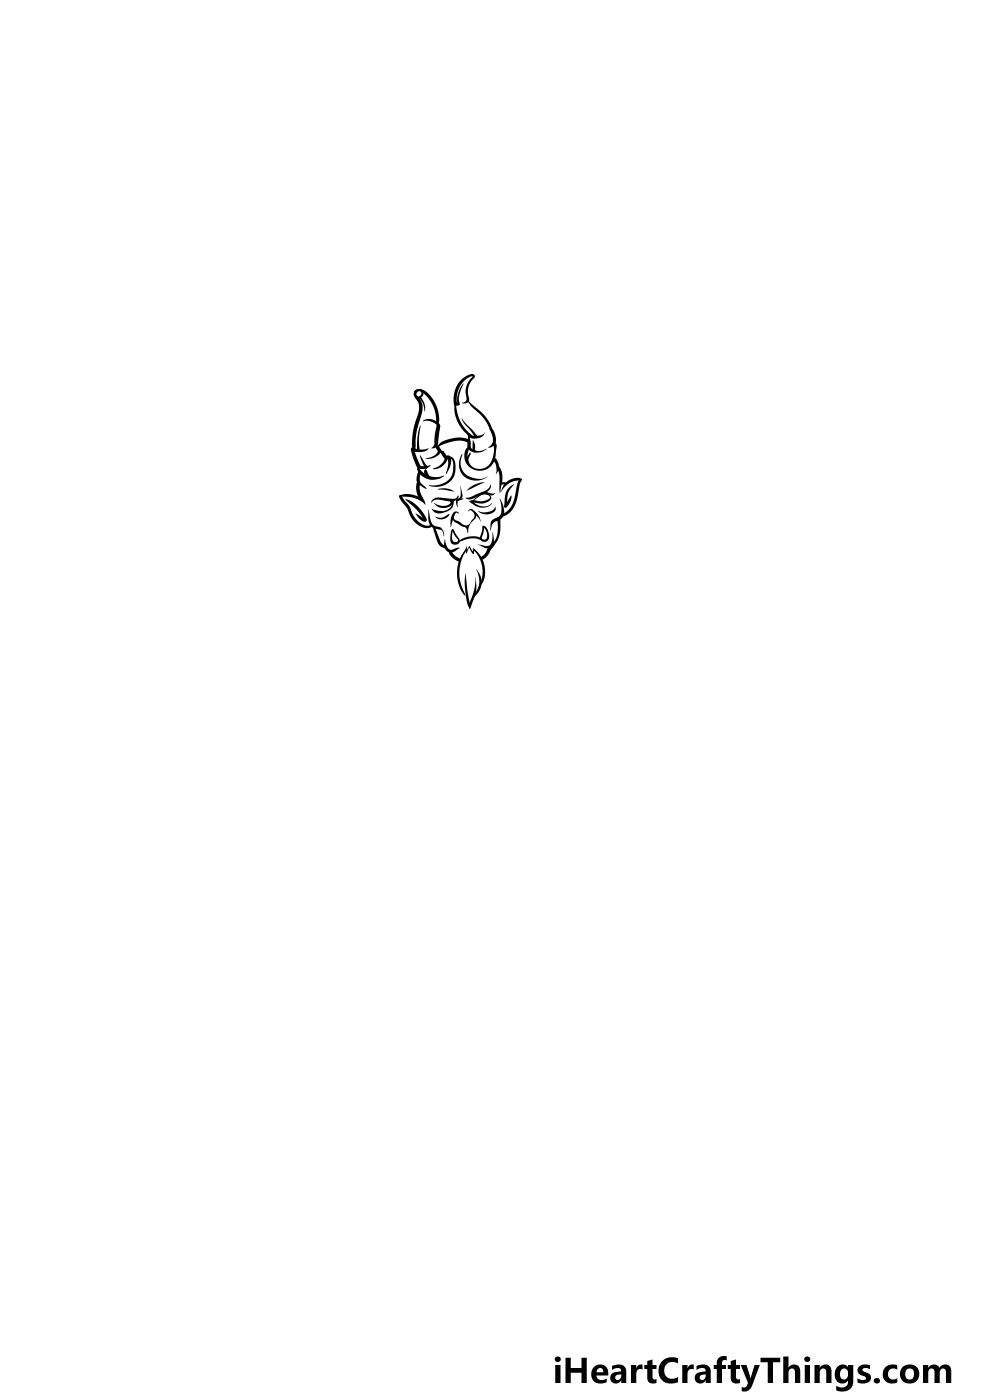
To get this guide on how to draw a demon started, we will first be using a pencil to get some basic outlines drawn.
These will be very helpful as you add some details and elements in the next few steps. Using your pencil, closely refer to the reference image to draw the body and head outlines of the demon.
You can also add some curved lines underneath him for the base that we will be drawing later.
Once you’re happy with how the outline is looking, you can add the face and horns that we have in our reference image. He’s looking pretty mean and angry, and he’s ready for the next step!
Step 2 – Draw the shoulders and arms
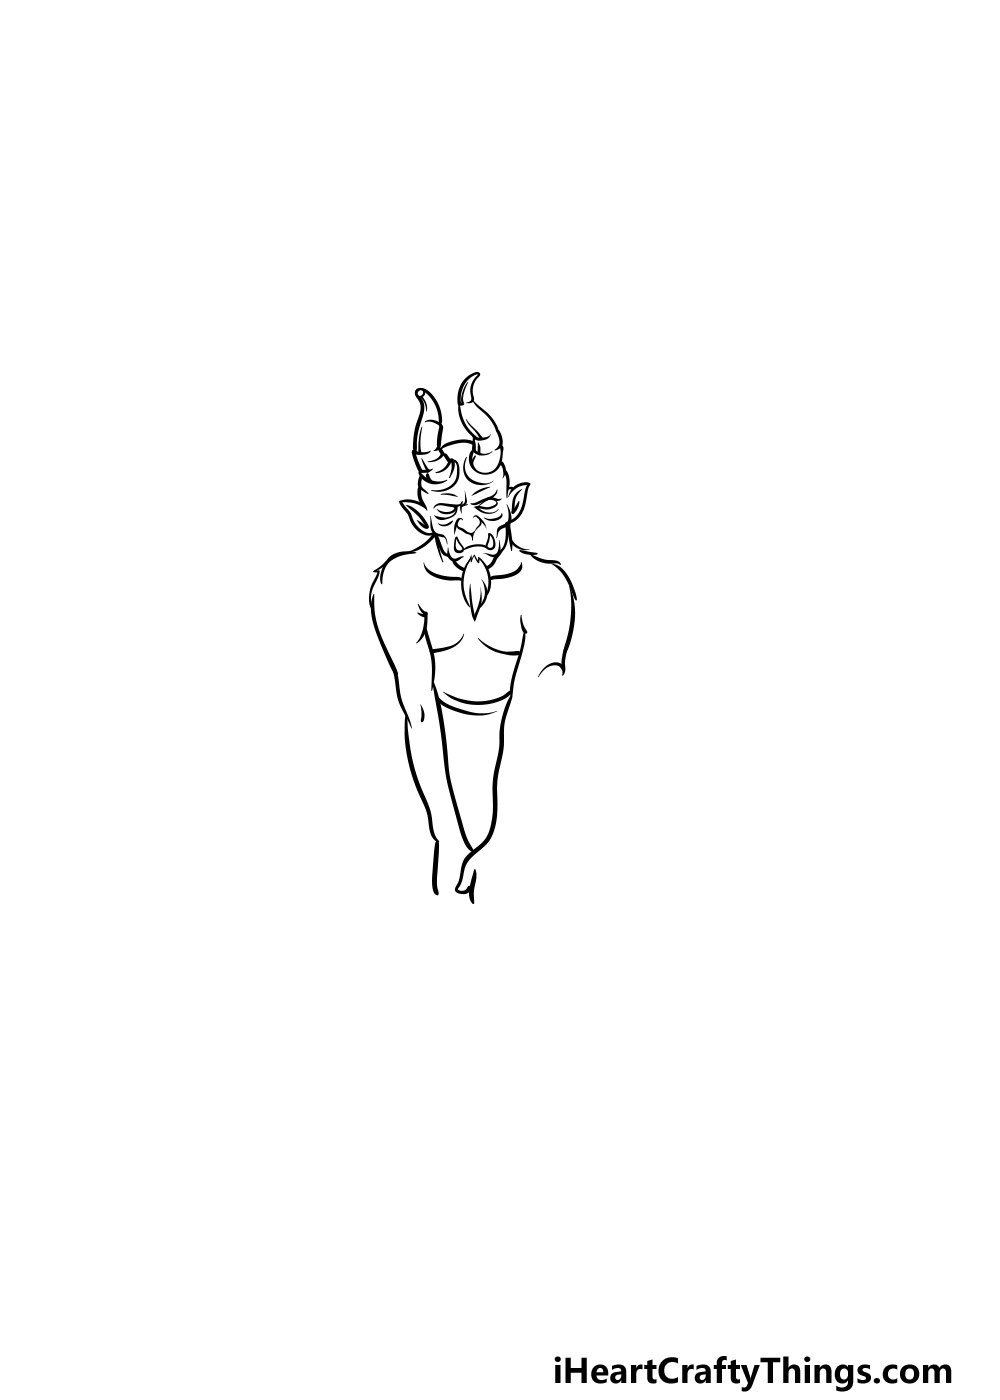
In this part of your demon drawing, we will continue refining the details of his body. Using your pen, you can start going over the pencil lines of his shoulders and his arms that are coming down.
Using our reference image as your guide, you will also be refining some details for the arms and muscles as you draw. You can then draw some lines for his chest once you’re done with his arms.
Step 3 – Now, draw the legs of the demon
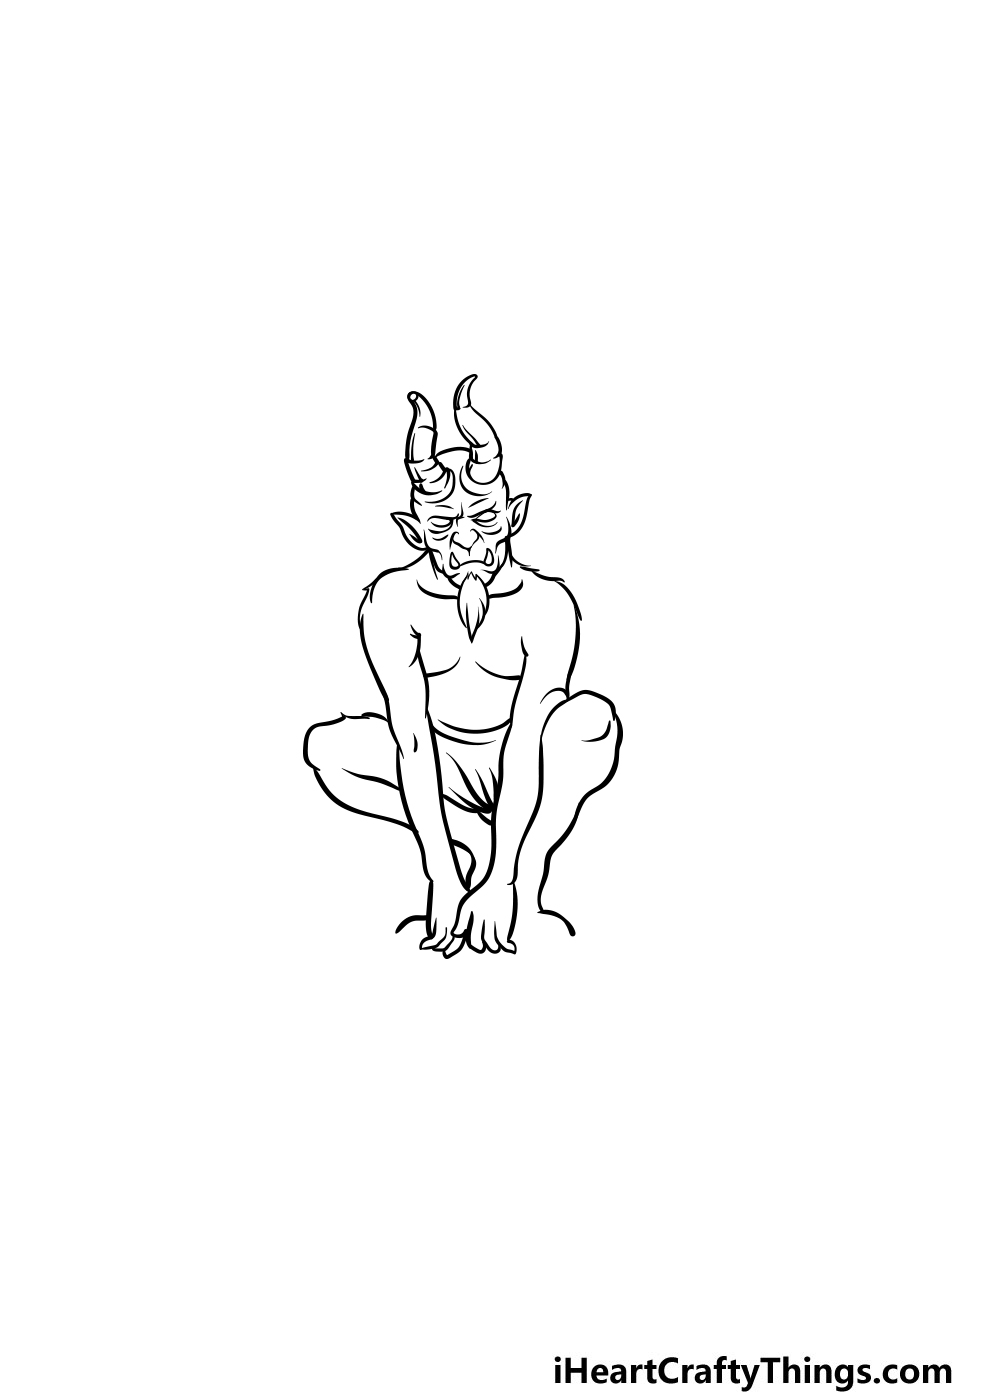
You’ve been working on the top of your drawing so far in this guide on how to draw a demon, and for this next step onwards we will be working on the bottom half.
You can draw over the pencil lines of his legs in this step. As you did with the previous steps, you will be adding some smaller details to the legs as you draw.
As you can see, drawing it with your pencil first helps a lot!
Step 4 – Add a base for the demon
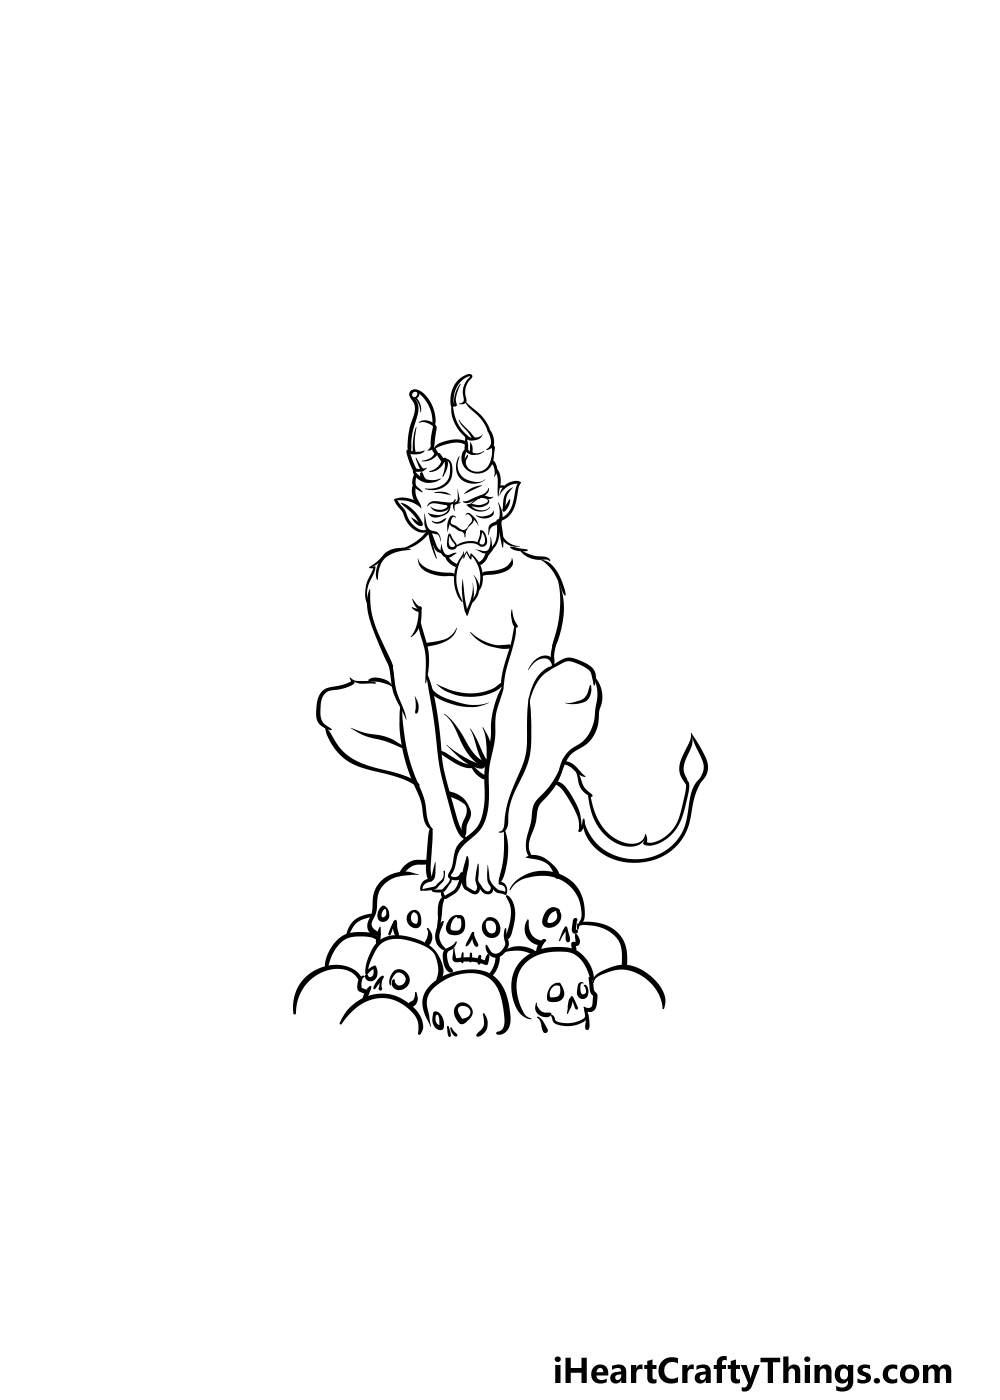
For this part of your demon drawing, we will be creating a base for him. This base will be a pile of skulls, a situation I’m sure we can all relate to.
Using your pen, draw some simple skulls underneath the demon to make his base.
This might be a step that you would also want to use your pencil for first, and then go over it with your pen when you’re happy with it.
Also, be sure to draw a twisty tail for him before you move on! Once you have this base drawn you can work on the final details in the next step.
Step 5 – Now, finish off the final details and erase your pencil lines
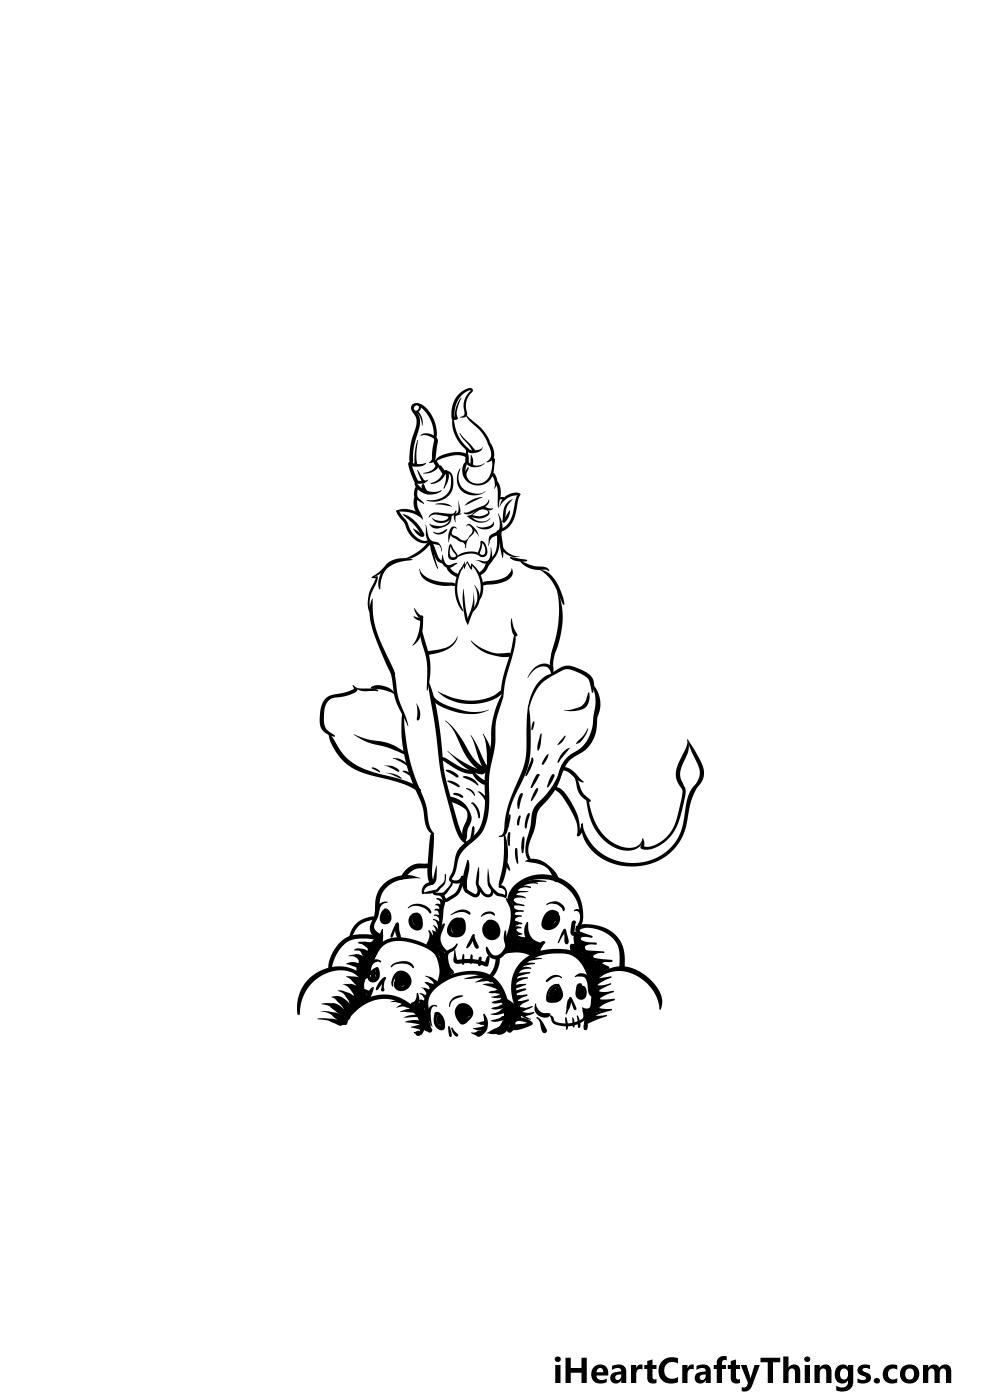
This fifth part of our guide on how to draw a demon will be all about adding some final details before you move on to coloring it in.
You can start by adding lots of small lines onto his legs for some extra detail. Then, draw some thick shading between the skulls to give them some more definition.
Finally, you can erase all of the pencil lines from the first step if you haven’t done so already/
That will do it for the details in this guide, but the drawing doesn’t have to end there!
Before you finish off, you can add some details and elements of your own to really finish it off! Perhaps you could draw a fiery background behind this demon to finish off the scene.
You could also draw some fearsome monsters behind him to make a monstrous entourage for your demon!
Be sure to get creative with it and have fun as you finish off this drawing. We can’t wait to see what weird and wonderful ideas you can come up with!
Step 6 – Finish off your demon drawing with some color
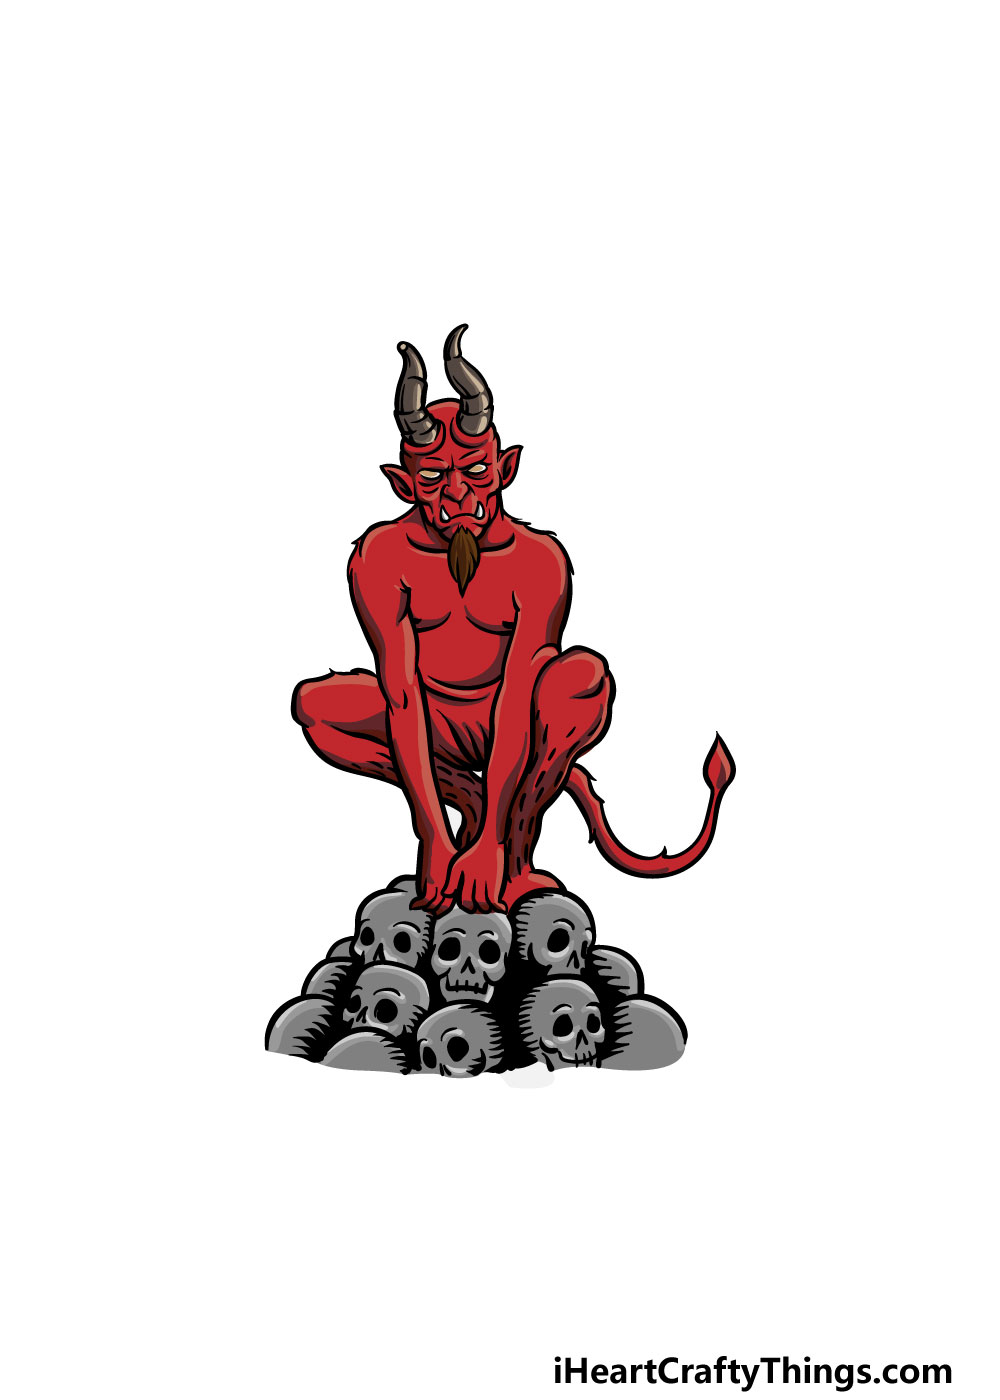
This last step of your demon drawing will be all about adding some colors to your artwork to really bring it to life.
For our image, we used some deep red for the demon while balancing it off with some grey for the horns and the skulls.
This is just one way that you could go about it, however, and this is a step where you can get creative with it and express yourself with your own color choices!
Once you know which colors you would like to use for the drawing, you can also have some fun experimenting with some cool art tools and mediums.
For a more intense color look, you can use some mediums such as acrylic paints and colored pens to make the colors stand out.
For a more muted look you could play around with colored pencils and crayons for a more subtle look. What will you use to bring your demon to life with color?
Here’s how you can make your demon drawing even better…
Make a terrifying drawing with these ideas for your demon sketch!
This drawing of a demon that we created in this guide has a really classic look with red skin and big horns. You could accentuate or change some of these details to make it look even more horrific!
For example, you could make the horns bigger or give it an even angrier expression. These are just two examples, but there are lots of ways you could make it even more unique and scarier.
Another way you could make this picture more interesting would be by adding a pet or a familiar for the demon. These could be real animals such as snakes or lizards that are often associated with evil.
Or, you could add a skeletal being or a gargoyle for the demon to have as a pet. You might even want to create a brand new creature for this demon to have by its side!
What little creatures would you like to add to the scene?
Once you have mastered this demon drawing, you could also add some more demon creations to the scene. These ones could be posed next to this one to make the scene even more complete.
It would be a fun challenge to see what kinds of fun designs and poses you can come up with! These additional demons could also have classic designs, or they could look more unusual.
What do you think this demon’s pals could look like?
We kept the background setting of this demon sketch a bit vague, but you could add to it in order to make it even cooler! For now, the only background detail has the demon sitting on a mound of skulls.
This looks cool, but you could add some similarly macabre objects and accessories around it.
If you really wanted a more complete background, you could maybe add some volcanoes or seas of lava behind the demon.
What kind of setting do you think the demon could be in?
Your Demon Drawing is Complete!
With the final details drawn and the colors added, that means that you have completed this guide on how to draw a demon!
When you saw this cool design it may have looked like it would be difficult to draw, but that’s what makes a drawing guide so great. When you break it down into simpler steps it can be so much easier and more fun to do.
Now that it is done, you can keep the fun going by adding your own details and elements.
Whether you draw a cool background for it or add some more demon pals for him in the background, we can’t wait to see what creative touches you come up with.
When you’re ready for more drawing fun, you can visit us on our website! We have tons of amazing drawing guides for you to enjoy, and we upload new ones very frequently.
We would love to see your demon drawing when it’s done, so please do share your artwork on our Facebook and Pinterest pages for us to enjoy!