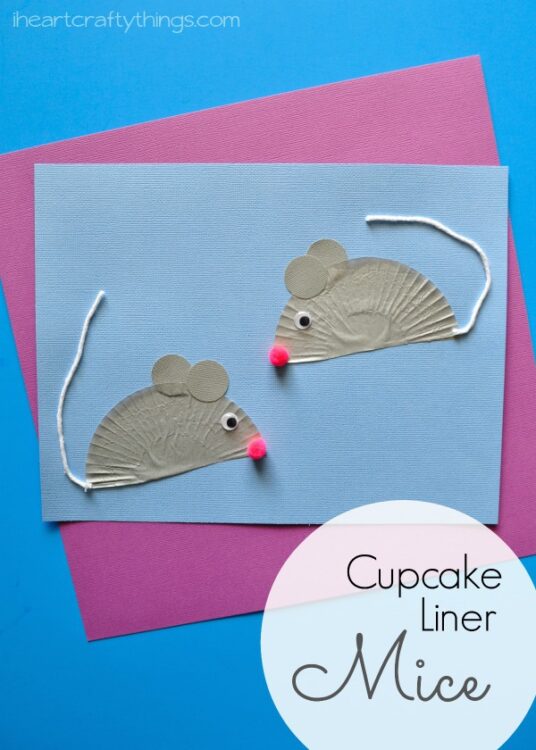
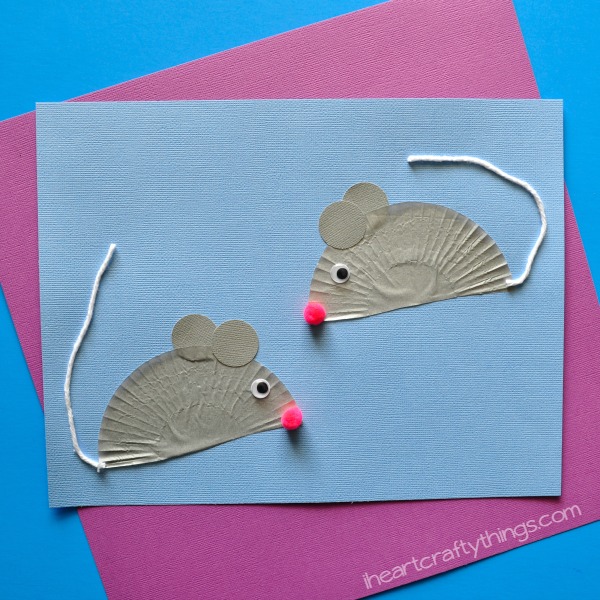
My daughter and I made adorable little mice the other day and I’m excited to share them with you today. We’ve been working our way through the alphabet crafting with cupcake liners and this cute mouse craft turned out to be perfect for the letter M. They are super simple to make and are adorable!
{This post contains affiliate links for your convenience. Read our Disclosure Policy for more information.}
Supplies you will need:
- blue cardstock paper
- silver/gray cupcake liners (You could also use white cupcake liners
or a mixture of both.) - gray cardstock paper
- googly eyes
- small pink pom poms
- white string or yarn
- 1-inch circle punch
- scissors
- glue
Step-by-step guide:
1. Cut & glue cupcake liner
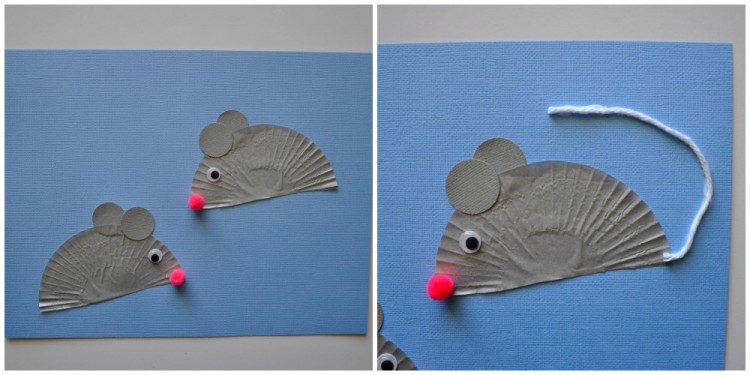
Gather your materials. Each gray cupcake liner will make two mice. Cut you cupcake liner in half and glue each half onto your blue cardstock paper.
2. Make ears
Use your 1-inch circle punch to cut out circles from your gray cardstock paper, two for each mouse.
3. Glue ears & nose
Glue your circles onto your mice as ears (we tucked one behind the cupcake liner). Also glue a googly eye and a small pom pom onto your mouse.
4. Finish with a tail
Cut a small piece of white string and finish your mouse by gluing it to the back of your mouse for a tail.
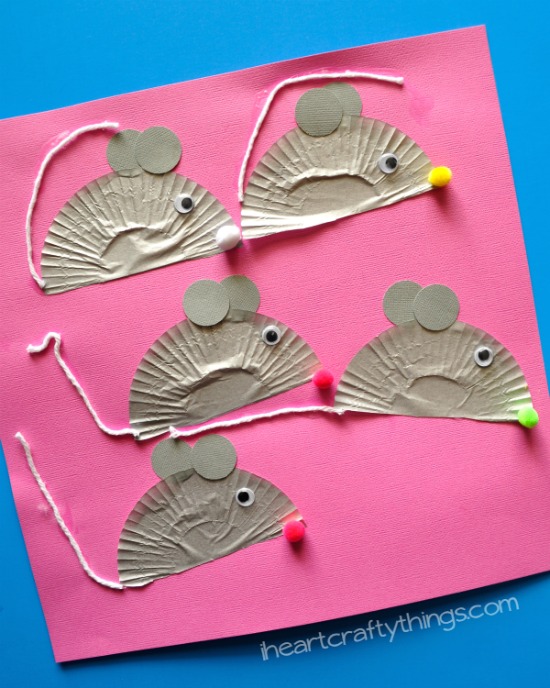
I used a regular letter sized paper to show you how to make the mice but my 4 year old used a 12-inch by 12-inch paper for her mice and put five on her paper. She also chose bright colors for her pom pom noses.


