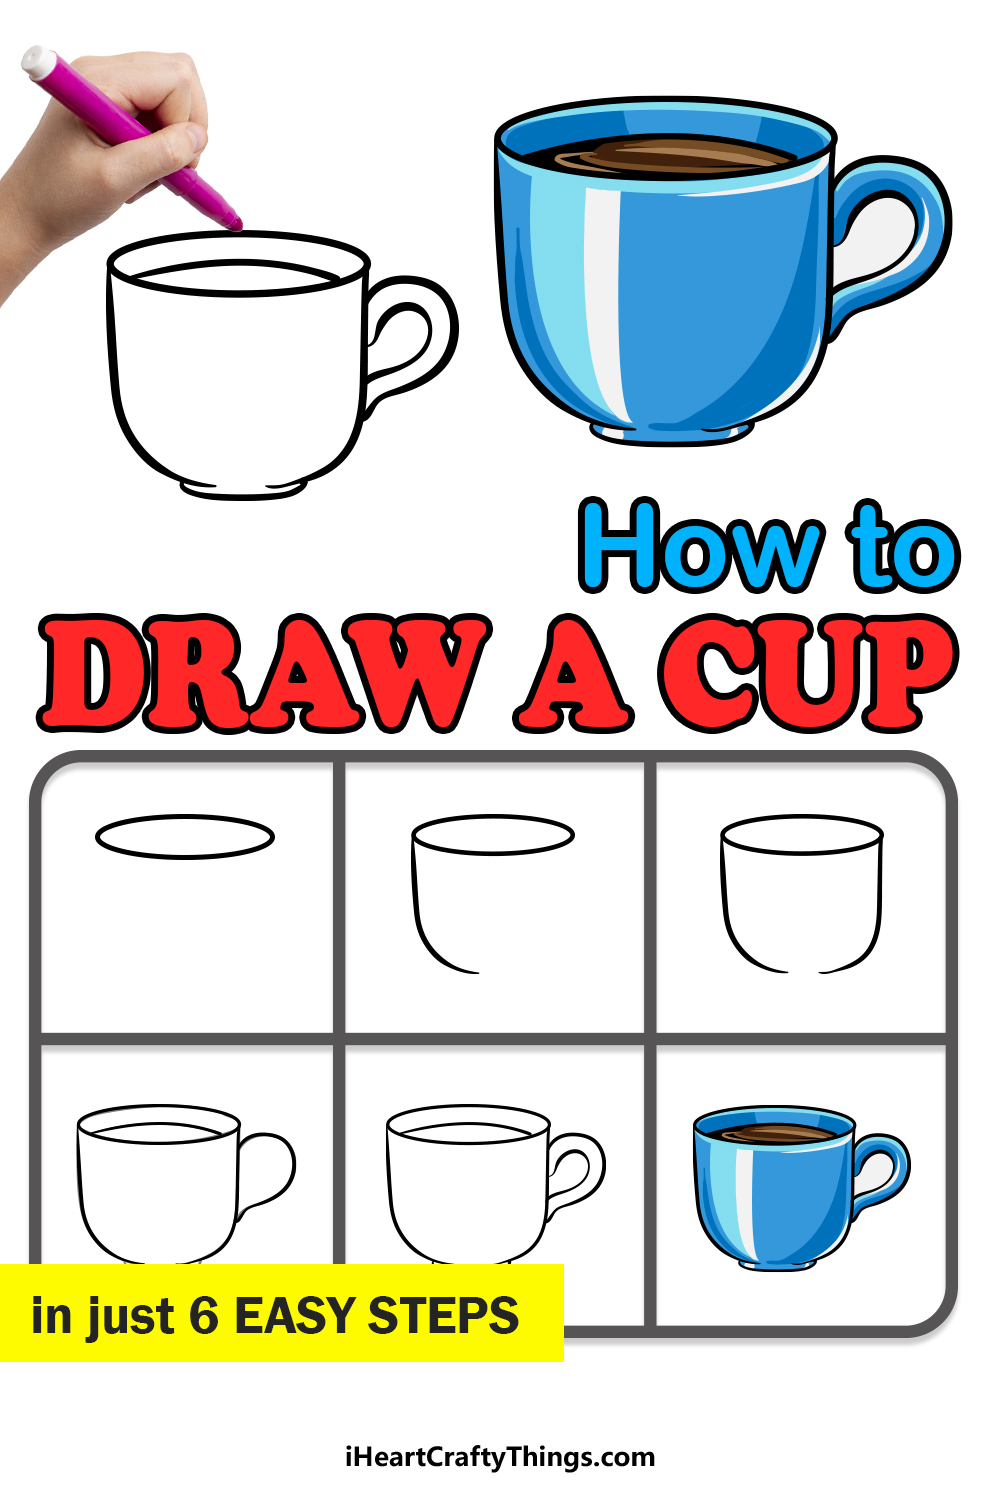
When it comes to culinary tools, the humble cup often goes unnoticed. Yet these little receptacles can hold all manner of different delectable delights.
From strong coffees, sweet hot chocolates and hot tea to soups and stews. A cup isn’t the most complex of structures, but it can still be a bit challenging to learn how to draw a cup properly.
Fear not, however, as you are on a guide that will make it easier than ever!
Why not grab a cup of your favorite beverage to enjoy as you work through our step-by-step guide on how to draw a cup in 6 steps?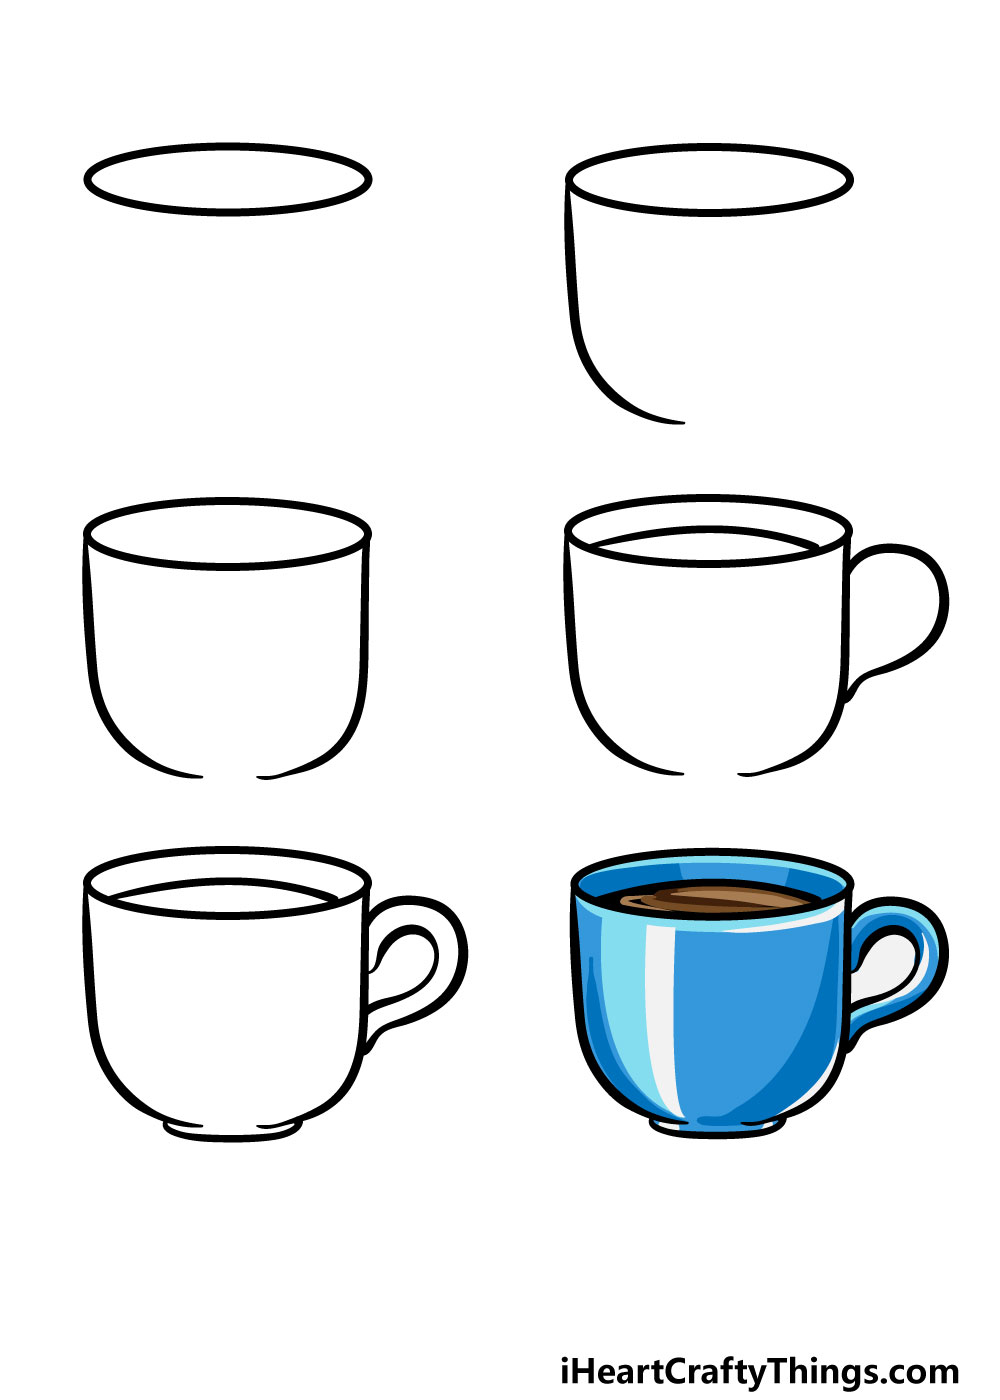
How to Draw A Cup – Let’s Get Started!
Step 1

For the first step of our guide on how to draw a cup, we will be using a pencil to draw an outline that you will use as you add some finer details later on.
As we mentioned earlier, a cup is quite a simple structure, but it can be surprisingly hard to draw.
The reason for this is that it has a rounded design, and this can require a steady hand to draw properly.
Luckily when it comes to drawing there is no hurry and you can take your time with it. With this in mind, carefully use your pencil to draw the shape that you see in our reference image.
Using a pencil means that you don’t have to worry about making mistakes or getting it wrong which can make the drawing much less stressful!
Once you’re happy with the pencil outline, you can use your pen to draw the oval rim of the cup.
Step 2 – Add some pen detail for the left-hand side of the cup
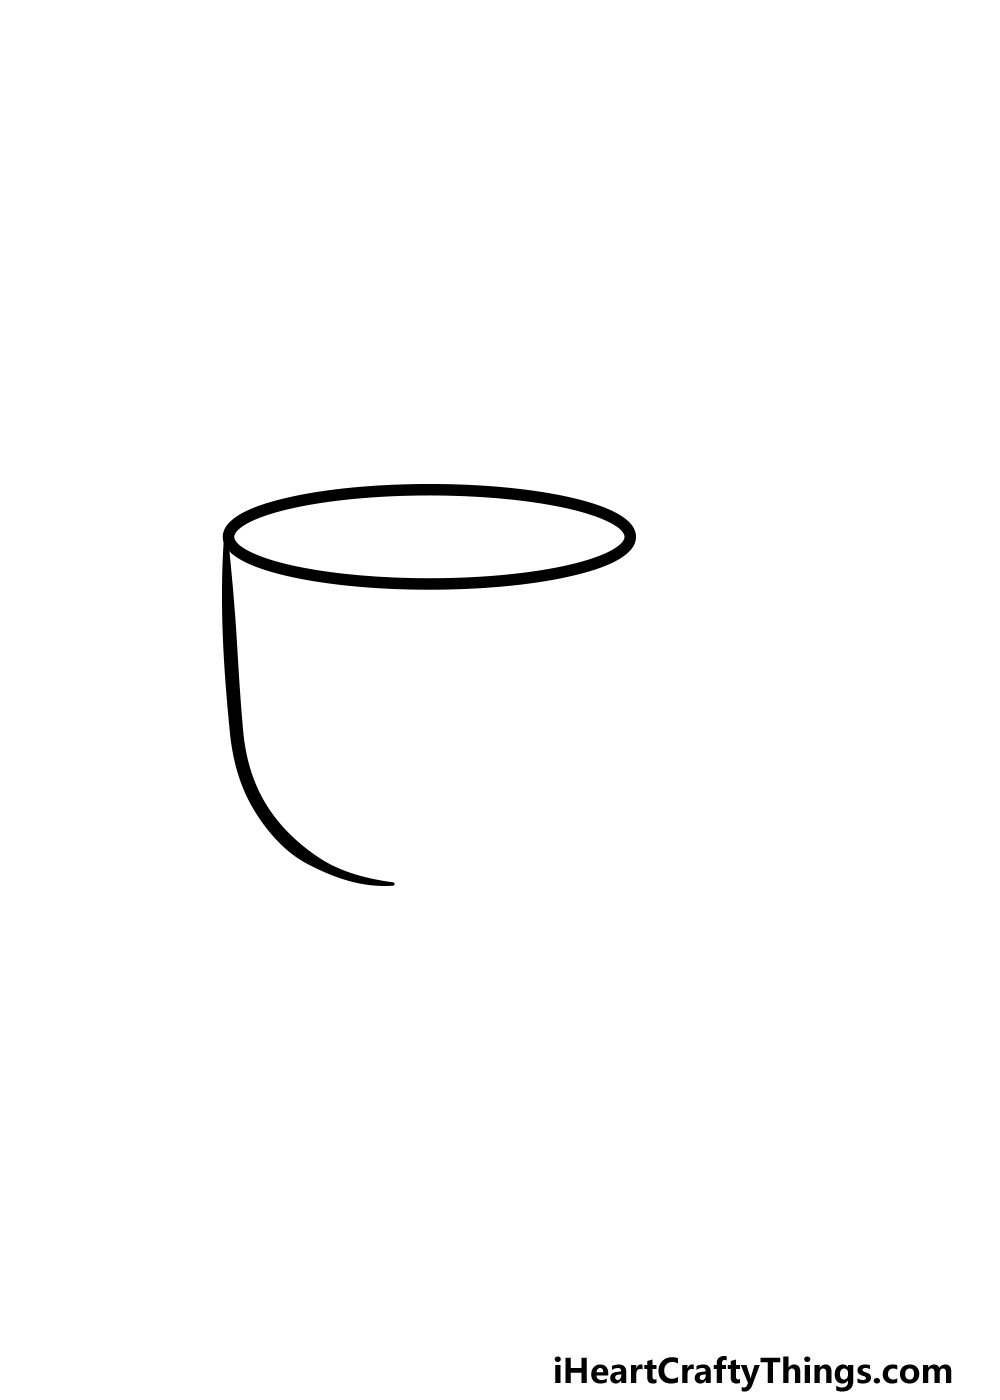
Continuing on from the previous step, we will continue adding some pen detail to your cup drawing in this next step.
Carefully draw a curved line down the left-hand side to draw this edge. It should be made a lot easier thanks to the pencil lines that you drew in the previous step!
Step 3 – Now, draw the other side of the cup
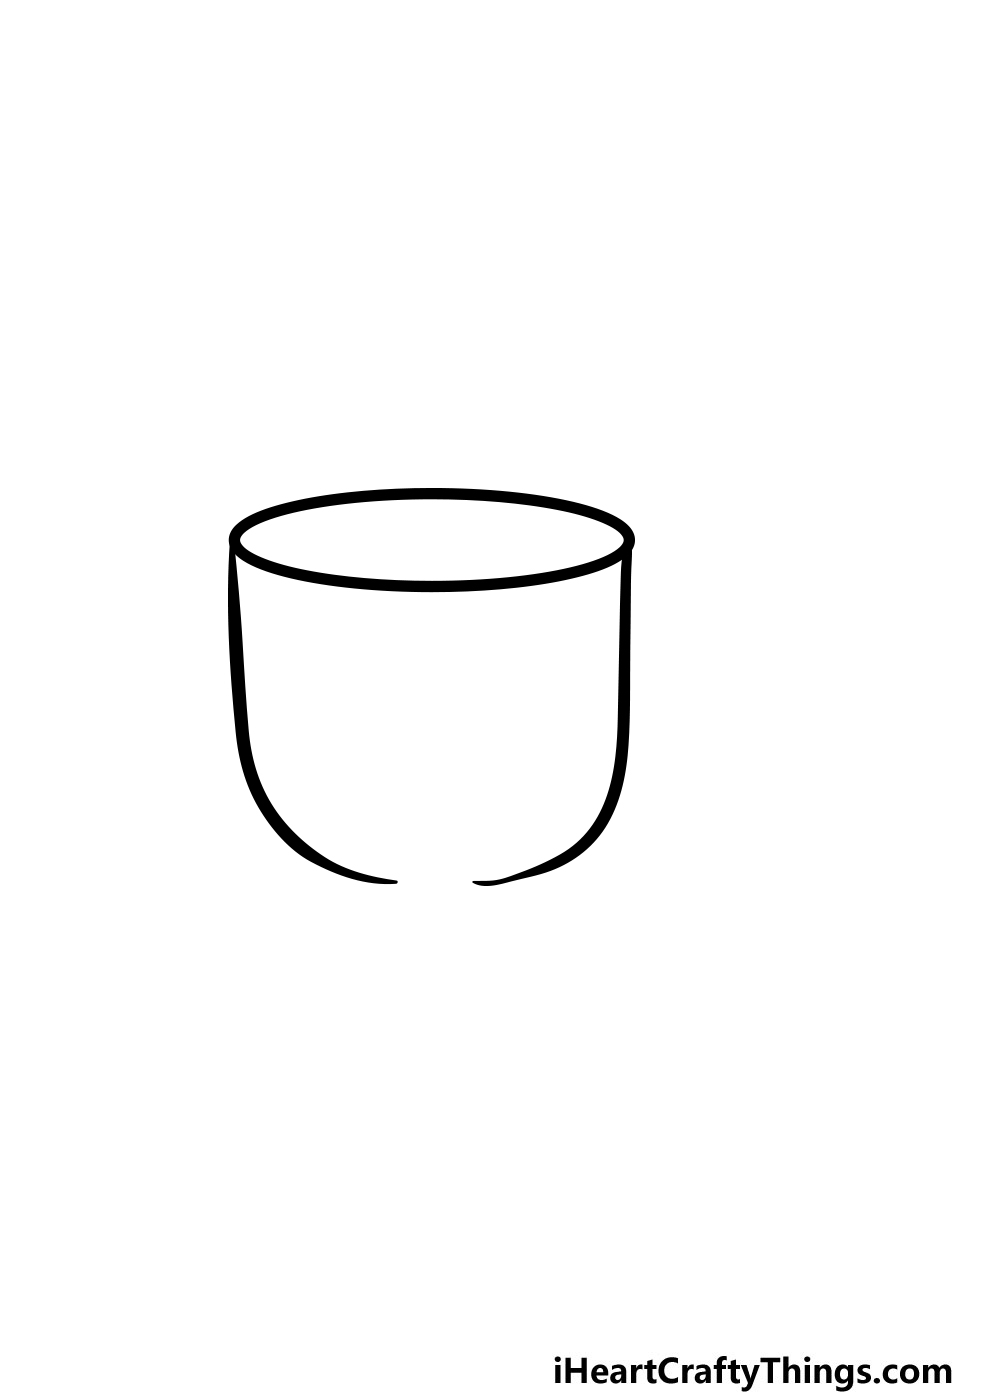
This third step of our guide on how to draw a cup should be no problem for you, as you will basically be doing what you did in the previous step.
To finish off this third part, simply draw another curved line for the right-hand side of the cup. That’s all there is to it for this step, so now let’s continue on to step 4.
Step 4 – Draw the handle outline
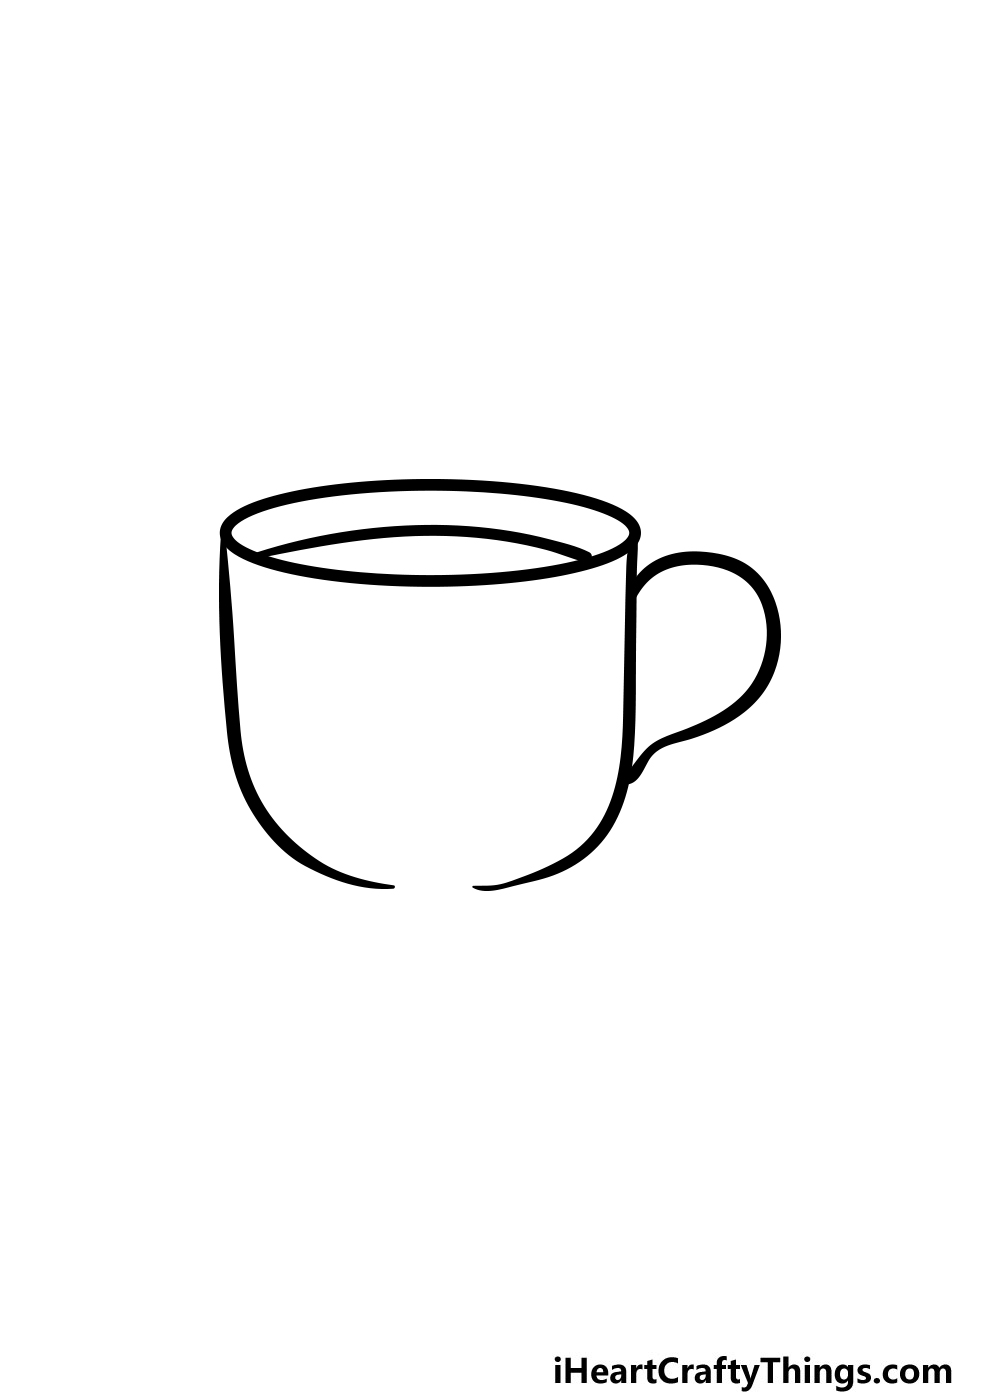
Your cup drawing needs a handle, so we will start drawing one now! All you have to do for this step is use your pen to draw an outline around the handle line that you drew in the first step.
We will be adding the inner edge of this handle very shortly as we move on to the final details in the next step.
Finally, draw a line across the inner edge of the cup to show that there is something inside of it.
Step 5 – Now, finish off with some final details
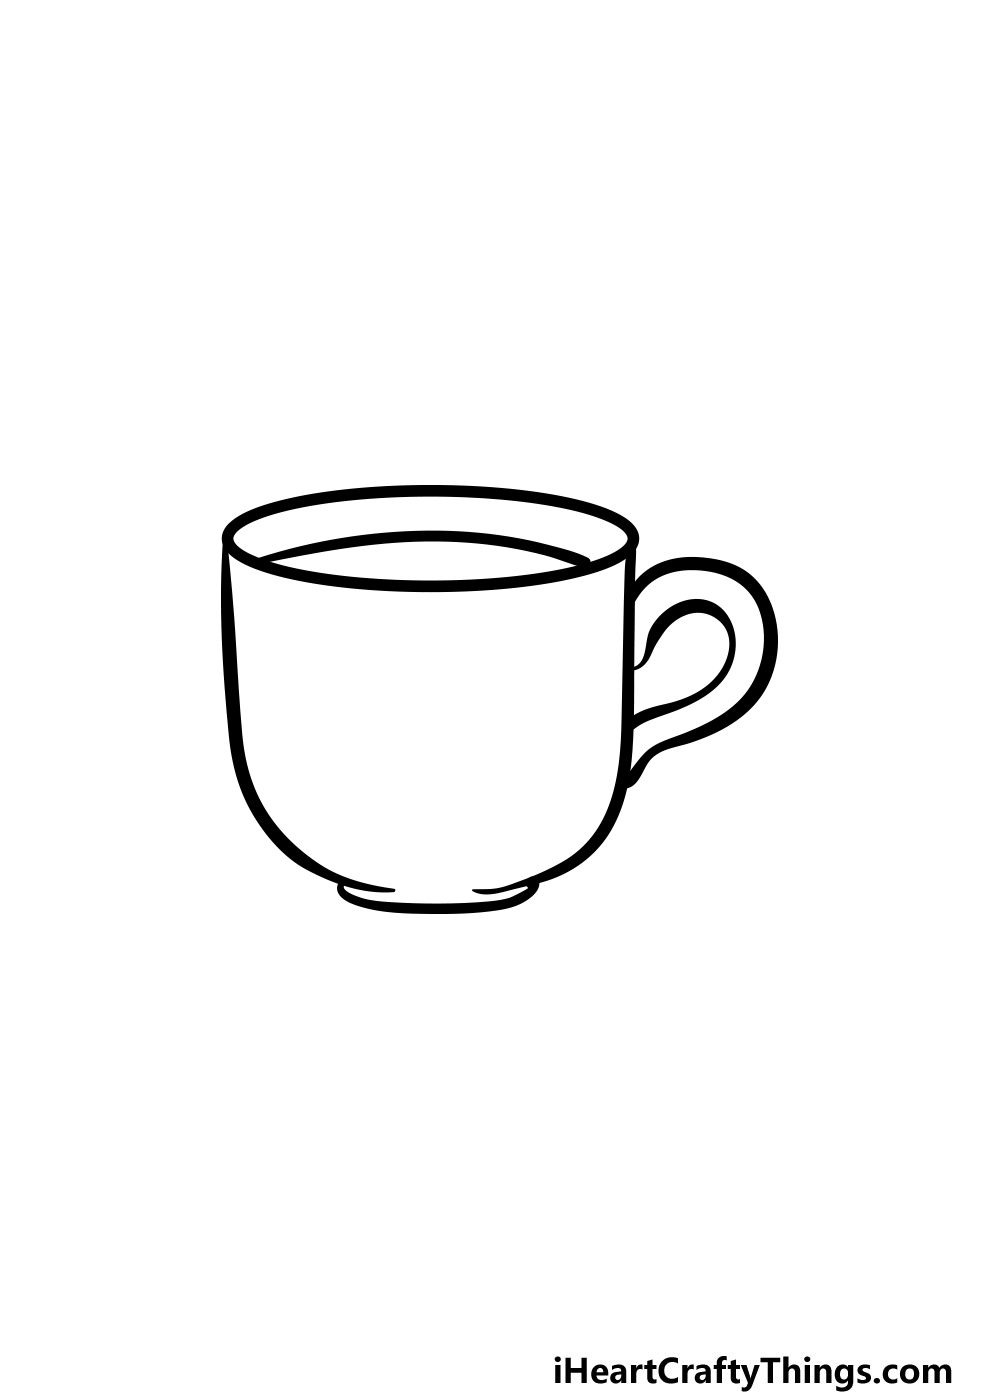
Before you move on to the final coloring step of this guide on how to draw a cup, you have a few more details to add.
This is also a step where you can add your own details and elements. To finish off the details, first you can use your pen to draw the inner edge of the handle as shown in the reference image.
Then, to finish off this step you can draw the bottom rim of the cup over the pencil one that you already have.
Once you have all the pen lines drawn, you can then erase the pencil lines if you haven’t done so already.
Be cautious when doing this, however, as sometimes pen ink can take a while to dry completely. If you erase too soon it can smudge ink all over your beautiful drawing!
Before you move on to the final step, you can also add some extra details and elements of your own. Maybe you could draw a logo or a funny phrase onto the cup to give it some personality.
You could also draw a background with some other treats in the background. What foods would you want to have alongside whatever you would make in this cup of yours?
Step 6 – Finish off your cup drawing with some color

Your cup may be fully drawn now, but there’s one last thing you can do to add some life to your cup drawing and that’s to add some beautiful colors!
We used some shades of blue for the cup and then used various shades of brown for the beverage inside of the cup.
You could go with a similar color scheme for your cup drawing, but you shouldn’t feel limited by it! You could use any colors you love to finish off this drawing of yours.
If you drew anything onto the cup or added a background then that is also great for using even more colors in your drawing.
Then, you can experiment with different art mediums. For a more vibrant look, you could use acrylic paints, colored pens or markers.
This would help to create a striking, more modern look for the image.
On the other hand, watercolors, colored pencils and crayons are great for some more muted colors that create a more classic look.
5 Tips To Make Your Cup Drawing Even Better!
Grab a cup of your favorite drink as we make this cup sketch look even better!
You could make your cup drawing even more realistic with some minor details. For instance, let’s say we want to make it look like it is holding a warm beverage.
You could show that easily by drawing some wispy lines coming from the cup. This would make it look like it is steaming, and while it’s simple it can be really effective too!
What other small details can you add?
A cup such as this will usually be part of a set, and you could add some of the typical parts of such a set to your cup sketch. For instance, a good one to start with would be a matching saucer.
You could also go for a sugar bowl, a teapot or any such kind of accessory!
We stuck to solid colors for this drawing of a cup, but you could add all kinds of decorative elements to it. Floral patterns are common for this kind of crockery, so that could be a good one to use!
You could also go for something funkier with vibrant shapes and patterns. What would your ideal cup look like?
For this example image, we used a rich blue color for it. This is just one possibility, however, so you should feel free to use any other colors you like!
These can be used in conjunction with the previous steps, as if you drew a pattern then you can think of the colors that would best suit it. You can also try out various art tools and mediums that can enhance the colors even further.
Finally, it could be fun to draw a background for your cup sketch! Doing this would allow you to show what you would be enjoying with the beverage.
These could include a plate of cookies, biscuits or pastries for a few ideas. What other tasty treats would you like to enjoy with this cup that you have created with us?
Your Cup Drawing is Complete!
That brings you to the end of our guide on how to draw a cup! We hope that you had a lot of fun working alongside us on this tutorial.
We also hope that this guide showed you how you can break down this drawing into steps that make it much easier to draw!
Now that you have finished this guide, you can keep the fun going by adding your own elements and details to it.
Be sure to get creative and have fun as you add some decorations for the cup, a background or some creative colors.
Our website is full of many awesome drawing guides like this one for you to enjoy, so be sure to visit us there for more drawing fun! You’ll want to check in often, as we upload new guides all the time.
We would love to see how you completed this cup drawing of yours, so please feel free to share it on our Facebook and Pinterest pages for us to admire.