Space is full of many different incredible phenomena to see and be wowed by. Every year there are new planets, stars and other sights to be discovered, and we will never know about everything that is out there in the expanse of space.
Comets are one of the most incredible celestial objects, and they are composed of various objects and debris hurtling through space.
Most of us won’t get to see a comet in real life, but learning how to draw a comet may just be the next best thing!
If you’ve ever wondered what seeing a comet may be like and want to recreate it, then this is the tutorial for you!
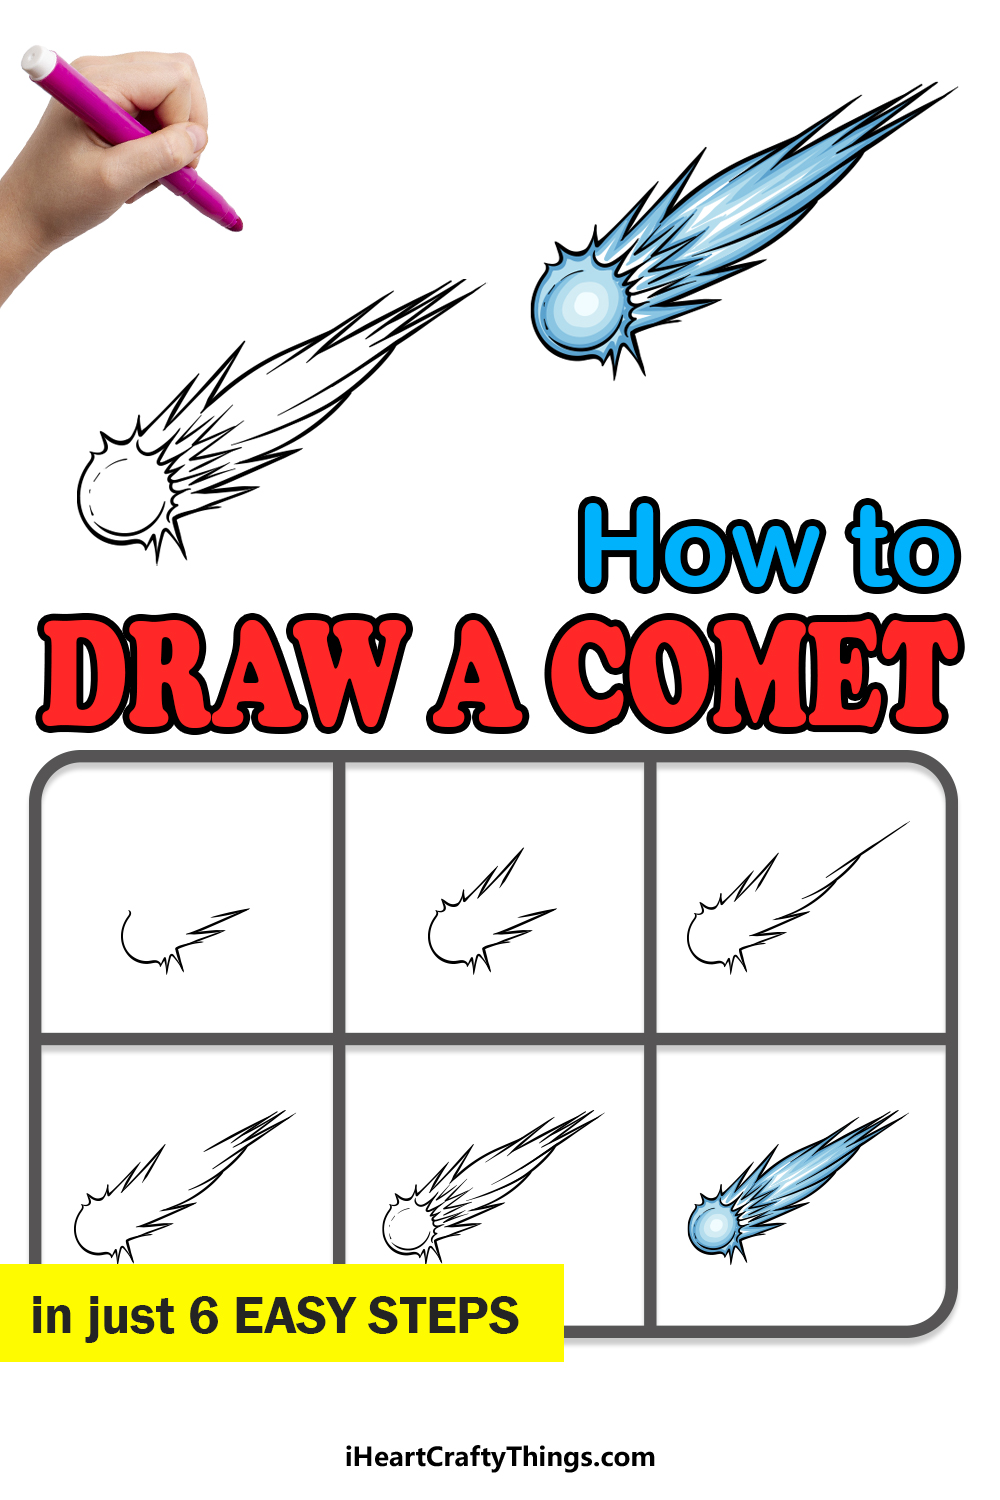
Our step-by-step guide on how to draw a comet in just 6 easy steps will show you how it can be done!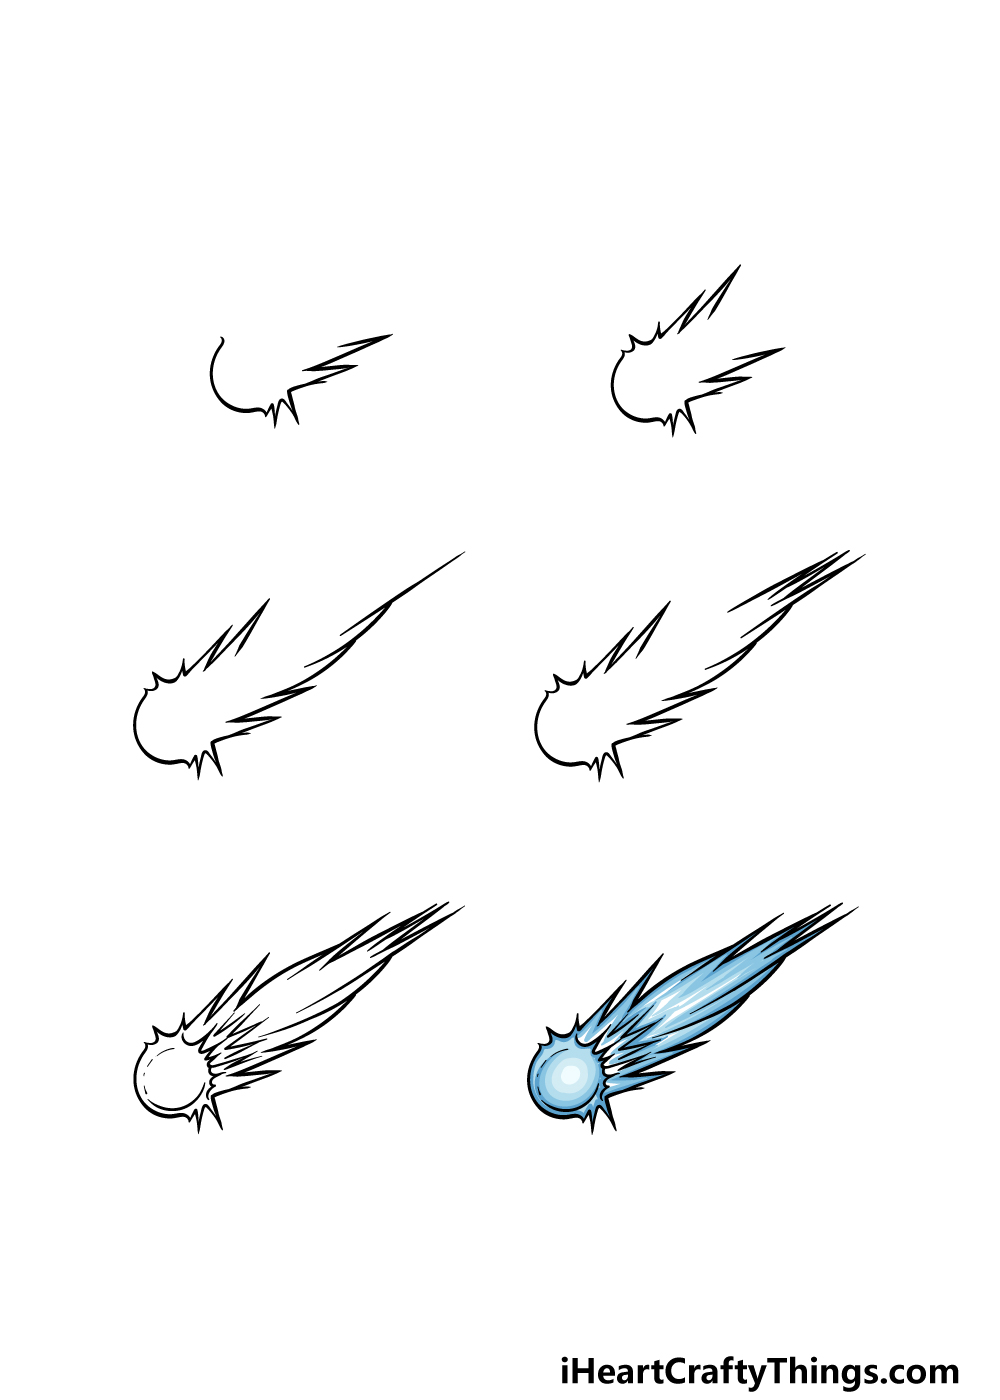
How to Draw A Comet – Let’s Get Started!
Step 1
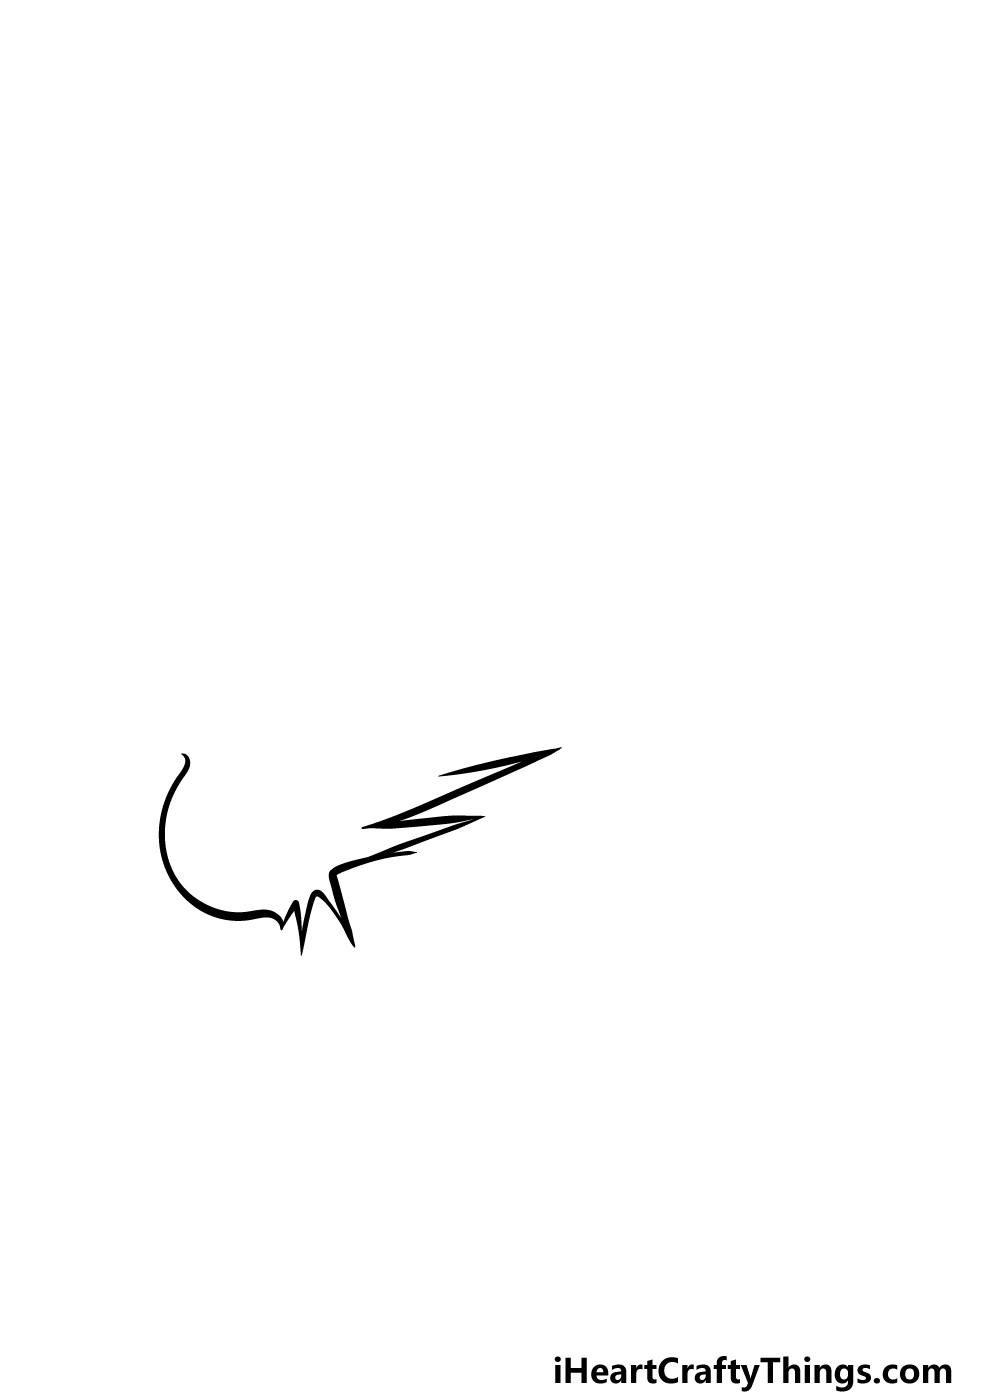
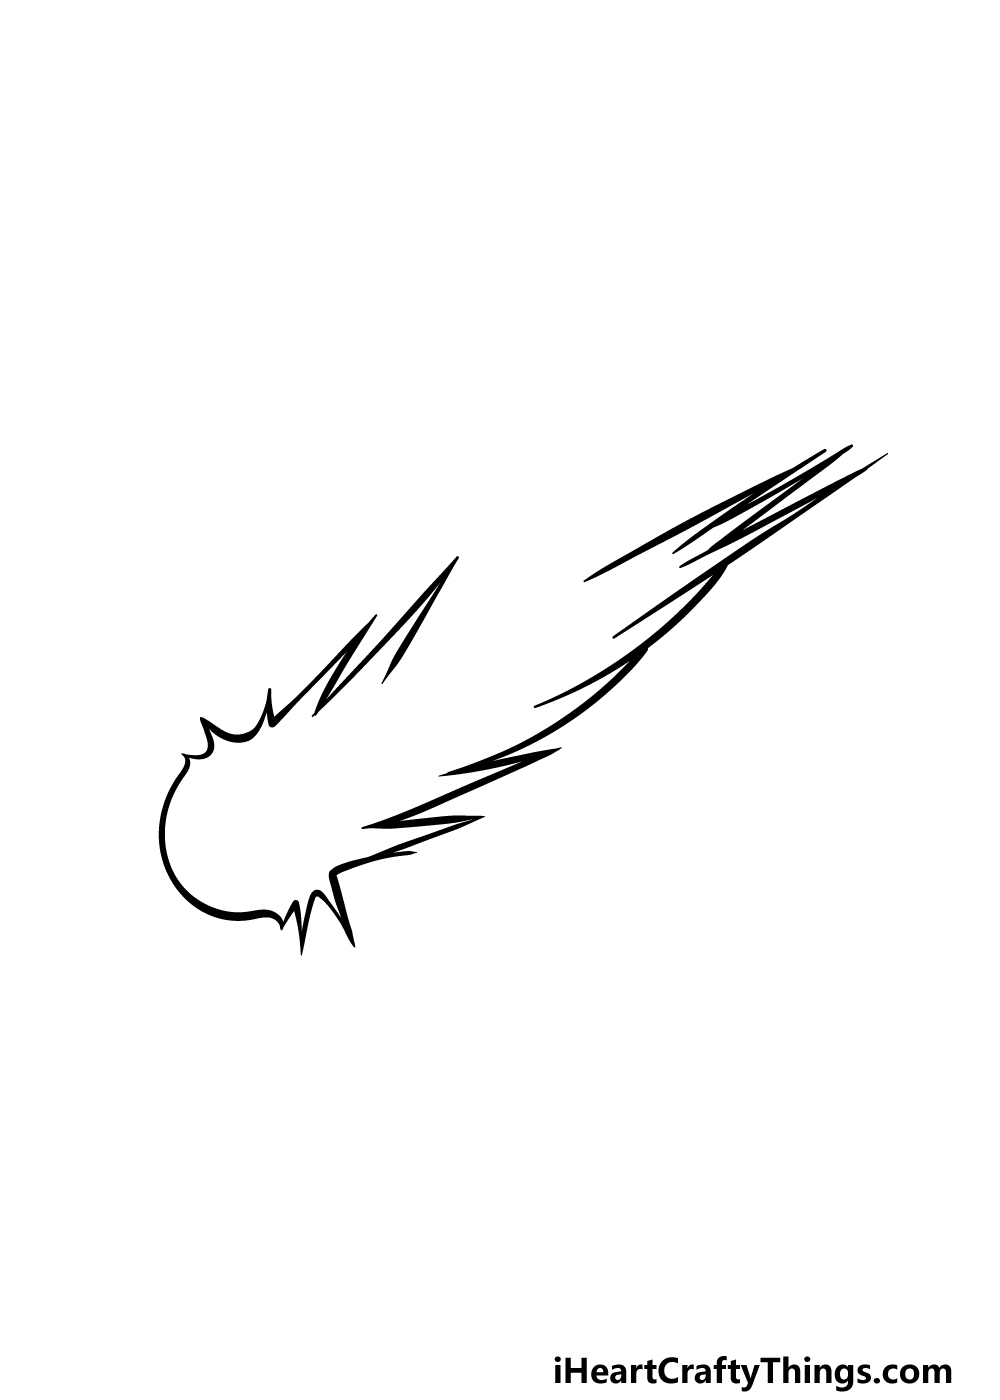
To start this guide on how to draw a comet, we will begin with the outline for it. To start this off, first you can draw a rounded line for the very front of the comet.
This doesn’t need to be perfectly round and smooth, so you should go ahead and draw it freehand. Once that is drawn, we will draw the first part of the side of the comet.
The sides of the comet will be drawn with some straight, pointy lines to suggest that it is hurtling through the air.
If you want these pointy wedges to be completely straight, then you could use a tool such as a ruler to aid you. When you have finished this part, you will be ready for the second step of the guide!
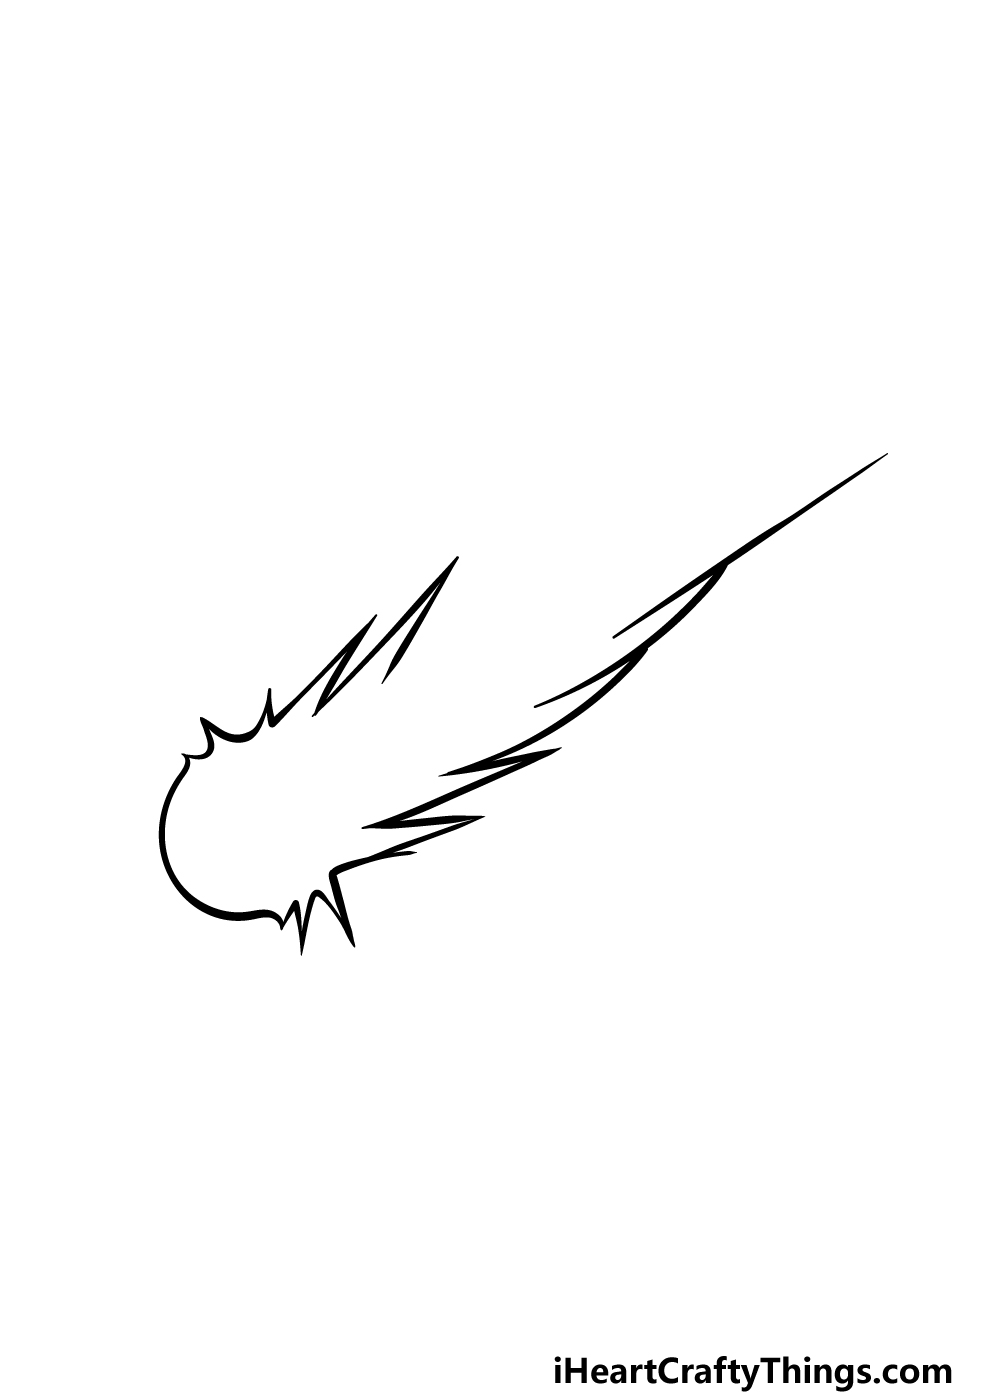
Step 2 – Draw the other side of the comet

Now we will be drawing the other side of the comet drawing. This part will also connect to the round part at the very front of the comet, and this section will go on the left-hand side.
To draw this part, simply replicate what you did on the right. That means using some straight, pointy lines extending outward from the side to again make it look like it’s hurtling through the air.
That’s all there is to it for this part, and now you can move on to step 3 to continue the drawing.
Step 3 – Now, draw more of the tail for the comet
Every comet has a tail that trails behind it as it soars through the air. This is what we will be starting to draw in this third step of our guide on how to draw a comet.
For now, we will only be drawing the tail on the right-hand side of the comet. To do this, we will be using some more lines with sharp points like the ones you drew for the sides of the comet.
These ones will be longer, however, and they will slowly move inward to make the tail look a bit thinner.
We will draw some more of this tail as we proceed to the next step, so when you’re ready let’s move on!
Step 4 – Next, draw the back of the comet’s tail
We will keep things simple in this step of your comet drawing! In this part, we will draw some more of the tail.
This part will be at the very end of the tail, as shown in the reference image. Simply draw some more lines with sharp points in them at the back of the comet tail to finish off the outline there.
Once that is drawn, we will have just a few more details to add in the next step of the guide.
Step 5 – Add the final details to your comet drawing
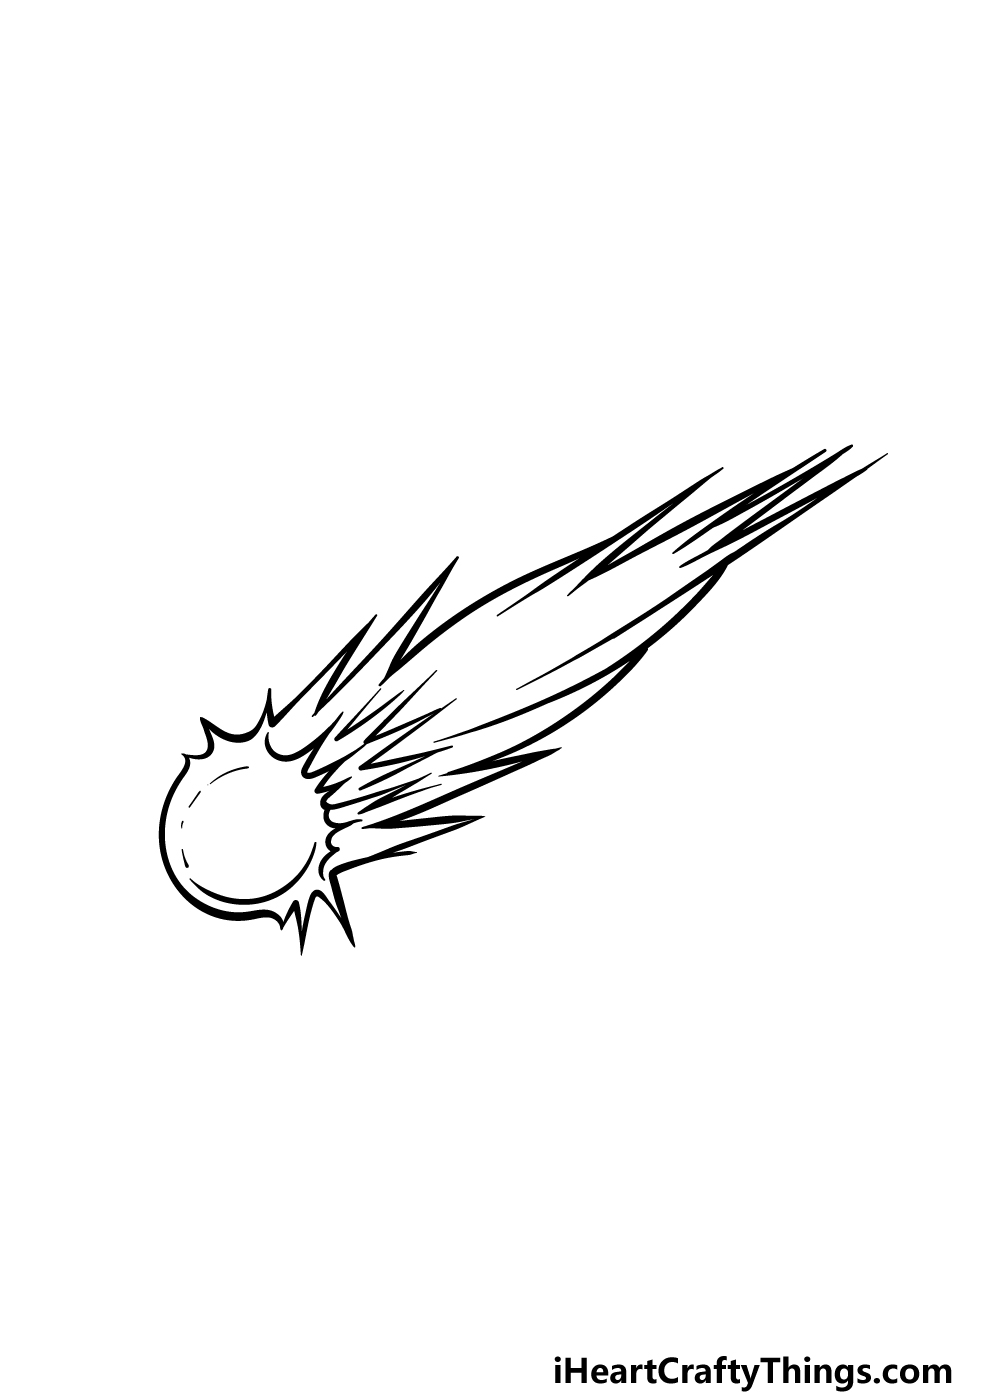
In this fifth step of our guide on how to draw a comet, we will be finishing off the final details and elements to get you ready for the final step of the guide.
For now, finish off the tail of the comet by replicating what you’ve been doing for the rest of the tail to finish off the final empty space.
Then, we will be adding some details to the interior of the comet outline. Use some rounded lines near the inner front of the comet to show the object that forms the comet itself.
Then, draw some more jagged, pointy lines extending from this round section and poking into the interior of the comet.
Once you have added these details, you’re ready for the final step! Before you proceed, you can also add some final details of your own.
For one idea, you could draw a background to show the vastness of space behind the comet. What fun details can you think of to add to this image?
Step 6 – Finish off your comet drawing with color
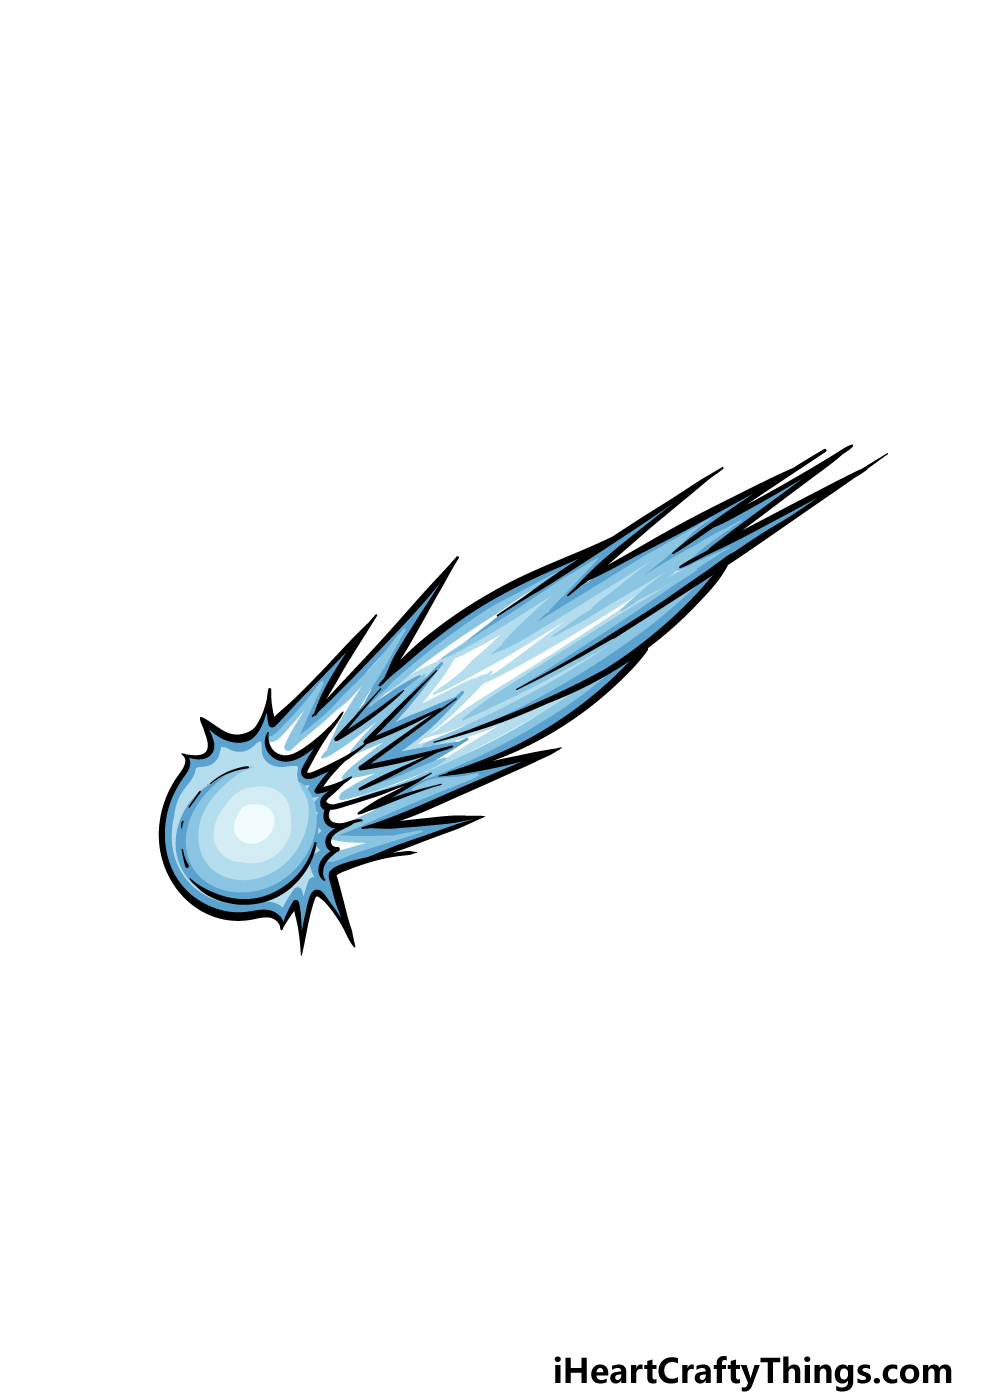
Your comet drawing is almost complete! All it needs now are some colors to finish it off. In our reference image, we went with some shades of blues throughout the comet to color it in.
This blue color creates a really cool look for this comet, but it is one of many color schemes you could go for.
When coloring in your own drawing, you could use any colors that you think would best suit the image, so you should really let your creativity flow!
You can also have fun picking the art mediums you will use for the colors you choose, so how will you finish off your amazing artwork?
Do this to take your comet drawing to the next level
Fly into space as we make this comet sketch even greater!
For this comet drawing, we went with a light blue color scheme to give it a unique look. That is one way you could color it in, but it is far from the only way!
A more typical color scheme would entail some bright yellows and oranges. You could also throw in some browns for the comet itself.
That would be a more typical color scheme, but you could use any colors you like! What sorts of colors would you like for this comet? You could also play around with art tools and mediums to get the effects you like!
A comet will often have several others around it as they all are pieces of a larger one that is breaking down. You could make this drawing of a comet even more vibrant by adding more around it!
This could be one or two, or you could have a shower of comets! Simply follow the steps of the guide and change a few details and sizes to make each one unique.
We kept the details quite light for this comet sketch to make it easier and more stylized. You may wish to make it more detailed though, and there are loads of ways to do this.
By using a few small lines, you could add some craters to the surface of the comet. That would already make it so much more interesting!
What are some other fun details you could add?
Finally, you could finish off this comet drawing with a stunning space background. Space is a wonderful background setting because there are so many different elements you can use.
We spoke about adding more comets, but you could also add stars suns, moons and planets. Not only that, but you could also draw some spaceships or even aliens!
You have a whole galaxy to create hare, and you should add any fun details and additions you like. What would you add to finish off this scene?
Your Comet Drawing is Complete!
That will conclude this guide on how to draw a comet! You did a great job working through all of the steps to achieve this out-of-this-world drawing, and you should be very proud of the result!
Now that you have mastered this drawing, you can also make this drawing even more personalized by adding your own details and ideas.
We gave a few suggestions for how you could do this, but this is your chance to show off your own creative ideas.
If you enjoyed this drawing challenge, then you’ll want to find your next drawing guide on our website!
We upload new ones to increase our already huge collection frequently, so make sure to keep checking in.
Then, we hope you will share your finished comet drawing onto our Facebook and Pinterest pages for us to admire. We can’t wait to see how this artwork turned out!