Many of the events and customs in our society are in service of celebrating life and new beginnings.
However, it’s also true that sometimes one will be paying tribute to someone at the end of a life well-lived, and these events are just as important as the celebrations.
Often, people will choose to be laid to rest in a beautiful coffin, and these can also come in many different designs and forms. While not a cheerful subject, it can still be an interesting challenge to learn how to draw a coffin.
This tutorial you have before you will show you just how you can do that.
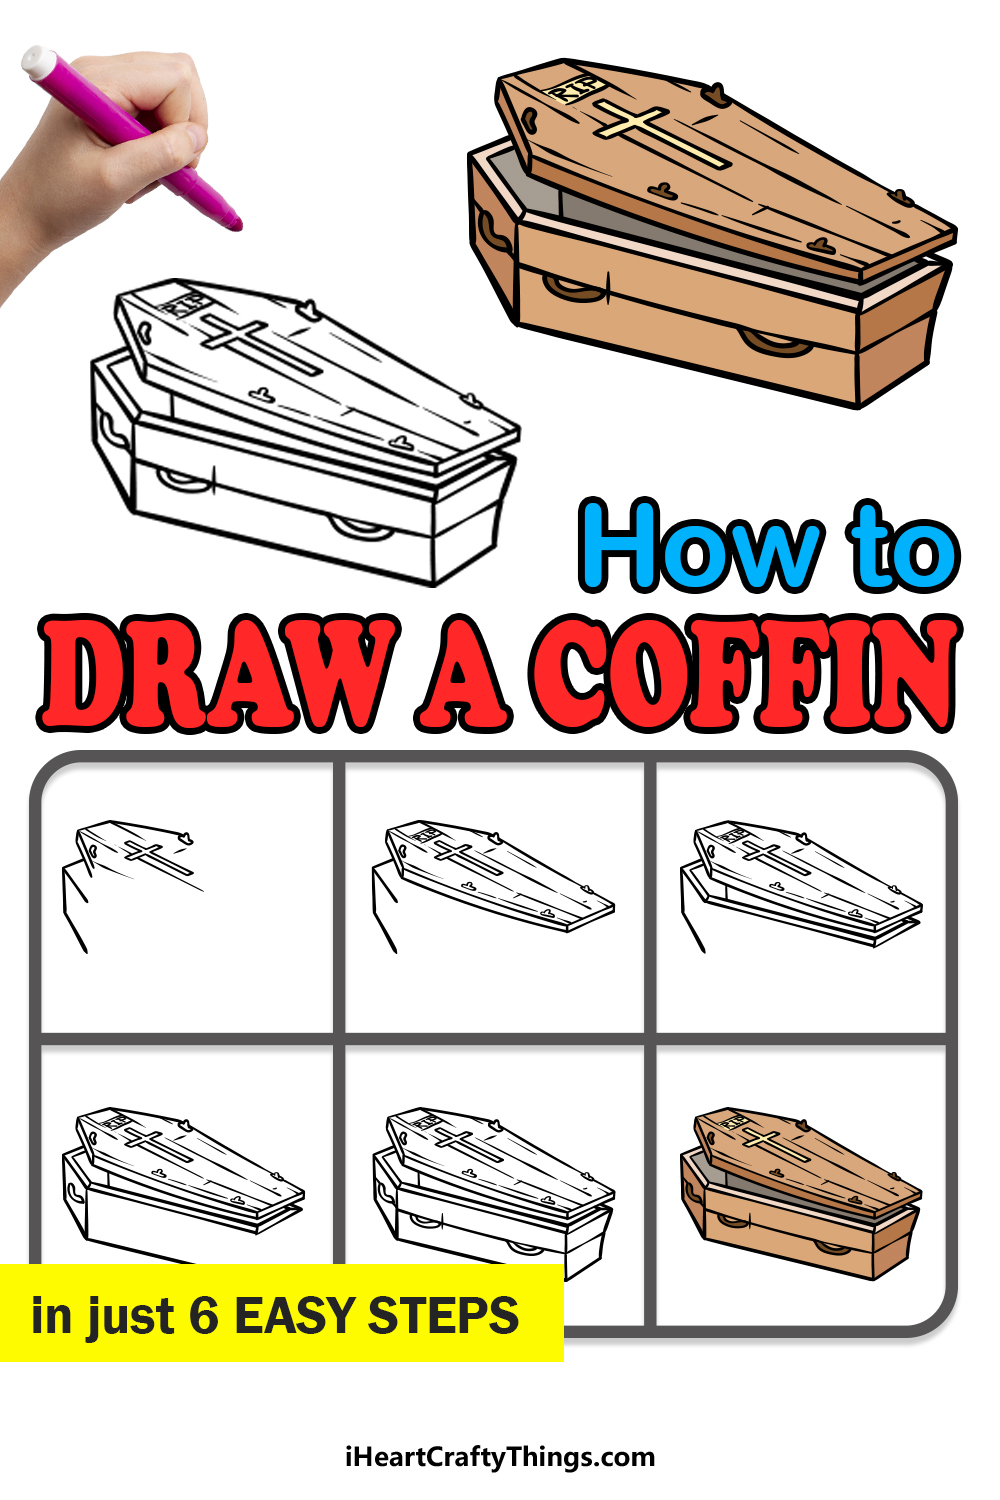
Our step-by-step guide on how to draw a coffin will guide you through the steps of drawing this solemn object.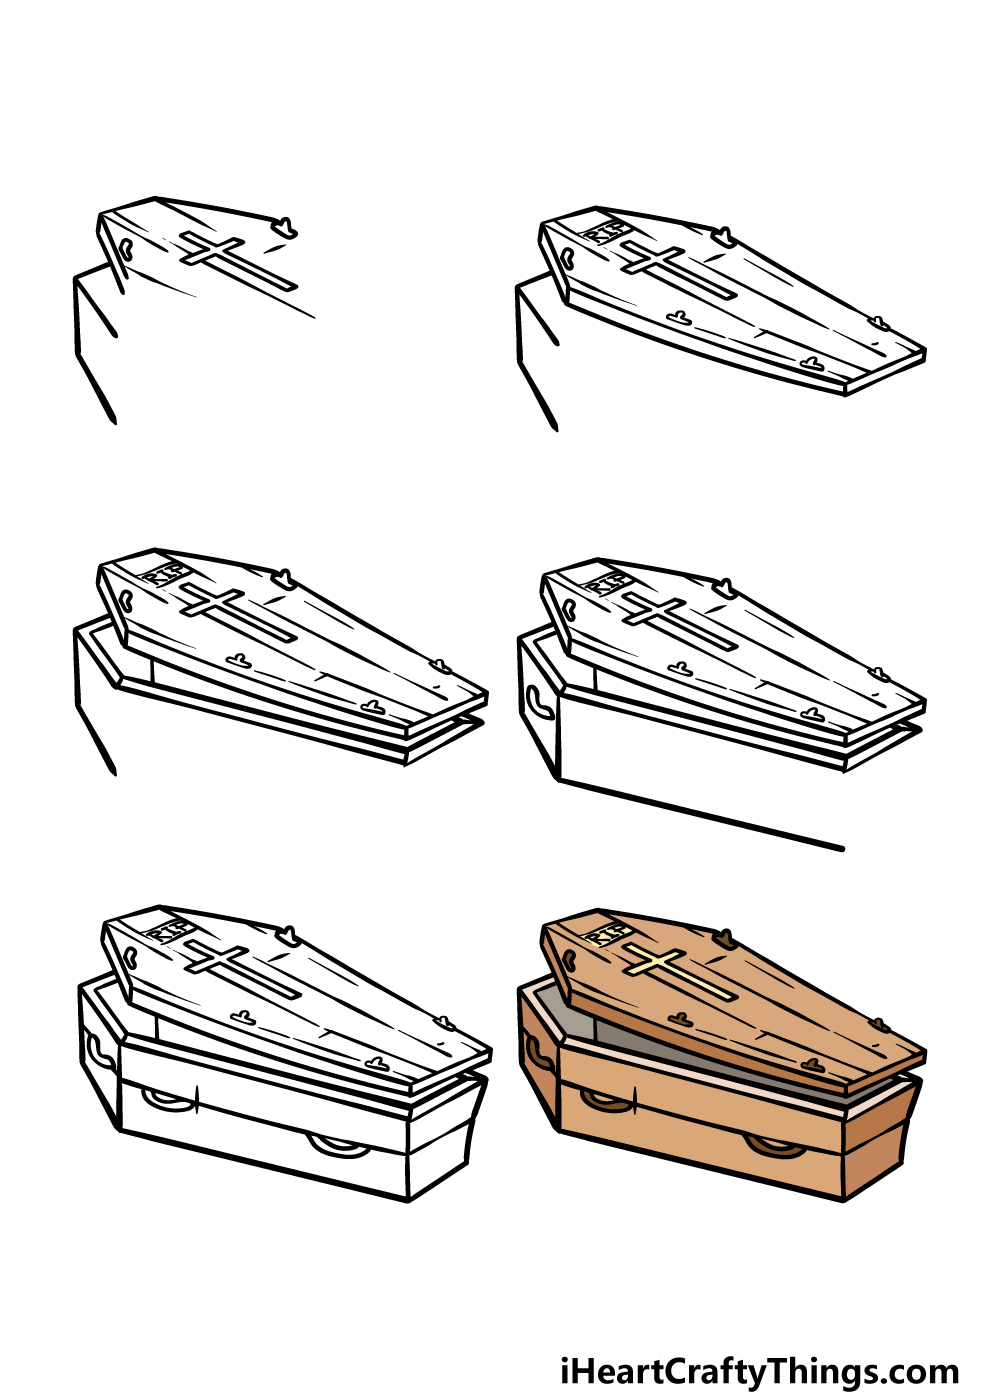
How to Draw A Coffin – Let’s Get Started!
Step 1
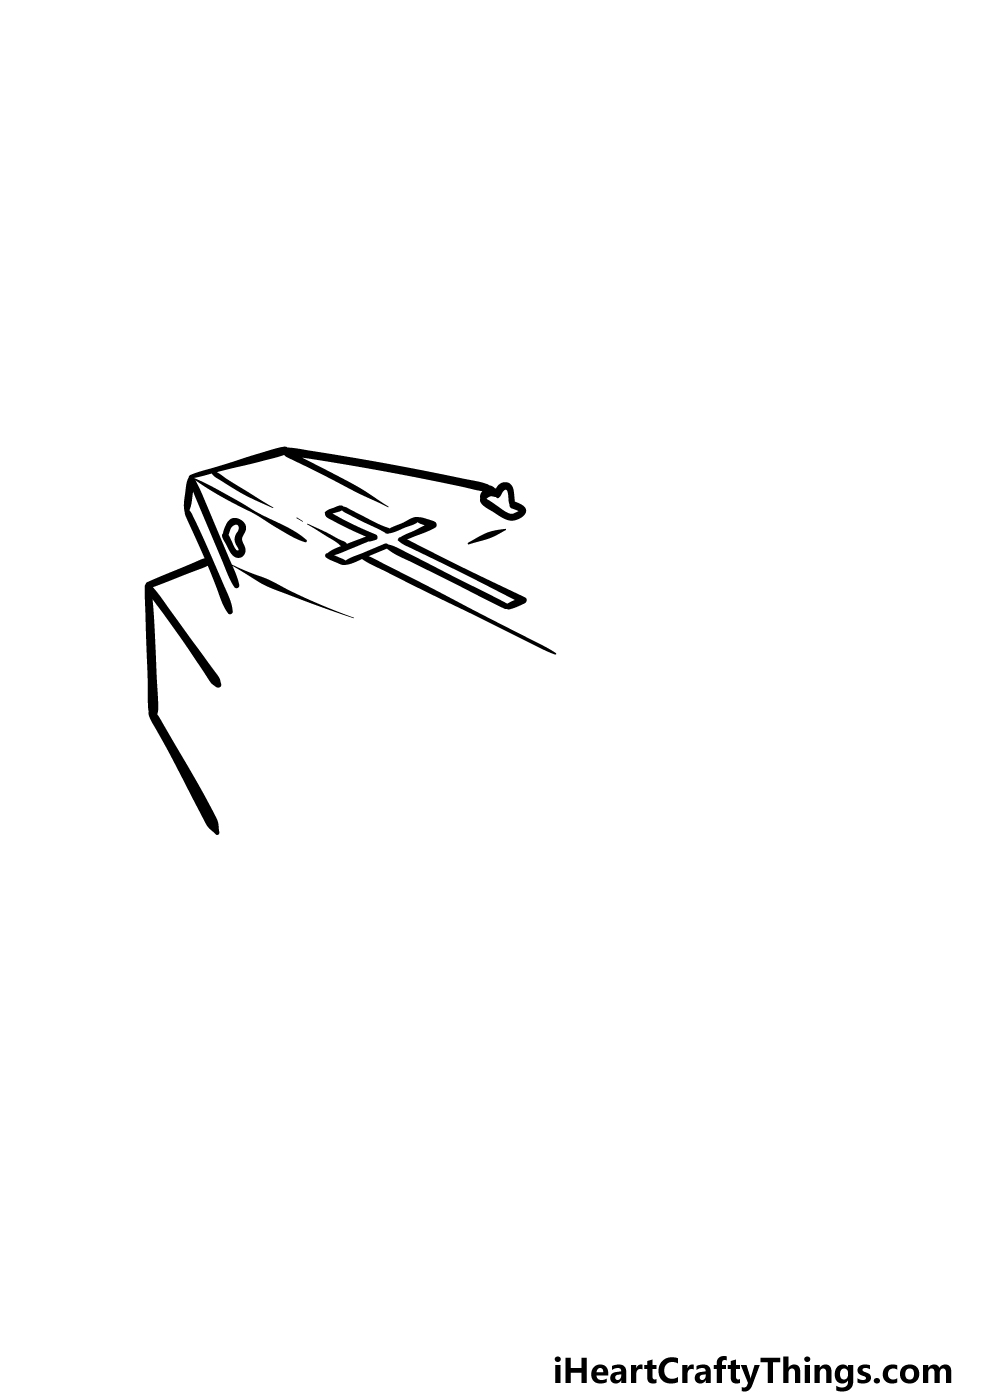
There will be quite a few straight edges that we will be drawing in this guide on how to draw a coffin, so you may want to have a ruler on hand in order to make things easier!
We will be drawing this coffin from left to right, and it will be positioned so that the lid is being lifted off the top a bit for a more dynamic feel.
You should start by drawing the lid above the coffin. This will have three edges to it, and you can draw a parallel line on the edge closed to us to make it look like it has some depth.
Then, we will be drawing some simple line details to make it look as if it is made of wood. You can also use your ruler to draw a large cross on top of the lid.
Finally, using the reference image you can draw four more straight lines to form the beginning of the coffin itself.
Step 2 – Next, finish the outline for the lid of the coffin
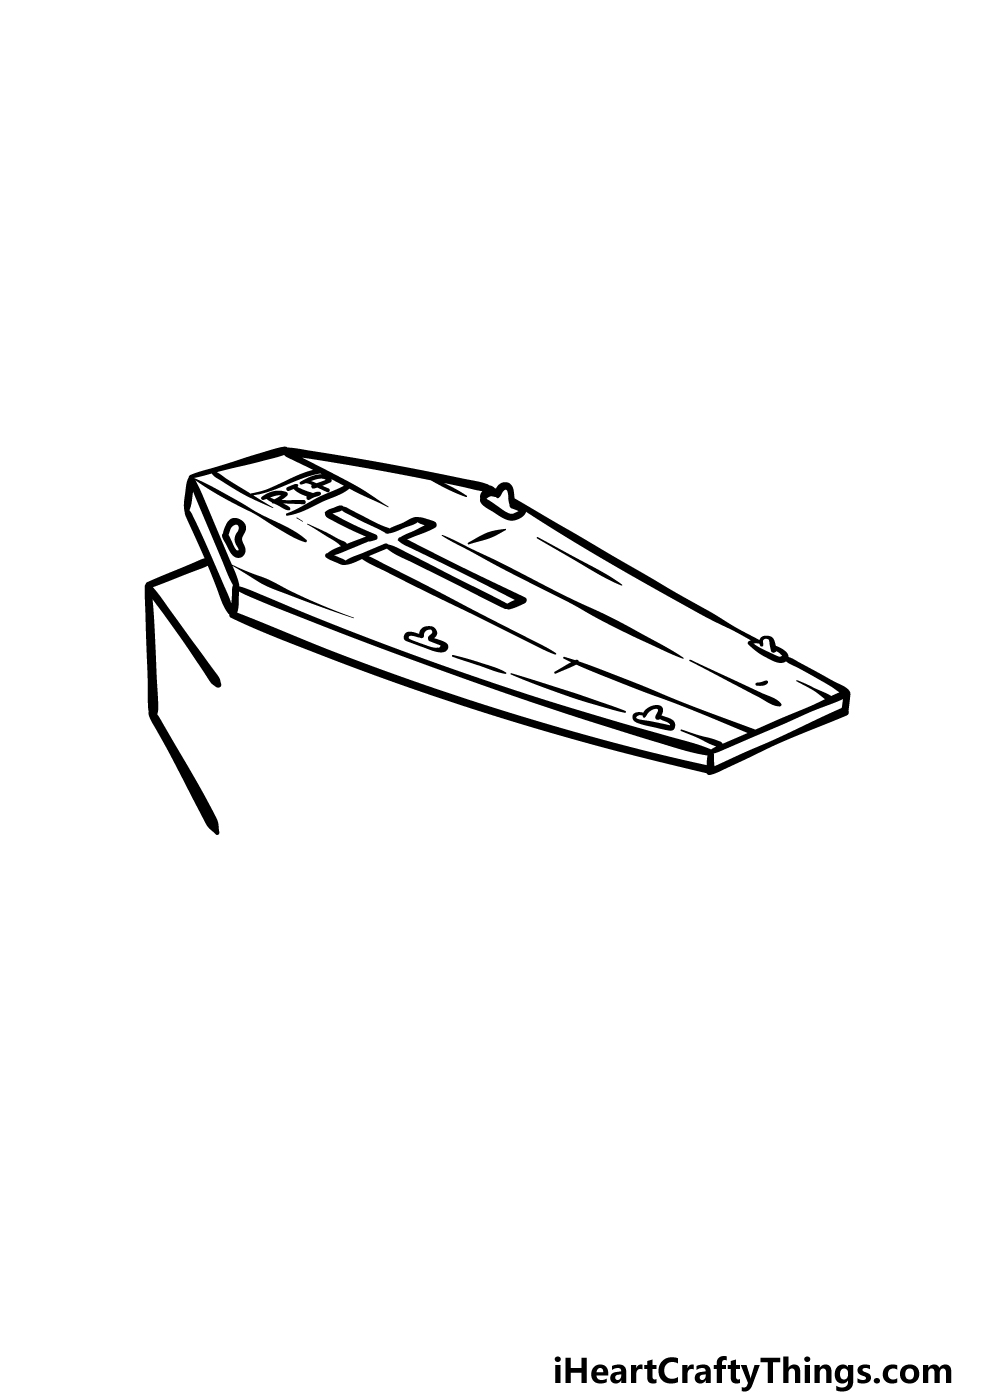
For the second part of your coffin drawing, we will finish off the outline for the lid. You can add two more long lines from the ones that you drew previously.
These lines will get a little closer to one another as they go, which is shown in the reference picture. You can also add some more lines for more wood details when you’re finished with the outline.
Step 3 – Draw the opening for the coffin next
We will be drawing the opening of the coffin in this third step of our guide on how to draw a coffin.
To do this, use some more straight lines running parallel to the shape of the coffin lid to have the shape of the opening mirroring the shape of the lid.
This can actually be a bit tricky to get right, so you may want to refer closely to the reference image as you draw and try to copy them as they appear there.
Then you will be ready to draw some more of the coffin in the next step, so let’s proceed!
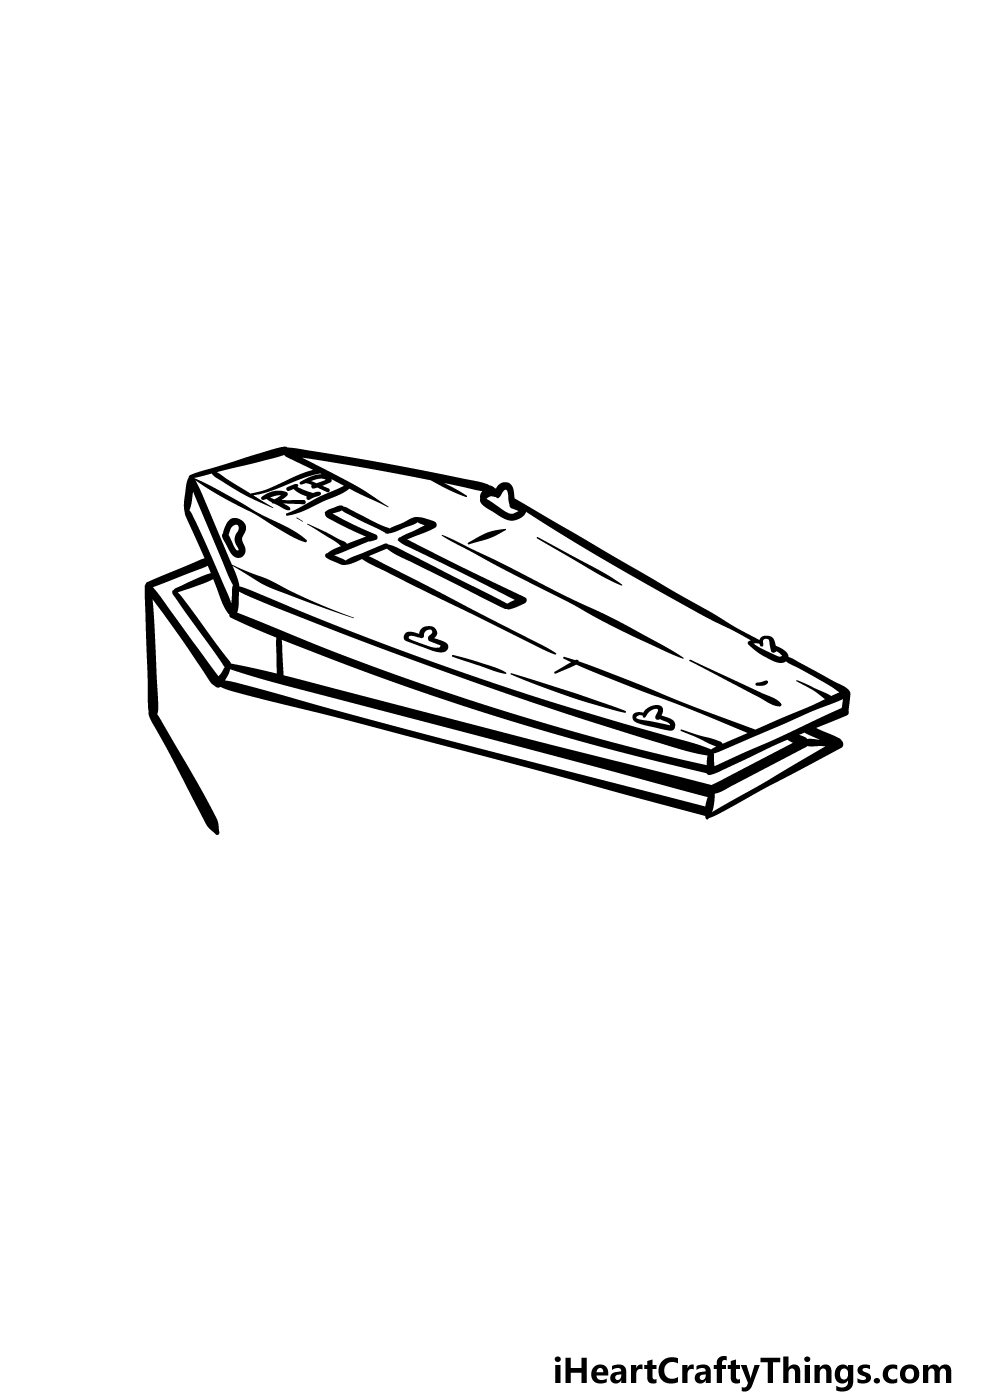
Step 4 – Now, start drawing more of the coffin itself

This fourth step of your coffin drawing should be pretty simple and straightforward! Using your ruler, all you need to do is extend two more straight lines.
One will be vertical, going down from the corner of the coffin. The other will be more horizontal and quite a bit longer, running at a slight angle parallel to the rest of the coffin.
You can then add a small, rounded shape for the handle of the coffin on the side, and then you’ll be ready for some final details in the next part.
Step 5 – Finish off your coffin drawing
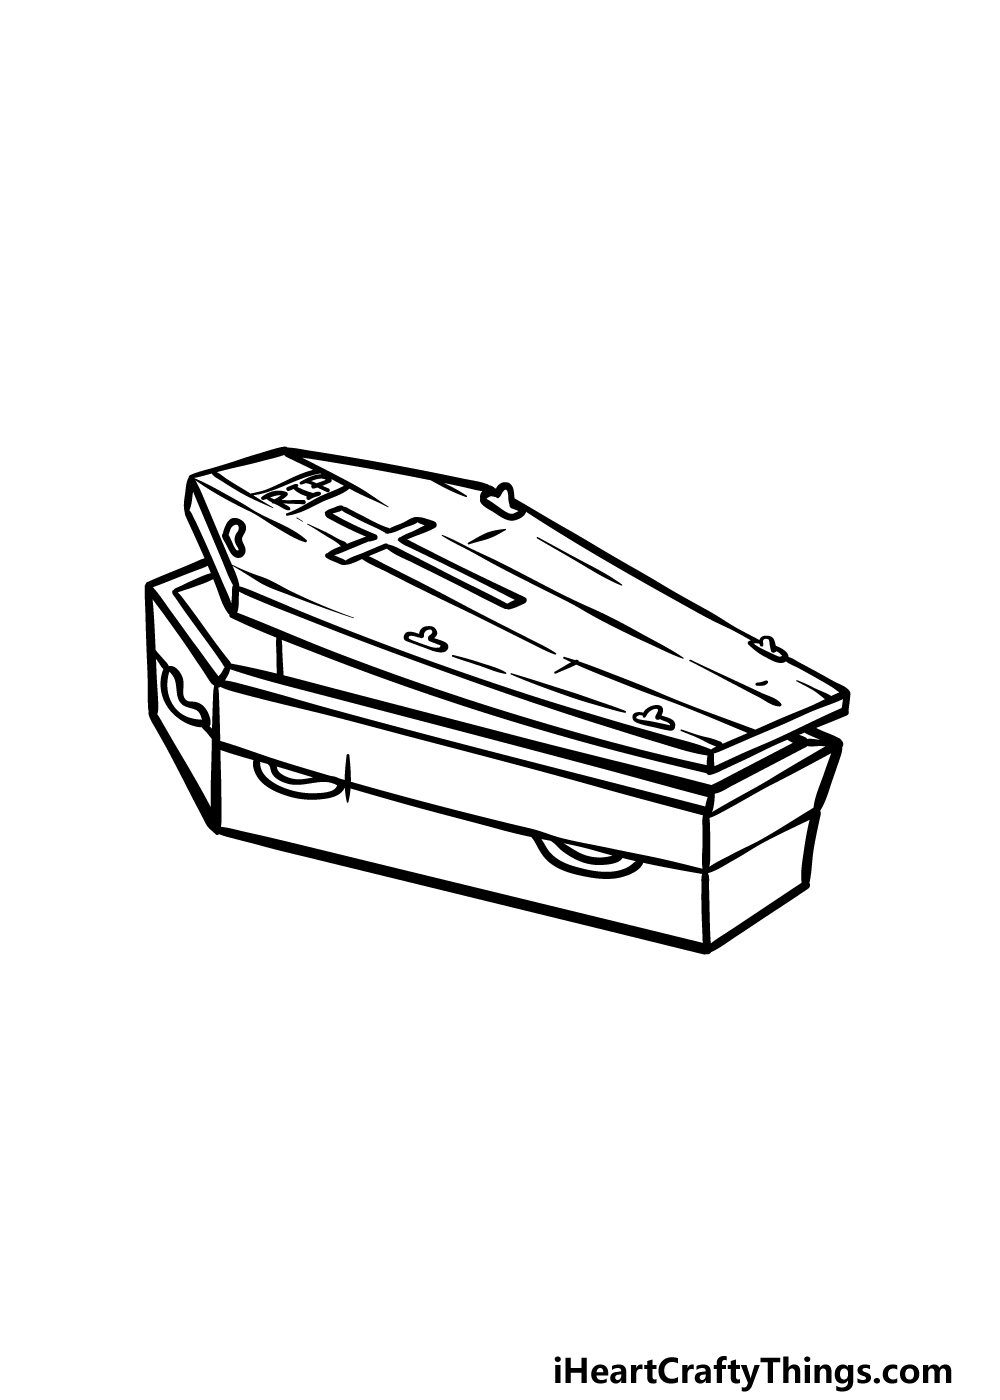
We will be finishing off the picture in this step of our guide on how to draw a coffin, and that will have you ready for some coloring in the final step.
First, we have one more edge of the coffin to draw, and this will be the most narrow of the edges closest to us as the viewer.
Then, you can finish off by drawing a line through the centers of both the longest and shortest edges of the coffin, adding some handles once that is done.
Before you proceed to the final step, you could also add some details of your own. You could draw a background or add some more lettering onto the coffin.
If you would like a Halloween feel to the image, then maybe you could draw a vampire emerging from the coffin.
How will you finish off your coffin?
Step 6 – Finish your coffin drawing with some color
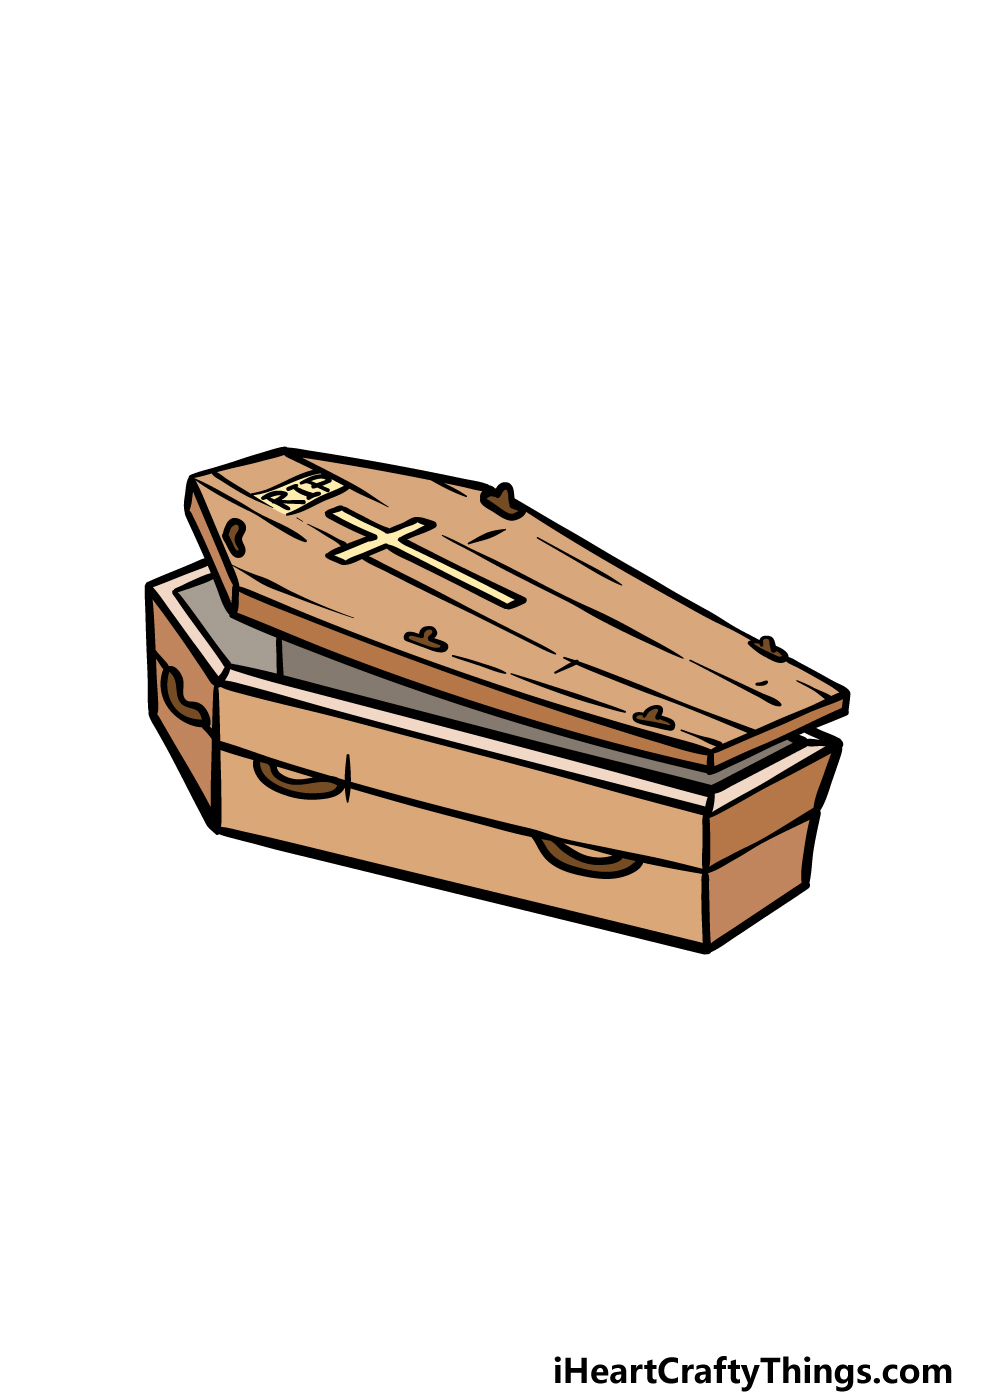
This is the final step of your coffin drawing, and in it we will complete the picture by adding some color to it.
Coffins are usually made of wood, so we reflected this by using some lighter shades of brown for the coffin itself.
We used slightly darker shades for the handles and inner portion of the coffin to add some more dimension to the image.
These are the colors we used for our example, but you could also use some shades of your own instead.
Coffins are usually associated with somber funeral events, so you could go for this look by using softer mediums such as watercolors and colored pencils.
Which colors and mediums will you choose for your image?
4 More Ways To Make Your Coffin Drawing Unique
Bring this coffin sketch to life with these 4 fun and easy ideas!
As it is now, this drawing of a coffin is made up of a simple wood design. If you wanted to, you could make the design a bit fancier.
This could be done by making the exterior a shiny black instead of plain wood. Or, you could show some cushioning inside of the coffin.
These are just a few of the ways that you could customize this coffin, but you may have some other ideas you could go for! How else could you customize this coffin?
In the image we created, the lid of the coffin is being opened a bit. You could make this drawing so much creepier by adding something coming out of the coffin!
Some examples would be a zombie, a skeleton or maybe even a mummy. These are just a few of the things you could show coming out of the coffin.
This would be a great way to give this artwork a horror or Halloween twist!
Next, you could make this coffin drawing look even more complete with a background. There are quite a few creative choices you could go for if you wanted to do this!
For instance, if you went with our previous idea then you could go for a creepy graveyard or mausoleum setting.
Or, you could make it look like this coffin is part of a Halloween setting and draw some decorations.
How many other background ideas can you think of for this artwork?
Lastly, once you really have the hang of this coffin sketch, you could try out a few different variations. This one is done in a classic shape, but they can come in many shapes and sizes.
If you need some ideas, you could look up some photos of different coffins online to use as inspiration.
Then, you could follow the steps of the guide and alter the steps to suit the new designs you found.
What are some coffin shapes you could use?
Your Coffin Drawing is Complete!
That will bring us to the end of this guide on how to draw a coffin. Coffins and funerals are not usually associated with fun, but we hope that you did enjoy creating this picture.
We tried to make it easy for you to take on this picture by breaking it down into smaller steps, so hopefully we succeeded at making it satisfying and easy for you!
There are many ways that you can change up the details in this picture to create a more personalized image.
We spoke of some of the ways you could go about this, but now it’s up to you to enjoy expressing your creativity.
Remember to check out our website for more incredible drawing guides such as this one. We upload new ones often, so our big collection grows bigger all the time! Be sure to keep checking in to never miss out.
We would also appreciate it if you would share your coffin drawing on our Facebook and Pinterest pages for us to see!