Drawing any kind of outdoor setting provides many challenges. You have plants and trees to draw along with grass, weather effects and other objects.
It may be assumed that something simple like a rock would be easy to draw, but even that kind of object can provide challenges.
This is true even for a stylized approach, and that’s why we will be tackling it in this guide on how to draw a cartoon rock.
We have a really fun cartoon portrayal of a rock for you to work on here, and we will endeavor to make it as easy as possible for you to accomplish!
As long as you follow all of the steps we have for you, you will get the hang of it before you know it.
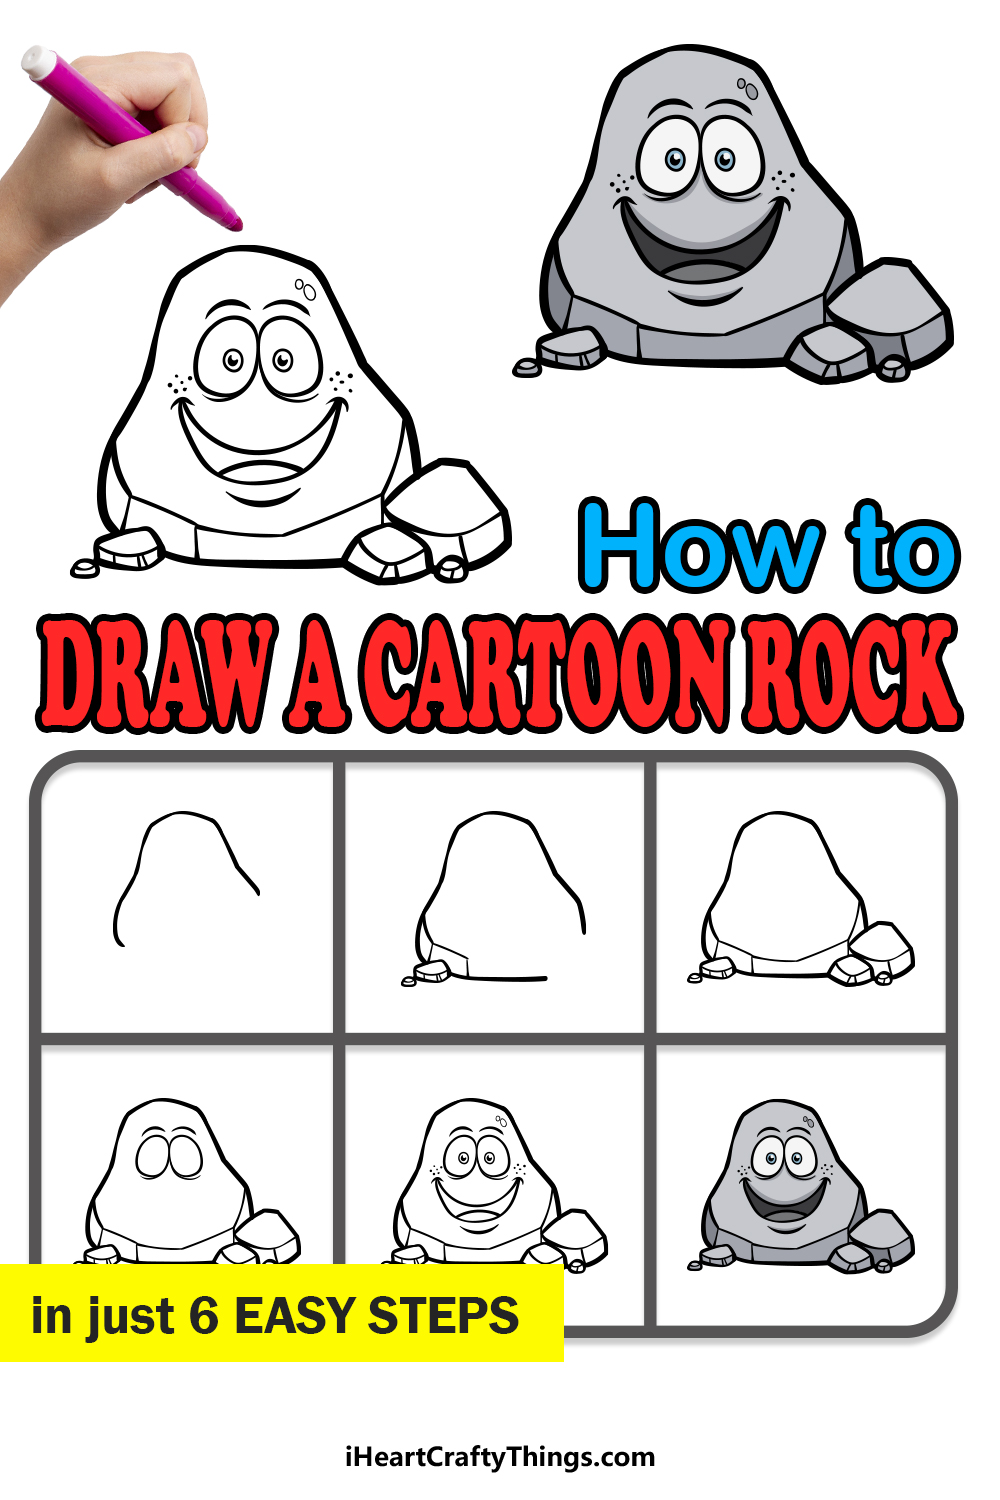
So let’s begin this step-by-step guide on how to draw a cartoon rock in just 6 fun and easy steps!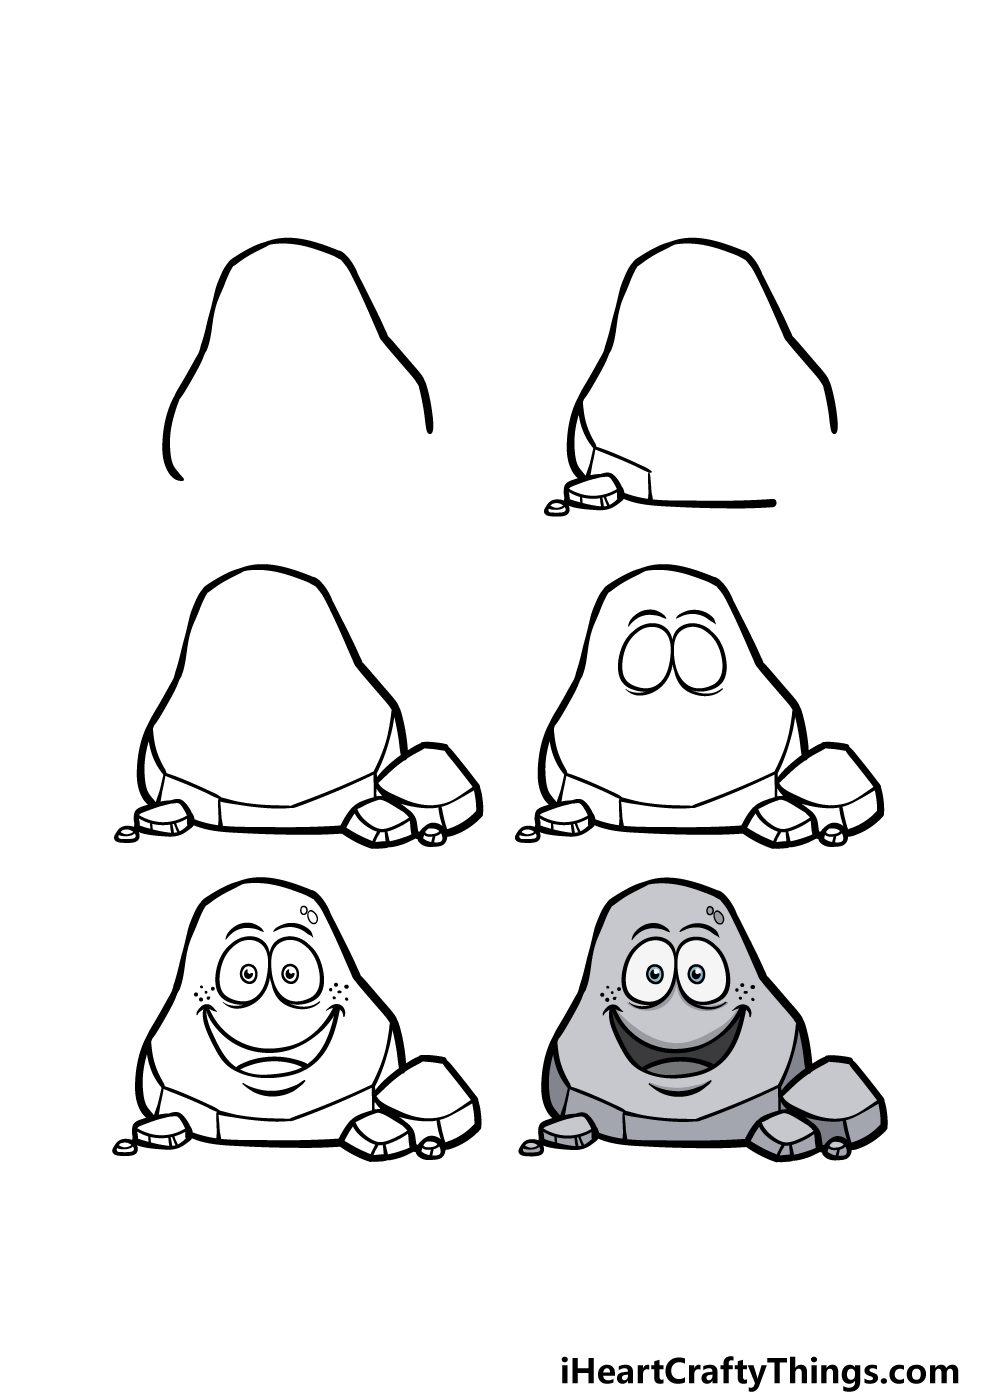
How to Draw A Cartoon Rock – Let’s Get Started!
Step 1
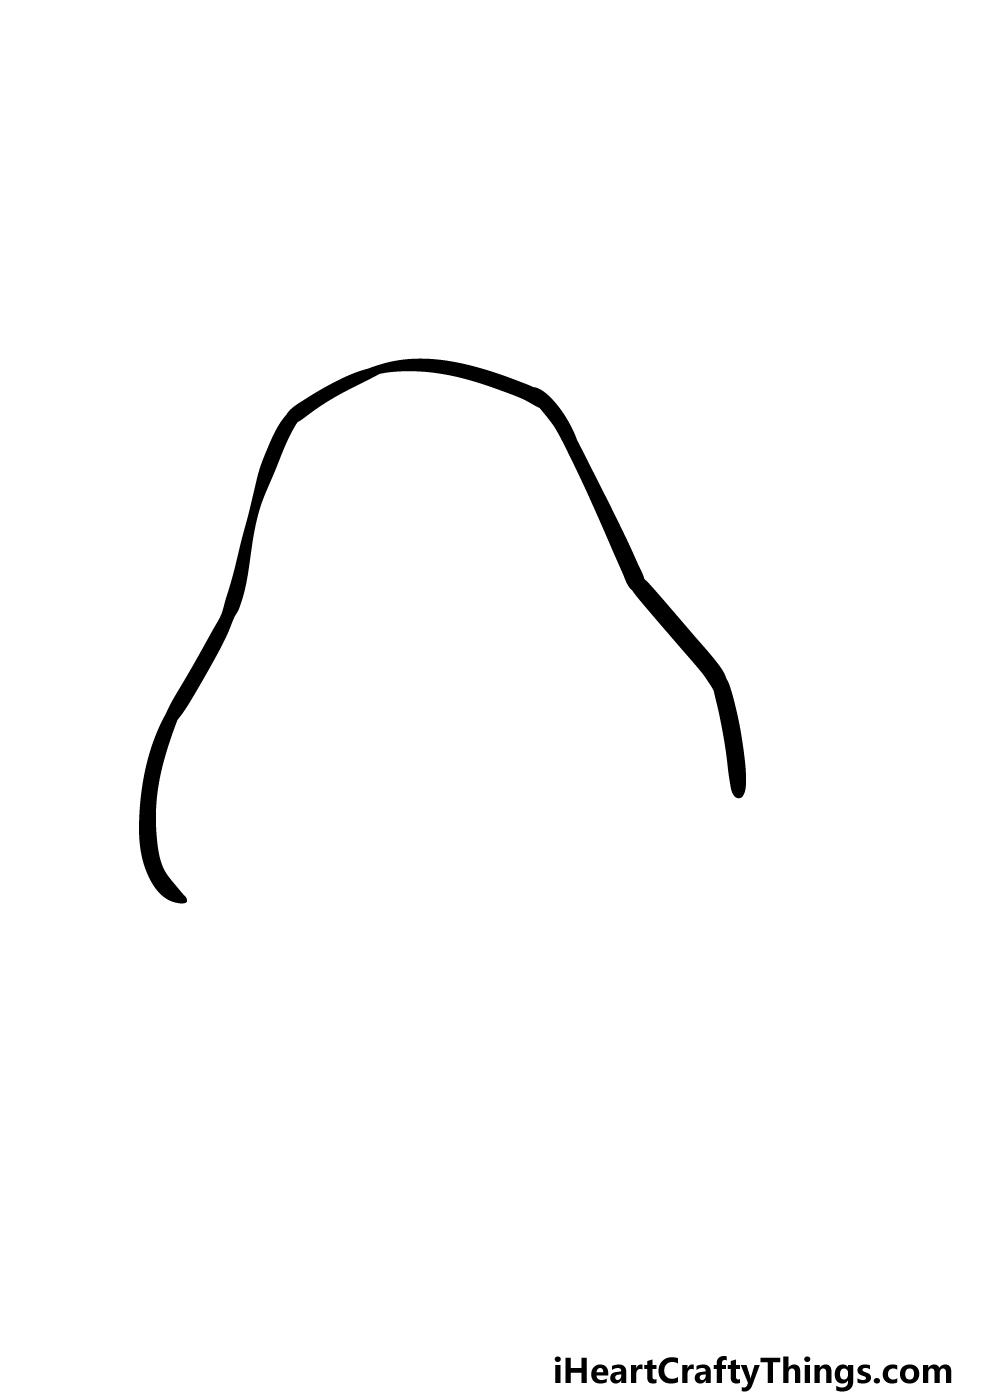
Let’s keep things nice and simple for this first step of this cartoon rock drawing. We will focus on the outline for the top half of the rock in this first step.
You’ll notice that we used a rather thick line for this outline, and you could get similar results with a pen that has a thick tip.
You could also make it by adding to the thickness with a regular pen, or you could just make it thinner for your own interpretation.
However you go about it, once you have drawn this start of the outline, we can move on to the second step of the guide!
Step 2 – Now, draw some more of the outline
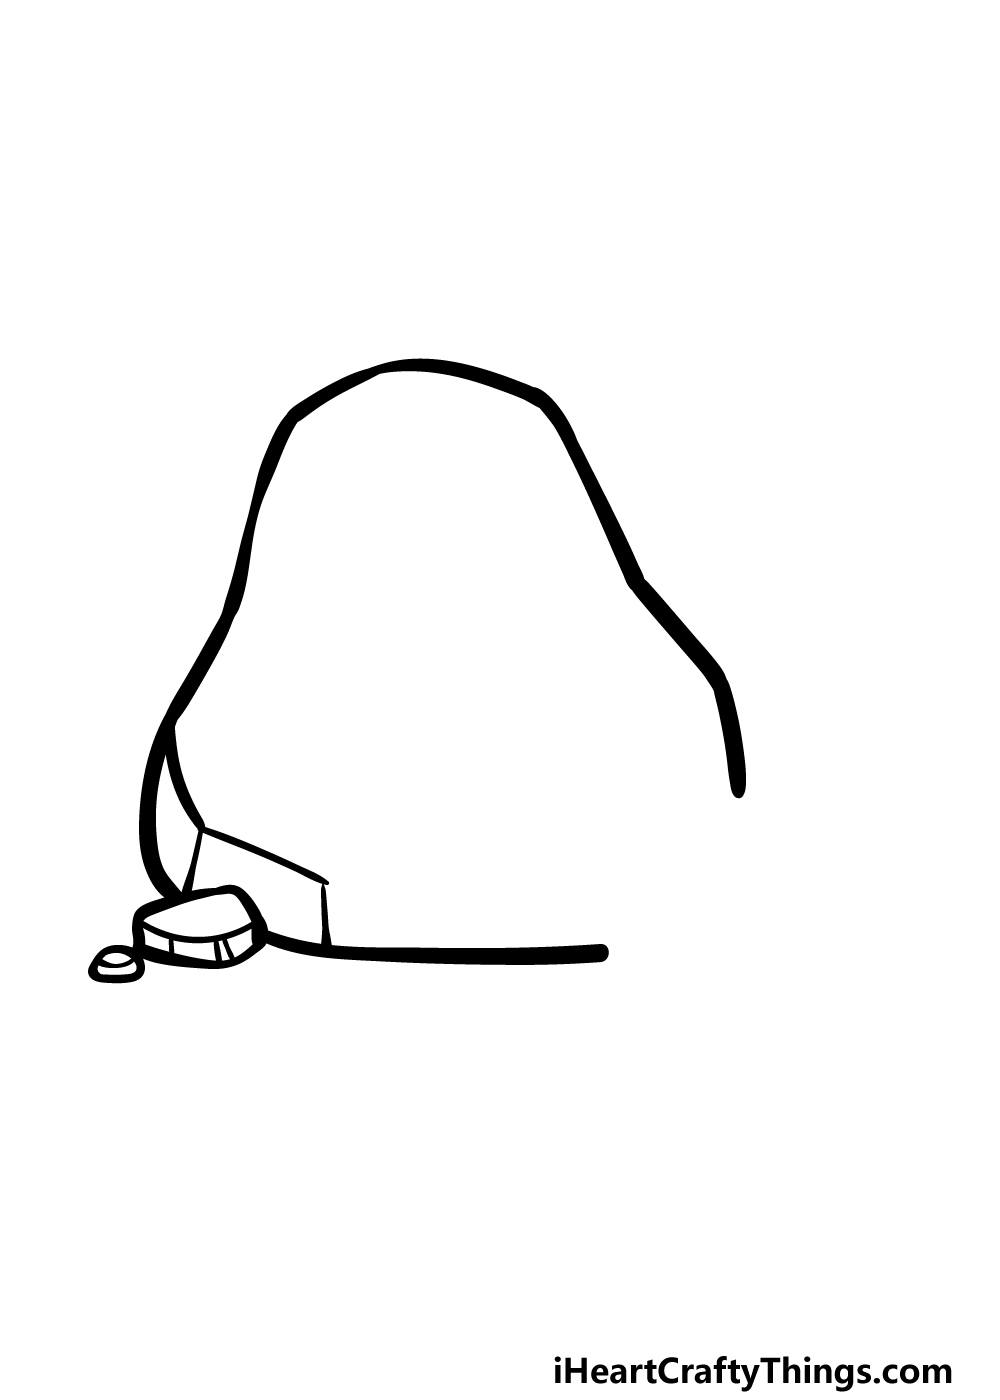
In this second step of this guide on how to draw a cartoon rock, we will be adding some more of the outline of the rock, this time near the base.
Bigger rocks will sometimes have smaller chunks fall off, and we will also be adding that detail in this step.
First, extend the outline down and around from the upper section that you began. This will curve over into a flat horizontal section at the base.
There will also be some flat, hewn edges near the bottom. Finally, finish off with some small rock pieces that have broken off.
Once you have drawn these details as they appear in our reference image, you can continue to the next one!
Step 3 – Next, finish off the outline of the rock
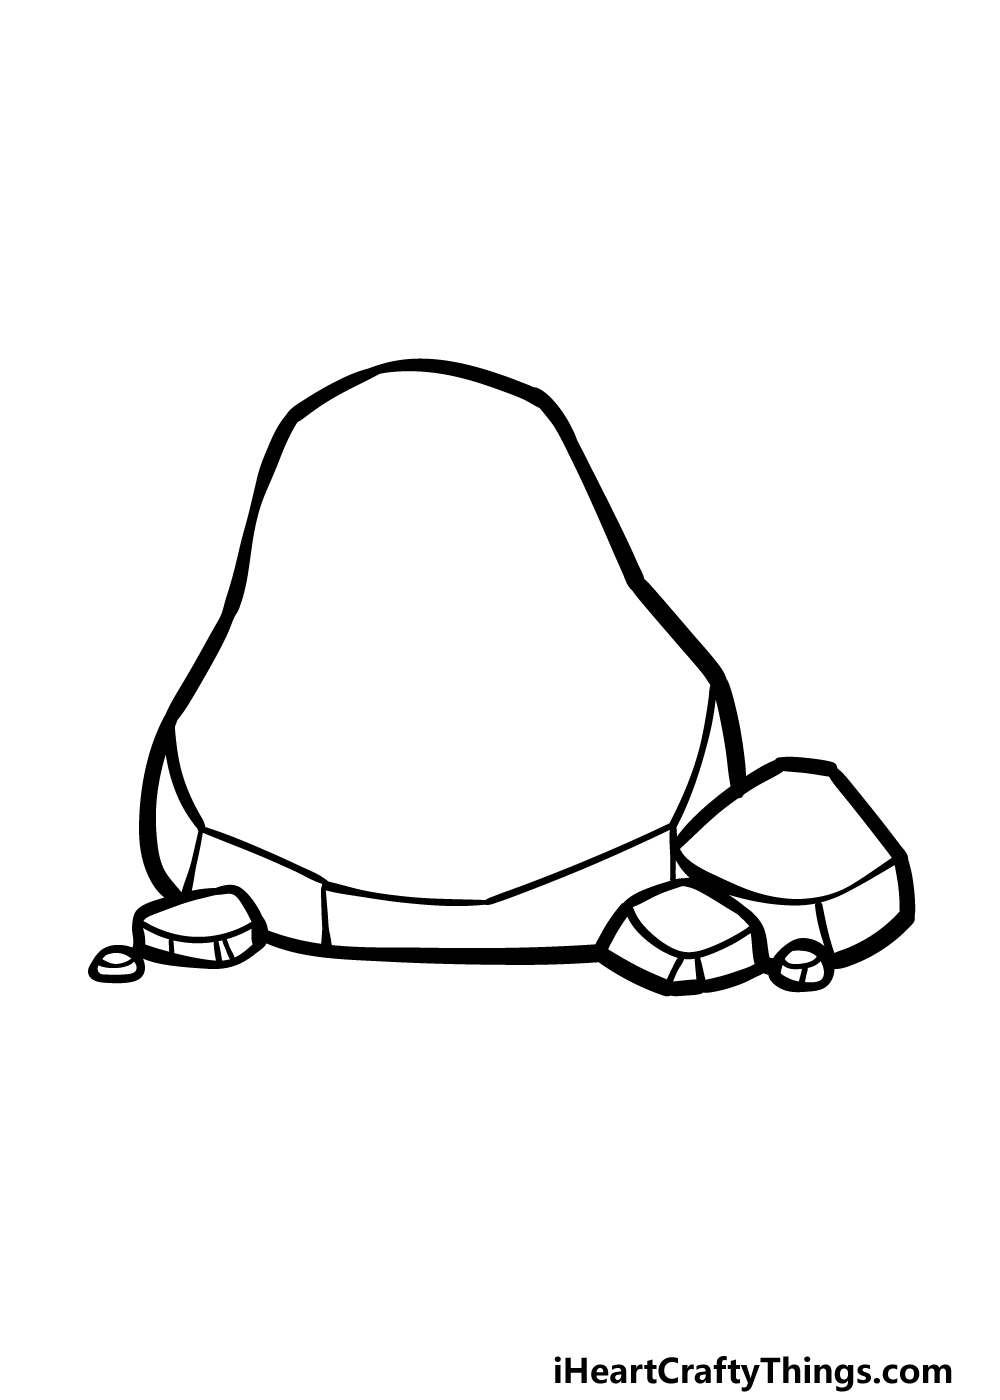
We will be finishing off the outline of this cartoon rock drawing before we start adding some of the stylistic, cartoony elements in the next few steps.
First, draw another pile of smaller rocks that have broken off of the big rock near the bottom right-hand side of the main rock.
Then, we will also add some more of those flat, hewn edges near the bottom of the rock. The reference image will show you how this should look, and then it’s time for step 4.
Step 4 – Now, draw the face of this cartoon rock
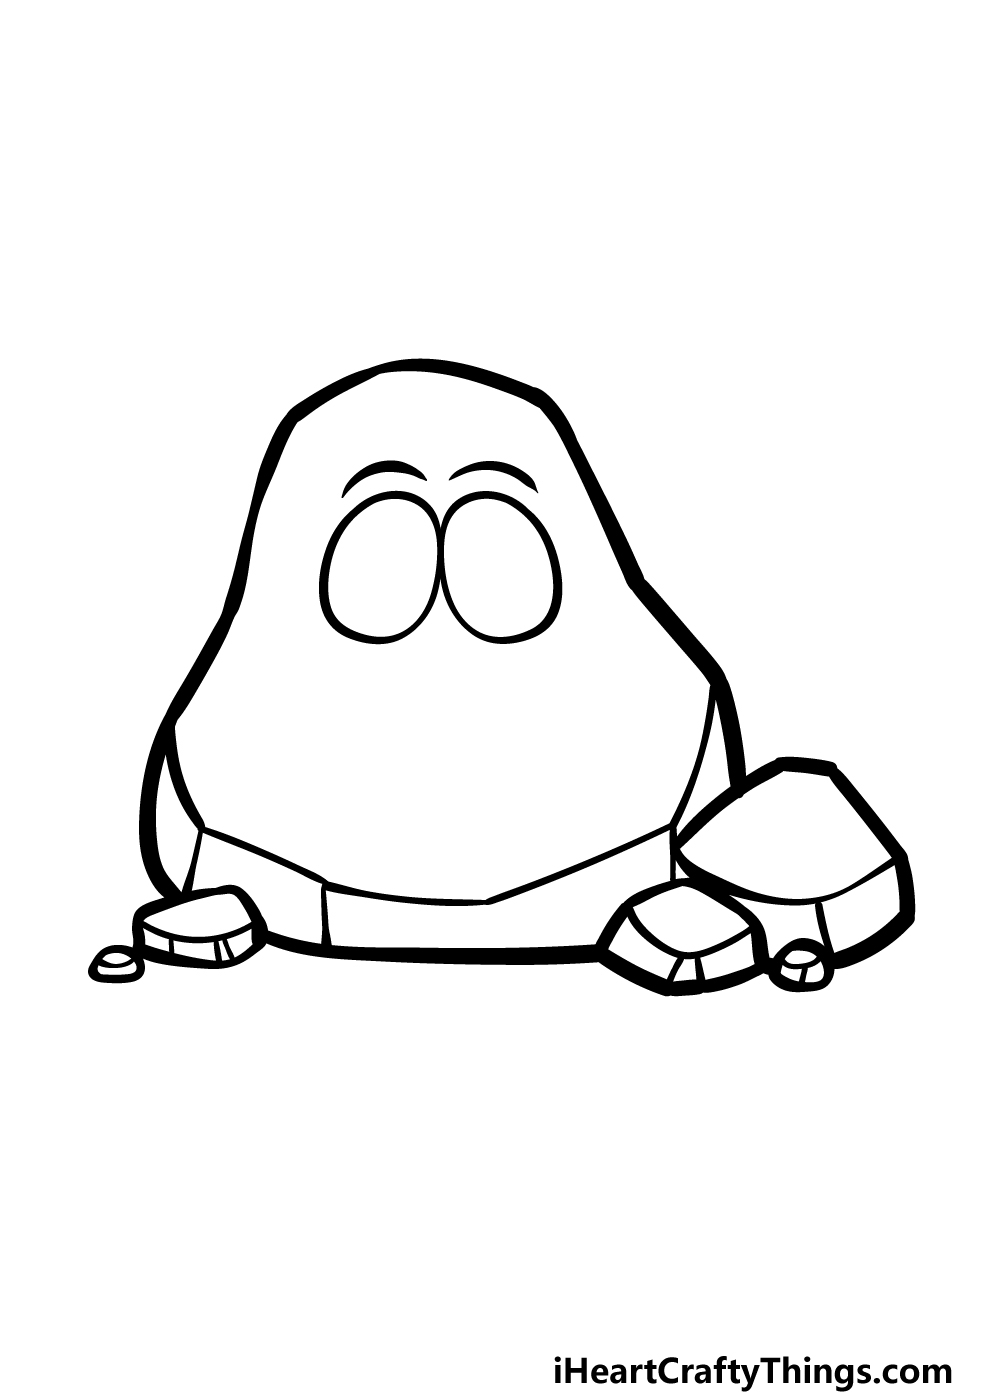
This cartoon rock is looking great already, but now we shall start adding even more character to it as we add a fun cartoon face to the body of it.
To start this, we will be drawing the eyes of the face first. These are drawn using some simple oval shapes angling outwards a bit.
You can finish off this element with some curved lines above the eyes for some eyebrows that will add some personality to the face.
Once these eyes are drawn, we will then move on to some final details, elements and other ideas in the next step of the guide.
Step 5 – Add the final details to your drawing
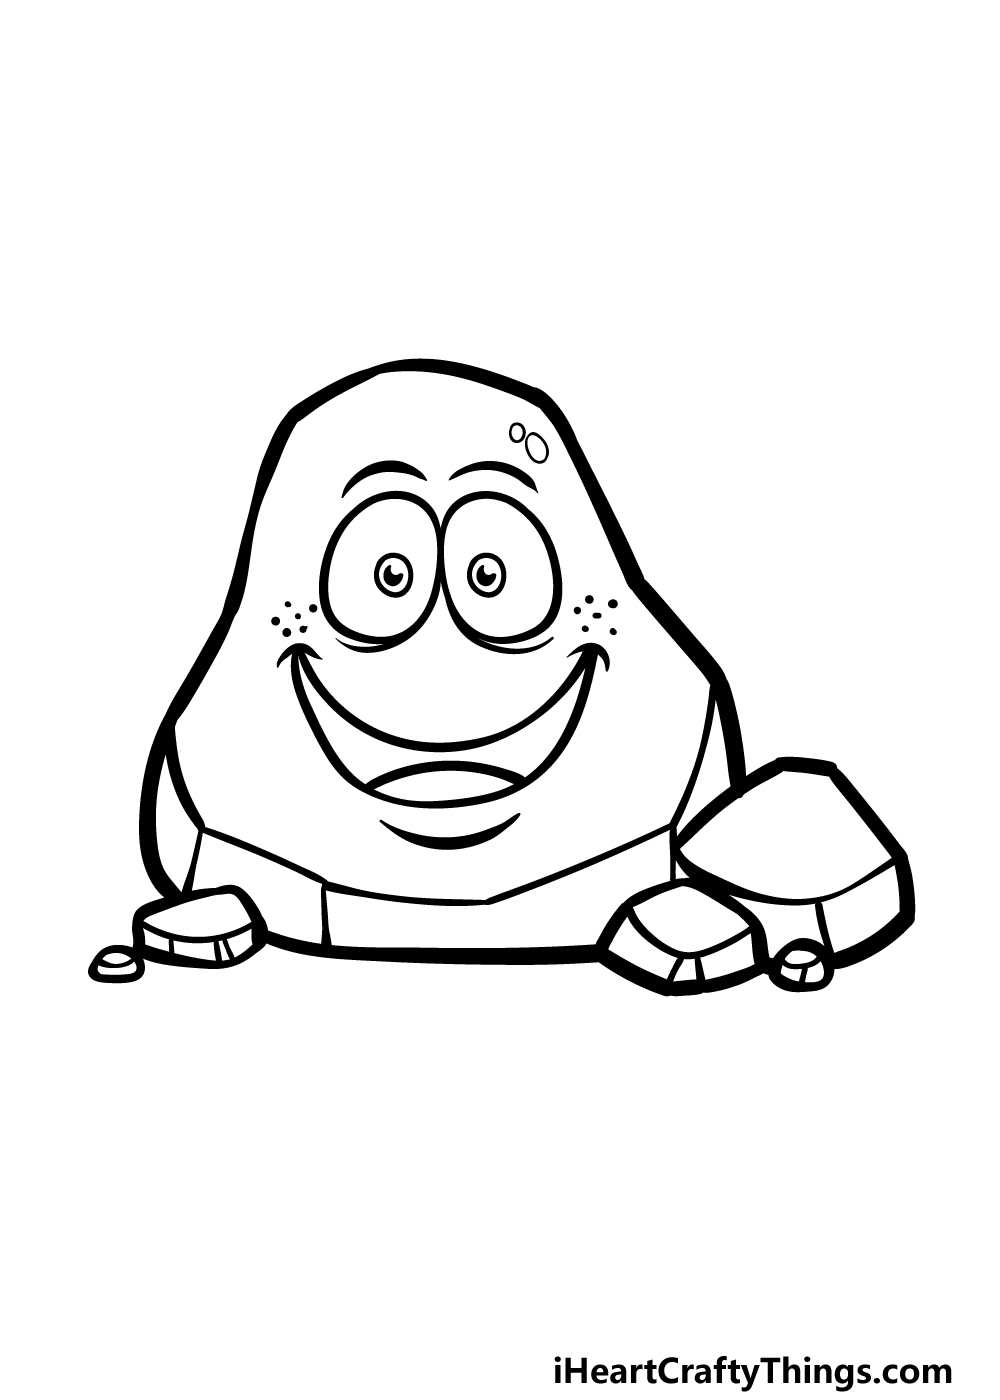
As we mentioned in the previous step of this guide on how to draw a cartoon rock, this step will see you finishing off the final details and elements.
First, let’s complete the eyes by drawing some small, round shapes inside of them. We also added some curved lines coming off of the base of the eyes for some extra expression.
The next big element will be the big smiling mouth on the face, and this will have a rounded tongue inside of it. We also added some freckles near the corners of the mouth to complete this fun face.
These are the final details we thought to add, but you could also add some of your own! Can you think of a fun background to add to this one?
Step 6 – Finish off your drawing with color
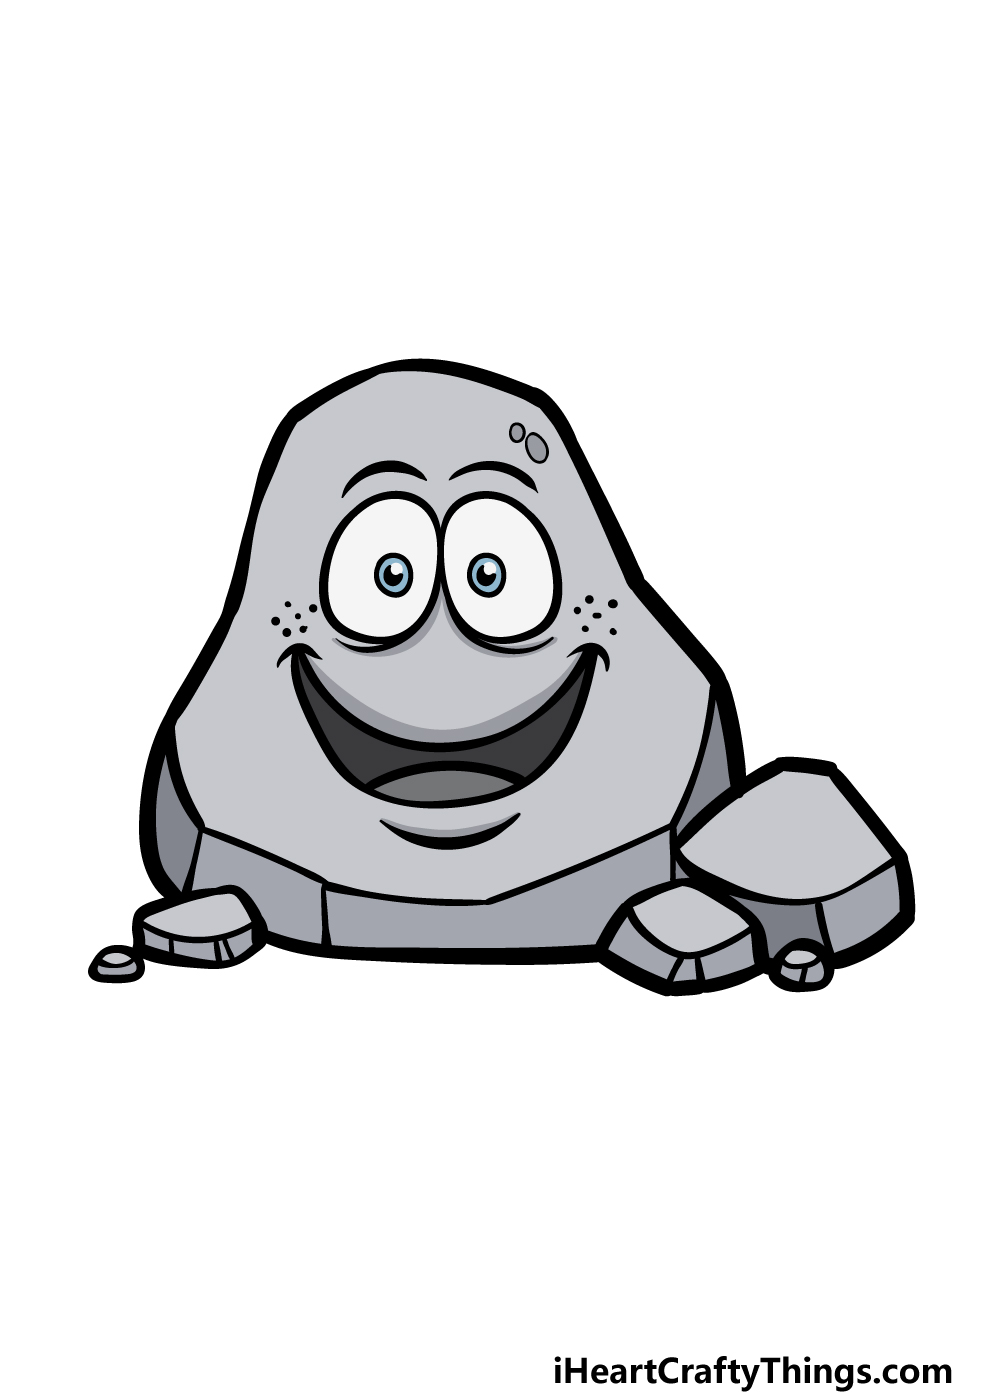
You have reached the final step of this cartoon rock drawing, and now we shall finish it off with some color.
Even though this is a cartoony interpretation, we went with a fairly realistic color scheme for our example image.
That means that we used shades of grey all througout the image, and this even goes for the interior of the mouth.
You could go for a similar approach for your own picture, but you should also feel free to go for your own awesome colors!
You could add splashes of bright reds for elements such as the tongue or even use some vibrant colors for the entire rock. What will you pick when coloring this drawing?
5 Tips To Make Your Cartoon Rock Drawing Even Better!
These 5 tips for your cartoon rock sketch will surely rock your world!
This drawing of a cartoon rock you created looks great, but it could look even better with some more cartoon rock friends! This would be as simple as drawing some more rocks of various sizes.
Then, each one could have a unique facial expression to create a fun scene. How many cartoon rocks would you like to have hanging out with this one we created in the guide?
You could aslo make some other cartoon characters based on other objects to go with your cartoon rock. This could be anything from trees to plants or even animals.
Iy would be a fun challenge to think of different objects and then see how they could be turned into characters. What are some objects you could use for the image?
If you want to keep the focus on this cartoon rock drawing, there are some ways you could personalize it. One would be to change the facial expression or design to something unique.
You could even add some simple limbs such as arms to make the rock look even more expressive. That would certainly make this rock even more complete!
Another way you could personalize this cartoon rock even more would be by giving it some clothing or accessories. This could be anything from a hat to some sunglasses.
If you want to take it even further, you could make each item of clothing or accessory you add into a cartoon character as well!
This would also work especially well if you added some of our suggestions in the previous tips.
Finally, once your cartoon rock sketch looks as you want it you could finish off with a background. Adding a background is always a great way to finish off a scene.
The background could also be filled with more characters if you took our first two suggestions. The only question left would be what sort of style and setting you would use for the background.
Your Cartoon Rock Drawing is Complete!
All 6 steps of this guide on how to draw a cartoon rock are complete, and you have created a fun portrayal here!
Hopefully you were able to overcome any difficulties or challenges associated with this drawing by following the steps that we laid out for you.
We know that if you follow the steps and do your best that you will do an incredible job on this picture!
Then, you can make it even better when you add some extra details and ideas of your own.
We spoke about drawing a background, and if you were to draw one then what kind of setting woud you go for?
If you had fun working on this guide, you will find many more to enjoy on our website to enjoy. We upload new guides often, so remember to check in frequently to never miss out!
When you’re ready to show off your finished cartoon rock drawing, you can share it on our Facebook and Pinterest pages for us to enjoy!