The human body is a complex structure made out of many smaller features. Even when you zone in on one of these smaller features, there is a lot of complexity to behold!
This means that it can be rather difficult to draw some of these parts even though you see them every day.
Learning how to draw a cartoon ear is an example of a small part of the body that is nevertheless quite complex.
When taking on a tough drawing challenge, you can make it so much easier on yourself when you break it down into smaller steps, and that is what we have aimed to do for you here.
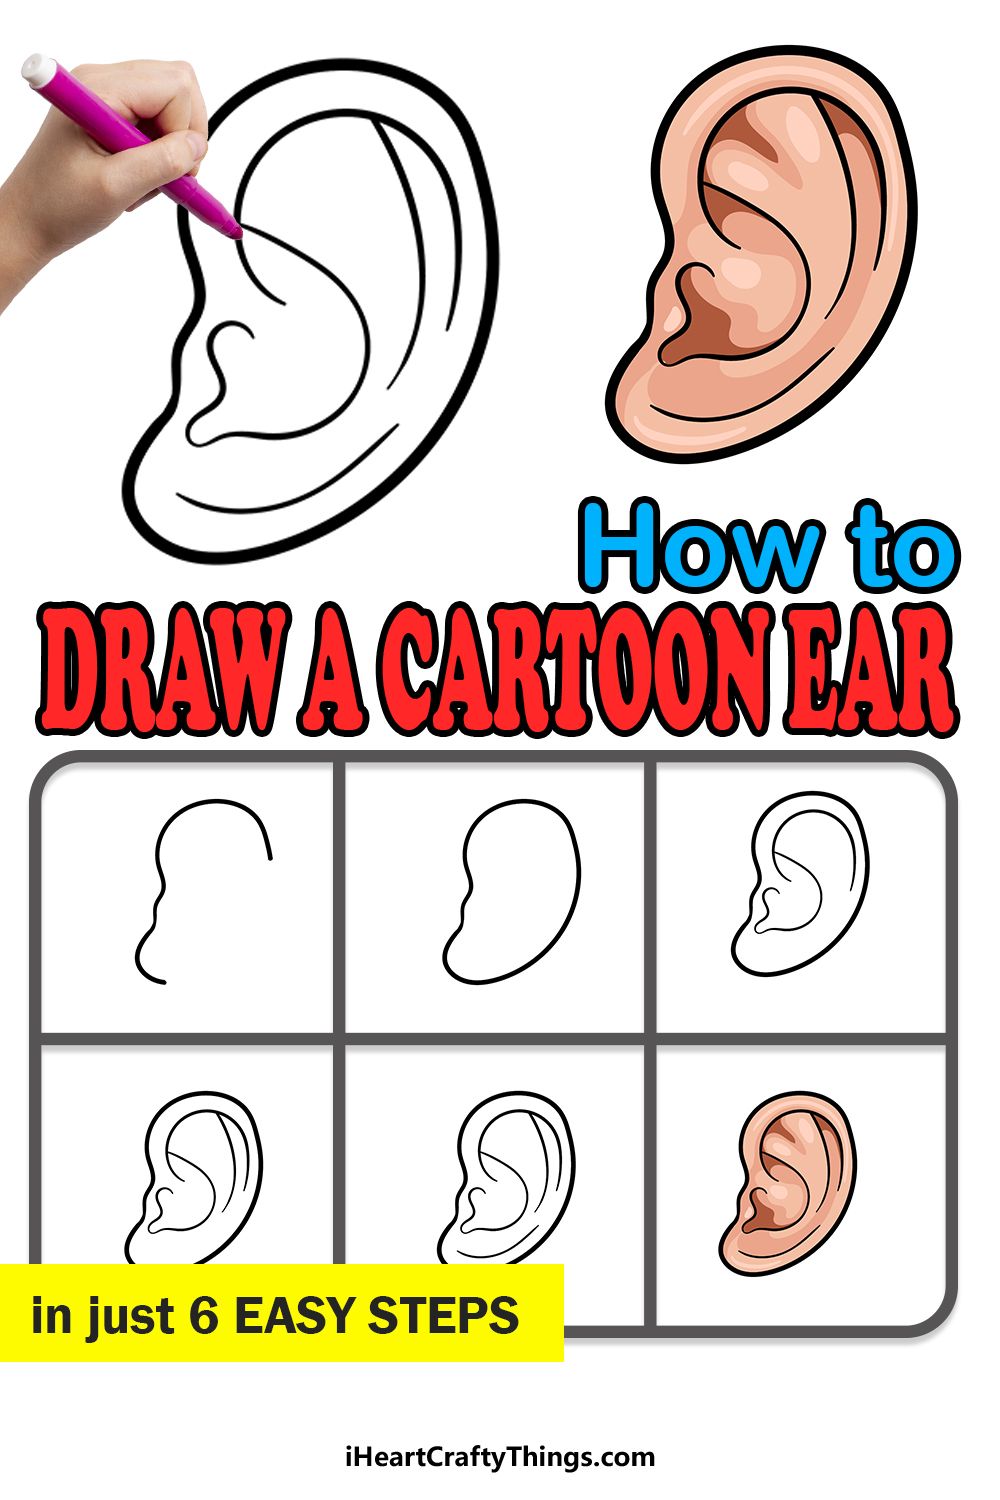
So get ready to draw this complex organ as we begin this step-by-step guide on how to draw a cartoon ear in just 6 easy steps!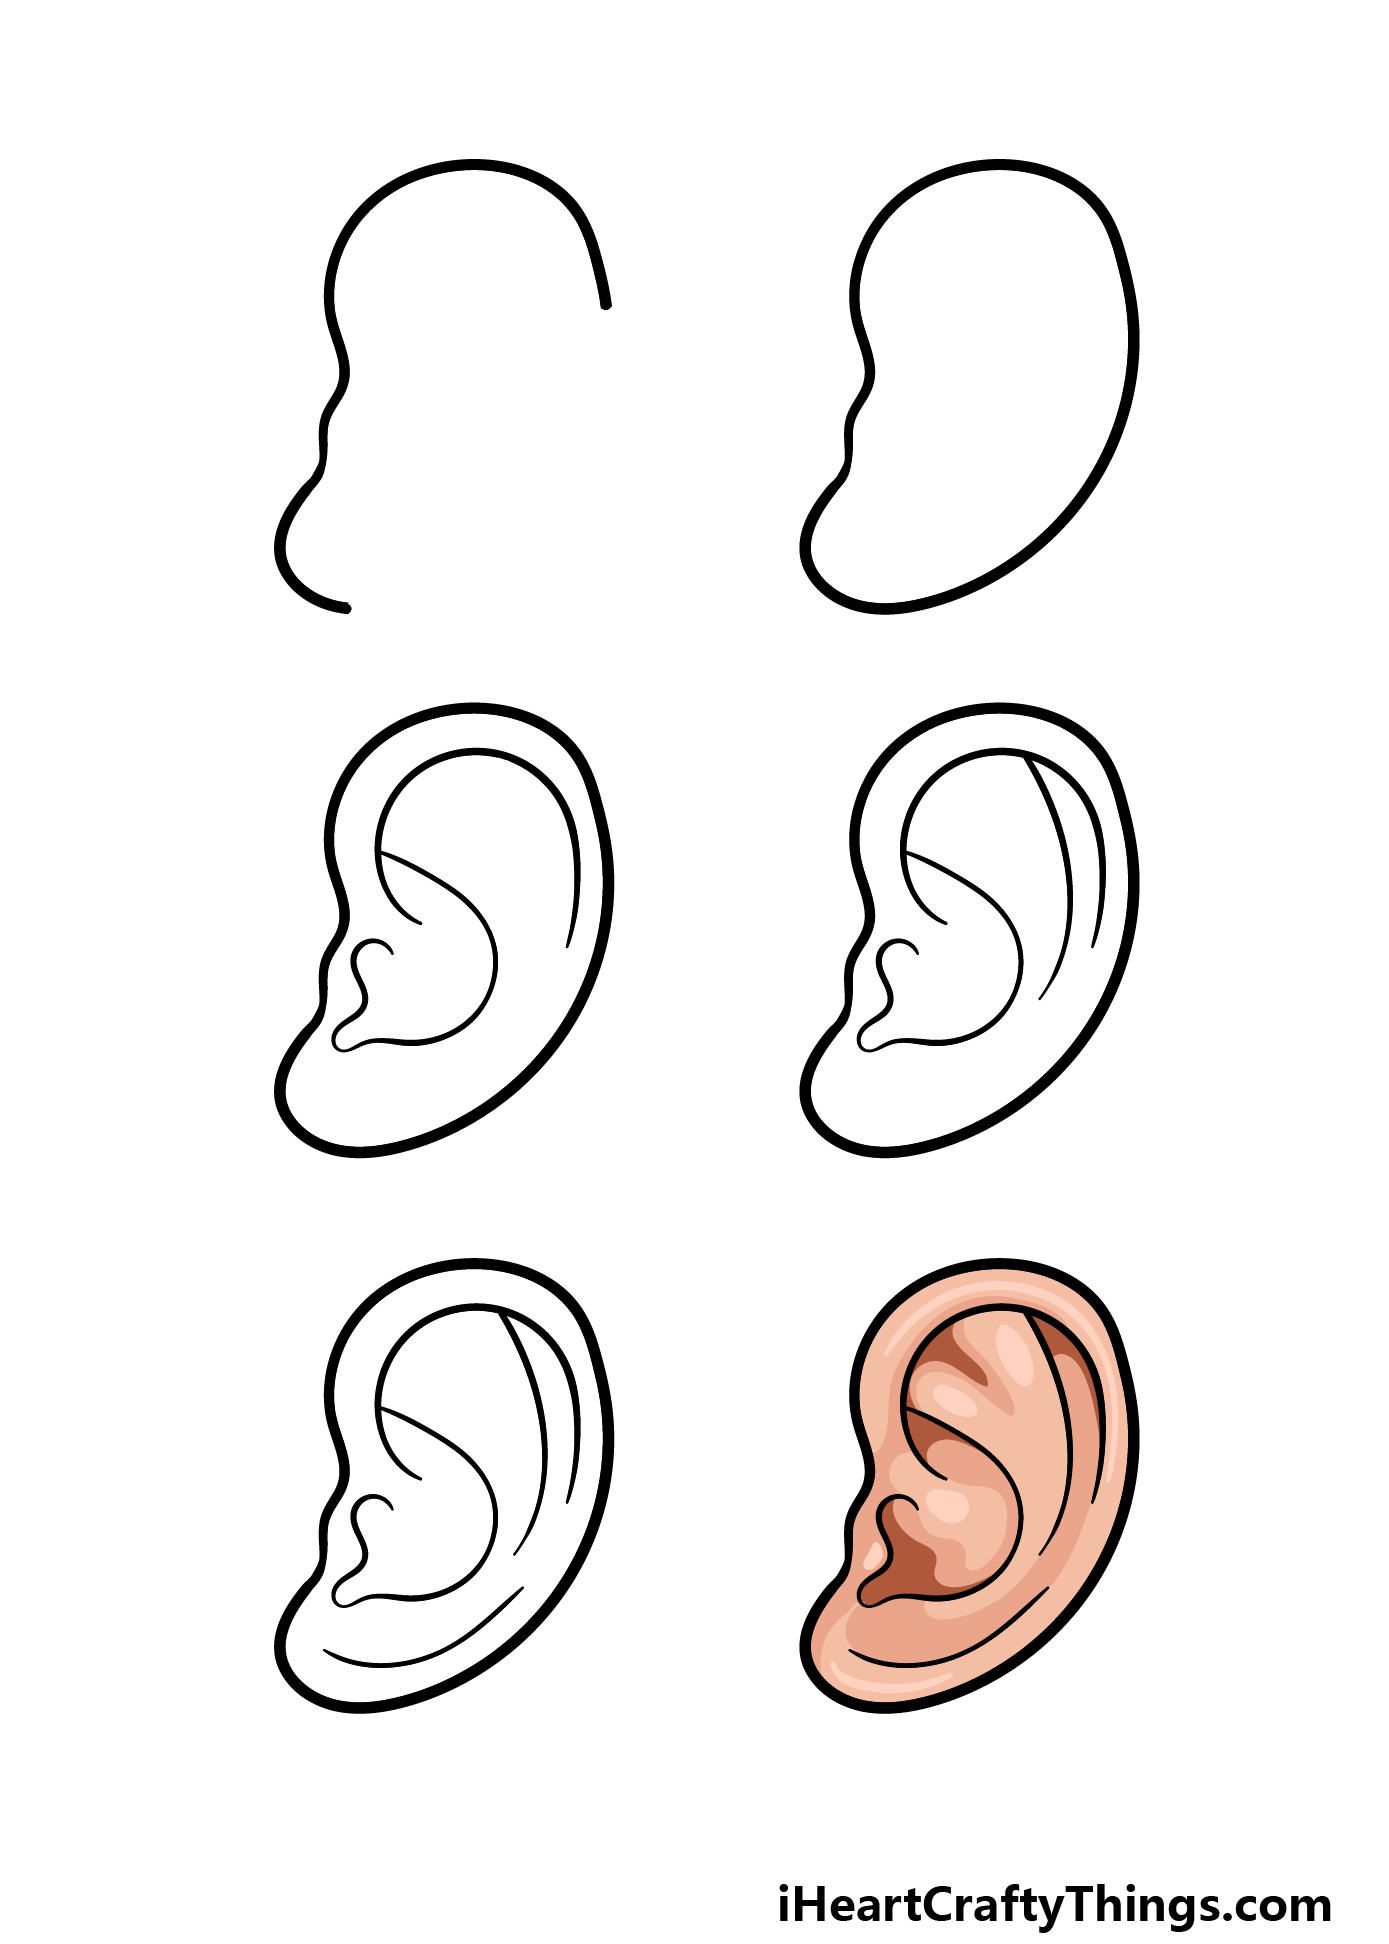
How to Draw A Cartoon Ear – Let’s Get Started!
Step 1
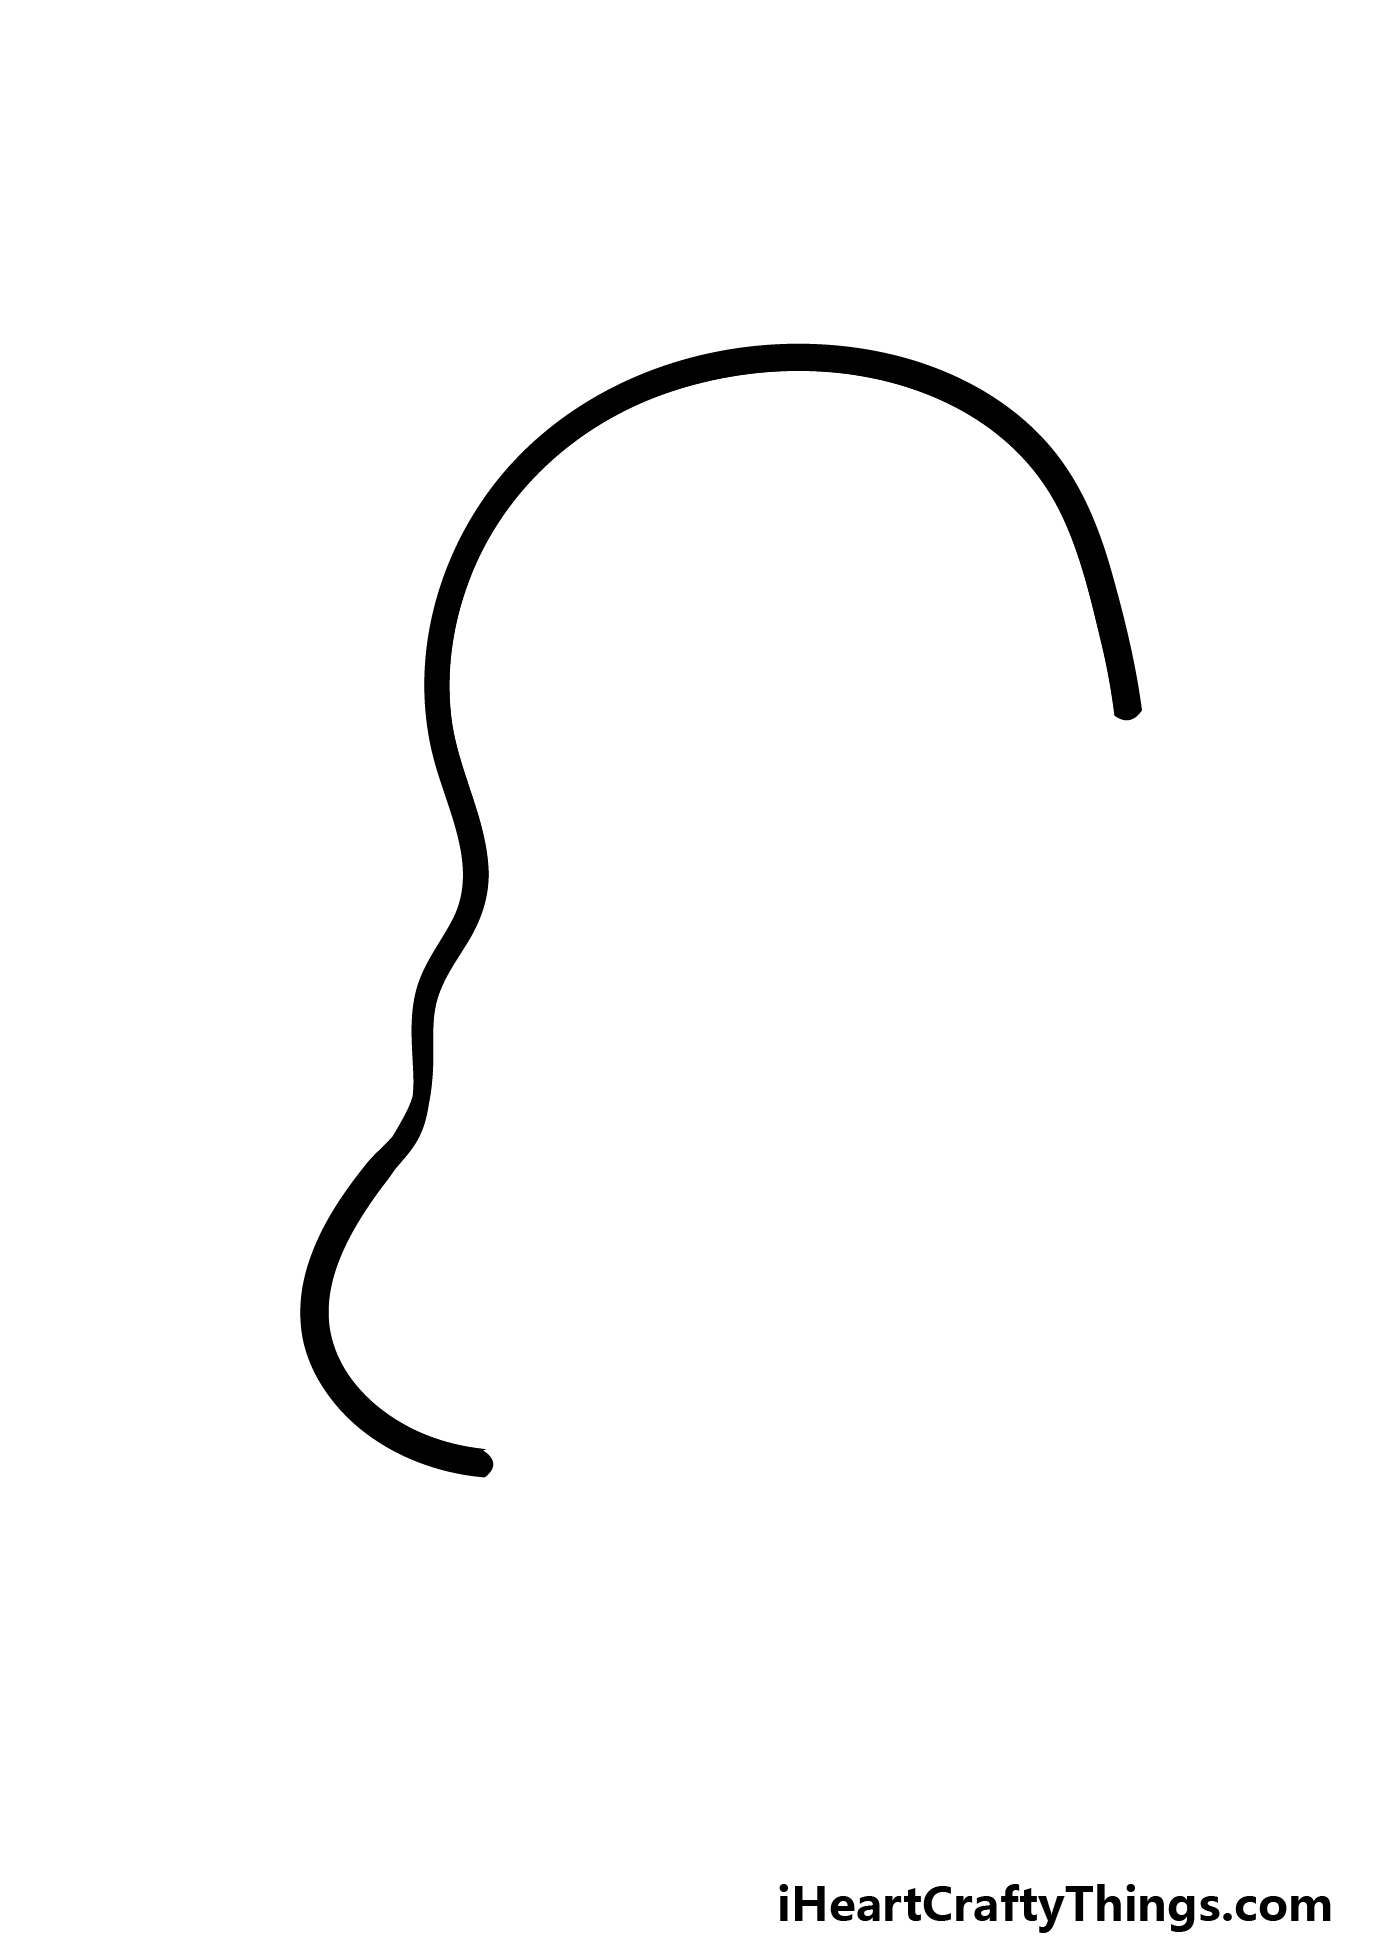
To begin this guide on how to draw a cartoon ear, we will start with the outline of the ear itself.
This will be drawn with a single curving line, but even though it is one line it can still be a bit of a challenge to pull off.
The way the line curves is very specific, as it will contribute to the other aspects of the ear that we will be adding soon.
Try your best to follow the reference image closely, and also reference later images in the guide so that you can see how the curves of this line will come into play later.
Then we can move on to step 2!
Step 2 – Now, finish off the outline for the ear
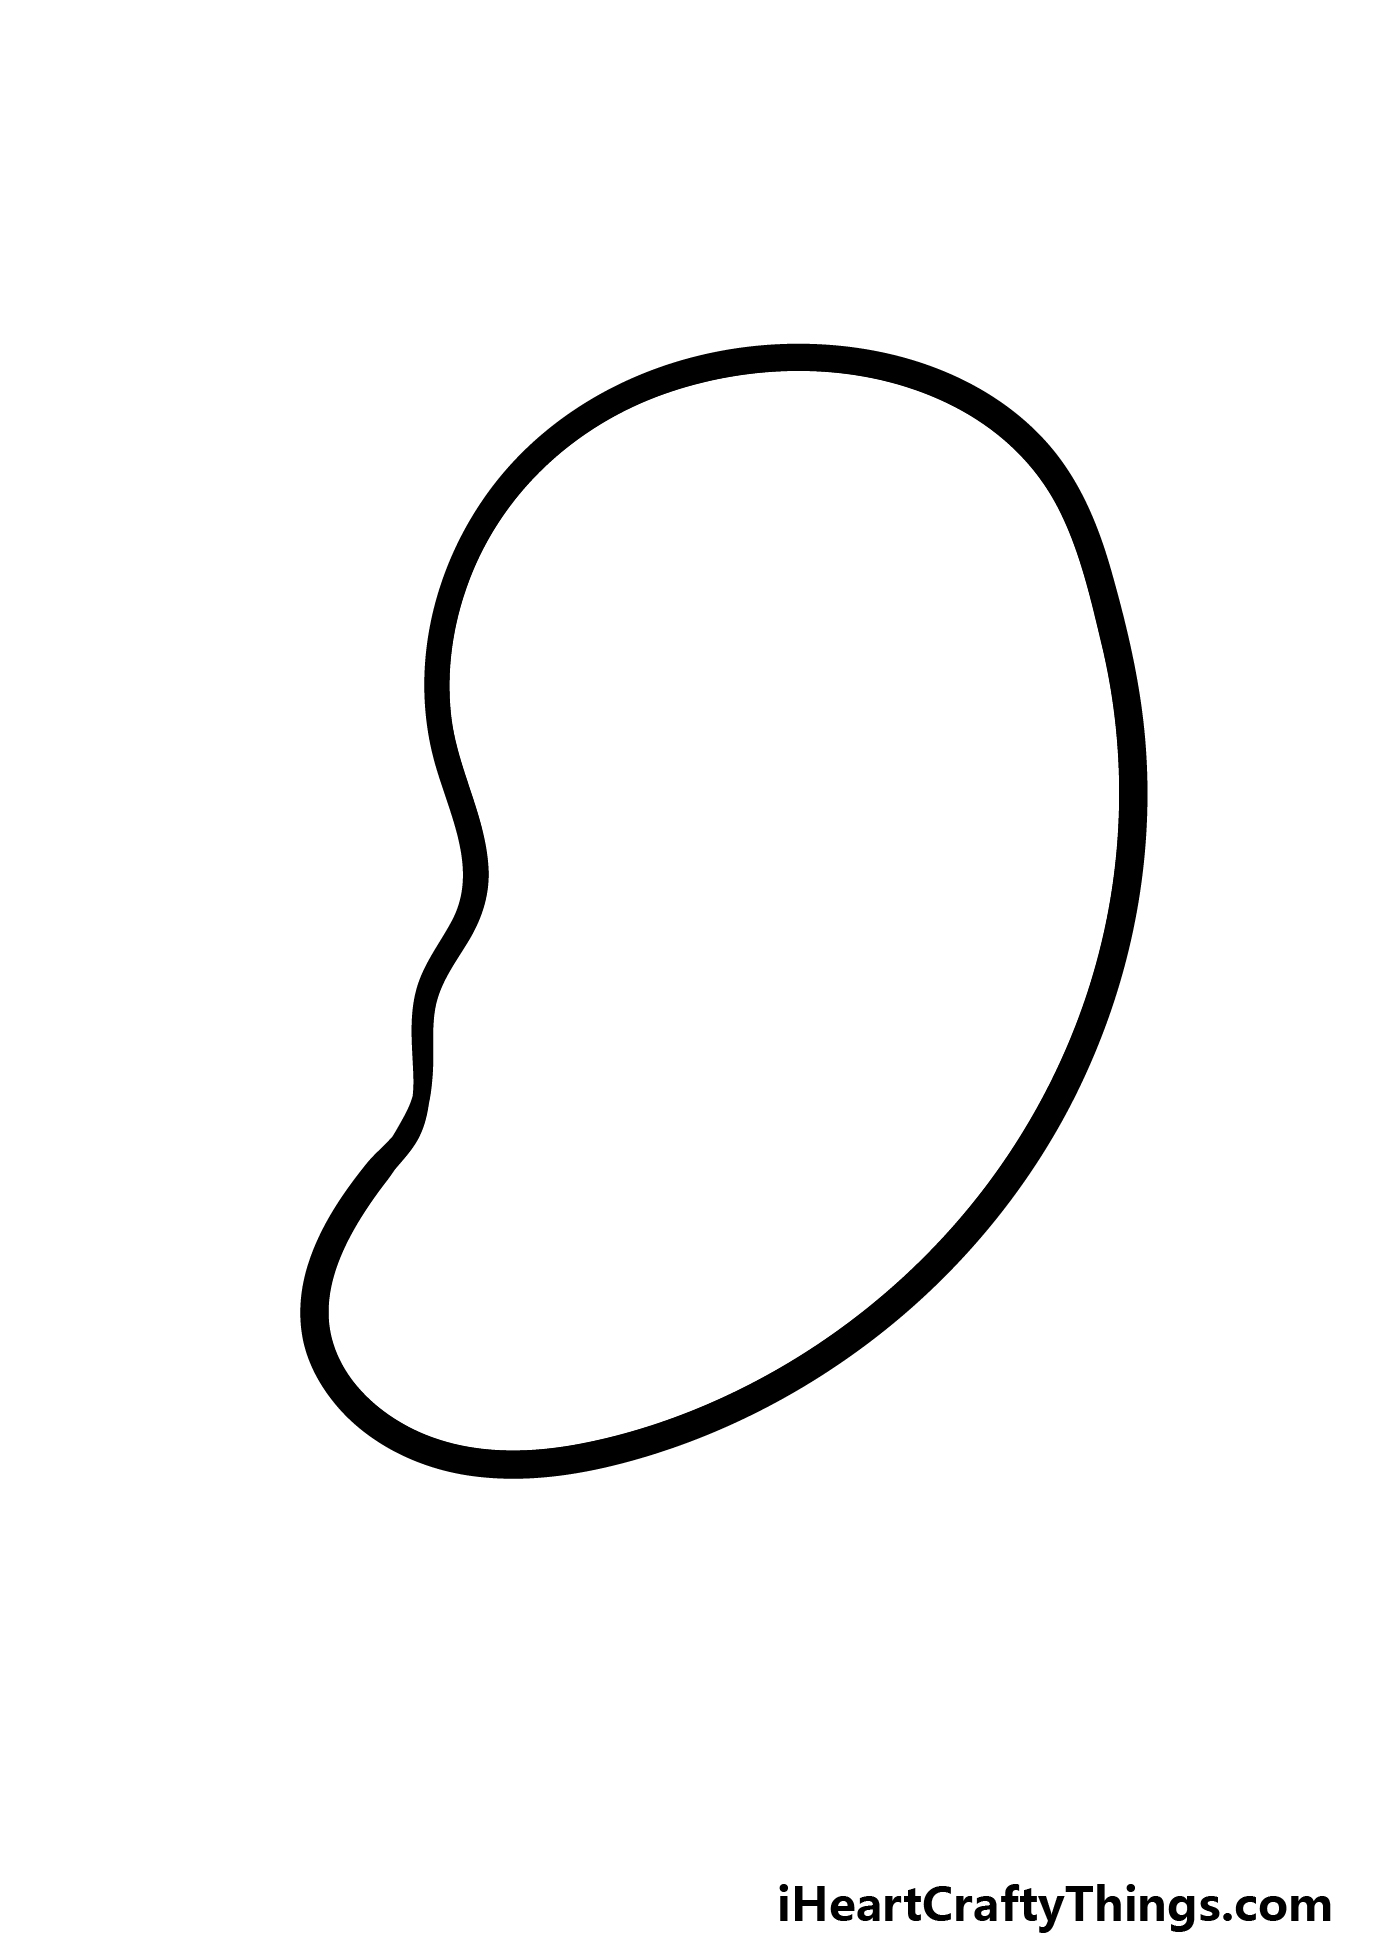
This step will see you finishing off the outline of your cartoon ear drawing. Luckily, this one should prove to be much simpler than the previous step was.
In this one, there will be no curves to add to the outline, and we will instead fill in the space left over in the outline from the first step.
This will require a simple curved line, and then the outline will be complete. That’s all there is to it for now, and then we can proceed to step 3 of this guide.
Step 3 – Next, start drawing some inner details
You have completed the outline, and now we will start adding some of the inner details of the ear.
Ears are very complex organs, and this means that drawing the inner details can be easier said than done!
For this step, we will take it slowly and carefully follow the reference image to make it easier as we add these first details.
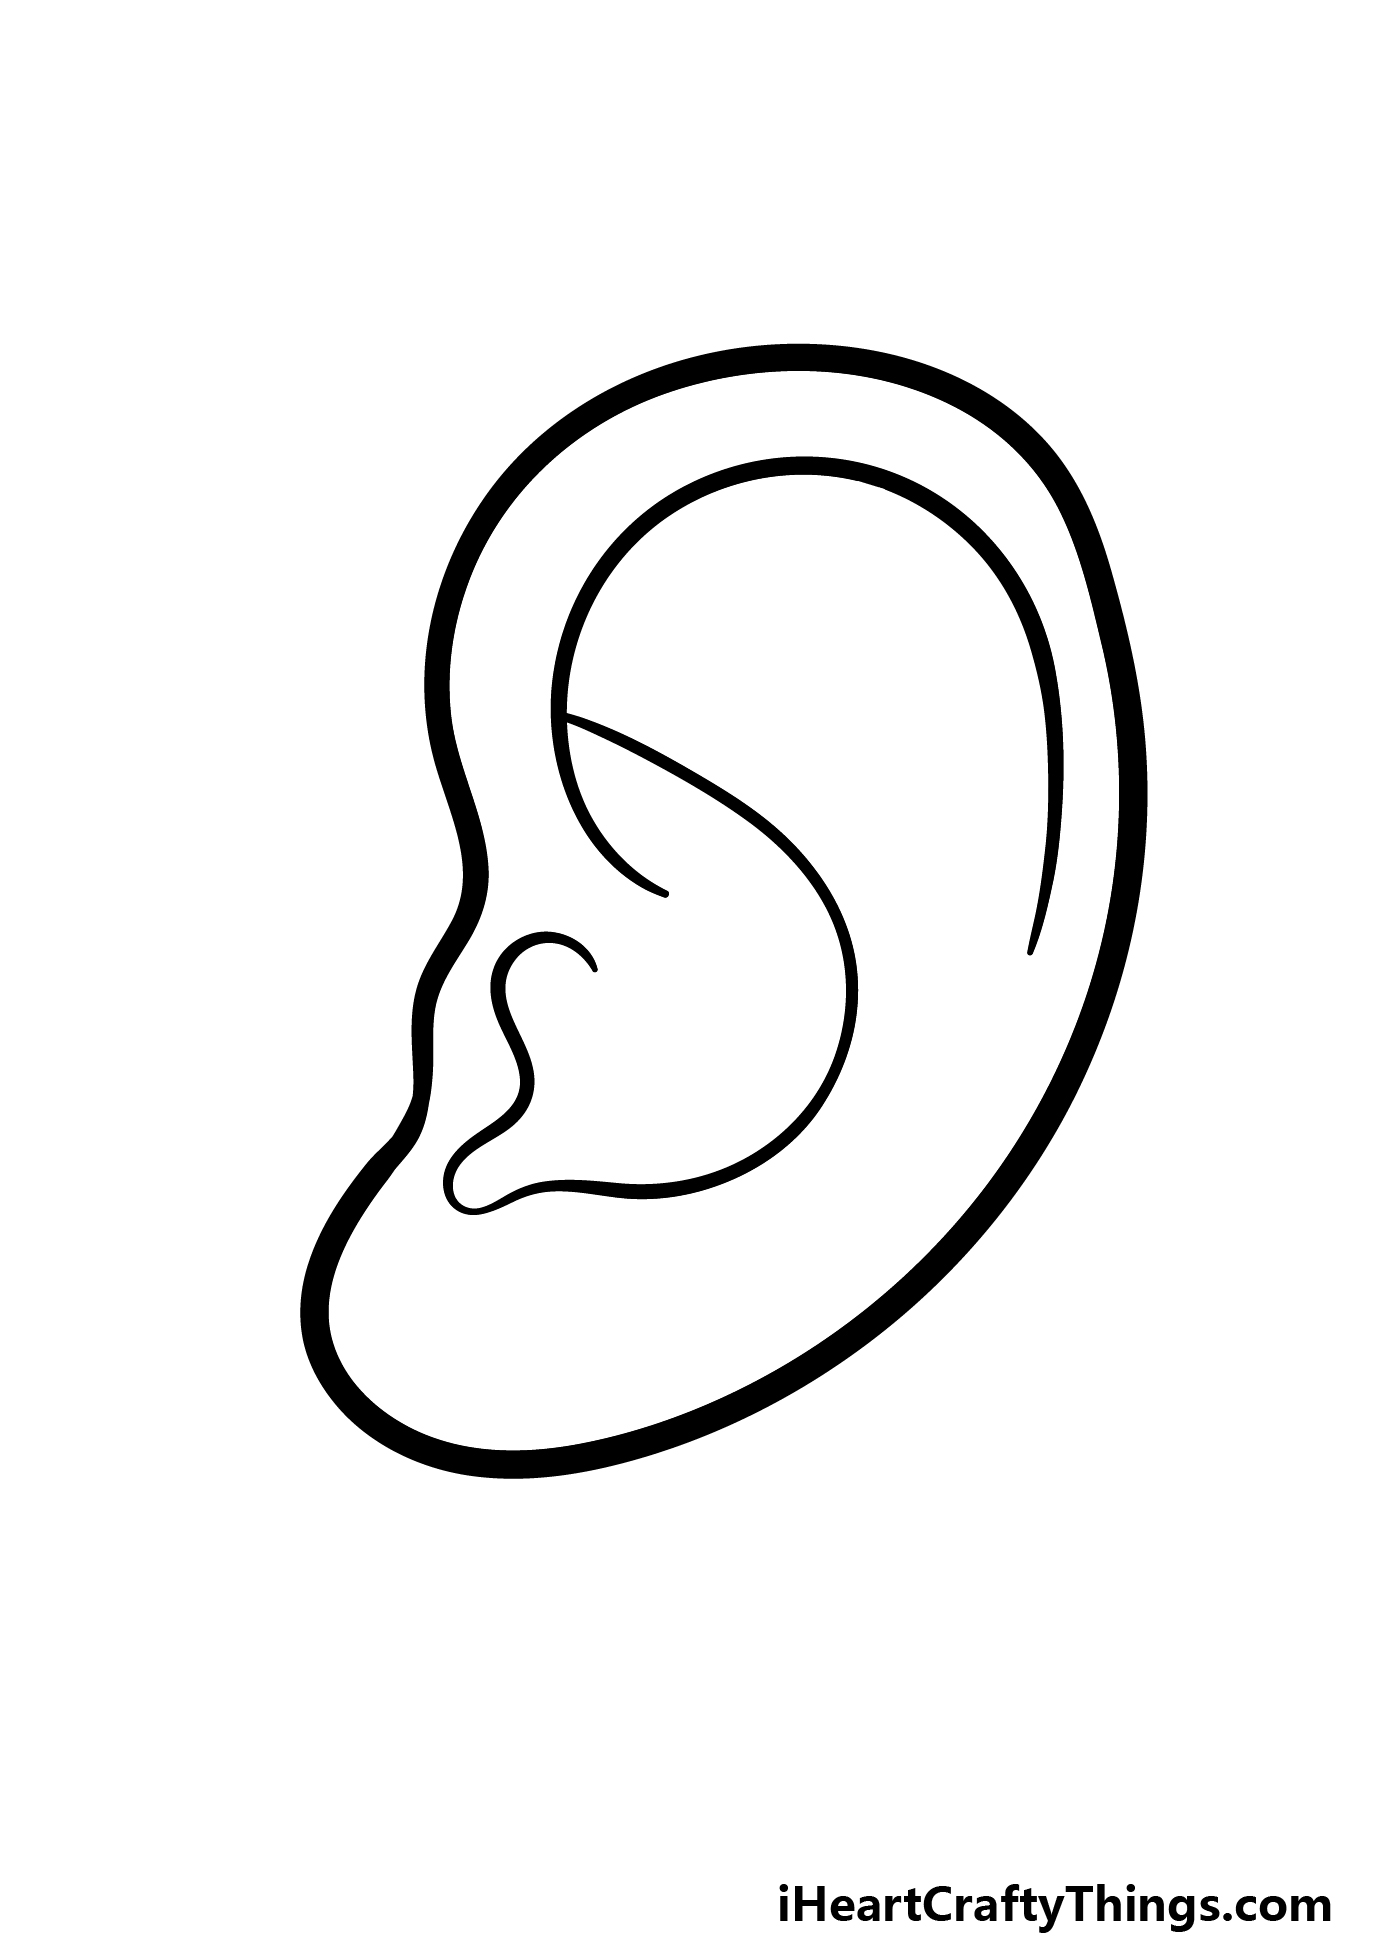
First, we will draw a large curved line near the upper perimeter of the ear. As you can see in our example, this line will go across almost the entirety of the top half of the ear.
Then, we will be adding another line that is a lot more complex.
This one will extend from the first curved line and will loop over to the left and then turn into a wavy line that looks a bit like a reverse 3.
This part can be a little complicated, so take your time with it and follow the reference image closely to help you!
Step 4 – Now, draw more of the inner ear details
The previous step of this cartoon ear drawing was a bit of a tough one, so we will make things nice and simple in this step!
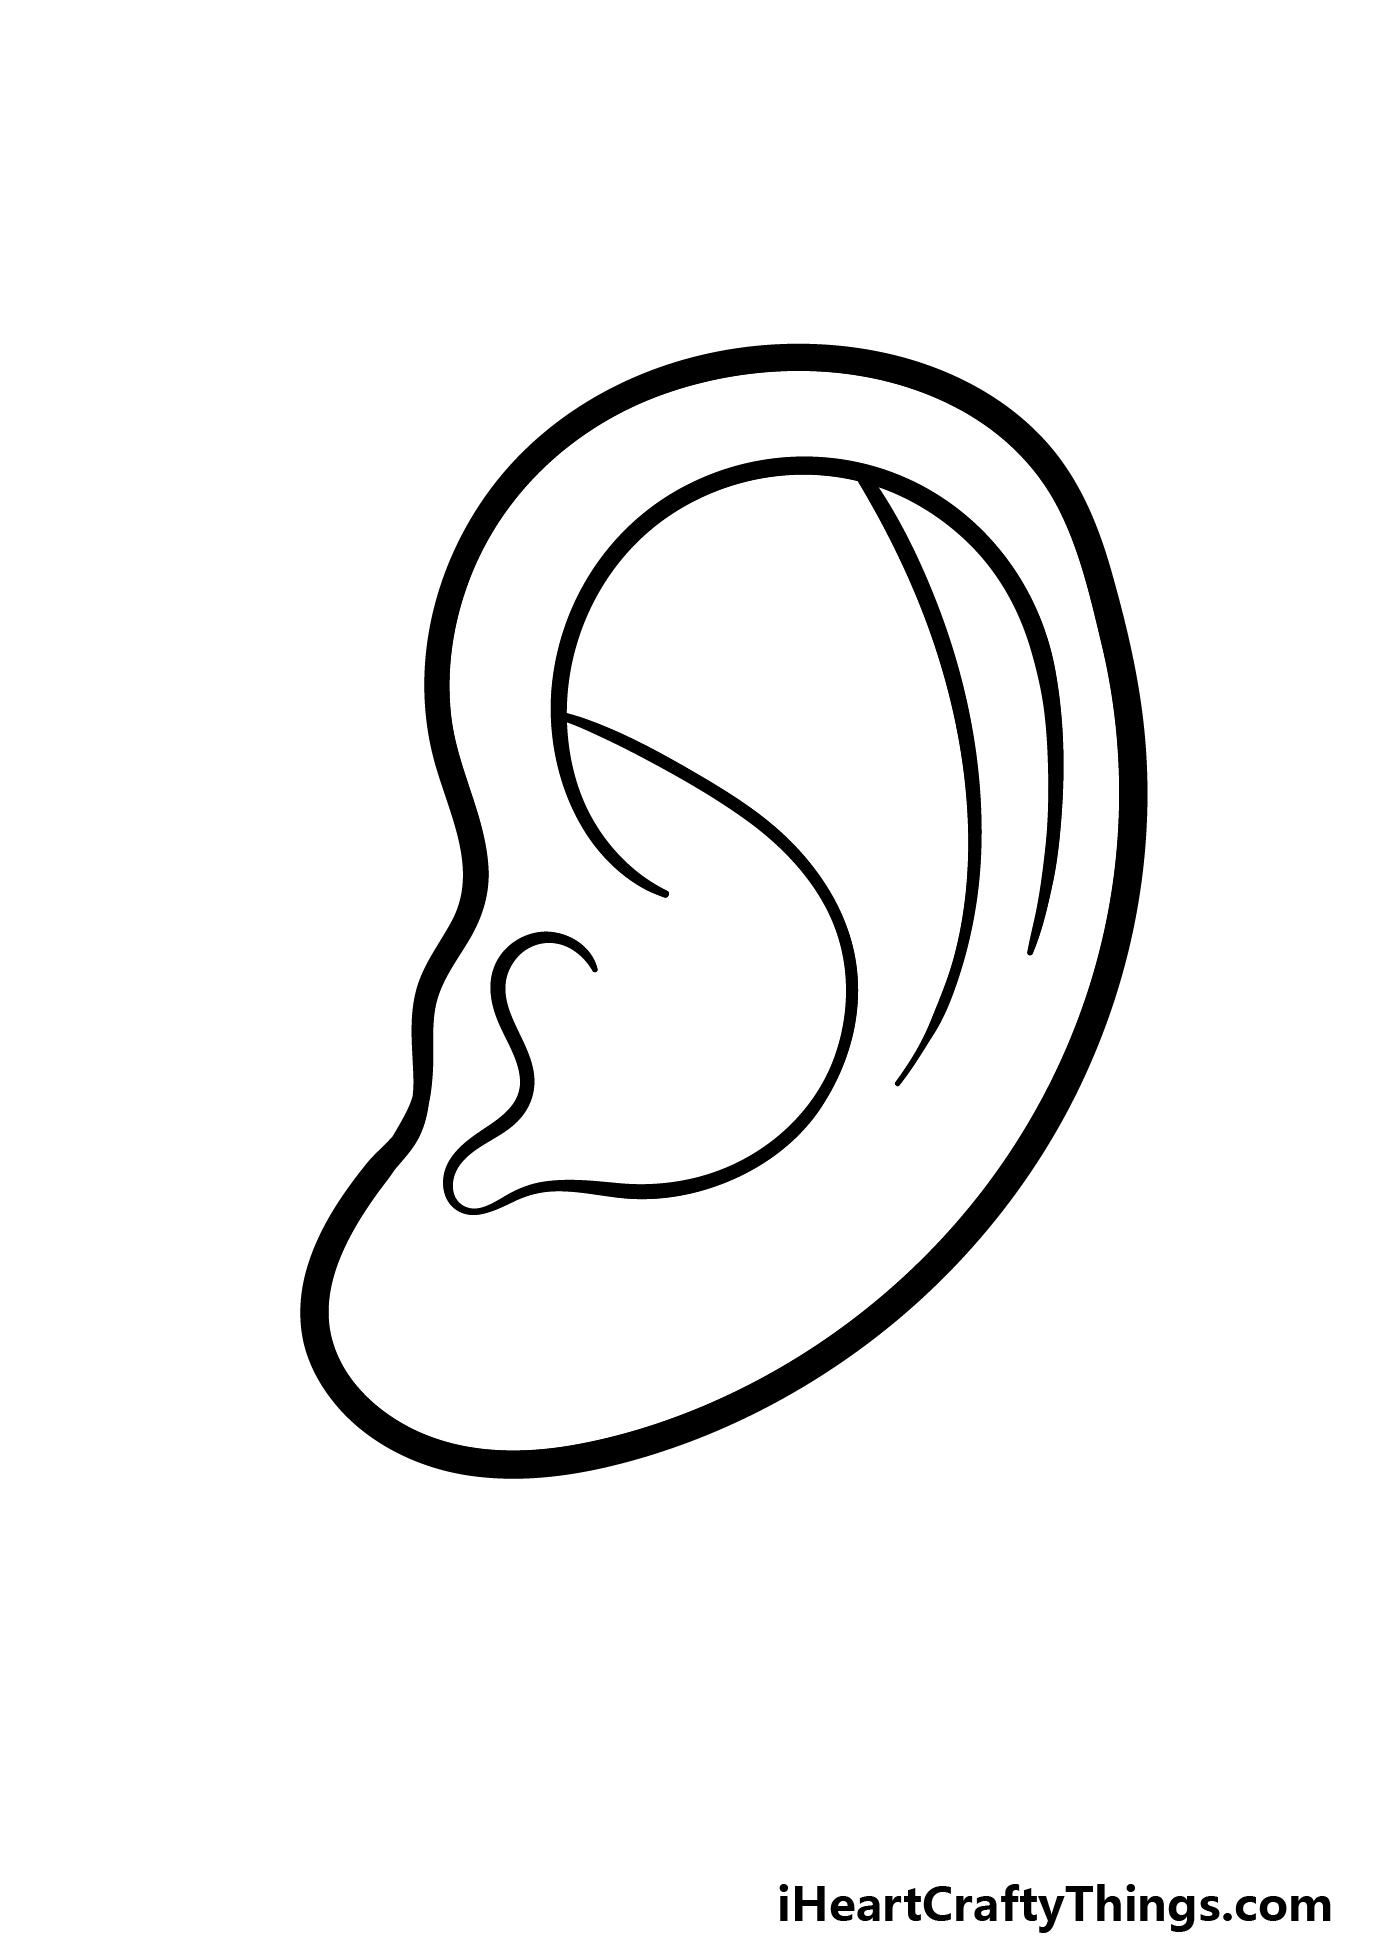
You will just be adding one simple line in this step. We will be drawing a simple curved line coming down from the upper curved line that you drew in the last step.
This new line will extend down to around the halfway point of the ear. That’s all for now, and then we can add some final details in the next step of the guide!
Step 5 – Add the final details to your drawing
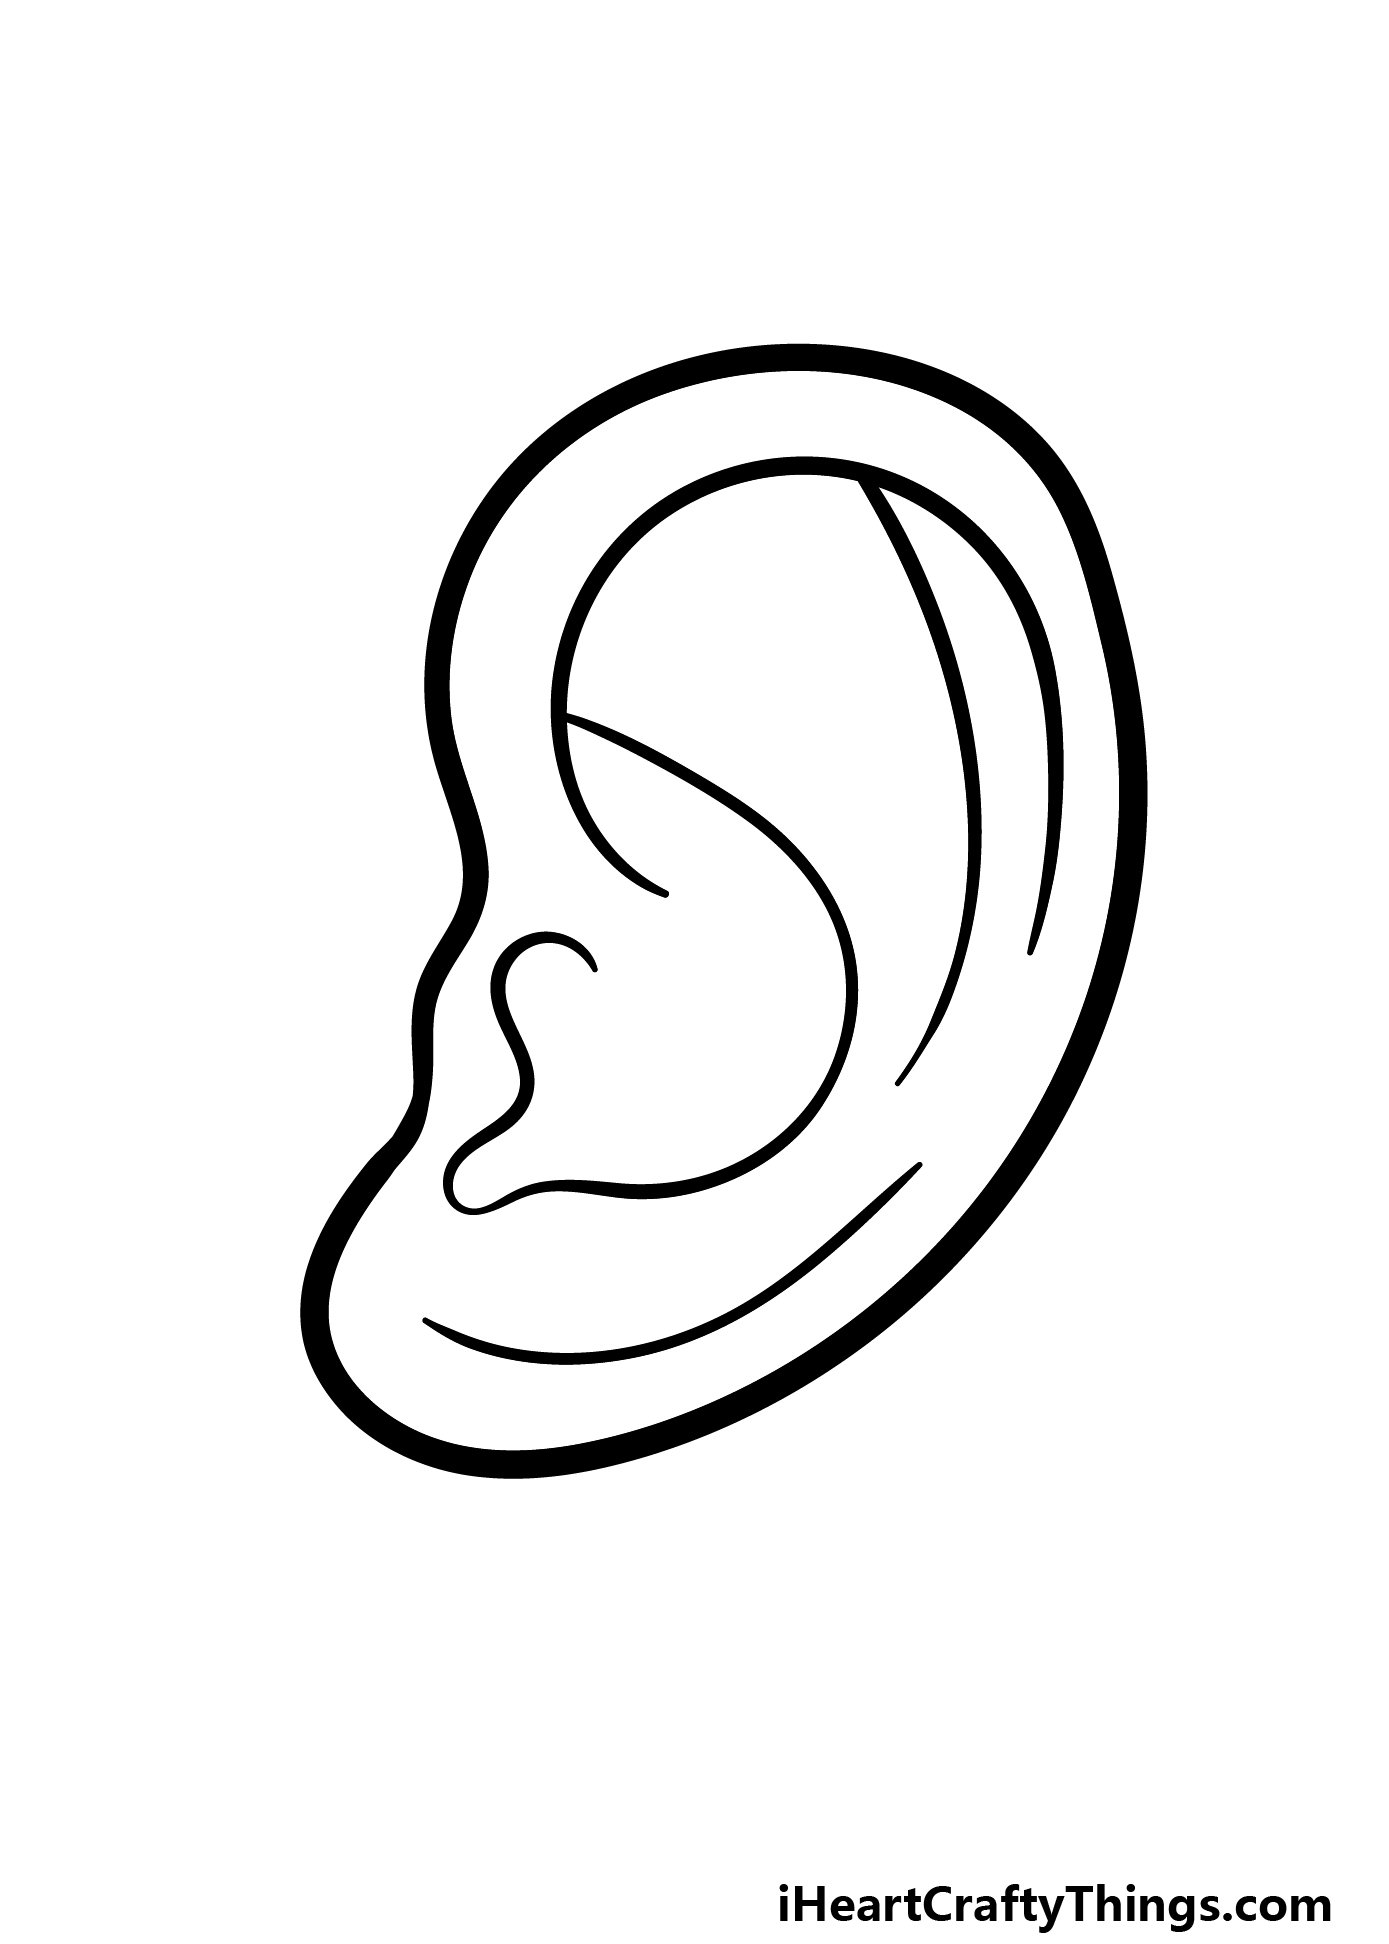
We have another easy step in this part of our guide on how to draw a cartoon ear! This time, we will be adding another curved line, but it will go along the lower edge of the ear.
Once that is drawn, you have finished this design of a cartoon ear! Before you move on, you could also add some extra details that you would like.
There are some fun, creative designs that you could go for! One idea would be to draw some earrings onto the ear, and if you have a big piece of paper you could draw the rest of the face.
These are just a few of the many ideas you could go for as you finish off this drawing. What ideas do you have?
Step 6 – Finish off your drawing with color
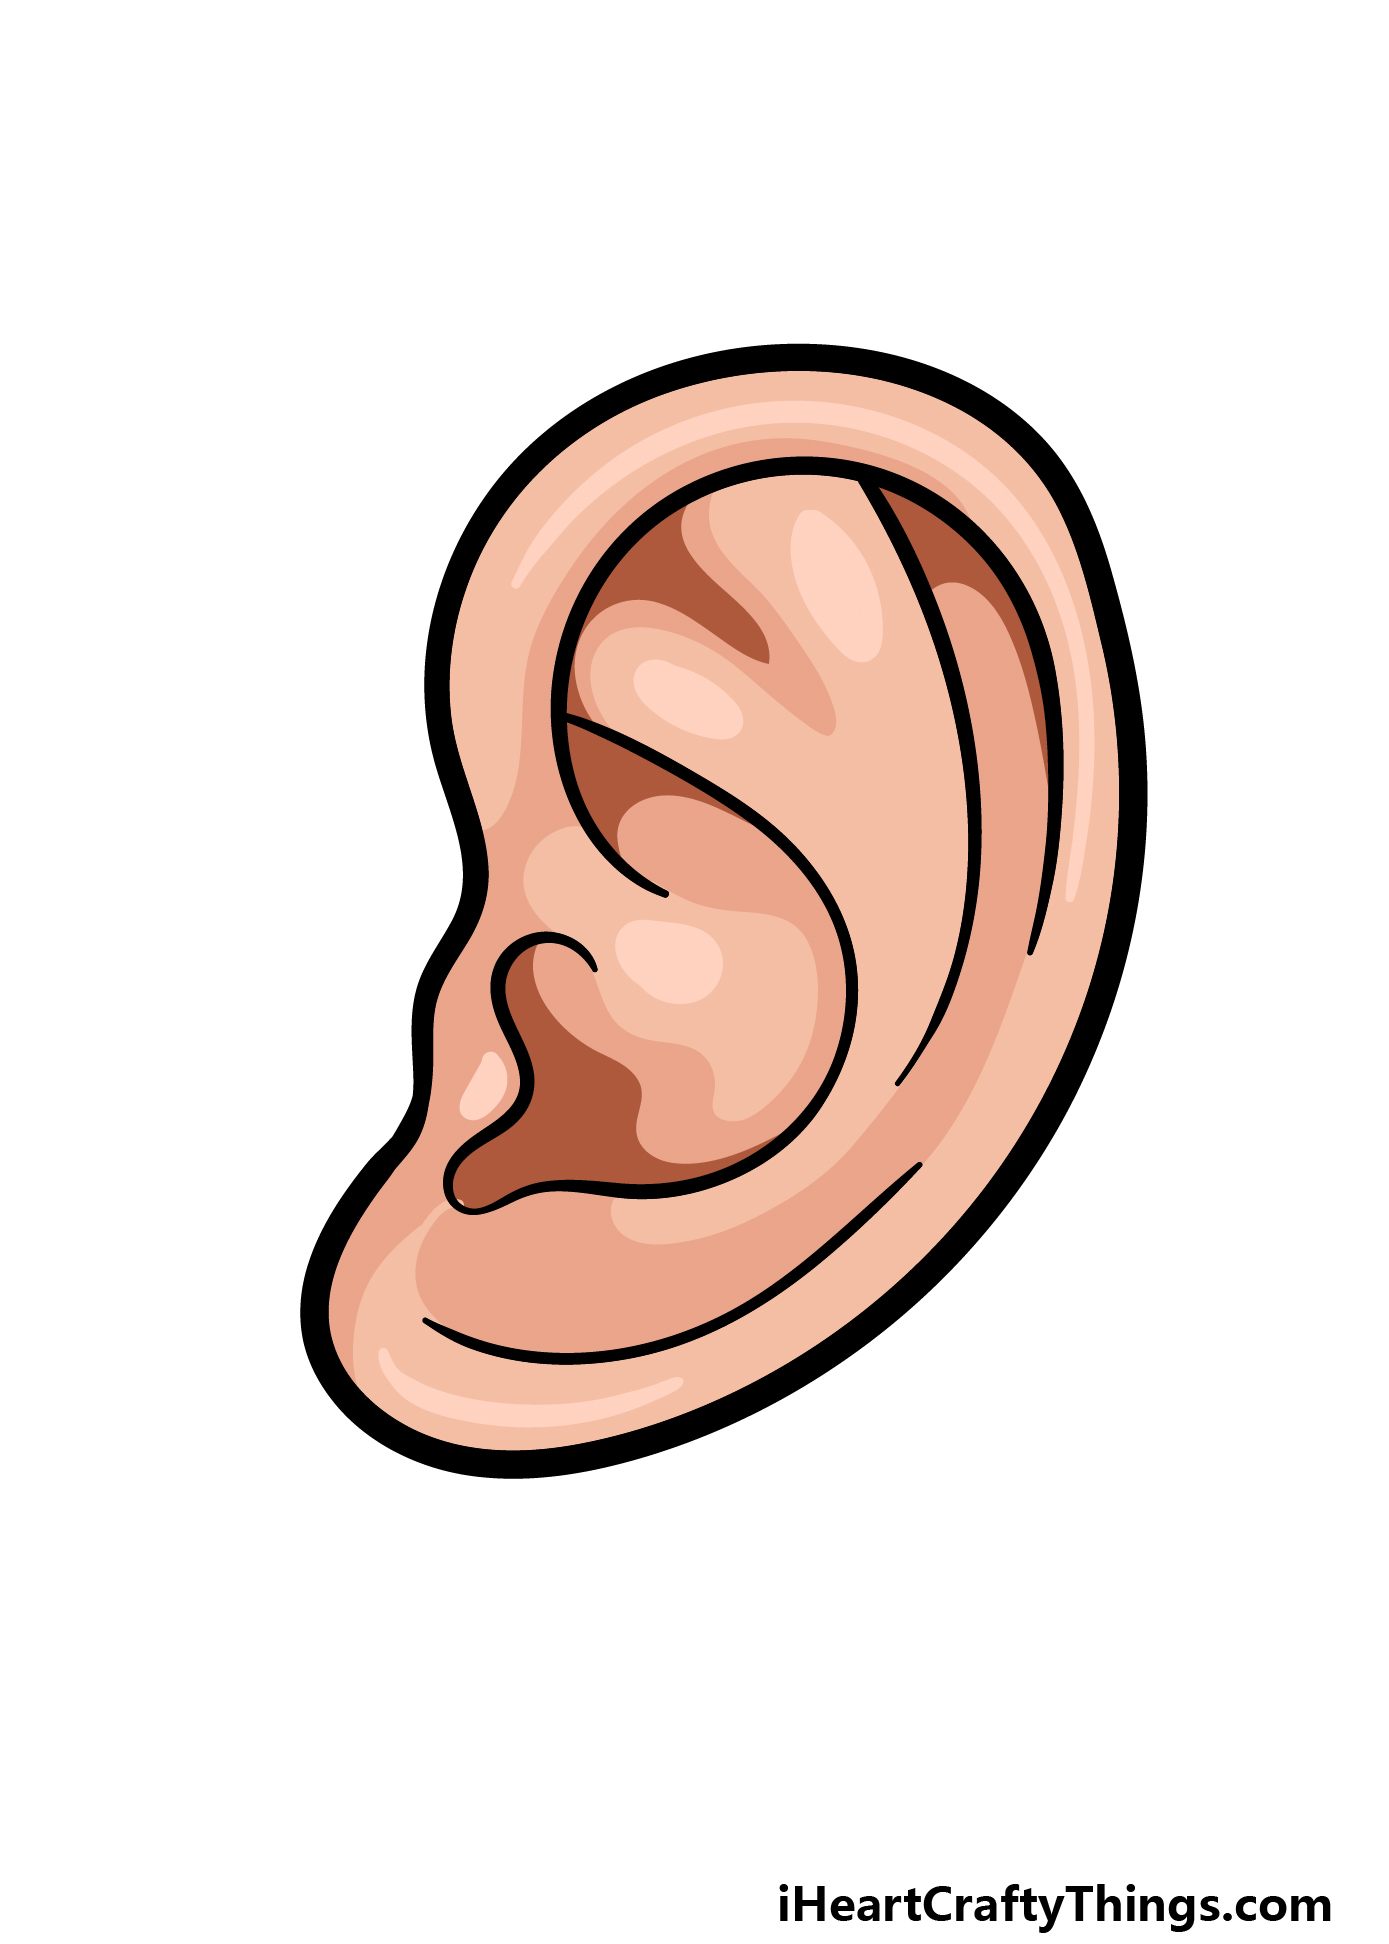
Now it’s time to finish off this ear with some color. There are many different skin tones and variations you could go for when coloring this ear, and we showed you one approach in our example.
No matter which color scheme you choose, you can see in our example how we changed up the various shades of the colors to show shading.
We would recommend using some watercolor paints for this drawing, as it is great for replicating skin tone! This is just one medium you could use, and each will look great in its own way.
It’s up to you now, so which colors and mediums will you choose to finish off this drawing?
5 Tips To Make Your Cartoon Ear Drawing Even Better!
Listen up for some great tips for your cartoon ear sketch!
In real life, many people like to wear earrings and other accessories on their ears. This is something you could add to your own drawing of a cartoon ear!
The form these decorations would take would be up to you, and you could include all manner of styles. Whether it’s a small stud or a large ring, you can make this cartoon ear really stand out.
The ear is a complex part of the human body and there are many parts that make it up. You could potentially make this artwork more educational by labeling the parts of the ear.
To get help with this, you could look up a diagram of an ear to help you as you add these labels.
This cartoon ear drawing could be made even more cartoony with a few extra details. For example, you could turn it into a proper cartoon character.
This could be as simple as adding some eyes and simple limbs to the cartoon ear. That would be a simple way of doing it, but you could make it more complex as well.
What kind of pose would you go for if you were to go with this tip?
The ear is one of many parts of our faces and heads, and you could make it more complete by drawing the rest of the head that it is attached to.
If you were to keep the ear as it appears in our image, then the face would probably be in a profile position. Maybe you could model the face after your own face!
Finally, you could dig a bit deeper to complete this cartoon ear sketch. One way of doing this would be to draw a cross-section of the inner workings of the ear.
This is another step where you could use some diagrams found online. Then, you could show the intricacies of the inner workings of the human ear.
It could be tricky, but it would be worth it!
Your Cartoon Ear Drawing is Complete!
You have finished this guide on how to draw a cartoon ear, and you should be very proud of yourself for conquering this particularly tough drawing challenge!
Even though drawing an ear can be difficult, we hope that these steps helped to show you just how easy and fun it can be when you know what to do.
Now you can be in charge and show us how you will finish off this picture! We gave you a few ideas to get you started, but what else can you think of?
If you had fun working on this image, you will find many more to enjoy on our website. We can’t wait to see you there as we upload more artistic content for you to have fun with!
Then, you can share your finished cartoon ear drawing on our Facebook and Pinterest pages for us to enjoy. We can’t wait to see how it turned out!