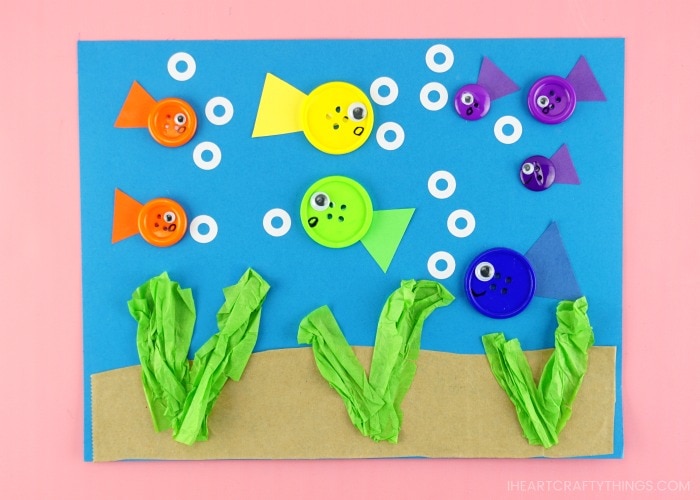
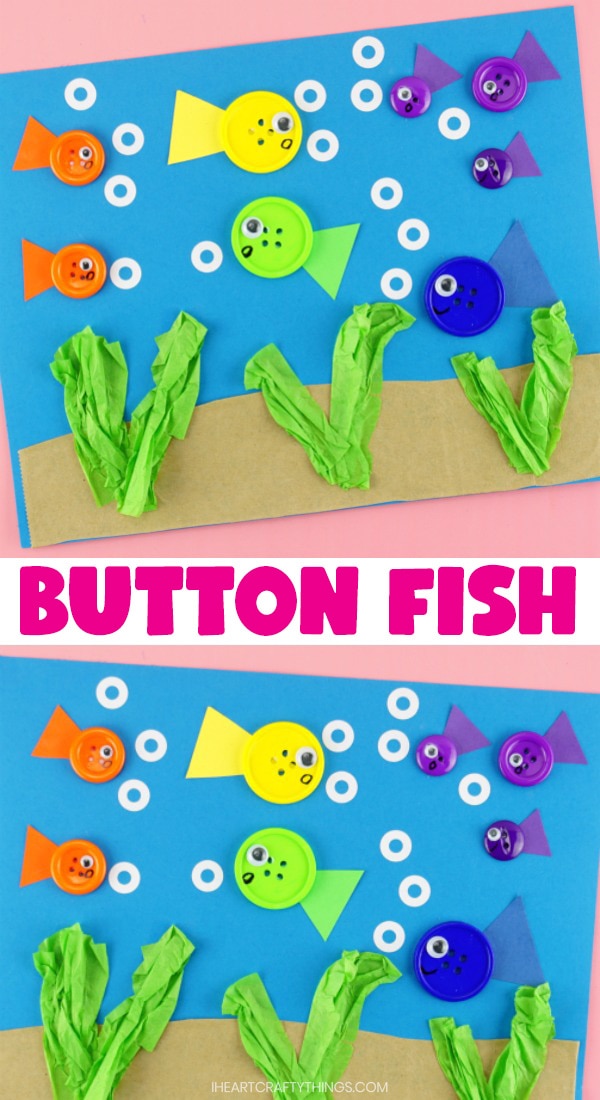
Have a variety of spare craft buttons laying around in your craft supplies? Here’s a fun way for you and your kids to turn them into a simple button fish craft.
I don’t know what it is about fish crafts, but I’m obsessed. I’ve had a big jar of colorful craft buttons in different sizes sitting in our craft supply closet for a while now. I looked at them the other day and was sparked with the idea to use them to create this colorful button fish craft for kids.
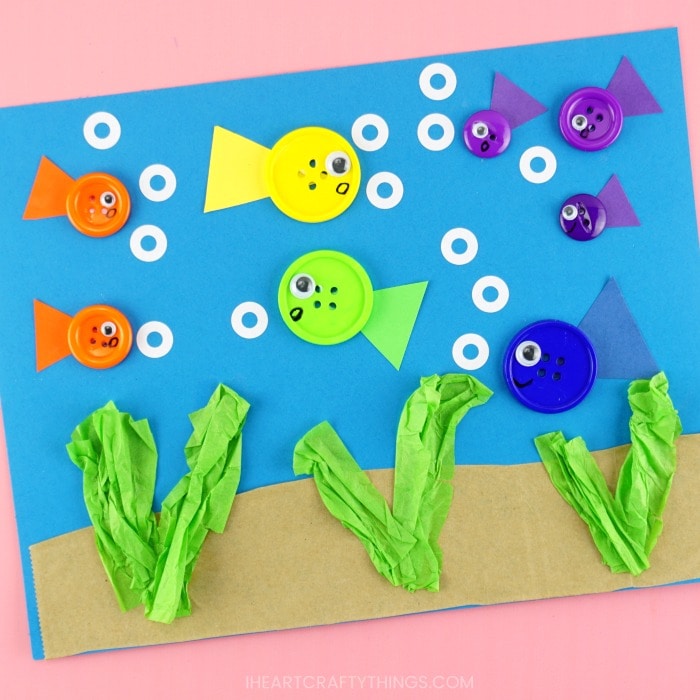
The buttons add a perfect texture to the fish craft since they pop off the page and the little hole reinforcer bubbles are perfect for kids who love to play with stickers…because what kid doesn’t like to play with stickers, right?!
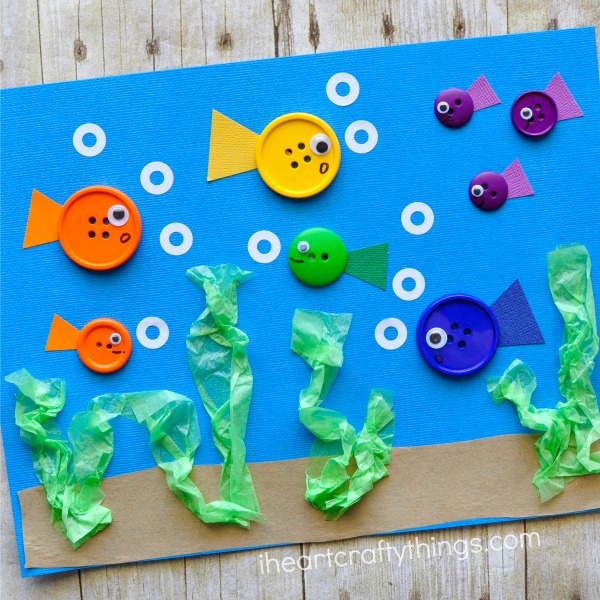
Supplies Needed:
This post contains affiliate links to the products mentioned. Read our disclosure policy for more information.
- buttons (different sizes and colors)
- blue and colored cardstock paper
- paper lunch sack (or light brown cardstock)
- green tissue paper
- white hole reinforcement labels
- small googly eyes
- fine tip black marker
- scissors
- glue stick
Directions:
1. Make sand bottom
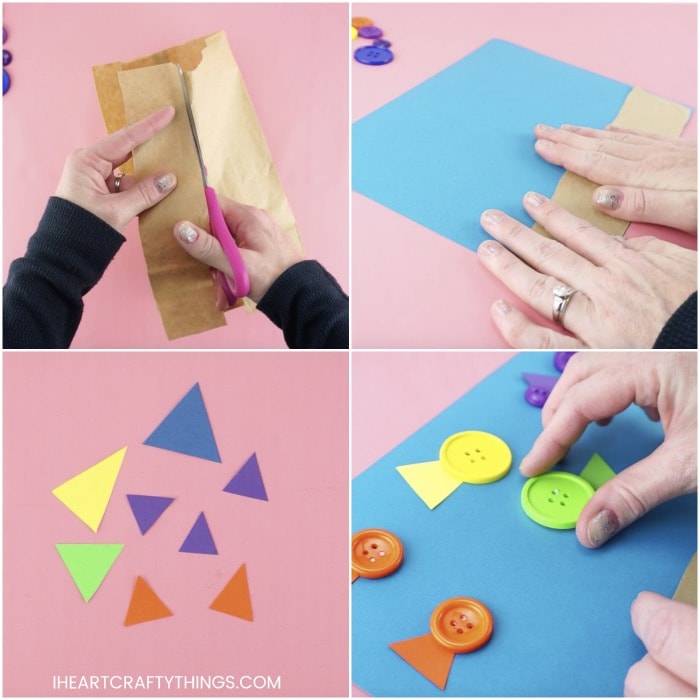
Start by cutting out a rectangle section out of your brown paper lunch bag for ocean sand. Glue it to the bottom of your blue cardstock paper.
Set aside the extra lunch bag in your paper scraps bin to use for another project. Or, if you are creating this craft with multiple children, you can get several pieces of sand from one bag.
2. Make & glue fish
Cut out triangle shaped tail fins for your fish from scrap pieces of paper. Arrange your buttons on your blue cardstock paper where you want to add your fish. Use an extra strength glue stick or school glue to glue down both the tail fin and buttons onto your paper to make all of your fish.
3. Make ocean plants
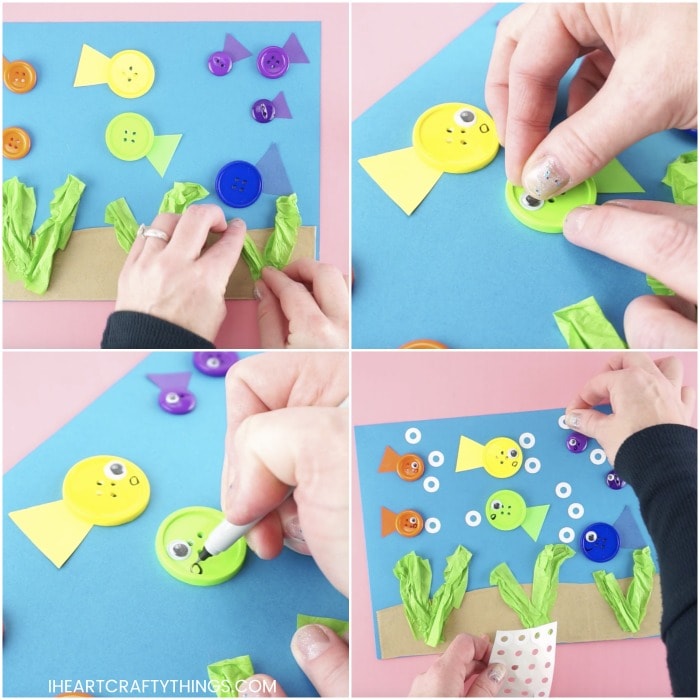
Crinkle up sever pieces of green tissue paper pieces. Glue them along the bottom of your paper to make ocean plants.
4. Add eyes & draw a face
Glue small googly eyes onto each of your fish. Then use a fine tip black marker to draw a mouth on each of your fish.
TIP: We love using adhesive googly eyes on projects like these so we don’t have to wait for drying time for the little googly eyes. I find it’s hard for small children to make tiny glue dots for adding these small googly eyes, so this is another reason the adhesive on the back is super helpful.
5. Add bubbles
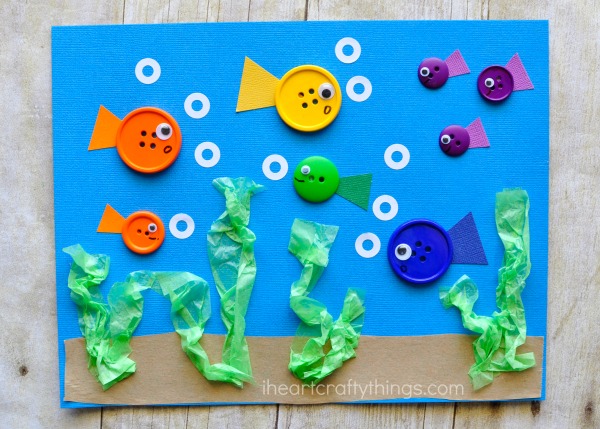
Finish your fish craft by adding paper hole reinforcers around each of your fish to make bubbles.
We love using stickers like these in our craft projects because preschoolers needing to use their hands and fingers to hold and peel off each sticker is fantastic fine motor work!
