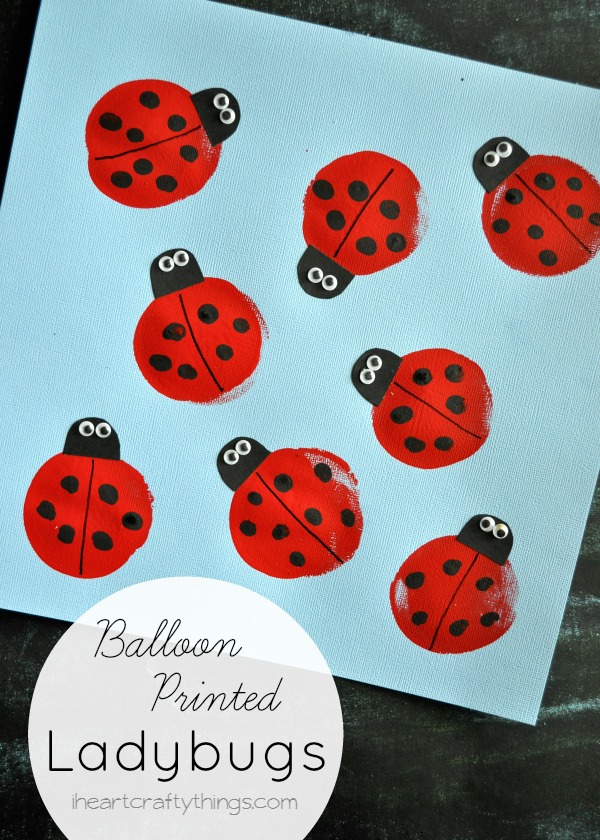
When I hear the word spring one of the first things I think of is ladybugs. We love, love ladybugs! Last year I shared this adorable balloon print ladybug craft over at Cooking with Ruthie and I’m excited to share the full tutorial with you here now.
What makes this craft extra fun is getting to paint with balloons. Who wouldn’t think that was fun, right?!
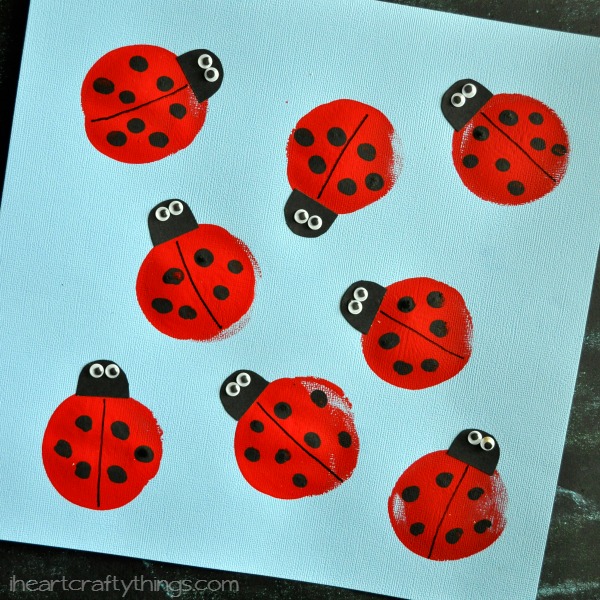
Not only will kids have fun painting with balloons, but they also get to use their fingerprints to create all of the ladybug spots. Preschoolers are going to have so much fun creating this cute insect craft!
Read our step-by-step instructions below for creating your own adorable balloon print ladybugs.
Supplies you need to make this ladybug craft:
- light blue and black cardstock paper
- balloon (we used a water balloon)
- red and black paint
- small googly eyes
- black marker
- paper plate
- scissors
- glue
Instructions for making this balloon print art project
1. Blow up balloon
Start by blowing up your balloon and tying a knot in it to secure it closed.
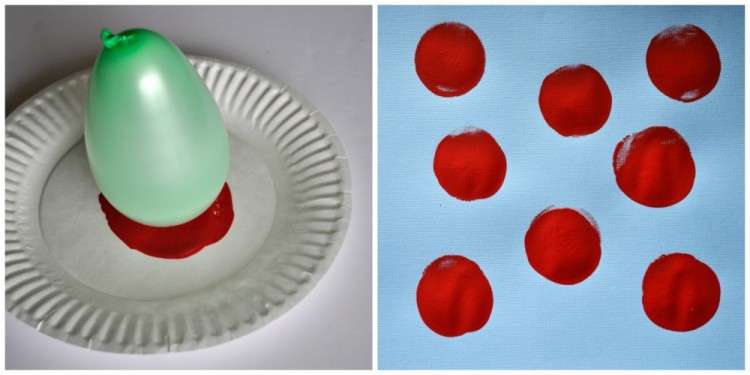
2. Dip balloon into red paint and stamp it onto blue paper
Pour some red paint onto a paper plate. Dip your balloon into the paint a few times to cover the bottom of the balloon completely and then stamp it onto your blue paper. Dip it in your red paint again and then stamp another red circle on your paper. Make as many balloon prints on your paper as you desire. Let the paint dry completely.
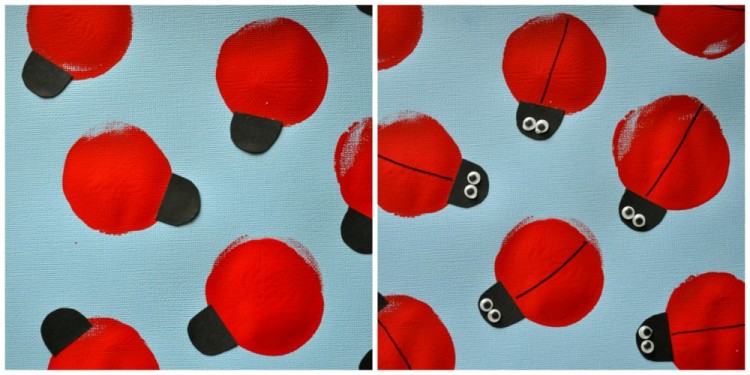
3. Cut out and glue on ladybug heads
Cut ladybug heads out of your black cardstock paper and glue them at the top of your ladybugs.
4. Add eyes, draw a line down the middle of ladybug body
Use your black marker to draw a line down the middle of your ladybug body. Also, glue two googly eyes onto each ladybug.
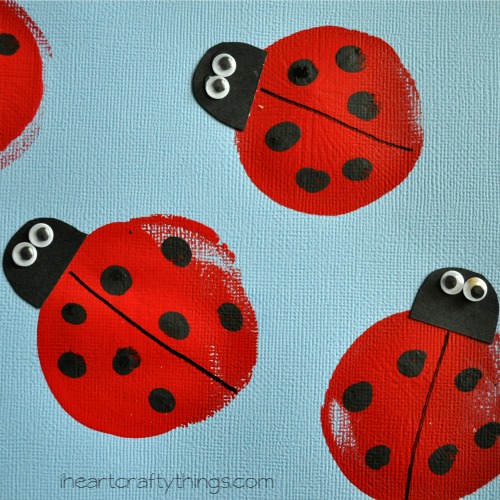
5. Make black fingerprint spots on the ladybugs
Pour some black paint onto your paper plate and finish your ladybug by making black fingerprint spots on your ladybugs.
