Visiting the zoo is one of my preschooler’s most favorite outings. She loves to sit and observe all of the animals and ask lots of questions.
One of her favorite animals at our local zoo is the giraffe. She is always amazed at their long, black tongues and she giggles as she watches them run around and play.
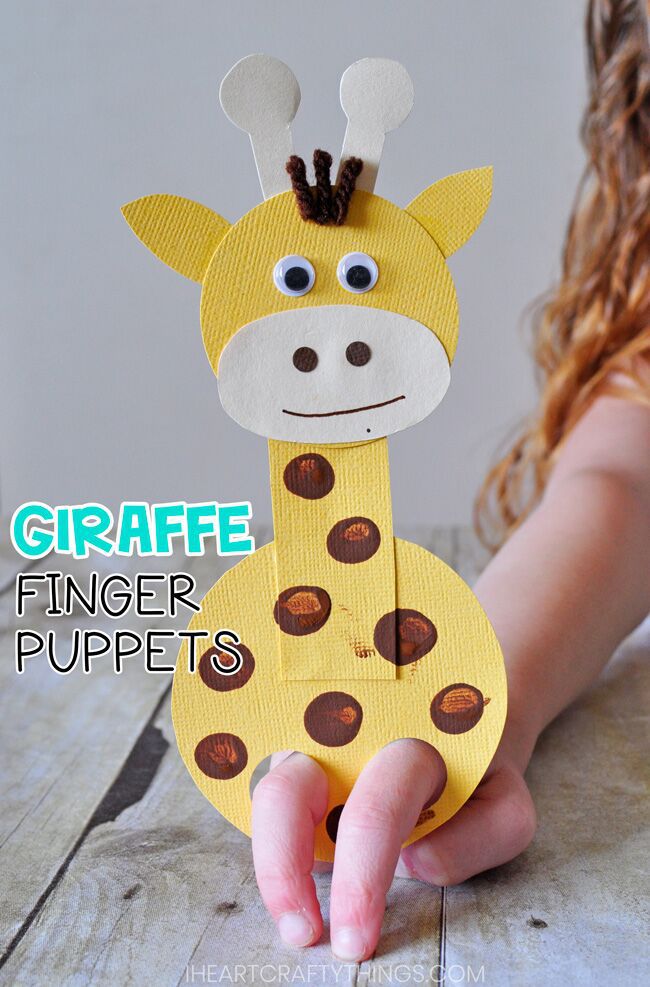
In honor of my daughter’s love of giraffes, we made this adorable Finger Puppet Giraffe Craft.
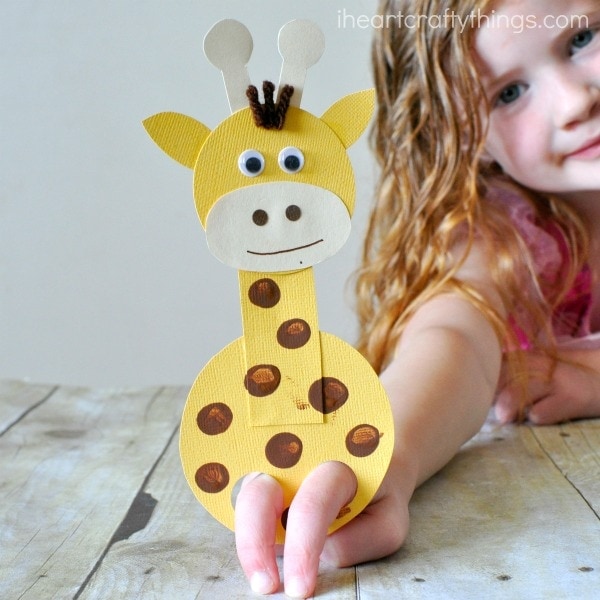
Finger puppets are such a hoot and are so fun to play with. We have made other animal finger puppets too, like zebras and llamas, as well as chicks and bunnies! We truly have a blast with them!
But make sure to check out our other favorite zoo craft activities at the bottom of this post because we like more than just finger puppets around here!
This post contains affiliate links to the products mentioned. Read our disclosure policy for more information.
We created a pattern for this craft you can download.
Supplies Needed:
- Yellow, cream and brown cardstock paper
- 3/4-inch circle punch
- Brown paint
- Small googly eyes
- Brown yarn
- Markers
- Hole punch
- Scissors
- Glue
Tutorial:
1. Prepare your shapes
Cut out the following shapes from yellow cardstock paper: a 2 1/2-inch circle, a 3 to 3 1/2 inch circle, a rectangle for a giraffe neck and 2 ears. If you would prefer to simply print and cut these shapes out of our printable template, you are in luck! We recently created a pattern so you can do just that!
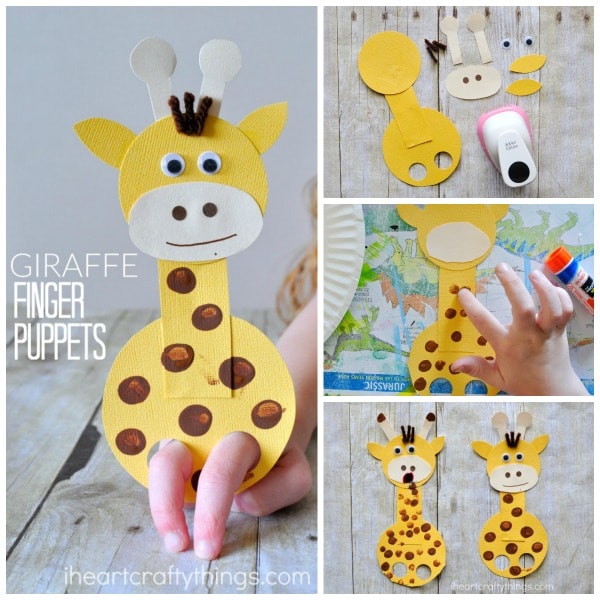
2. Cut out snout & horns
Using cream colored cardstock, cut out a snout and horns for your giraffe finger puppet. If you need help with the shape of these parts, check out the photographs below. They don’t have to look identical, of course, and in fact, the uniqueness of each craft is often what makes it so special!
3. Punch two holes
Take the 3/4-inch hole punch and punch two circles in the bottom of the larger yellow circle. These will become the finger puppet holes in the giraffe.
4. Glue head to the body
Next, glue the yellow rectangle giraffe neck onto the large circle. Glue the smaller circle on top of the rectangle neck. That becomes the giraffe head. Last, glue on your snout, ears, horns and googly eyes.
5. Glue all details to the face
Last, glue on your snout, ears, horns and googly eyes.
6. Make nose and hair
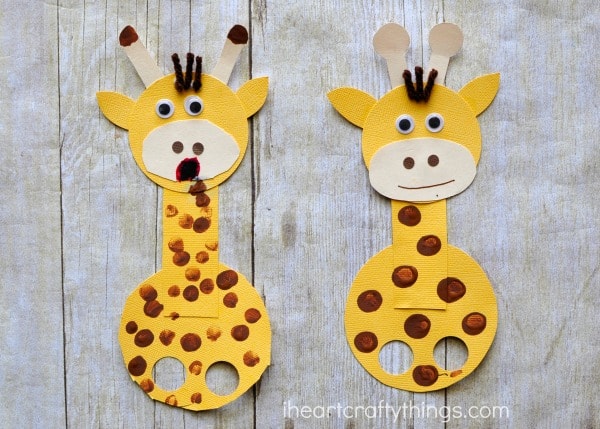
Punch out two brown holes with the hole punch and glue them onto the snout. Cut off a few small pieces of brown yarn and glue them on top of the giraffe’s head. Use markers to draw a mouth on your giraffe.
My preschooler also colored in the tips of her horns. You can personalize your giraffe craft whatever way you see fit!
7. Paint small dots all over the body
Pour a small amount of brown paint onto a paper plate. Dip your finger into the paint and use it to make fingerprints all over your giraffe, making the giraffe spots.
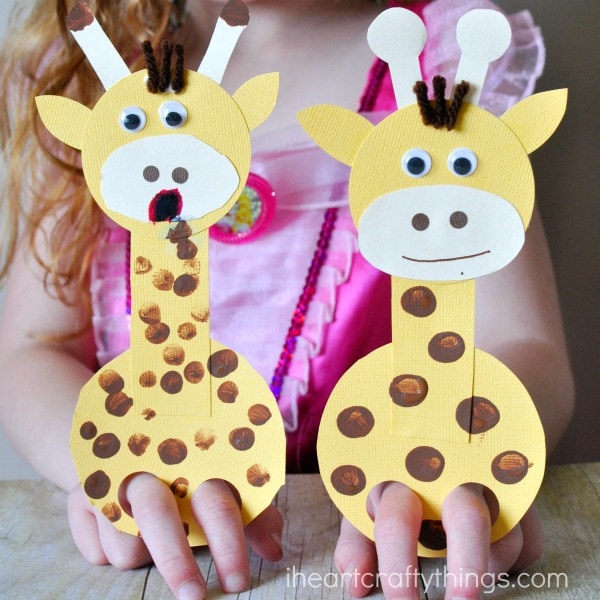
Once your paint and glue are finished drying, your finger puppet giraffe craft is ready for play! Simply place two fingers into the holes at the bottom of your giraffe puppet and start walking! Finger puppets can walk, run, dance and go wherever your imagination takes you!
Video Tutorial: How to Make Giraffe Finger Puppets
Watch the video below for a step by step guide on how to make this giraffe craft with our template. Find more animal craft ideas and summer kids crafts by browsing the categories at the top menu bar of our website.


