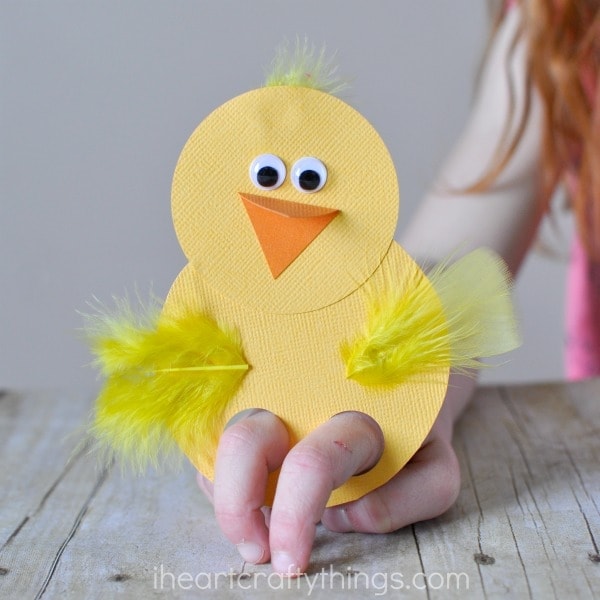
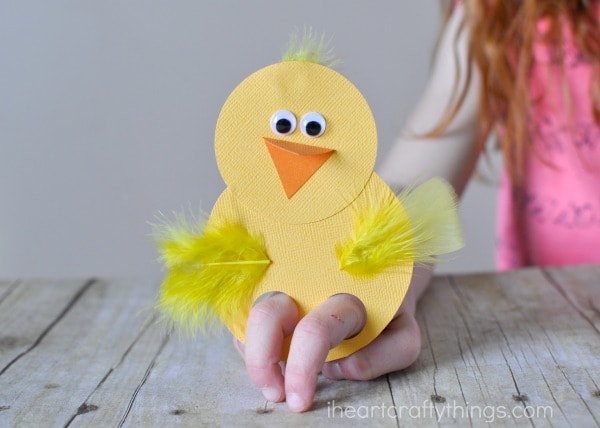
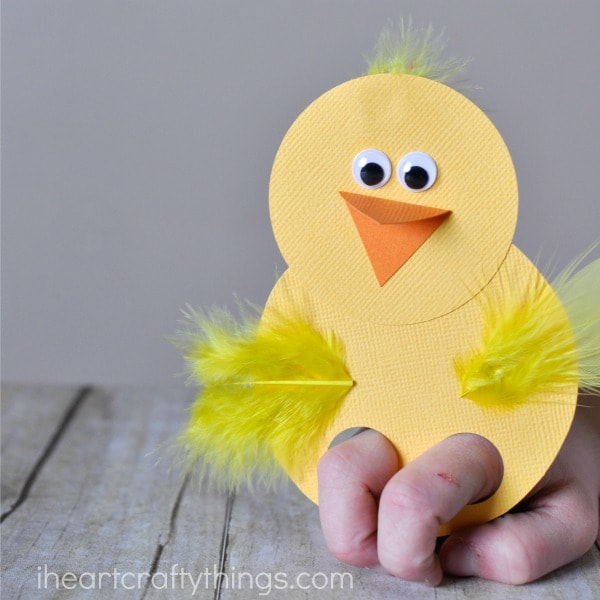
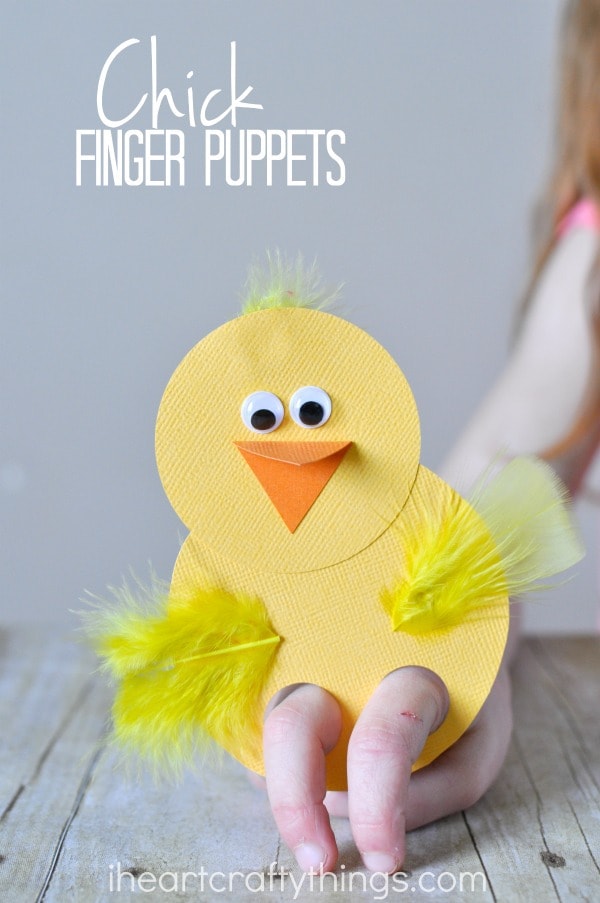
Get ready for an afternoon full of make and play fun after creating these adorable chick finger puppets.
I know, I know…We are obsessed with puppet crafts at my house. Can you blame me though?! Not only are they a cute craft for kids to make but they are incredibly fun to play with afterwards.

HOW TO MAKE ADORABLE CHICK FINGER PUPPETS
After we made our bunny finger puppets yesterday my preschooler pointed out that with Easter coming up this weekend we just had to make a chick too. It was such a genius idea since now our cute bunnies have new friends to play with.
Supplies needed:
{This post contains affiliate links to the products mentioned. Read our disclosure policy for more information.}
- yellow and orange cardstock paper
- 3/4-inch circle punch (1/2-inch might be better for toddlers)
- googly eyes
- yellow feathers
- glue
Instructions:
1. Cut out your shapes
Start by cutting out a 3-inch circle and a 2 1/2-inch circle out of your yellow cardstock paper.
2. Make holes for fingers
Use your 3/4-inch circle hole punch to cut out two circles at the bottom of the 3-inch circle for your finger slots.
3. Glue head to a body
Glue your 2 1/2-inch circle onto your 3-inch circle to make the chick head and body. Make sure to keep the finger holes at the bottom of the chick.

3. Make a beak & glue eyes
Cut a diamond shaped beak out of your orange cardstock paper and glue it onto your chick face. Then glue googly eyes onto your chick.
4. Decorate with feathers
Finish your chick by gluing small yellow feathers onto the sides for chick wings. You might also like to glue a small amount at the top of the chick’s head too.

Now these adorable chick finger puppets are all ready for imaginative play!
Simple place two fingers into the finger slots at the bottom of the chick and have fun making your little chick cheep and chirp.


