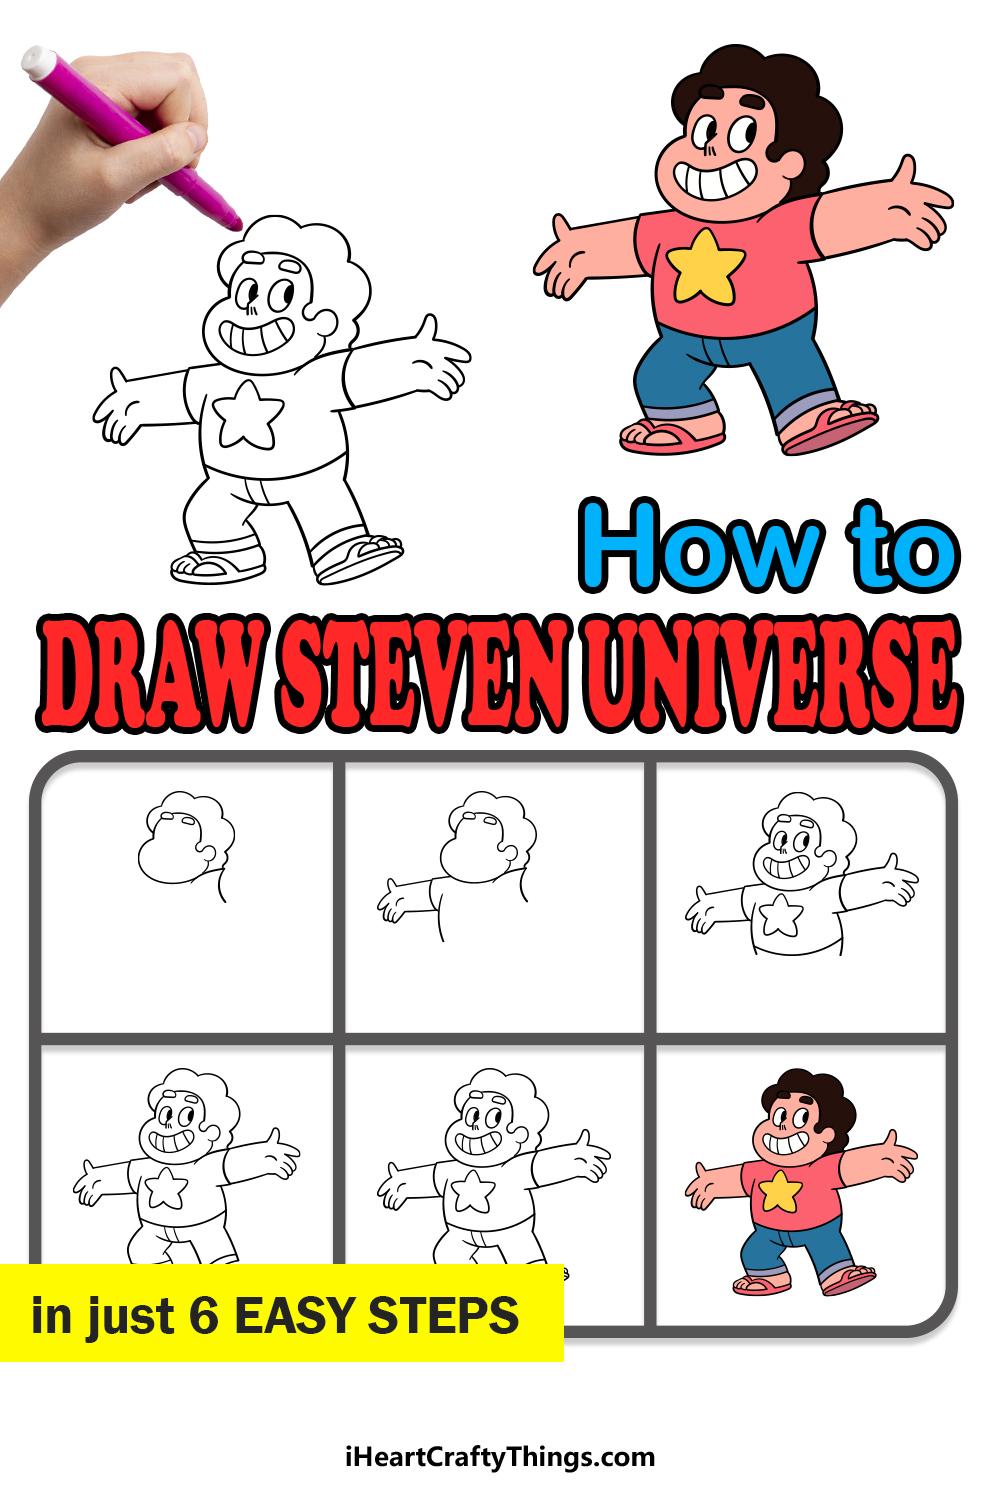
Steven Universe is one of the most popular cartoons to come out in recent years. Millions of people tune in to watch the thrilling adventures and touching character moments of this inventive cartoon.
The titular character of the show is the happy and kind-hearted Steven himself. If you’re a fan of the show, it can be fun to learn how to draw Steven Universe to imagine your own adventures!
If you would like to learn how to do it yourself then you’re on the right guide!
This step-by-step guide on how to draw Steven Universe in just 6 easy steps will show you everything you need to know about drawing this beloved character.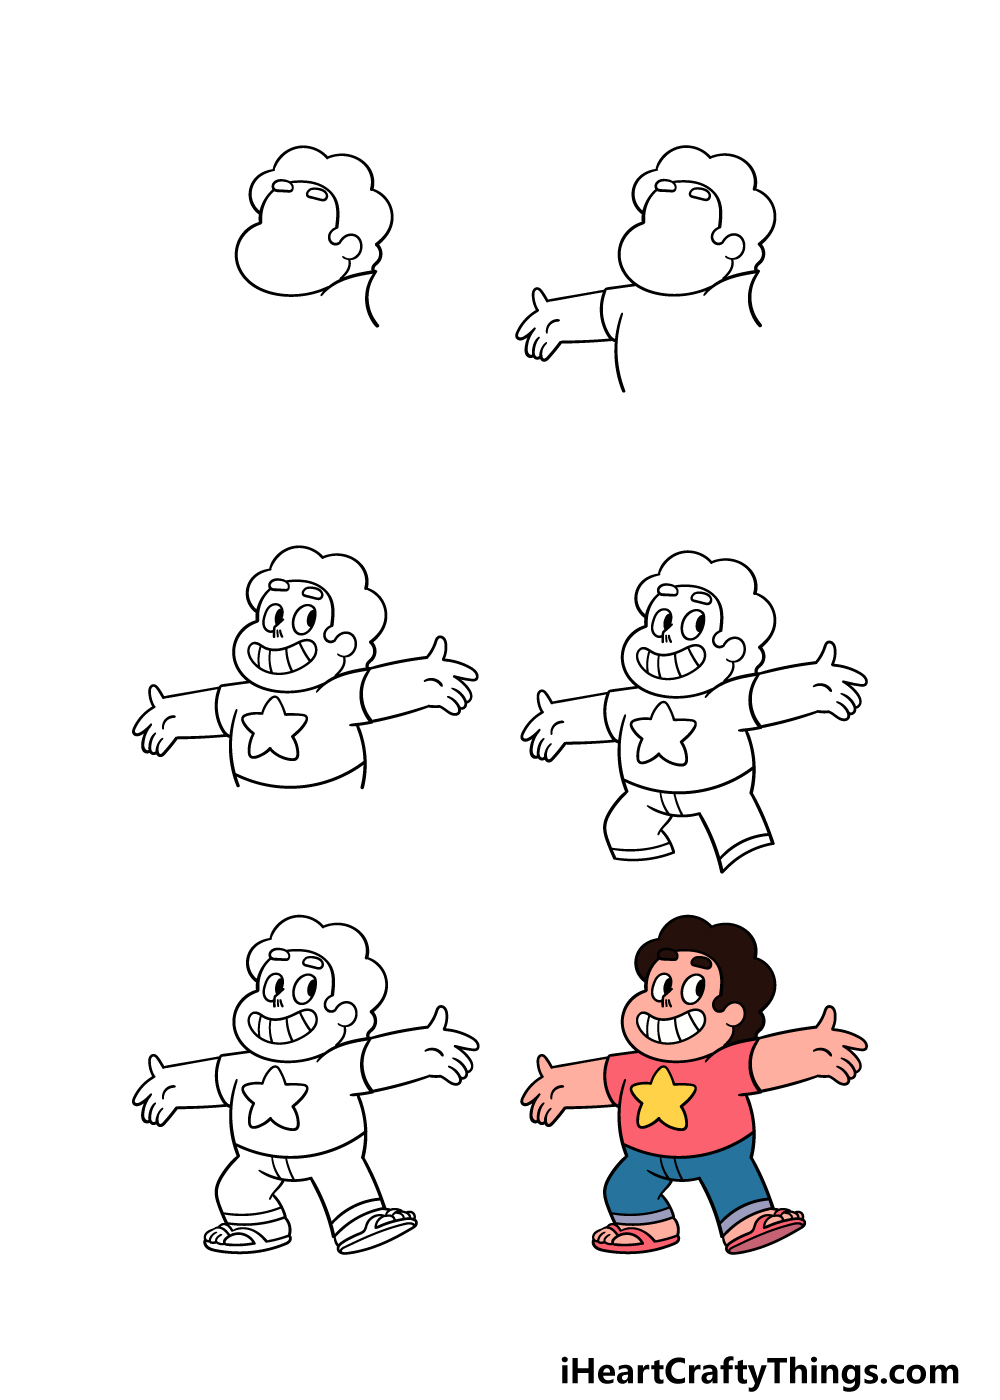
How to Draw Steven Universe – Let’s get Started!
Step 1

In this first step of our guide on how to draw Steven Universe, we will be starting with his head.
Steven’s whole body in general is made up of lots of rounded lines, and that’s definitely the case with his head and hair. First, we will be drawing a rounded shape for his forehead and then a larger one for his chin beneath that.
Then, you can use some large, bumpy lines over the head for his curly hair. Then, you can use two small flat, round shapes for his eyebrows.
Then this step will be capped off by drawing his shirt sleeve underneath the head that we will be adding his raised arm to later.
That will finish off this first step, and now we’re ready to proceed!
Step 2 – Draw the first arm and stomach for Steven in this step
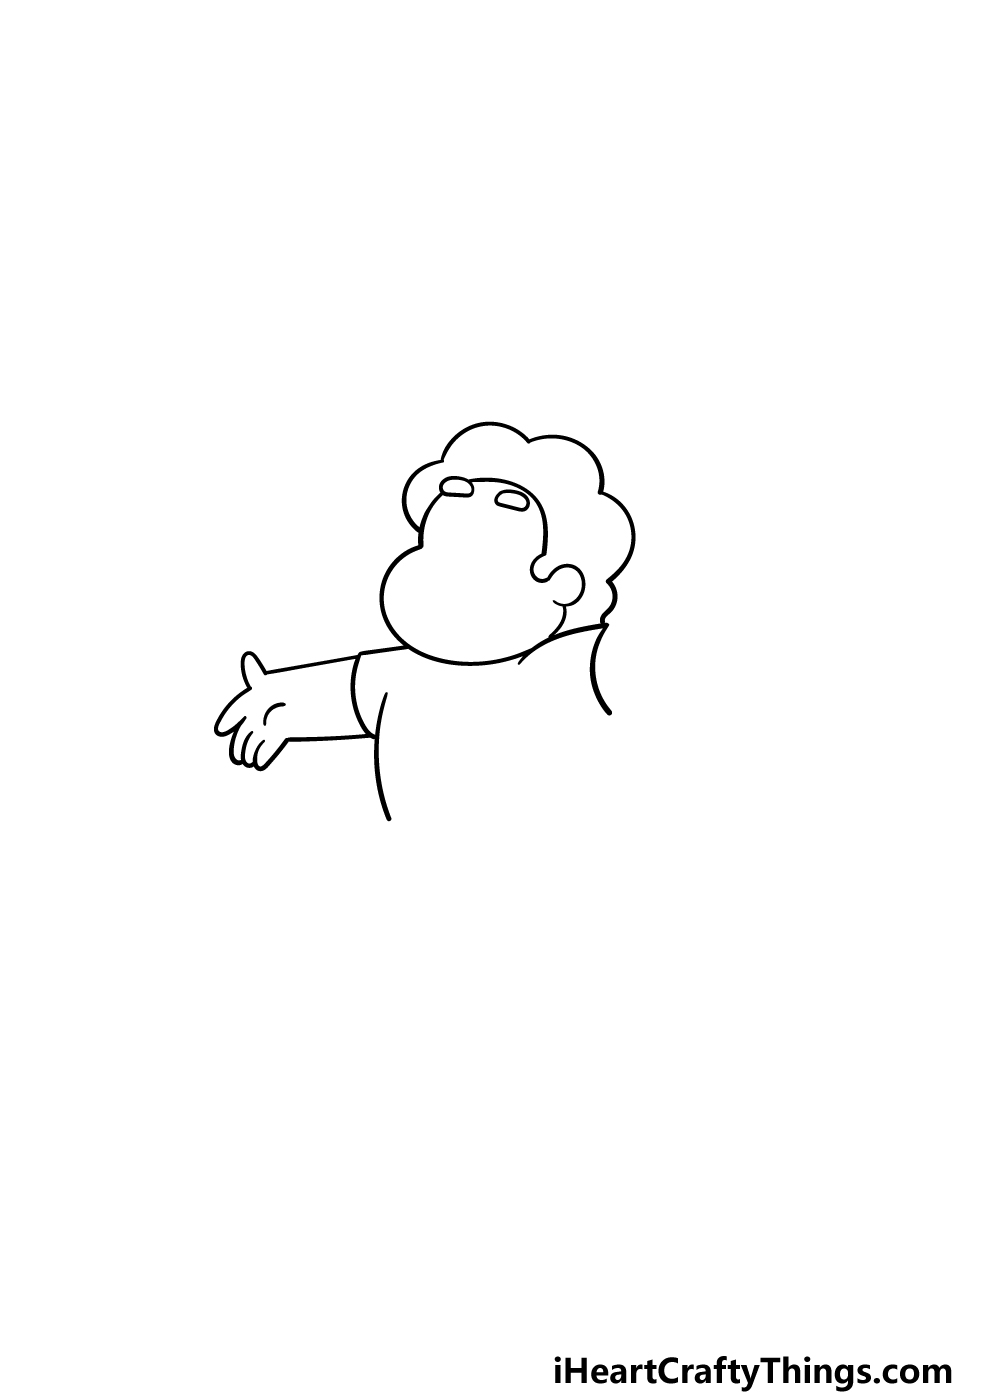
Now that you have the head outline for your Steven Universe drawing complete, we will start to draw his body now.
You can use some straight lines for his short sleeve, and then extend his arm out from it. Some simple curved lines will make up his fingers, and then you can use one more rounded line for his belly.
With that first arm done, you have completed this second step!
Step 3 – Now, draw his facial features and other details
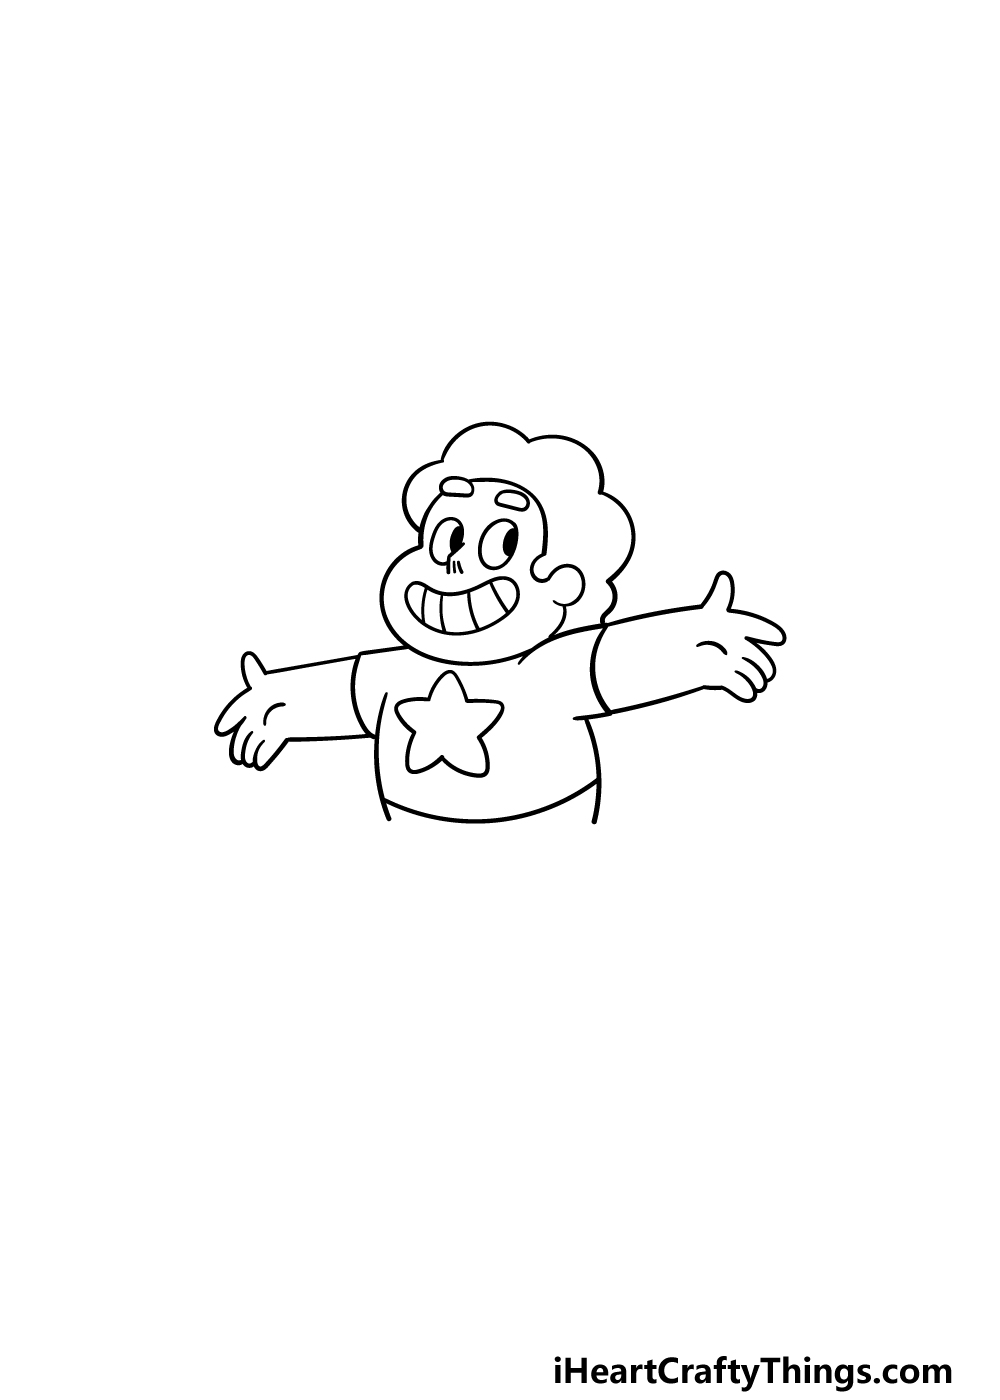
We’ll move back to the facial area for this step of our guide on how to draw Steven Universe. His eyes are drawn with two oval shapes that have large black pupils inside of them.
Then, his nose is drawn with a small line and two dots. Finally, his smiling mouth will be drawn with a rounded shape that has lines drawn inside of it for his teeth.
That will finish his face, and then we can draw more of the body.
First, you can draw another arm extending outward, and this arm will look very similar to the one you just did.
Finally, you can draw the large star that goes on his shirt and then draw his back and the top of his jeans.
Step 4 – Next, draw his legs
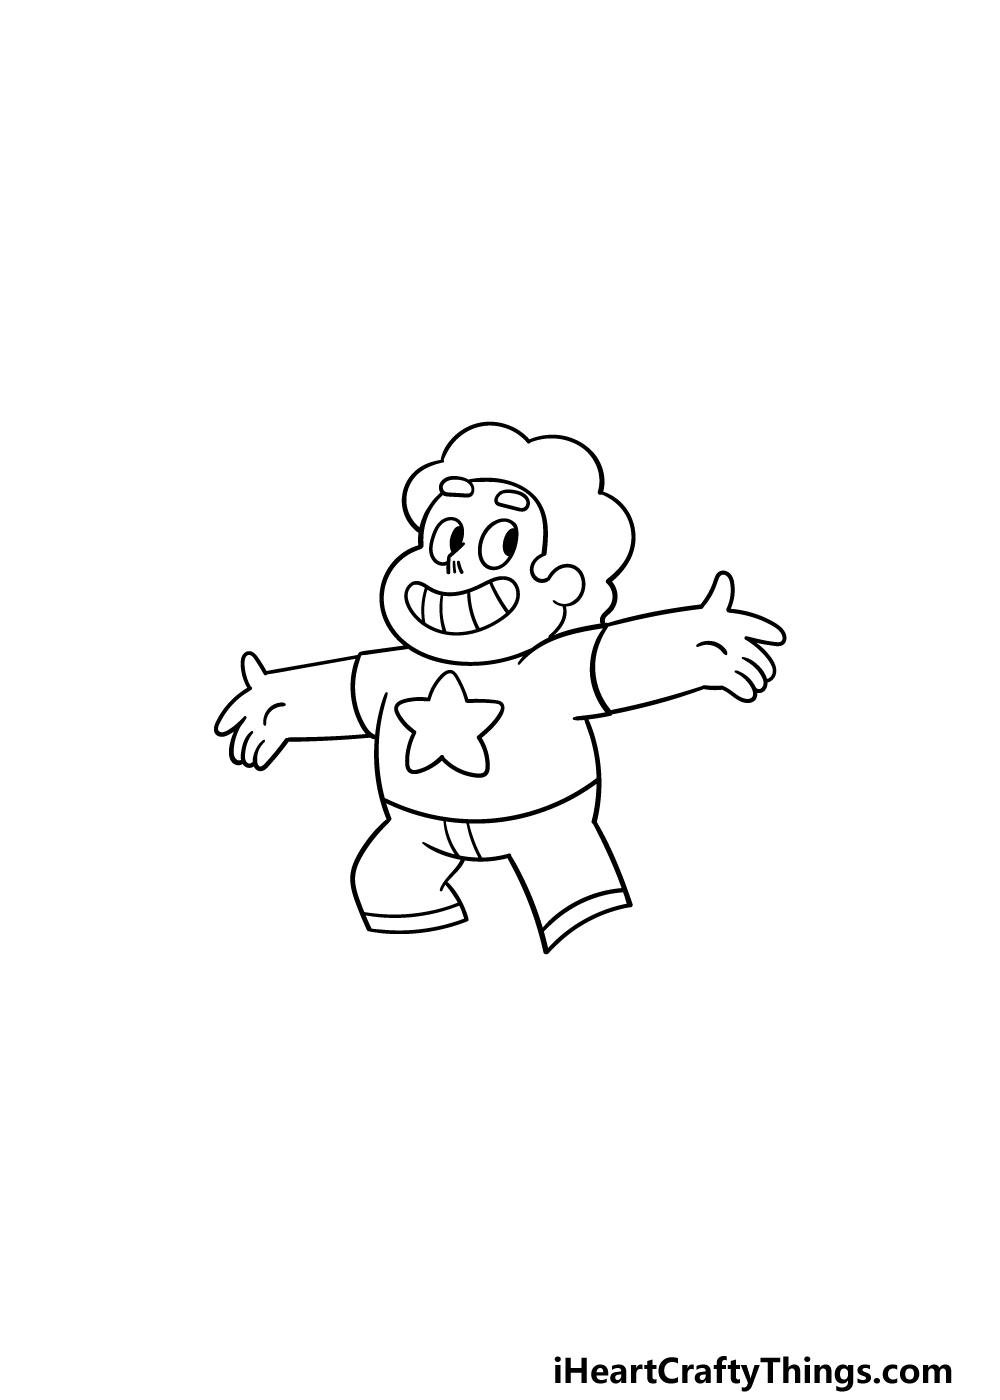
For this next part of your Steven Universe drawing, we will be drawing his legs before we add the final details in the next step.
The leg on the left will be drawn with some curved lines to show that it’s in the air. Then, the leg on the right will be drawn with some straighter lines that are only very slightly curved.
Then you’re ready to move on to step 5!
Step 5 – Now, you can draw his feet and final details
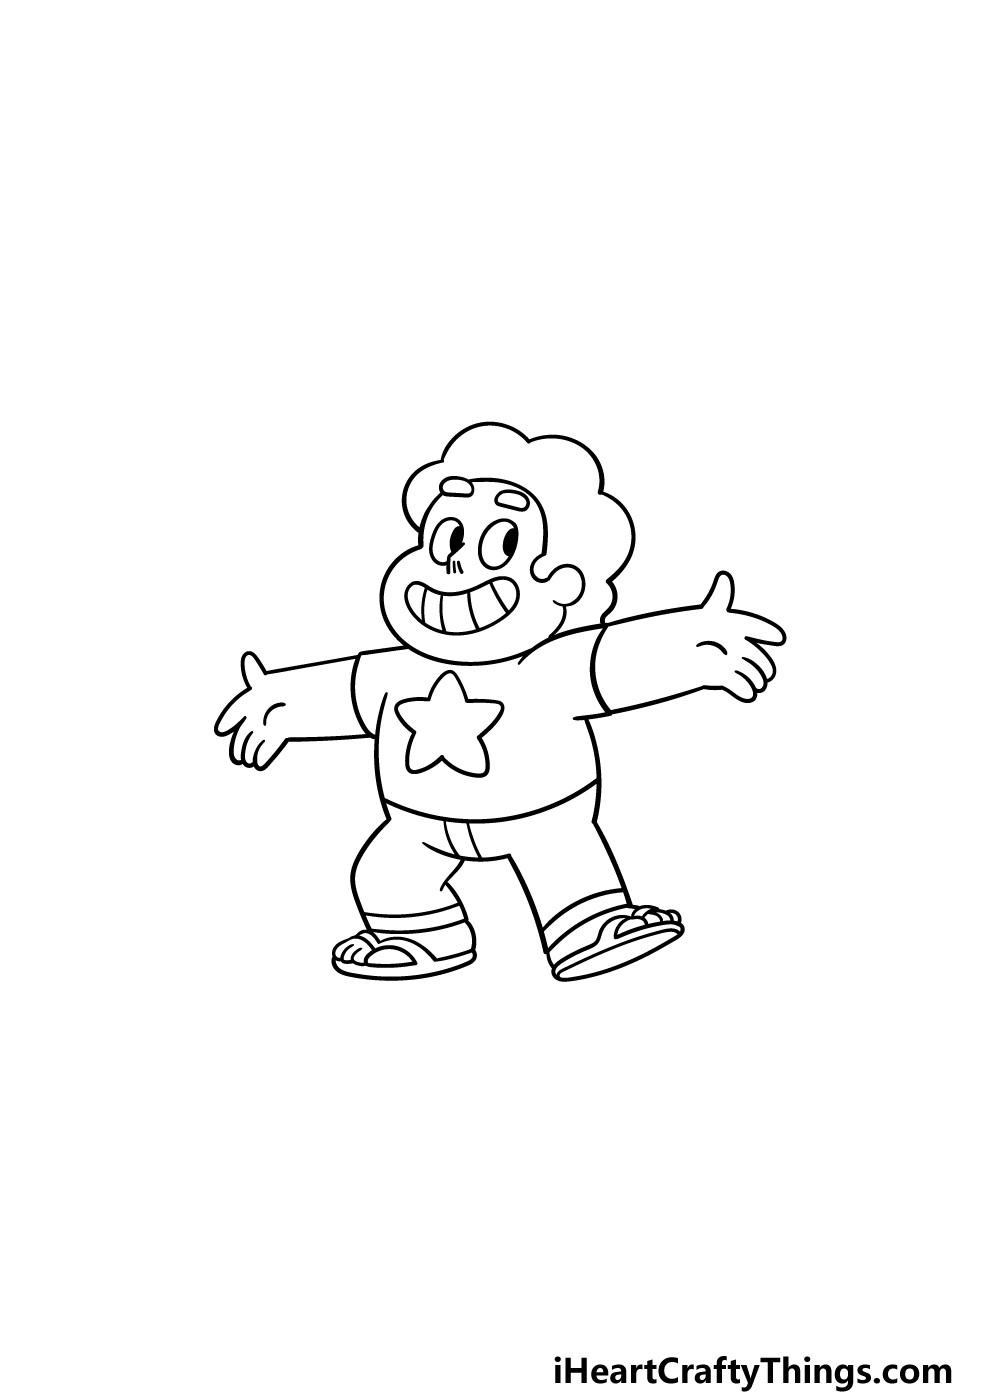
In this part of our guide on how to draw Steven Universe, we will be drawing his feet as well as adding any extra details or elements that you may want for it. First, for his feet he will be wearing the sandals that he wears in the TV show.
There will be two curved lines on top of the shoes for the straps of the sandals, and then his toes will be connected to them.
Then, there will be a thin base underneath the sandals. That will finish off the Steven Universe drawing, but you don’t have to move on just yet!
Before you start to color in your picture, you can also change up the details and elements first. Some ideas for what you could do could include changing up the pose he’s in or drawing some objects and accessories for him to interact with.
You could also draw a cool background, and this would be a great way to recreate your favorite scene or environment from the show. How will you finish off this drawing with your own details?
Step 6 – Finish off your Steven Universe drawing with some color
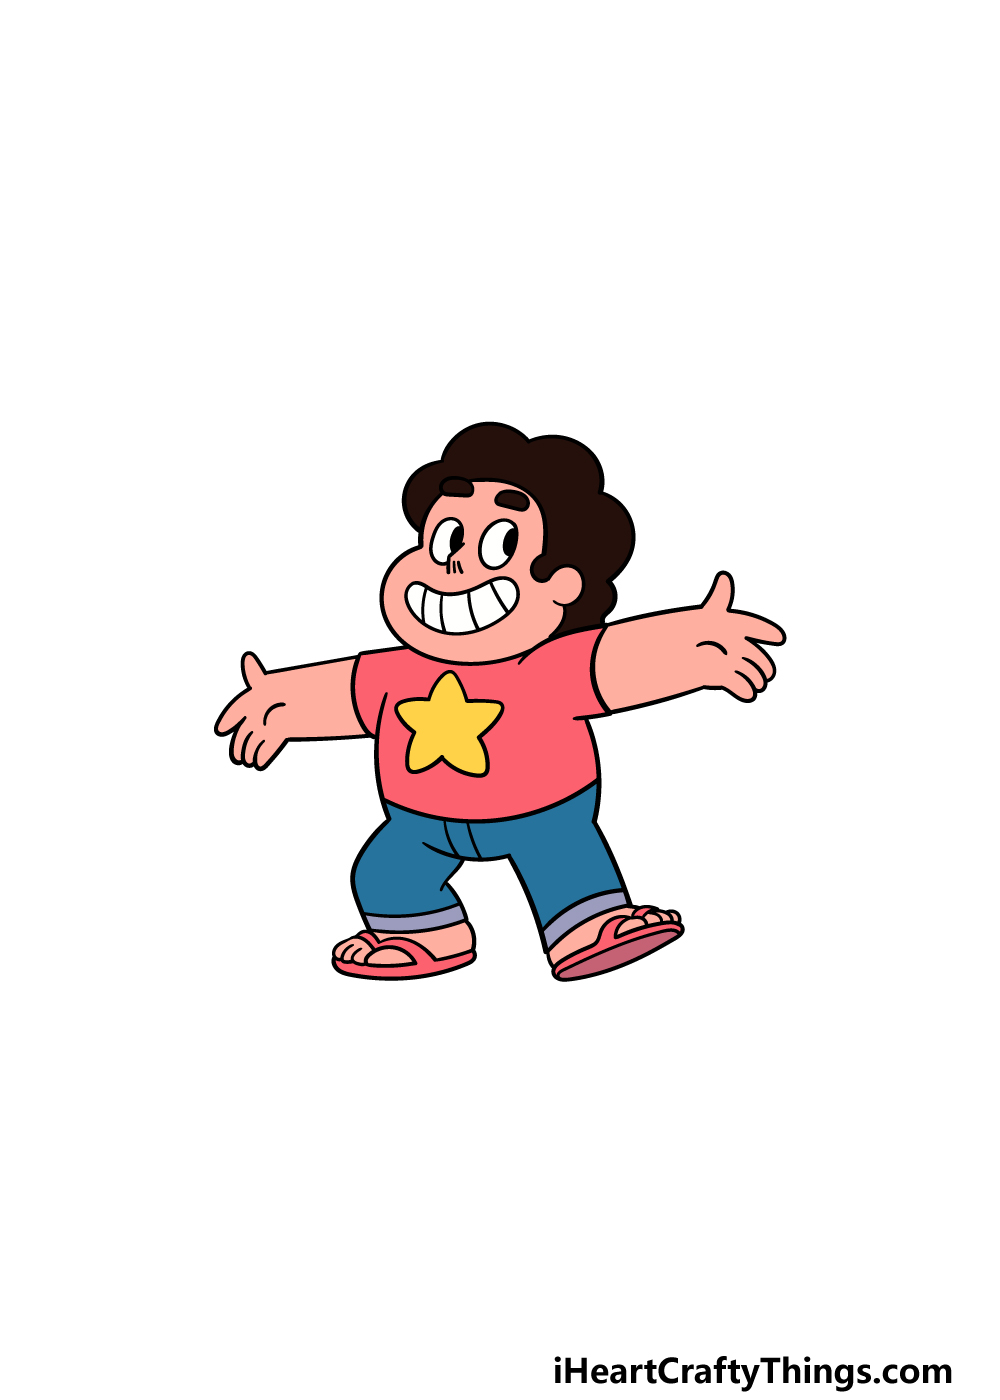
That brings you to the final step of your Steven Universe drawing, and this is a fun one! In the show, Steven has a pretty distinct color scheme.
His shirt is pink with a yellow star on it, and he has shades of blue for his pants. His hair is also solid black, as shown in our example.
We used these colors in our example image to give you something to refer to if you wish to keep his colors true to the show.
You could also change up the colors to create your own variation as well! If you drew any extra details like a background then you can use that to inject even more color to your drawing.
Then, you can have some fun experimenting with your favorite art mediums and tools to finish it off.
What colors and mediums will you use to close off this guide?
4 More Ways To Make Your Steven Universe Drawing Unique
Make this awesome Steven Universe sketch even better with these tips!
This drawing of Steven Universe that we created shows him in a cool pose. You could change up the pose a bit if you want to make it more unique, however!
This could be as simple as drawing a new facial expression or you could go for a more action-oriented pose.
The changes you make would depend on your own preferences, and it can help to make it so much more unique!
In the show, Steven Universe has some amazing powers that he uses on his adventures. These could be great to add to the drawing as well!
Not only can these powers look super cool, they can also be great for some color variety for your picture. When adding powers, you could start by showing powers he has in the show.
Or, you could show what it would look like if he had some unique powers that you can think of. That would be a great way to make your drawing even more personalized!
In the show, Steven is joined by many other memorable characters. These would be fantastic to add to your Steven Universe drawing to make it more complete!
Garnet, Pearl, Amethyst and Steven’s father Greg would all be great characters to add to the scene. Of course, this is just a small selection of the characters you could use!
Which of your favorite Steven Universe characters would you like to use for the drawing?
Finally, you could finish off your Steven Universe sketch with a background. In the show, the backgrounds are simple yet beautiful, so that could make them easier to depict.
When adding a background, you have a few options for what you could use. The easiest approach would be to use backgrounds from the show as inspiration.
That way, you could also replicate your favorite scenes from the show. Or, you could design your own unique backgrounds to take Steven and his friends on all new adventures!
Your Steven Universe Drawing is Complete!
With the final details, colors and additions finished that means that you have completed this step-by-step guide on how to draw Steven Universe!
We hope that you had a lot of fun working with us on this guide to recreating this awesome character.
Now you can show us what you can do by adding your own touches to the picture. We gave a few ideas that you could go for earlier in the guide, and we will be very interested to see what else you can think of!
We have many more incredible guides for you on our website for you to enjoy! Be sure to visit often to catch the new guides we upload frequently.
Once your awesome Steven Universe drawing is finished up, please go ahead and share it on our Facebook and Pinterest pages for us to enjoy!