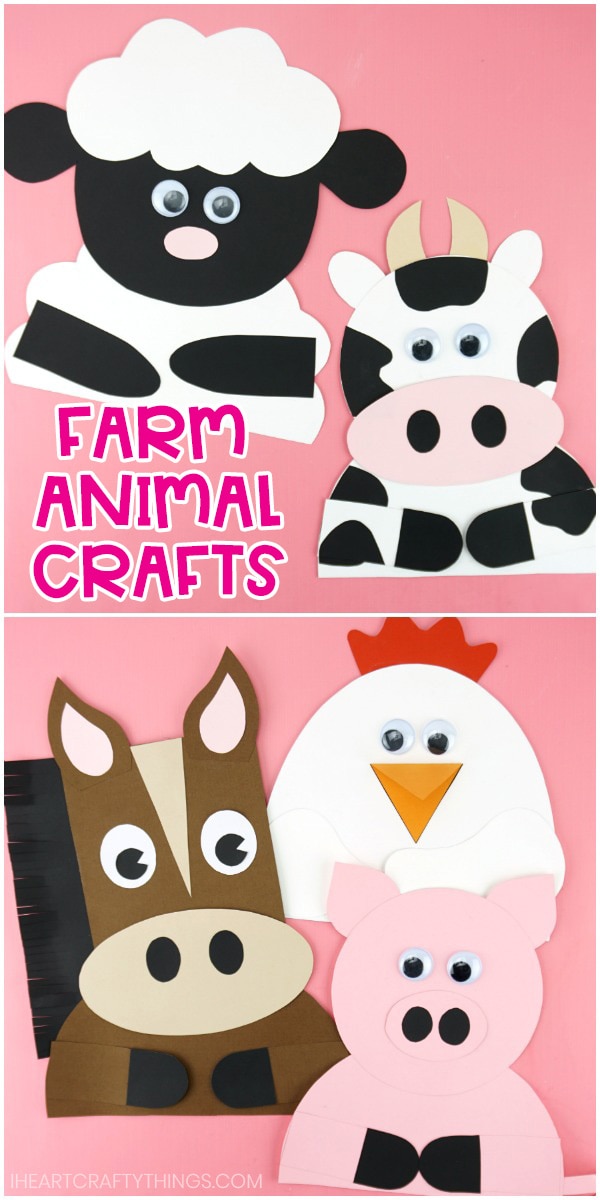
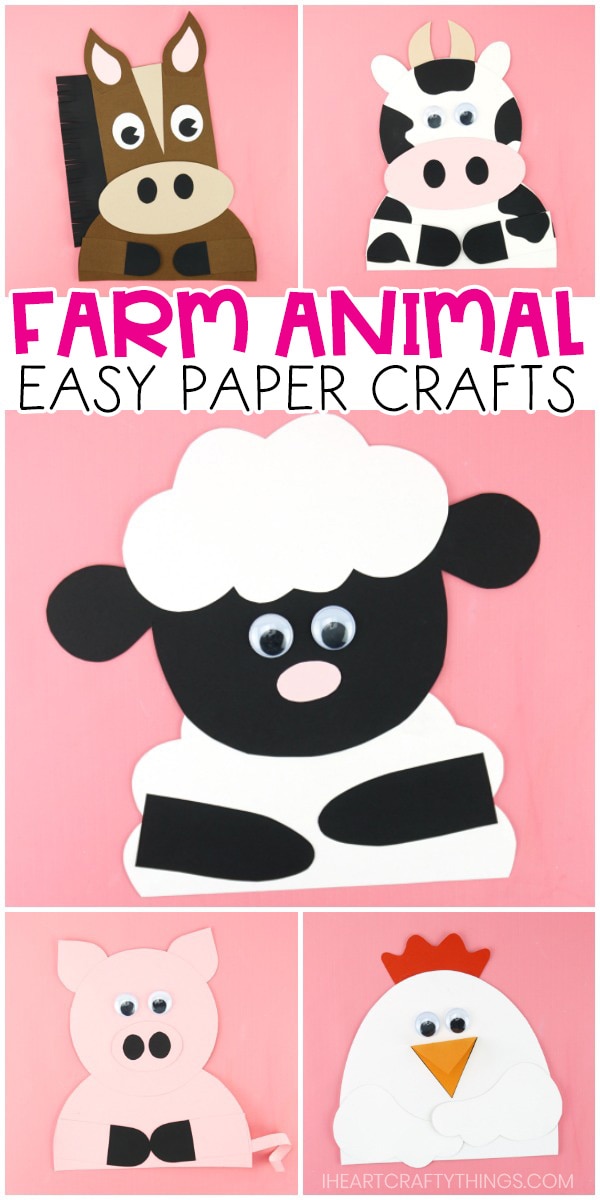
These adorable farm animal crafts are a perfect compliment to a farm themed learning unit or for any animal lovers! They are super easy for kids to make and will be stunning up on display in the home or classroom.
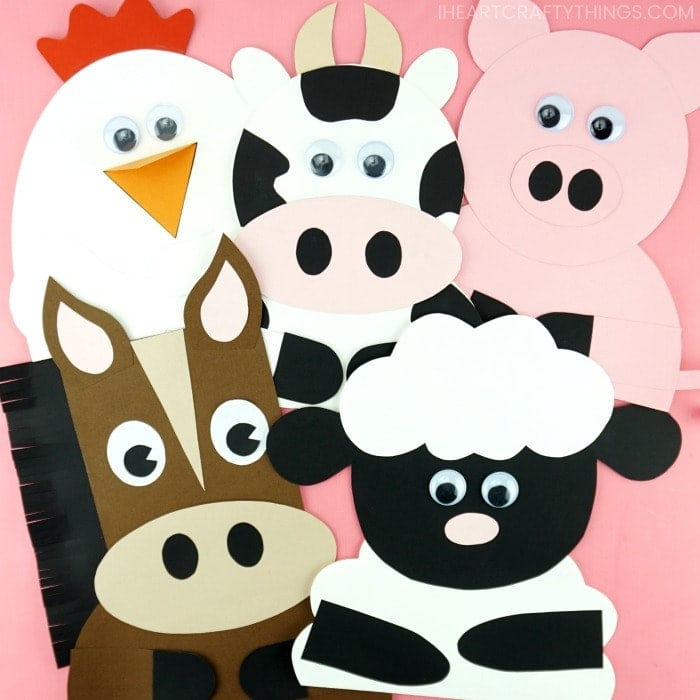
Whether make these cute farm themed animals at home or school, they are sure to be a hit!
We’ve created five different animals for you to choose from: A horse, sheep, cow, pig and chicken. Fair warning, you’ll probably have so much fun making your first farm animal that you’ll decide to want to make all five!
Farm Animal Crafts for Kids
Read our simple how-to instructions for making these fun and simple farm animals below, and make sure to catch our full video tutorial inside this post.
Supplies needed:
- Farm Animal Crafts Templates <—– Get the templates in our shop
- colored cardstock paper or construction paper
- googly eyes
- scissors
- glue
How to Make a Sheep Craft
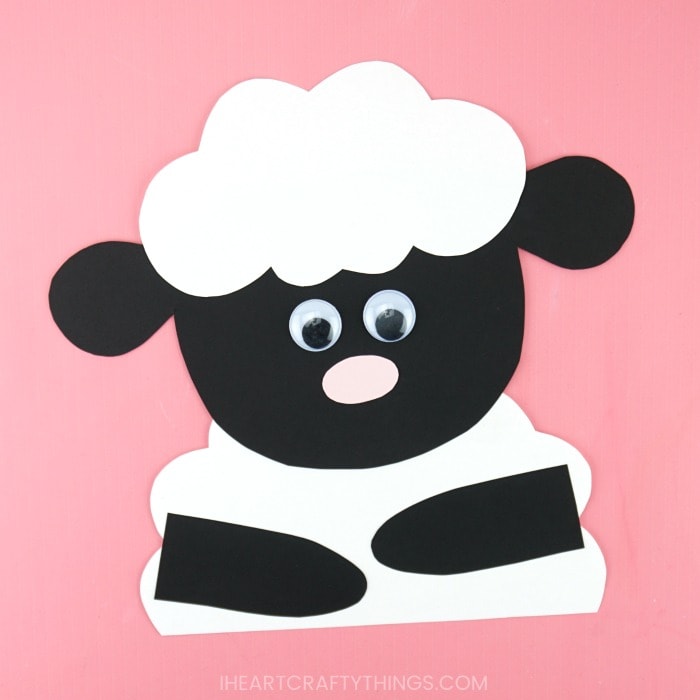
If you love sheep, you are going to adore this cute sheep farm animal craft. Not only is really easy to create but kids can customize it with different colors to make each of their sheep unique.
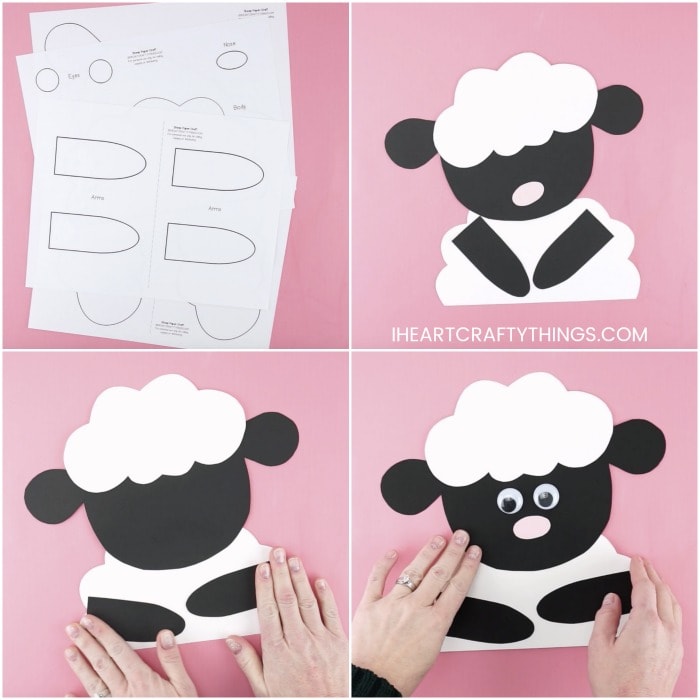
1. Print and cut out template
Print out the sheep craft template. Cut out each of the pieces from the template and use them as a pattern to trace and cut out each of the pieces on colored cardstock or construction paper. You can also print out the pieces directly on colored cardstock, or have children color the pieces with crayons.
2. Glue body to head and add hair
Add glue at the top of the sheep body and glue the head onto it. Then glue the sheep hair at the top of the sheep head.
3. Add arms
Glue each of the sheep arms on the sides of the sheep body.
4. Finish with eyes & nose
Glue the nose on the sheep face. Then glue googly eyes on your sheep. Or you can use the eyes included in the craft template and color pupils inside the eyes with a crayon.
How to Make a Chicken Craft
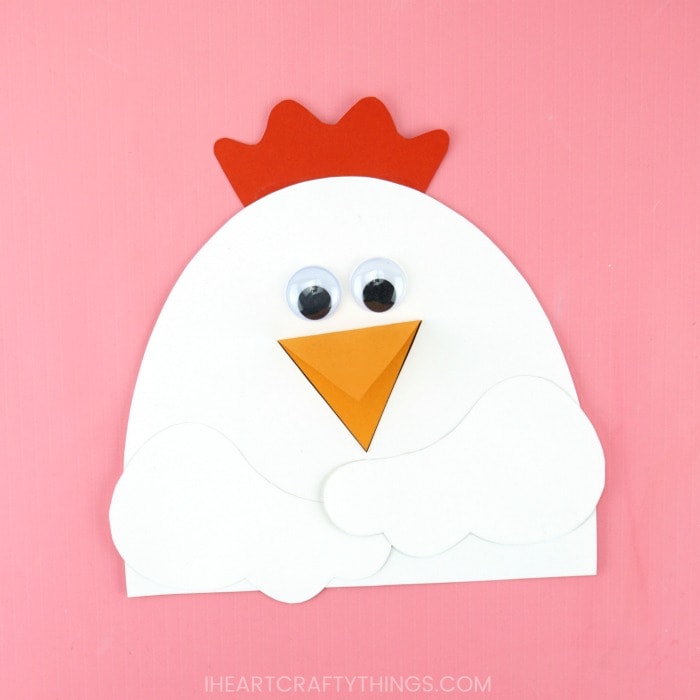
Chickens are an iconic farm animal. This cute chicken craft has a folded beak that helps to add some extra dimension to the craft. You’ll find this paper craft to be super easy for kids to create.
1. Print and cut out template
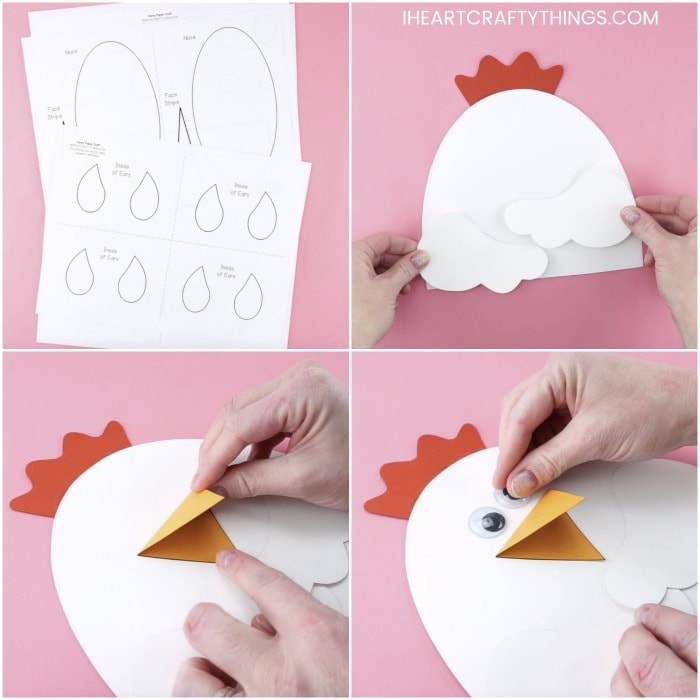
Print out the chicken craft template. Cut out each of the pieces from the template and use them as a pattern to trace and cut out each of the pieces on colored cardstock or construction paper. You can also print out the pieces directly on colored cardstock, or have children color the pieces with crayons.
2. Glue all details to create a body
Glue the waddle at the top of the chicken body. Then glue each of the wings at the bottom of the chicken body.
3. Add beak
Fold the chicken beak in half along the line shown on the template. Then glue the beak on your chicken.
4. Now time for eyes
Glue googly eyes on your chicken. Or you can use the eyes included in the craft template and color pupils inside the eyes with a crayon.
How to Make a Horse Craft
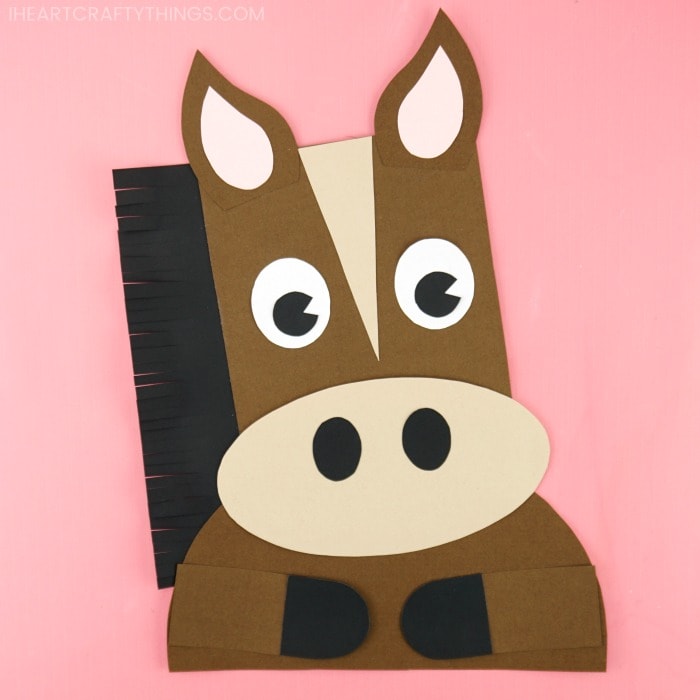
The horse is a favorite animal amongst children and that makes them a perfect choice for making a farm animal craft. This cute horse craft is easy for kids to create and will look beautiful hung on display at home or school.
1. Print and cut out template
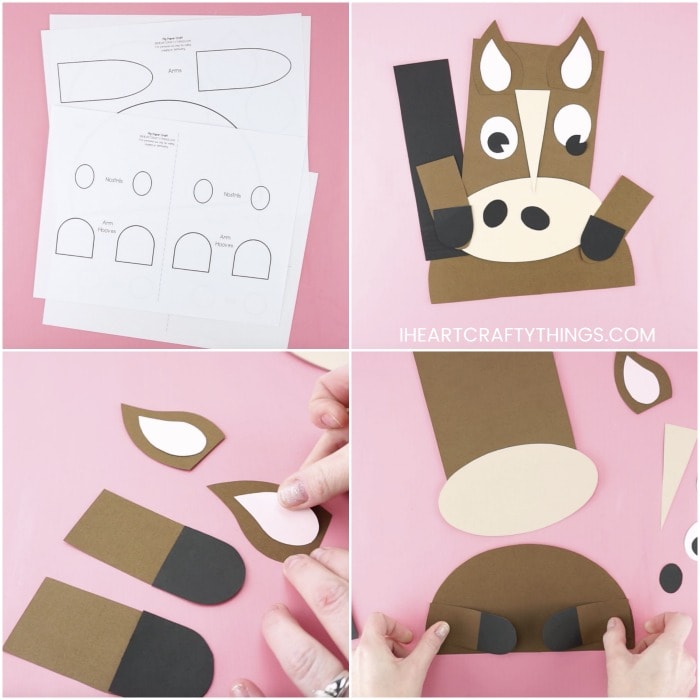
Print out the horse craft template. Cut out each of the pieces from the template and use them as a pattern to trace and cut out each of the pieces on colored cardstock or construction paper. You can also print out the pieces directly on colored cardstock, or have children color the pieces with crayons.
2. Complete arms & ears
Glue the horse hooves onto the horse arms. Then glue the inside ear pieces on the horse ears.
3. Glue all the remaining details to the head and body
Add glue at the bottom of the horse head and glue the nose at the bottom of it. Then glue the horse arms on the sides of the horse body.
4. Attach head to the body
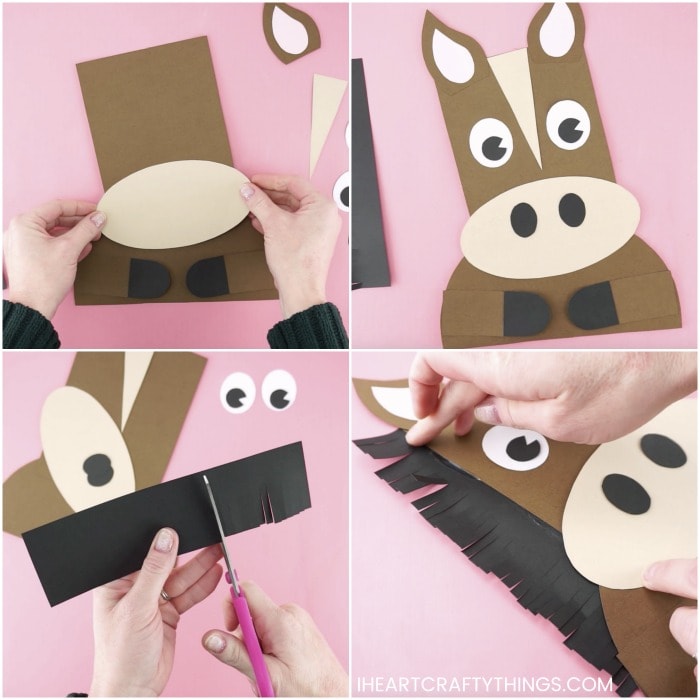
Add glue at the top of the horse body and glue the horse head and nose onto the body.
5. Add stripe, ears & eyes
Glue the horse head stripe, ears and eyes on the horse face.
6. Time for nostrils
Glue the nostrils on the horse nose
7. Create hair texture
Use scissors to cut slits along one side of the horse mane to create hair texture. Add glue along the uncut edge of the horse mane and glue it on the back and side of the horse.
How to Make a Pig Craft
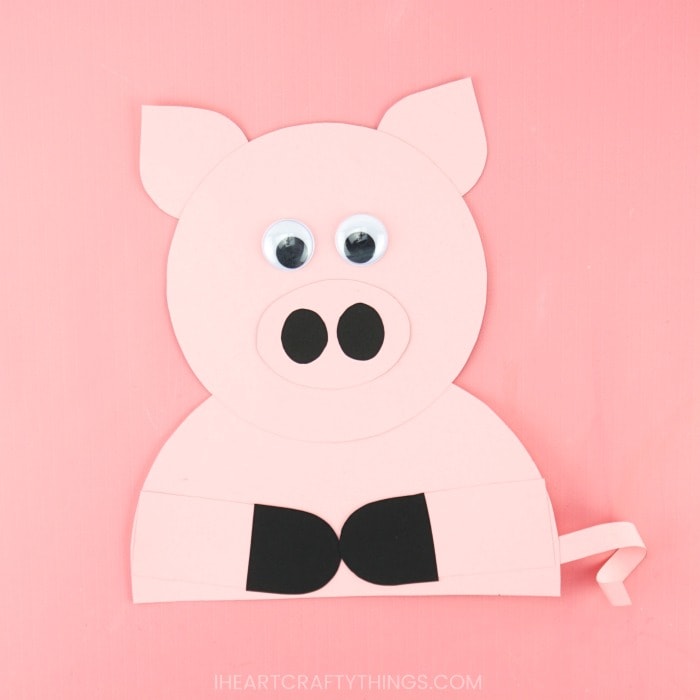
You don’t typically think of a muddy pig as adorable but this pig farm animal craft is sure to turn out cute! The contrast of the pink and black against each other mixed with the curly pig tail, makes it a darling craft for kids to create.
1. Print and cut out template
Print out the pig craft template. Cut out each of the pieces from the template and use them as a pattern to trace and cut out each of the pieces on colored cardstock or construction paper. You can also print out the pieces directly on colored cardstock, or have children color the pieces with crayons.
2. Prepare smaller details
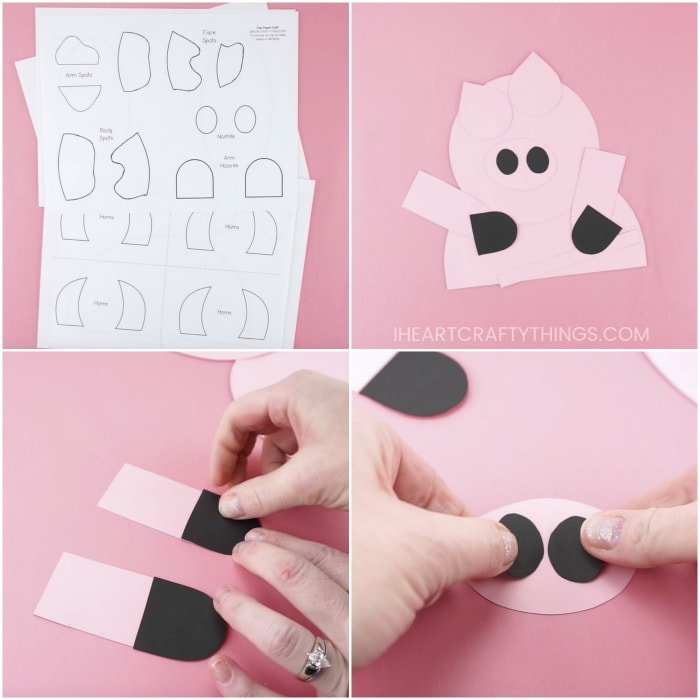
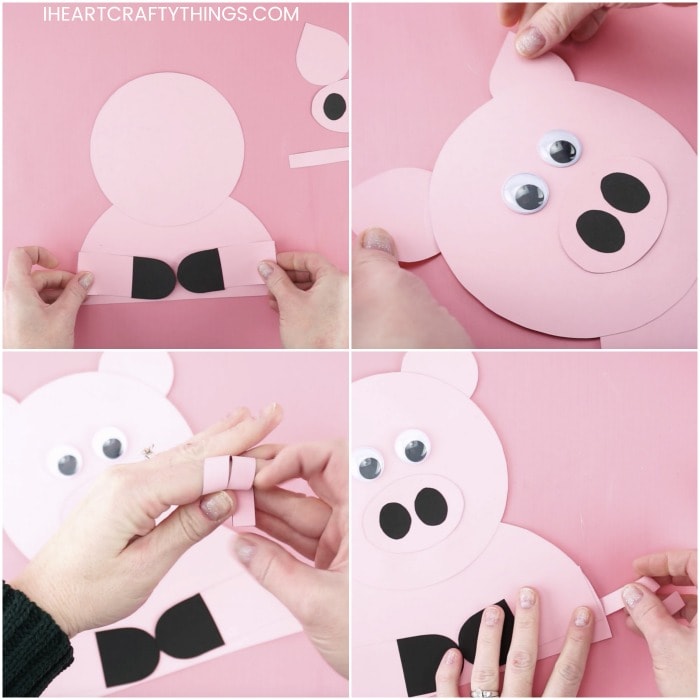
Glue the pig hooves on the pig arms. Then glue the nostrils on the inside of the pig nose.
3. Glue head to the body and add arms
Add glue at the top of the pig body and glue the head on it. Then glue the pig arms on the sides of the body.
4. Time for nose and eyes
Glue the nose on the pig face. Then glue googly eyes on your pig. Or you can use the eyes included in the craft template and color pupils inside the eyes with a crayon.
5. Now – add ears
Glue the ears at the top of the pig face.
6. Make & glue tail
Wrap the pig tail strip around your finger several times to bend it and make it curly. Add glue on the end of the curly pig tail and glue it on the side of the pig body.
How to Make a Cow Craft
This fun cow craft will steal the show with it’s cuteness. We made a traditional black and white cow but you can choose different colors to customize your cow however you choose.

1. Print and cut out template
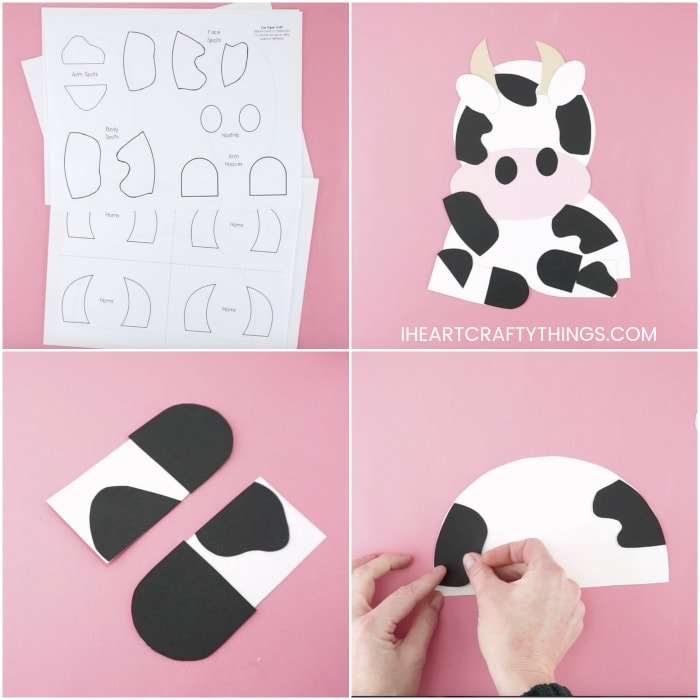
Print out the cow craft template. Cut out each of the pieces from the template and use them as a pattern to trace and cut out each of the pieces on colored cardstock or construction paper. You can also print out the pieces directly on colored cardstock, or have children color the pieces with crayons.
2. Add hooves to the arms
Glue the arm hooves on the arms. Then glue one arm spot on each of the arms.
3. Add spots to the body
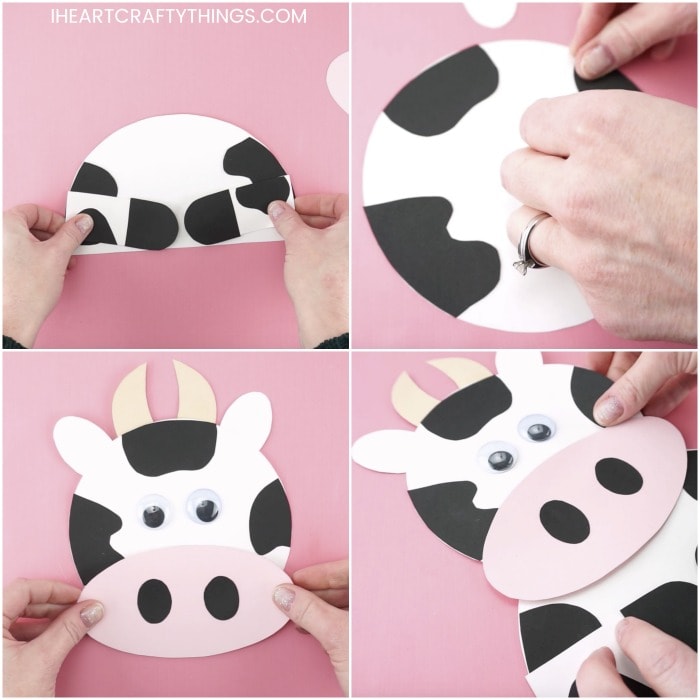
Glue both of the body spots on the cow body. Then glue the arms on the cow body.
4. Glue horns, ears & eyes
Now just glue each of the face spots around the perimeter of the cow face. Then glue the horns, ears and googly eyes on your cow face. Or you can use the eyes included in the craft template and color pupils inside the eyes with a crayon.
5. Add nose
Glue the nostrils onto the cow nose. Then glue the nose at the bottom of the cow face.
6. Glue head & body together
Add glue at the top of the cow body. Then glue down the face onto the cow body.
